XBOX Controller S Cable Repair
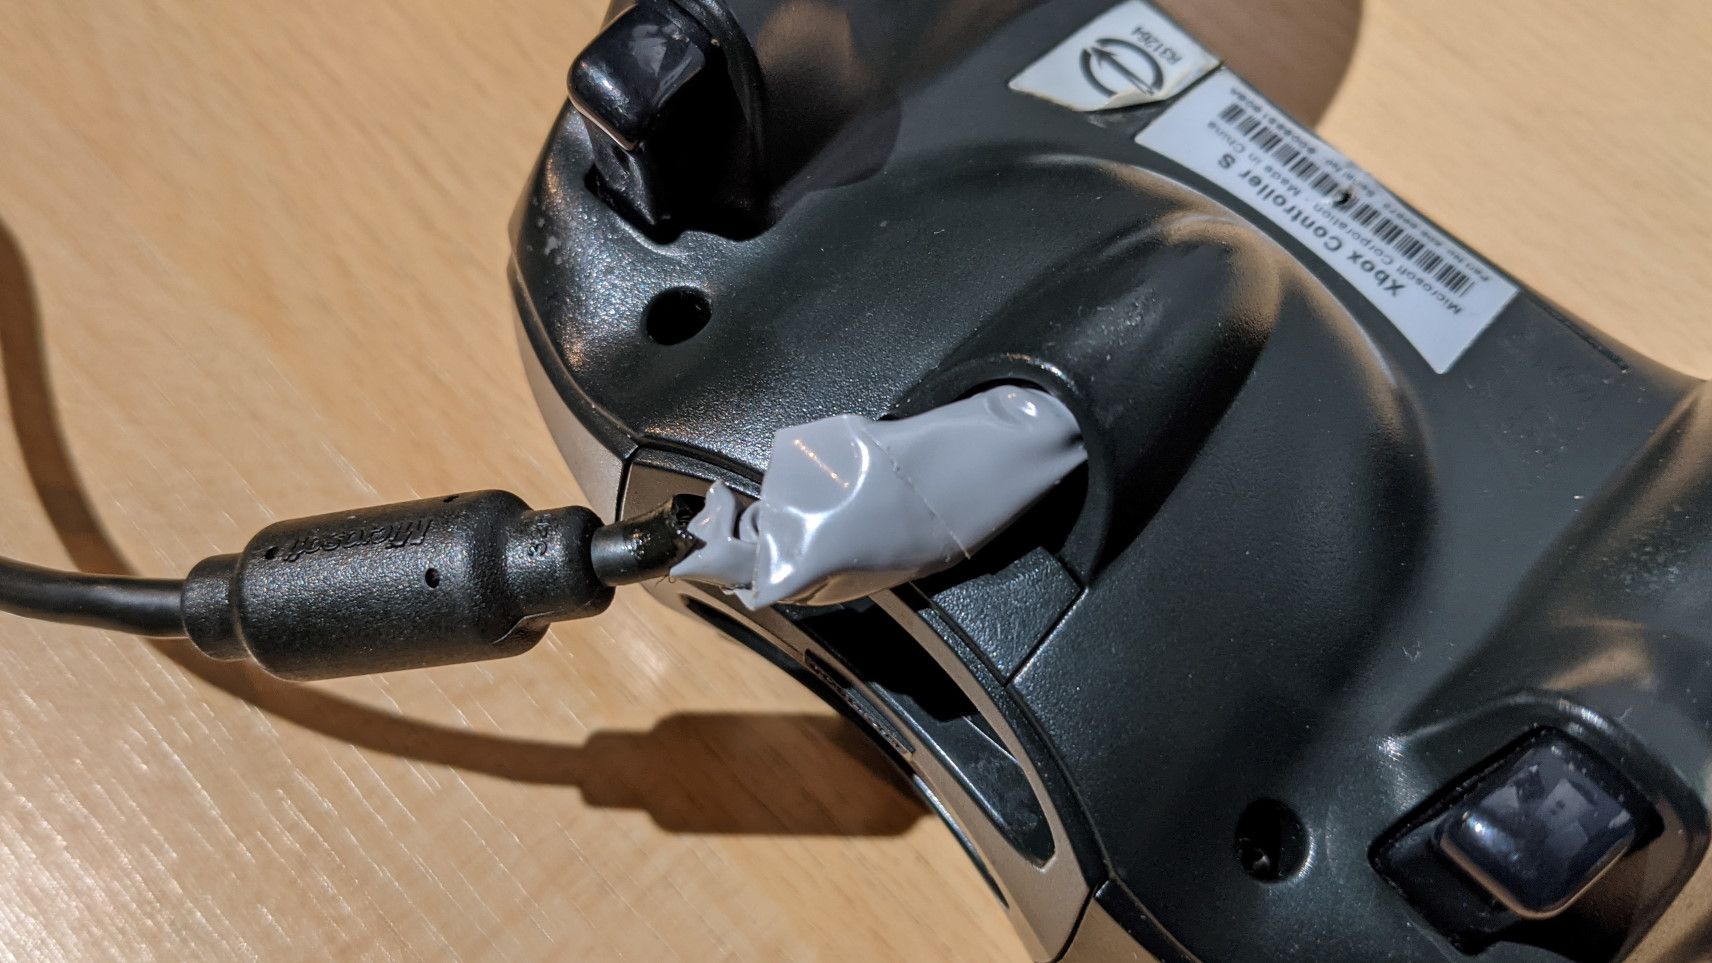
I recently got myself a copy of Conker: Live & Reloaded. This was the perfect incentive to dust off my OG XBOX and give it some maintenance. I had been putting this off for quite some time now. The previous owner repaired the cable at one point, but did not do a particularly great job, is it was covered in electrical tape and felt really loose. It did still work though, but I could not just leave it like this.
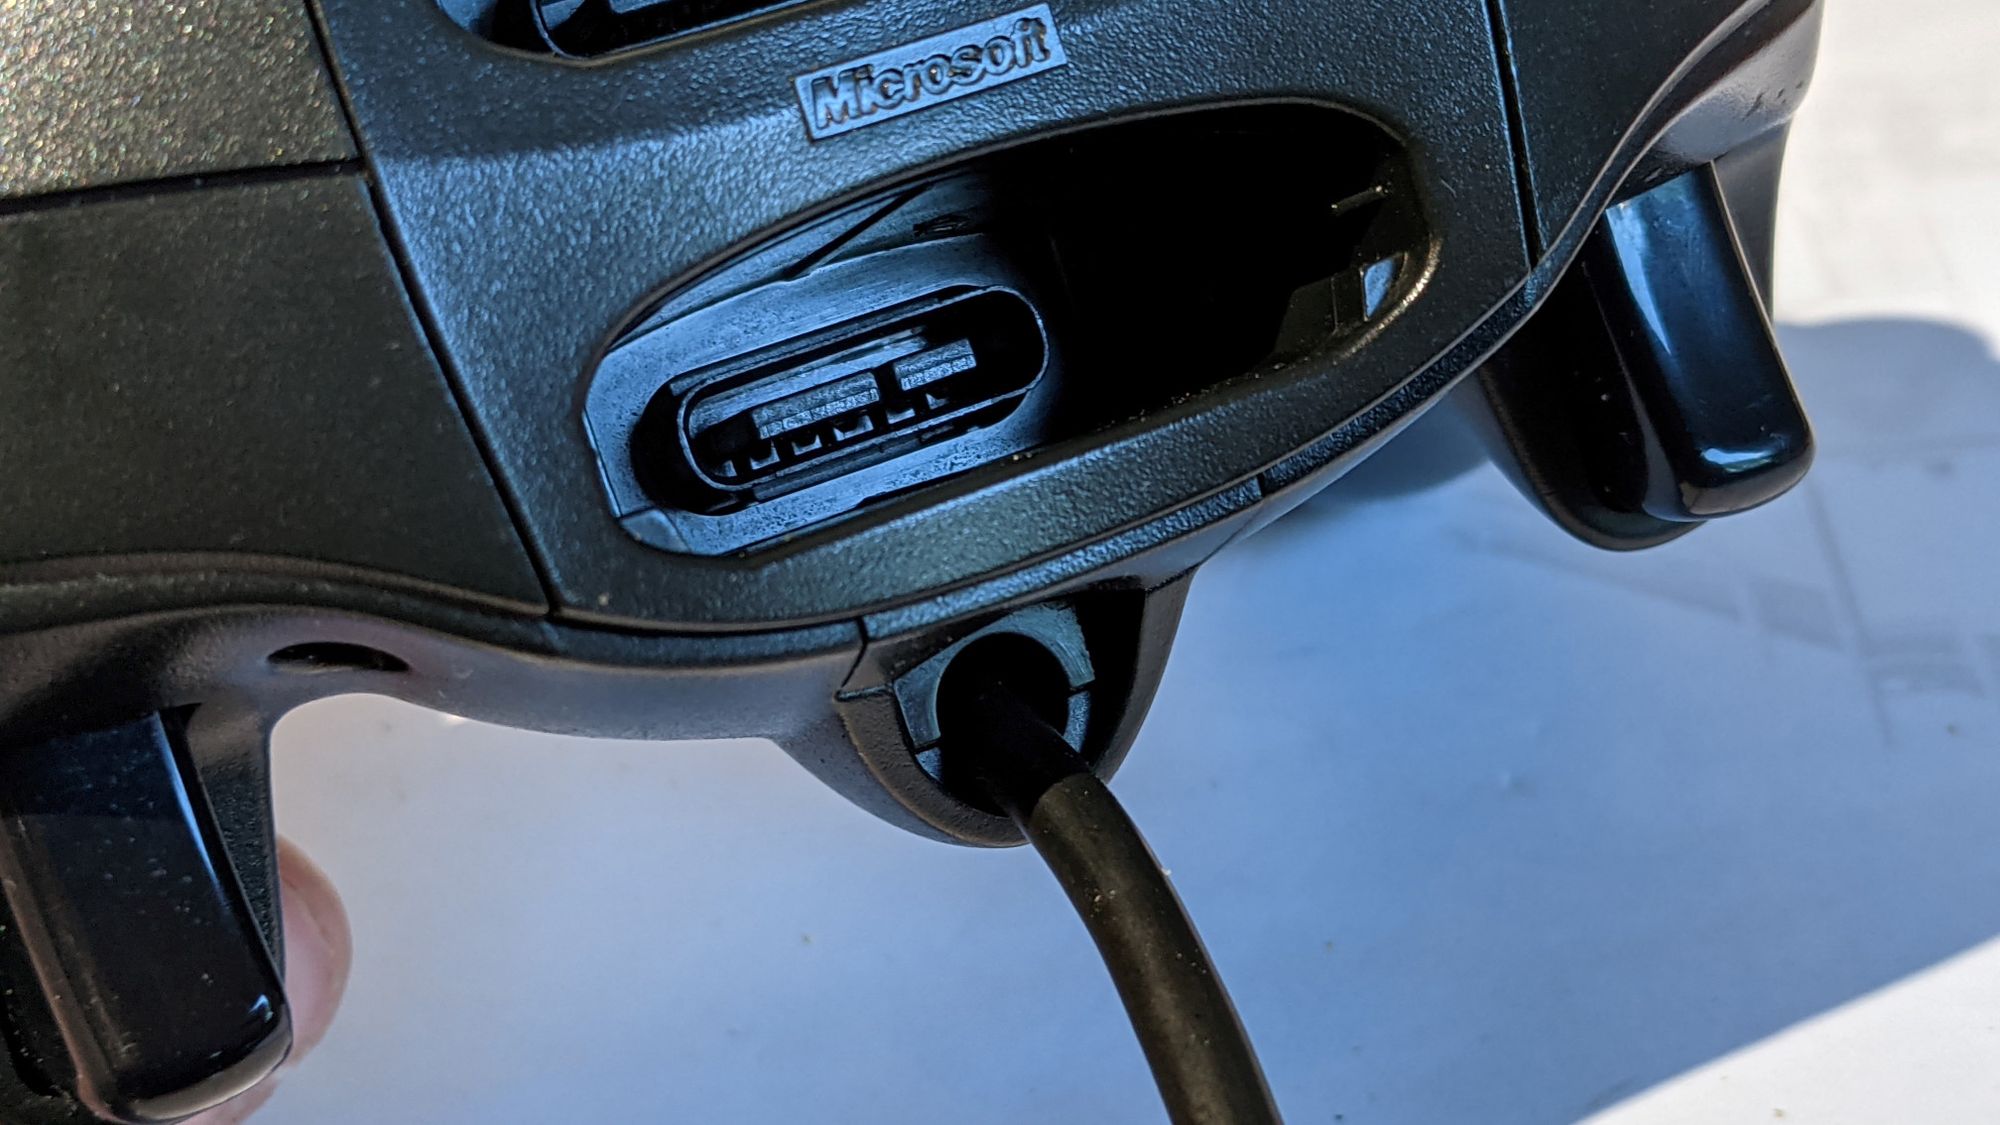
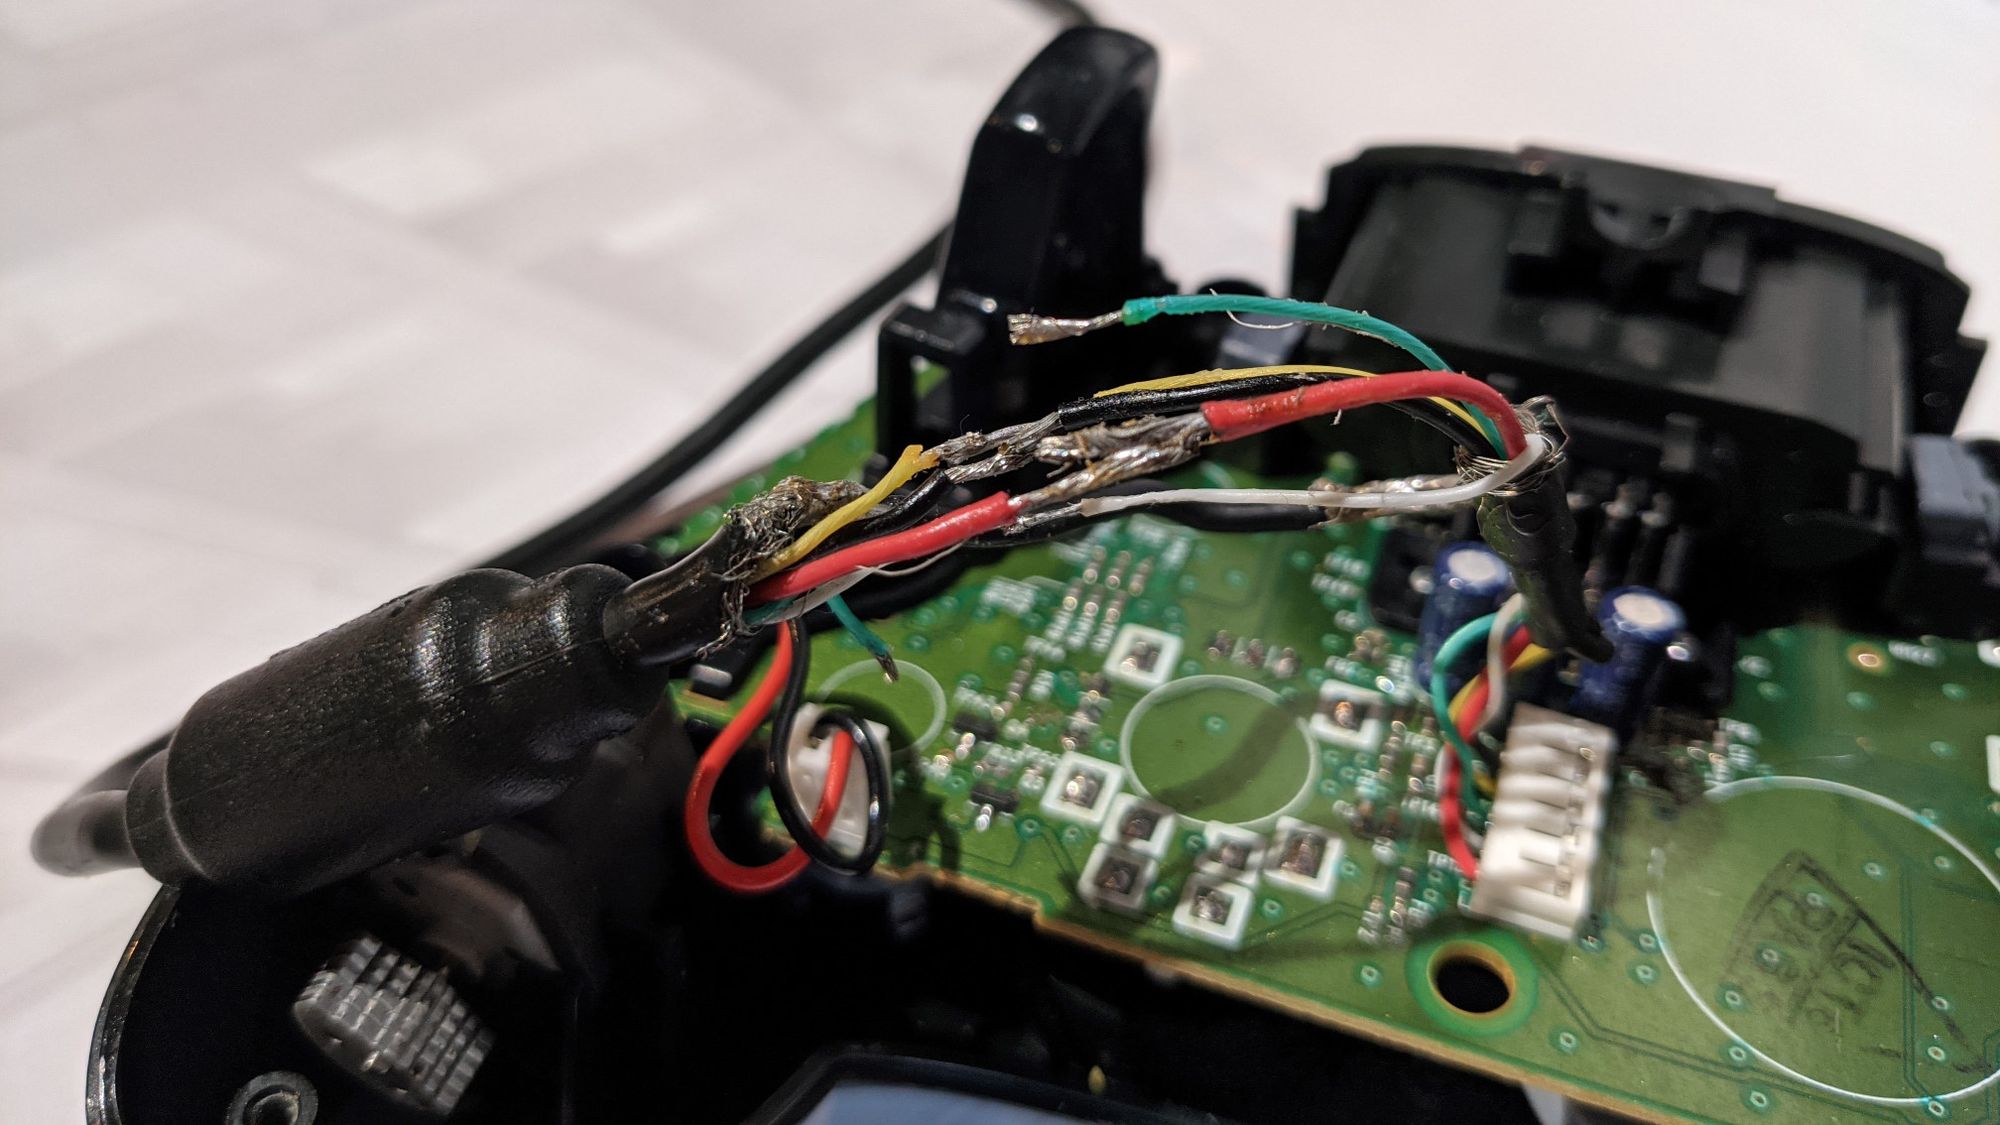
Opening the controller, and inspecting the wiring
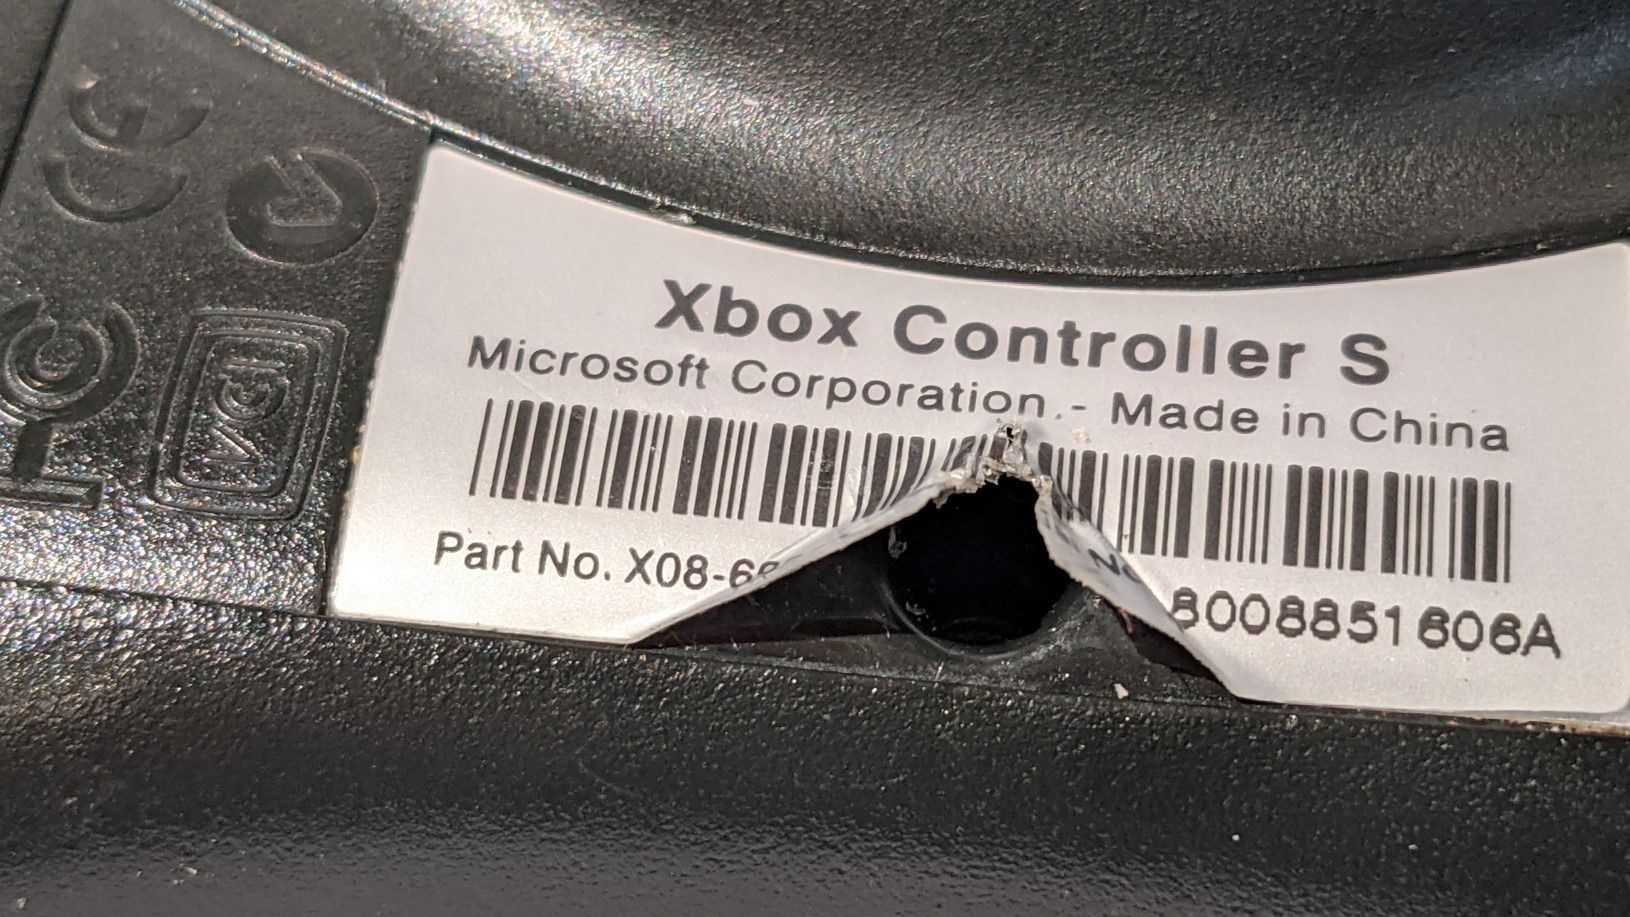
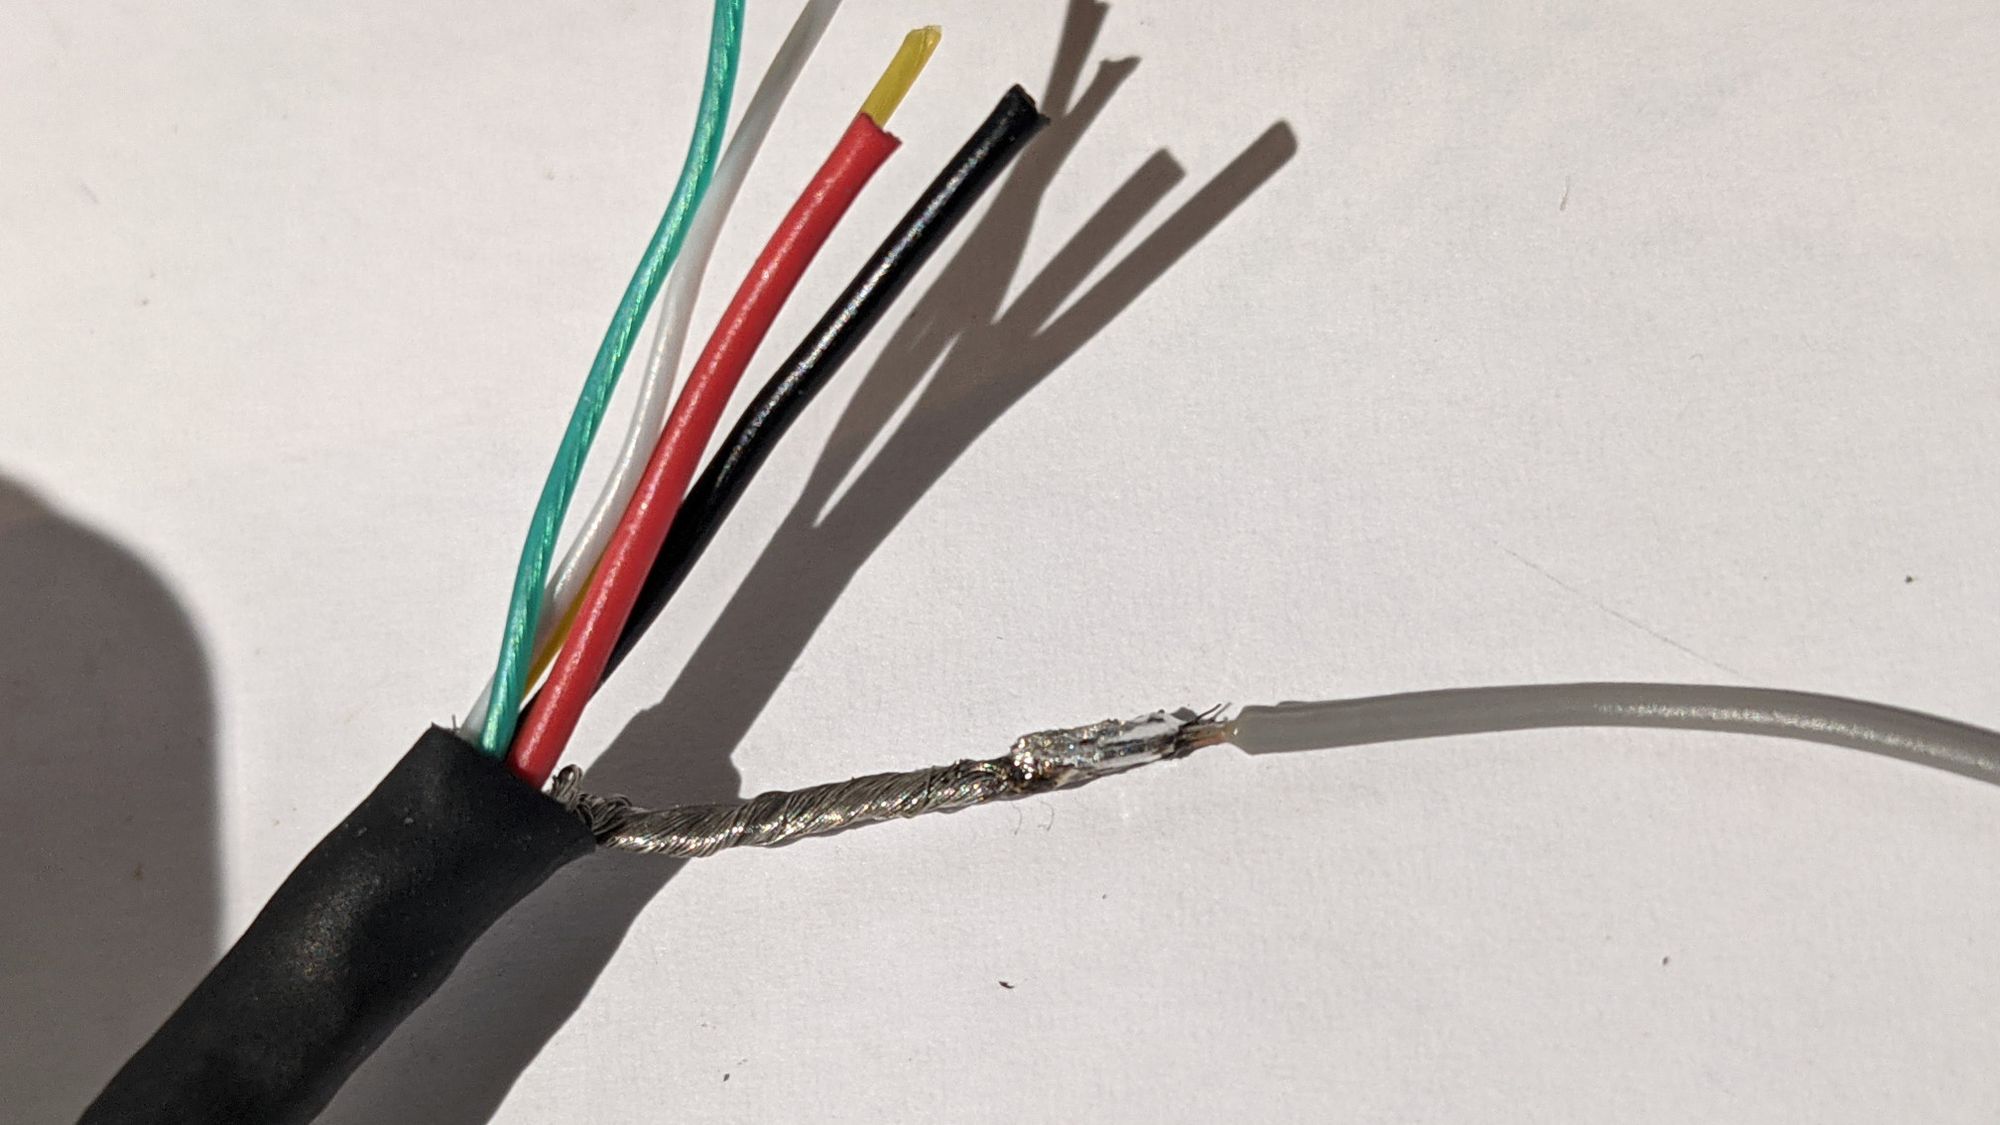
Opening these controllers up is fairly simple. Just unscrew the 7 Phillips-head screws, one of them being hidden under the barcode sticker. After that, the back half lifts off easily. I removed all the electrical tape from the wires and… YIKES. This was not looking good. Time to fix that!
Fixing the cable
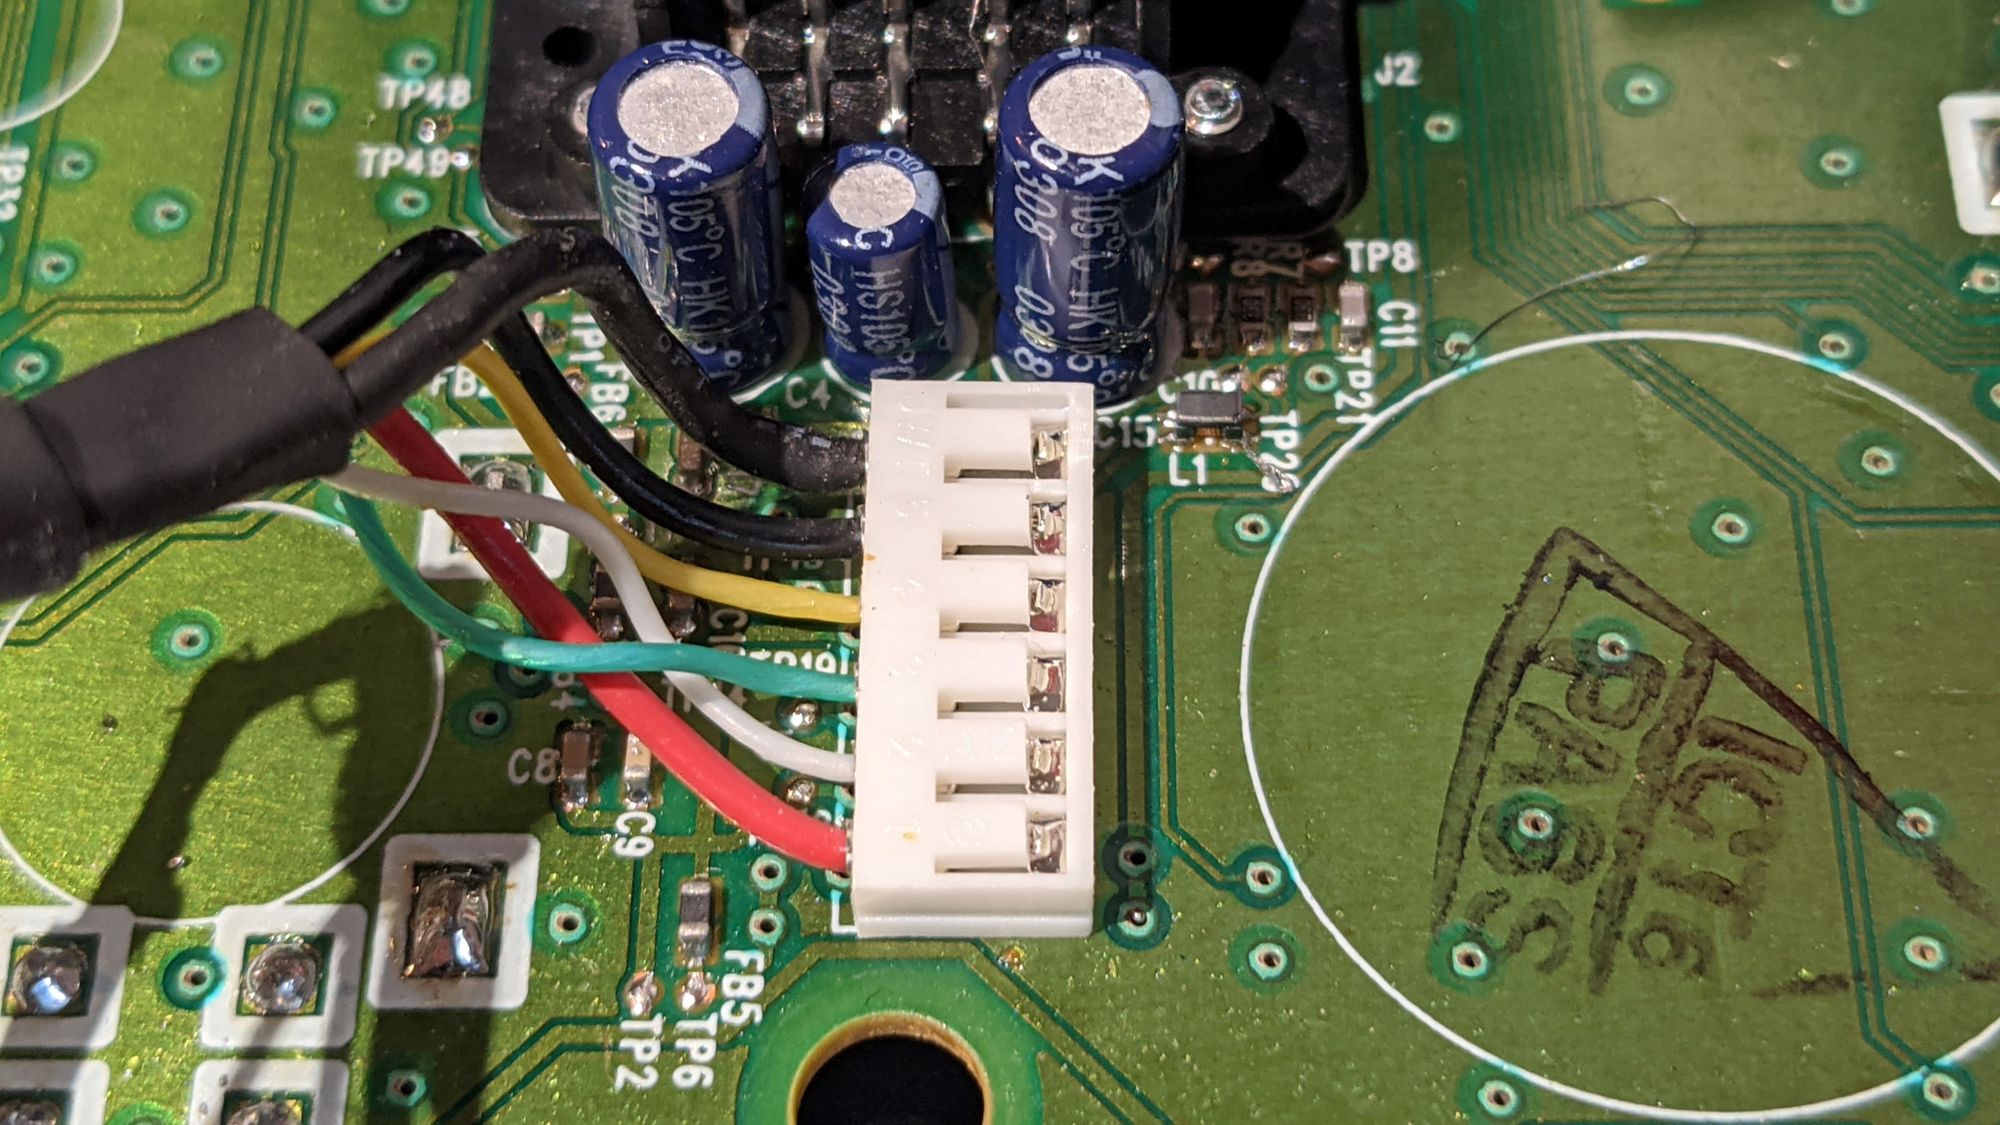
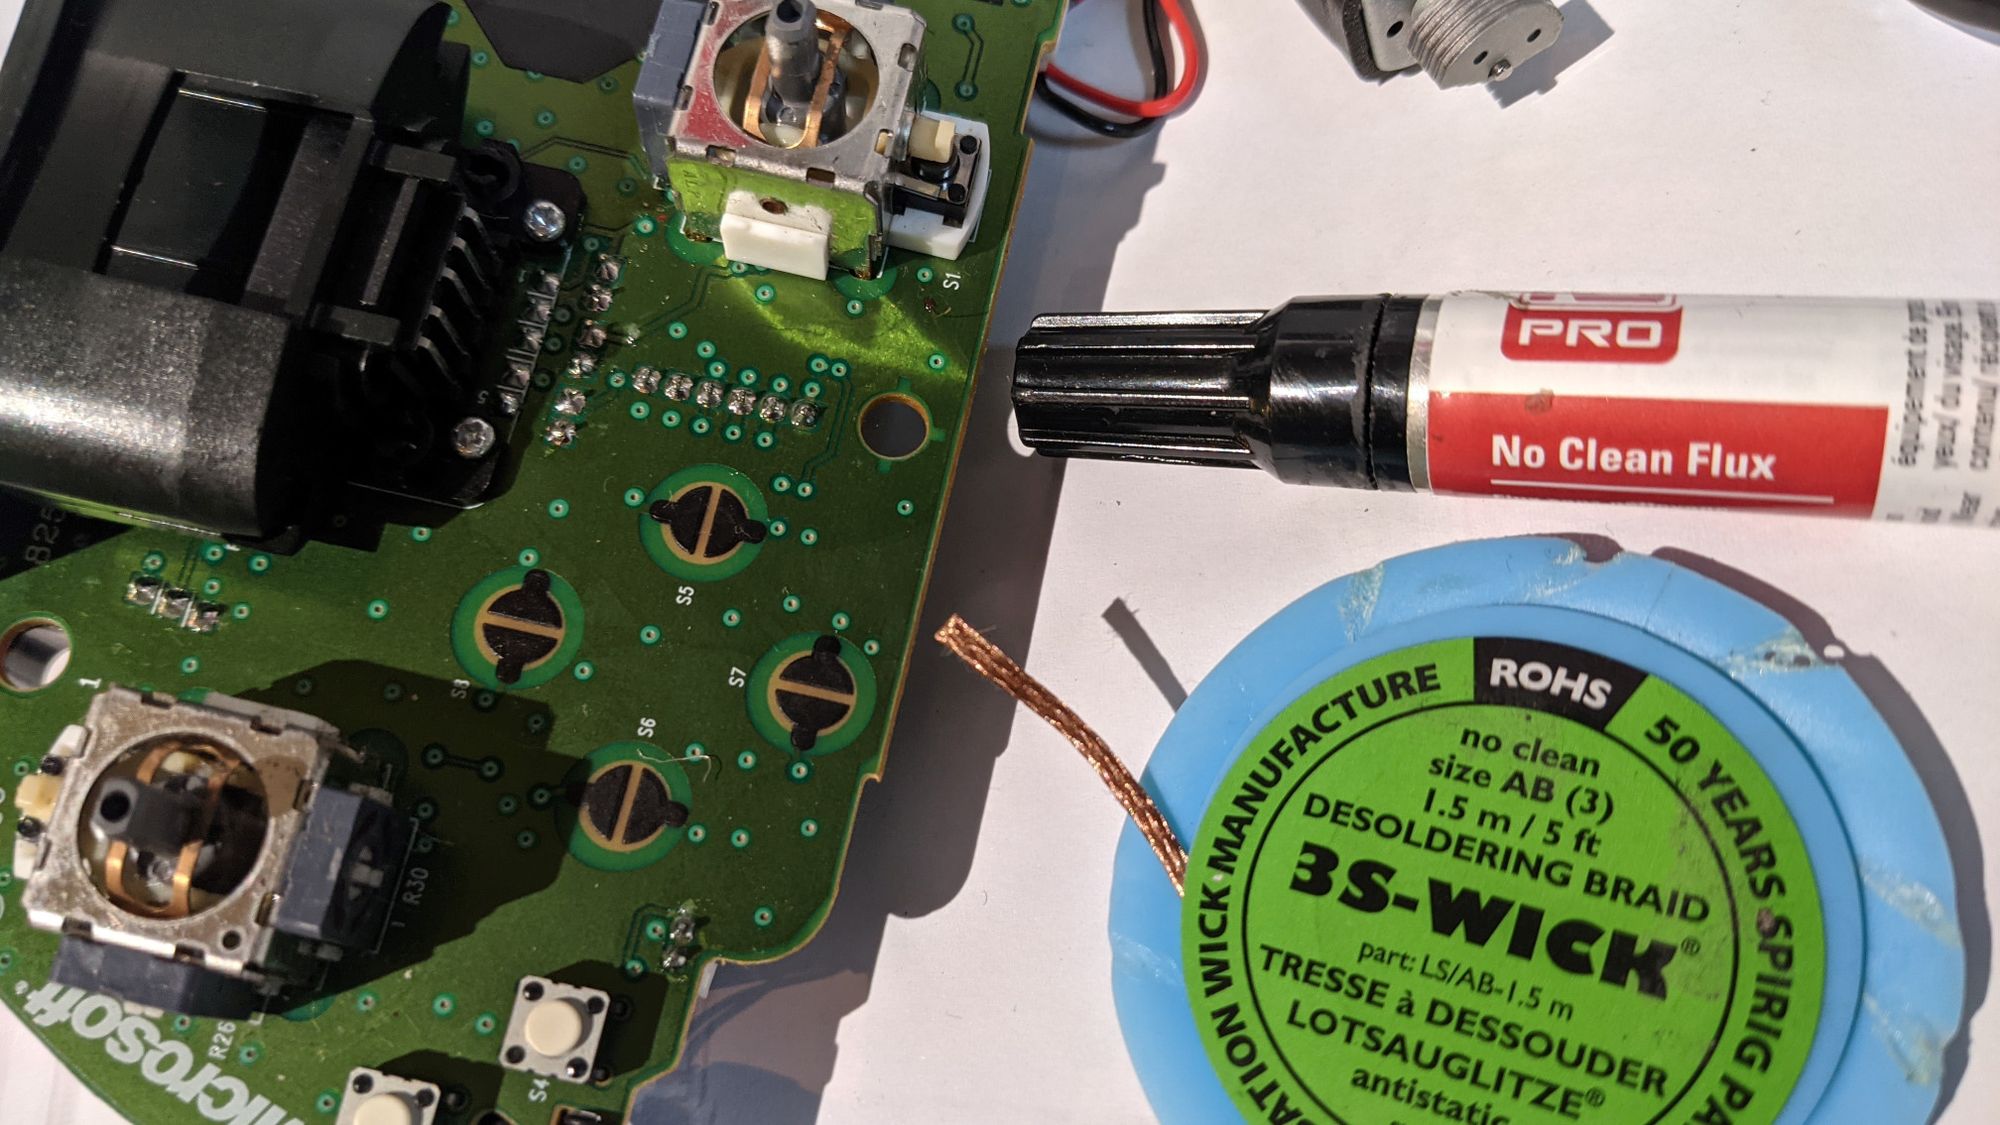
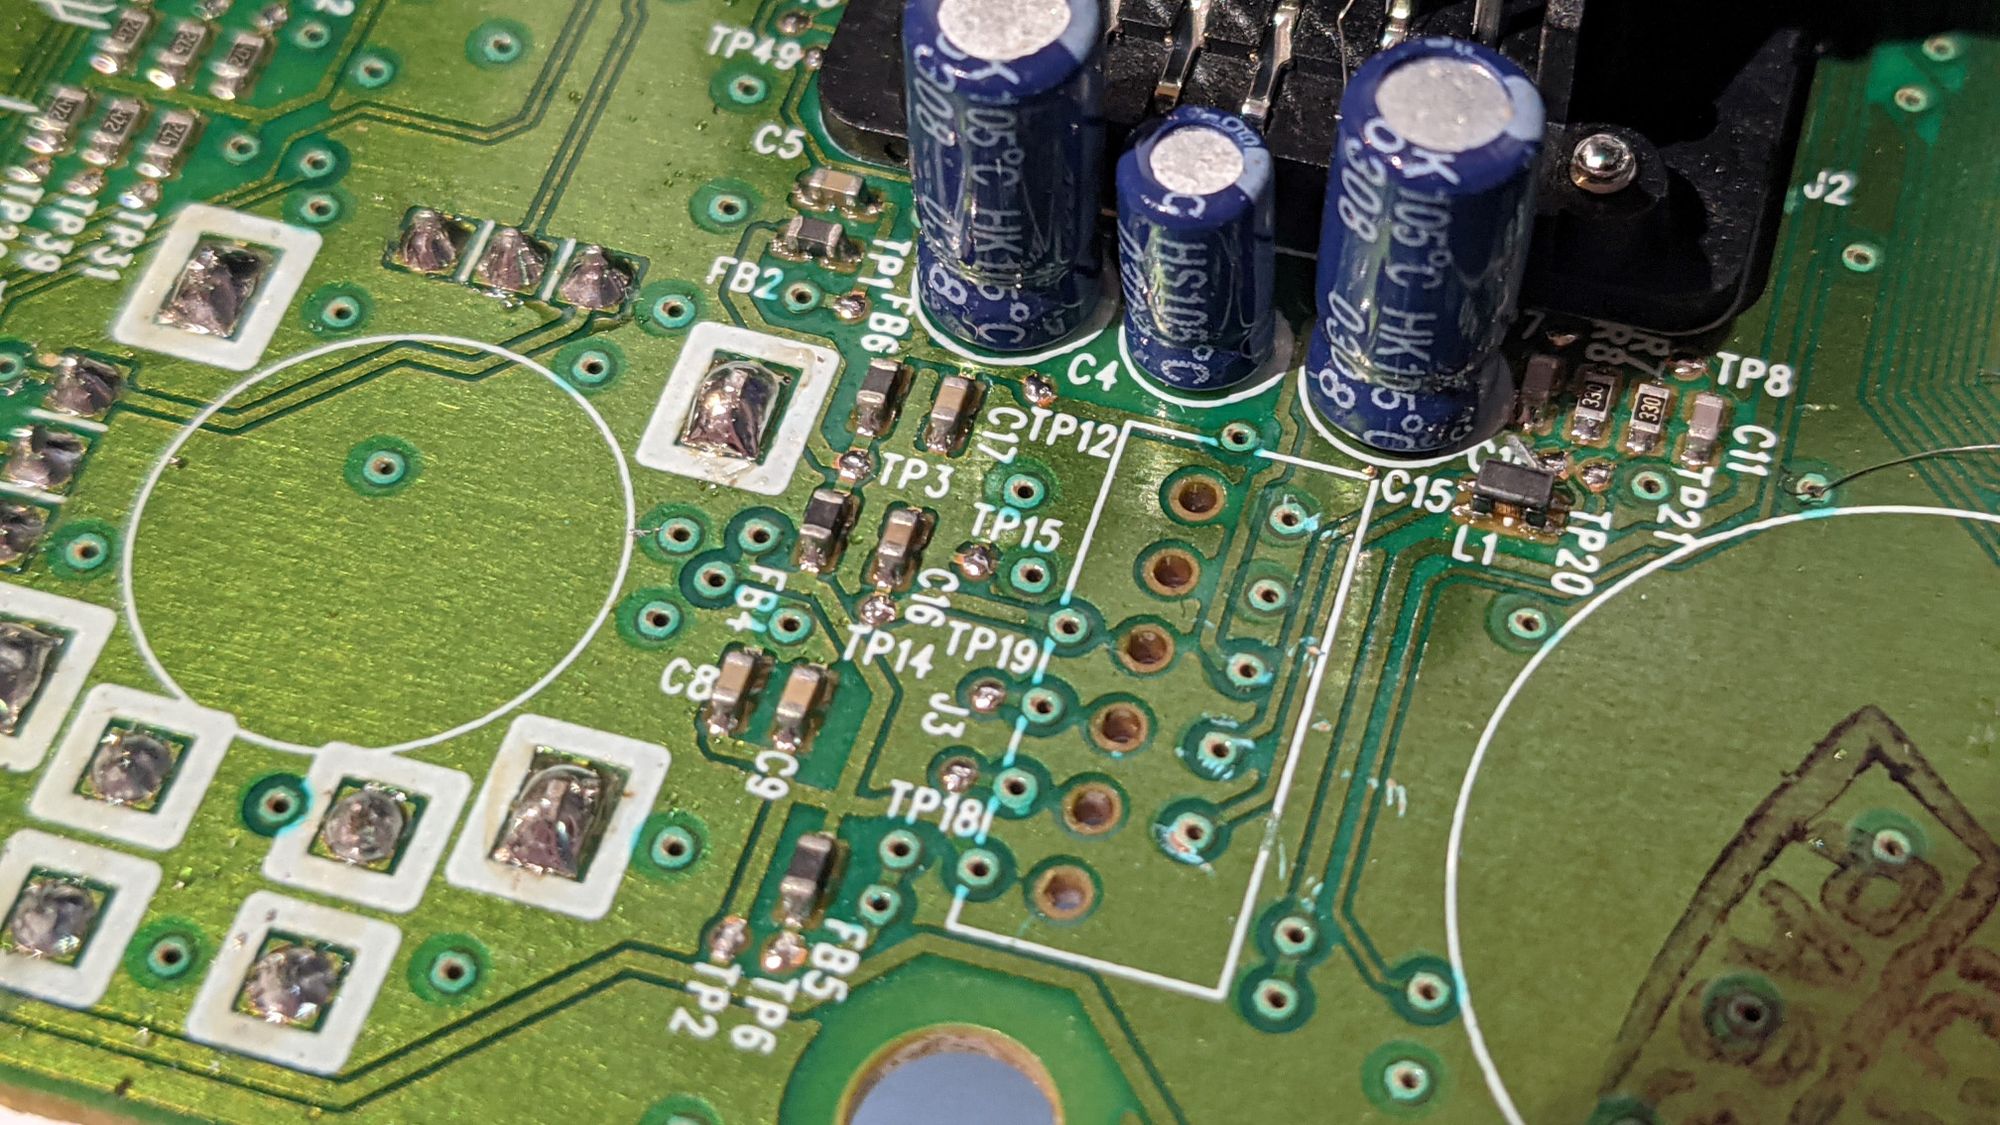
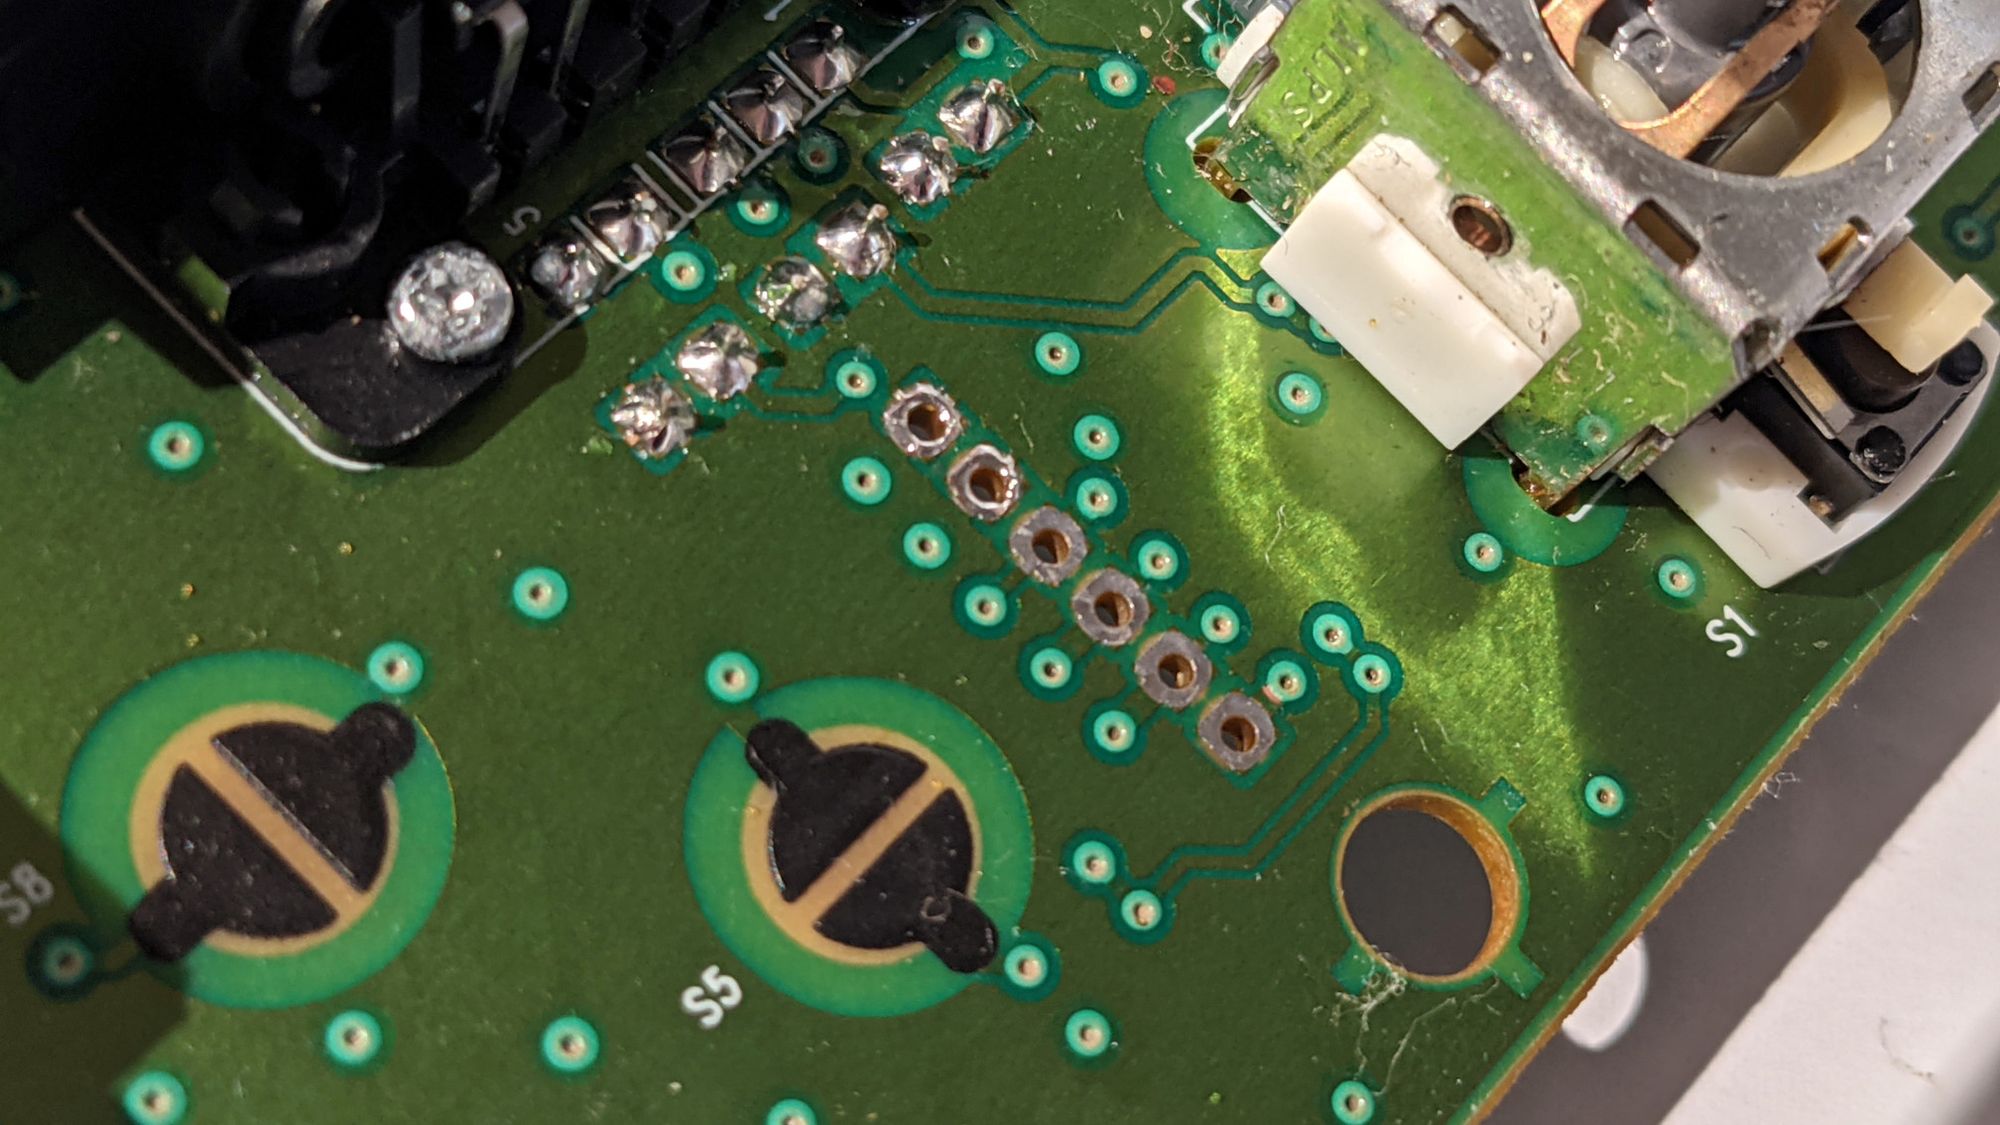
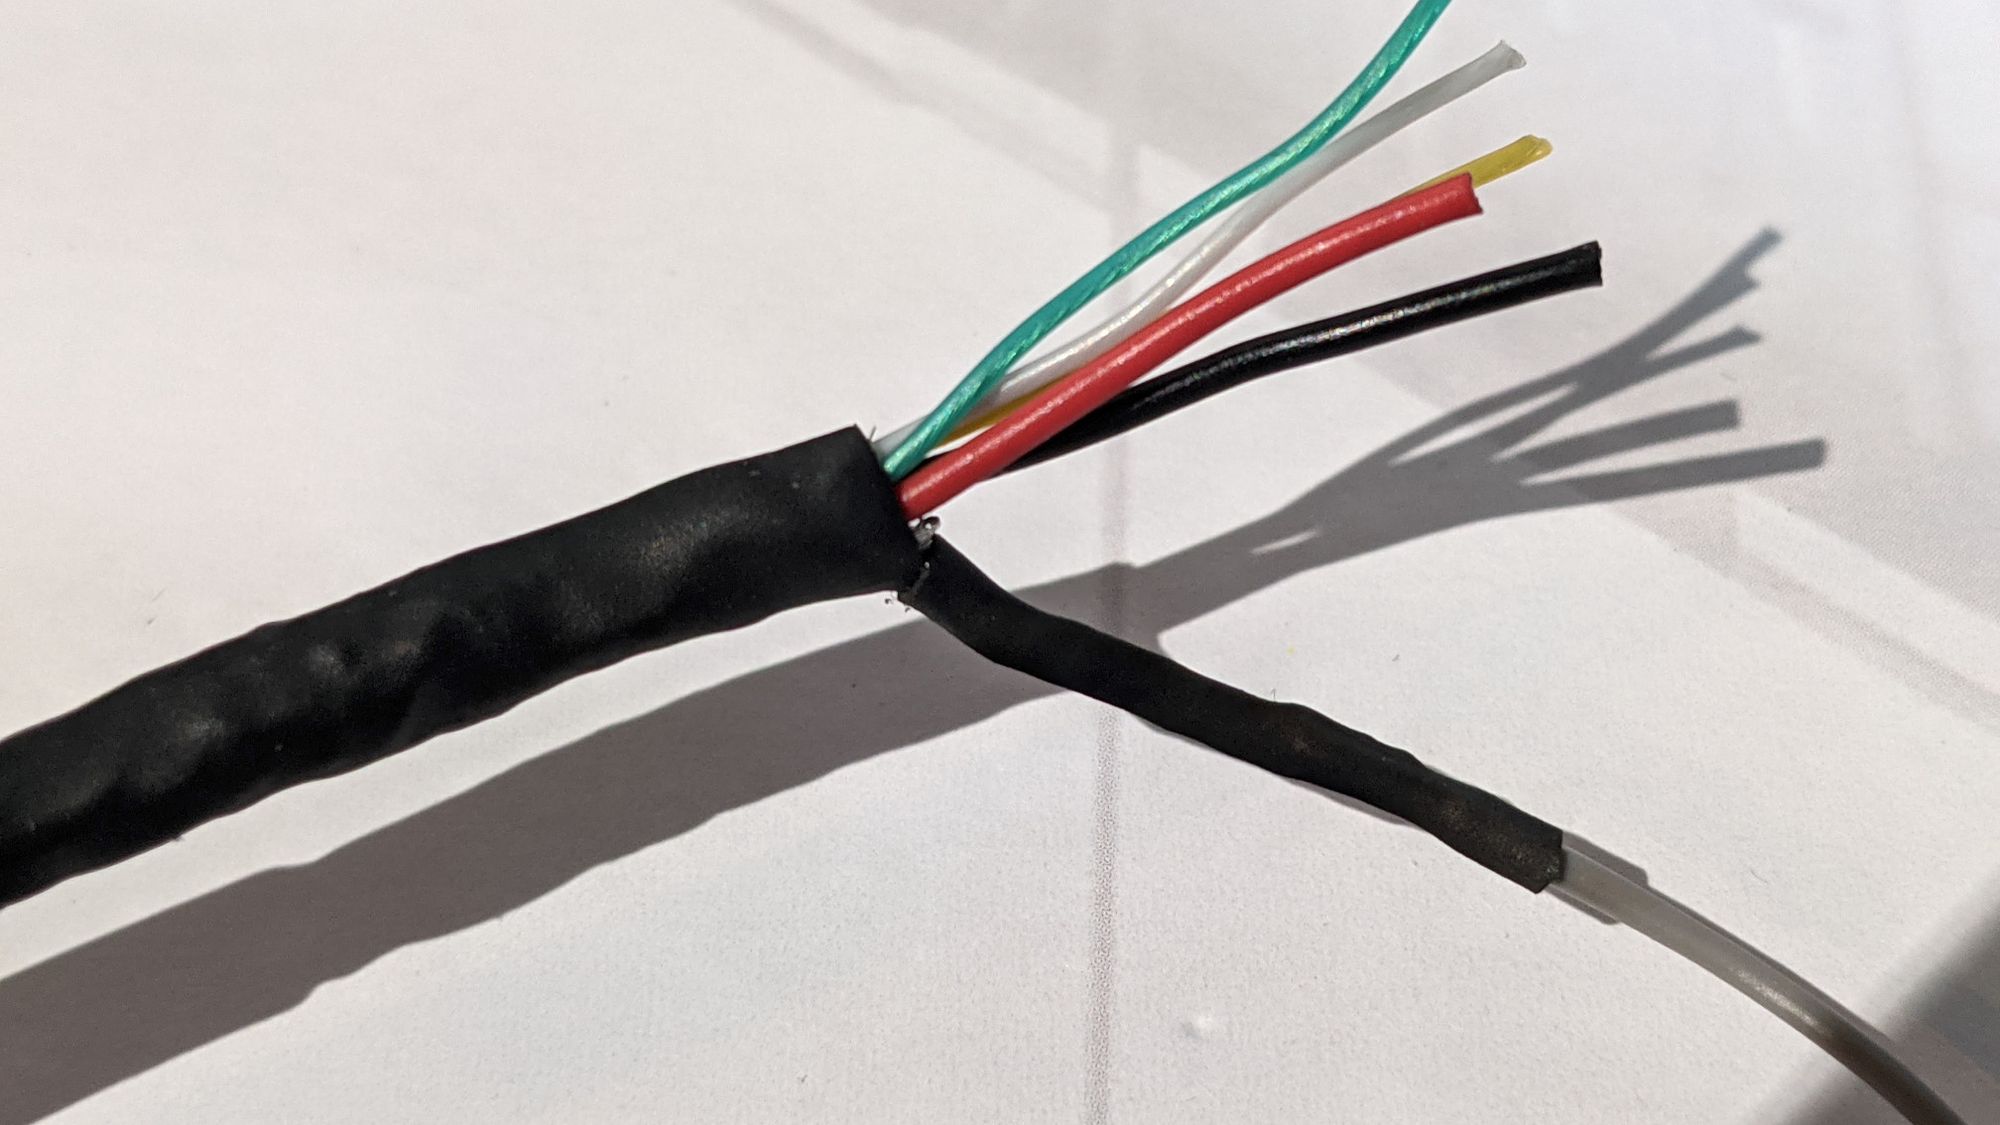
I first had to decide on an approach for this. After thinking about it for a while I decided to do the following: De-solder the white plastic piece, and solder the individual wires directly to the board. This would result in a clean looking cable, with the lowest risk of things being shorted. Sadly, I did have to cut the cable off past the ferrite bead in order to have enough slack to strip the wires. This shouldn’t affect functionality.
One of the wires going into the white plastic piece is connected to the outside shielding of the cable. I had to connect a new piece of wire to this shielding, as fitting the shielding by itself through the hole both looks bad, and might cause shorts. I twisted some of the shielding together creating a nice bundle I could solder a wire to. I covered all the exposed shielding that was left with some heat shrink tubing to prevent shorts. After that, I could simply solder all the wires to the correct points by looking at the colour coding in a picture I made of when it was still connected.
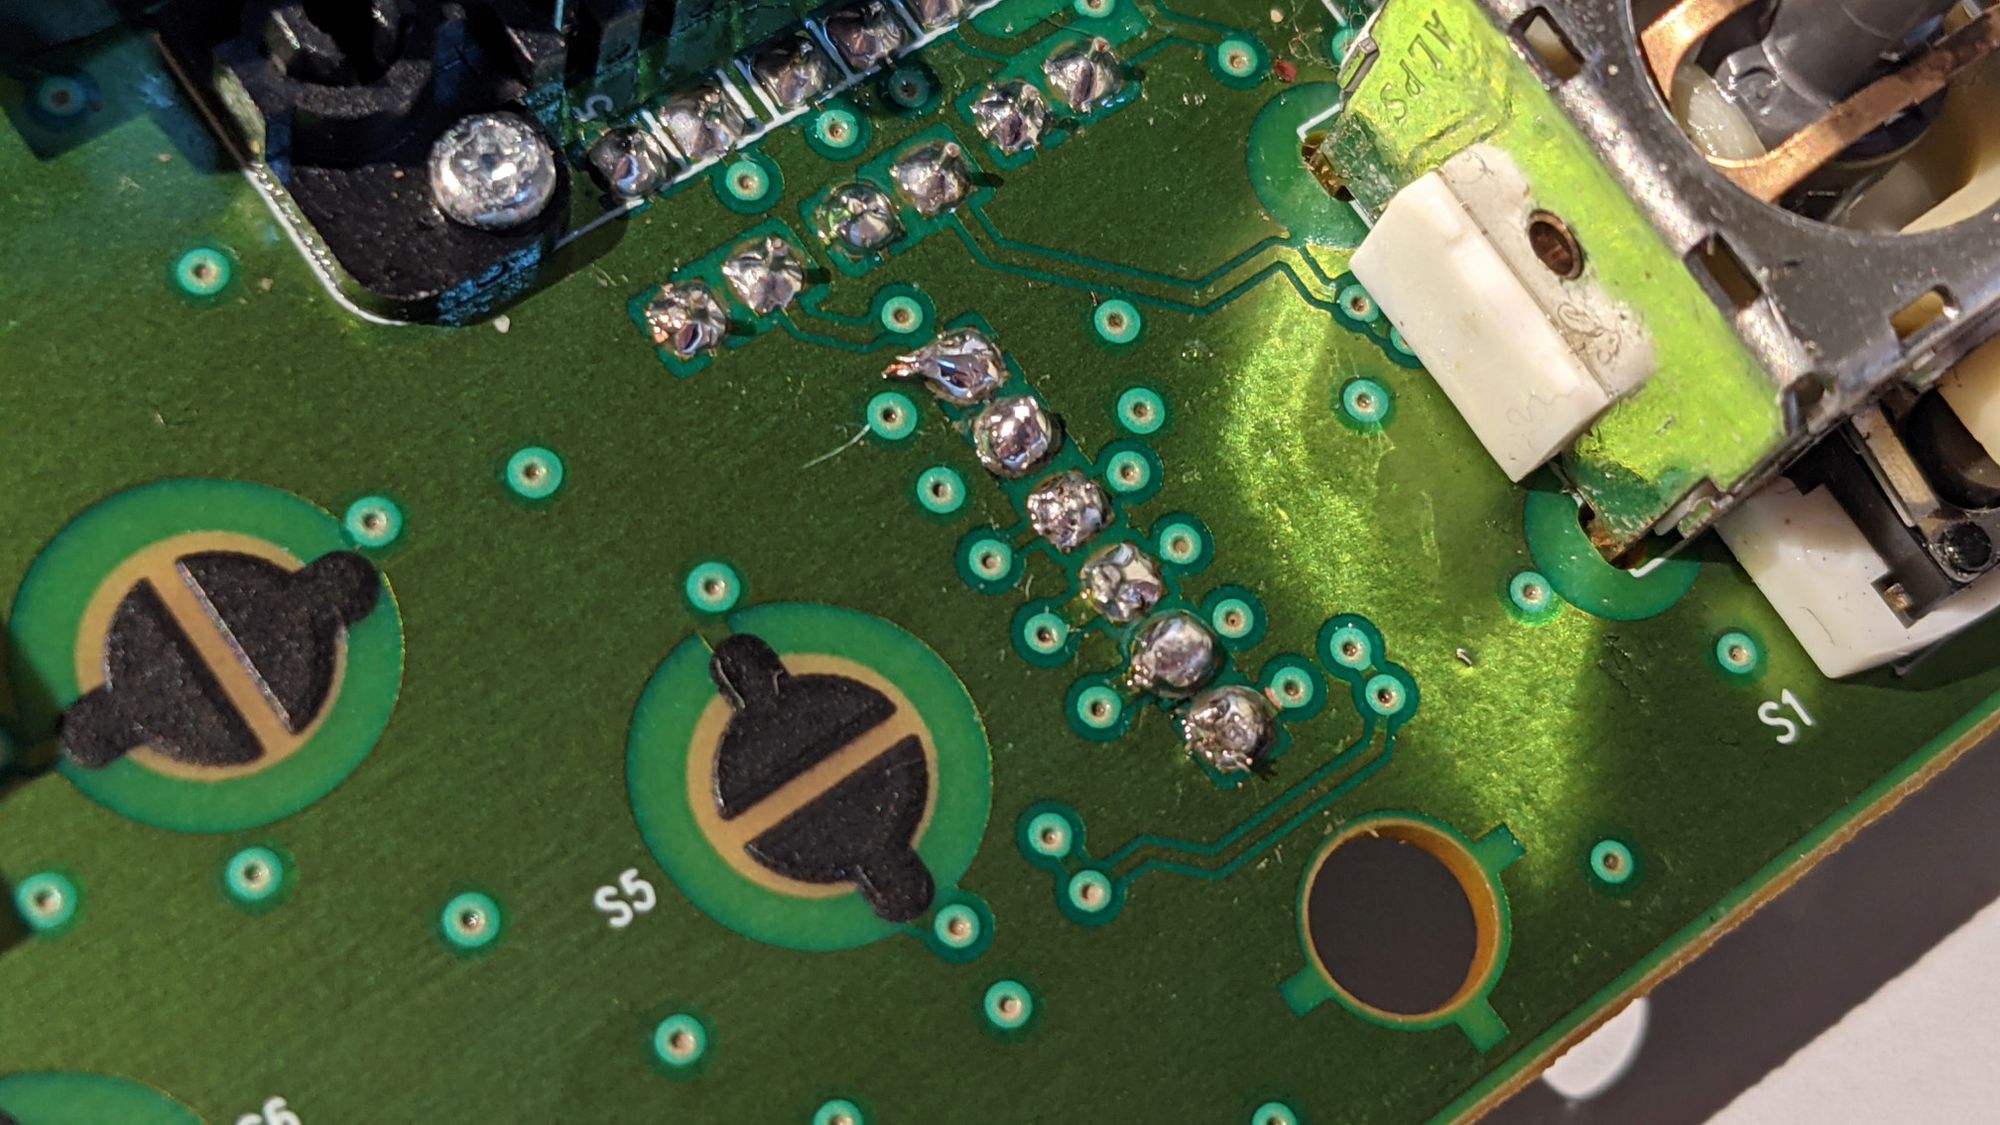
All that was left to do now was to close the controller up and test it out. Before doing that though, I took the opportunity to give everything a good clean. After closing the controller, it sure looks a lot better than before. The cable misses it’s cable guard piece but it’s secured still in there quite well since the two halves of the housing keep it held in place.
I tested it out and, sure enough, it works great! Before I start playing some Conker though, I want to remove the infamous clock capacitor from my XBOX console, expect that article soon!