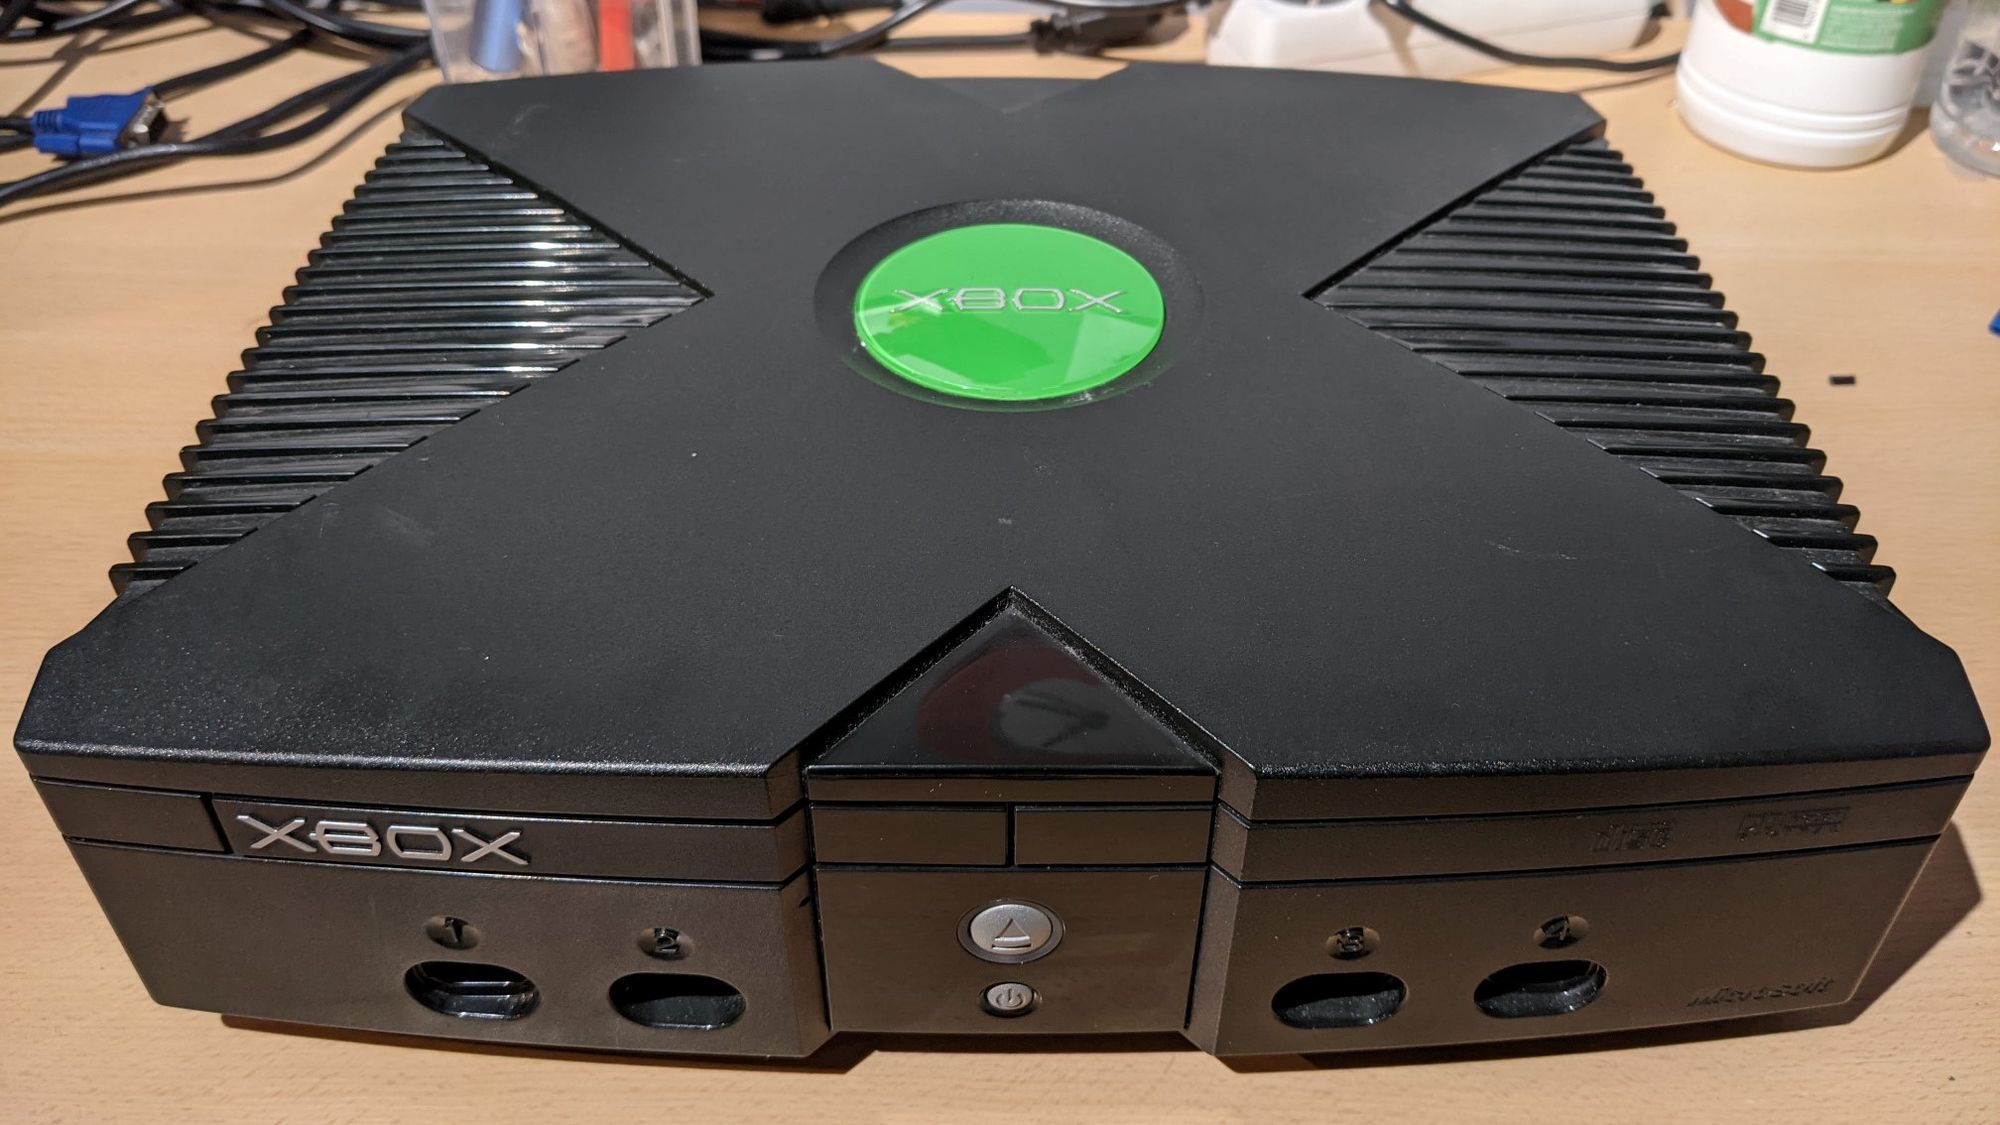
Removing the XBOX's Dangerous Clock Capacitor
In a previous article I mentioned I needed to remove the clock capacitor inside my XBOX. For those not aware, the so-called clock capacitor is used to keep the time for a few hours after your XBOX is unplugged. Recently though, it has been discovered that this capacitor is extremely prone to leaking and corroding your XBOX’s motherboard. Thus, this capacitor needs to be removed ASAP before it can do more damage than it probably already has done. This article will walk you through the process of doing so.
Opening up the console
Before opening the system, I recommend holding the power button for several seconds to drain any leftover electricity inside the system. Wearing an antistatic band would also not be a bad idea for this sort of work.
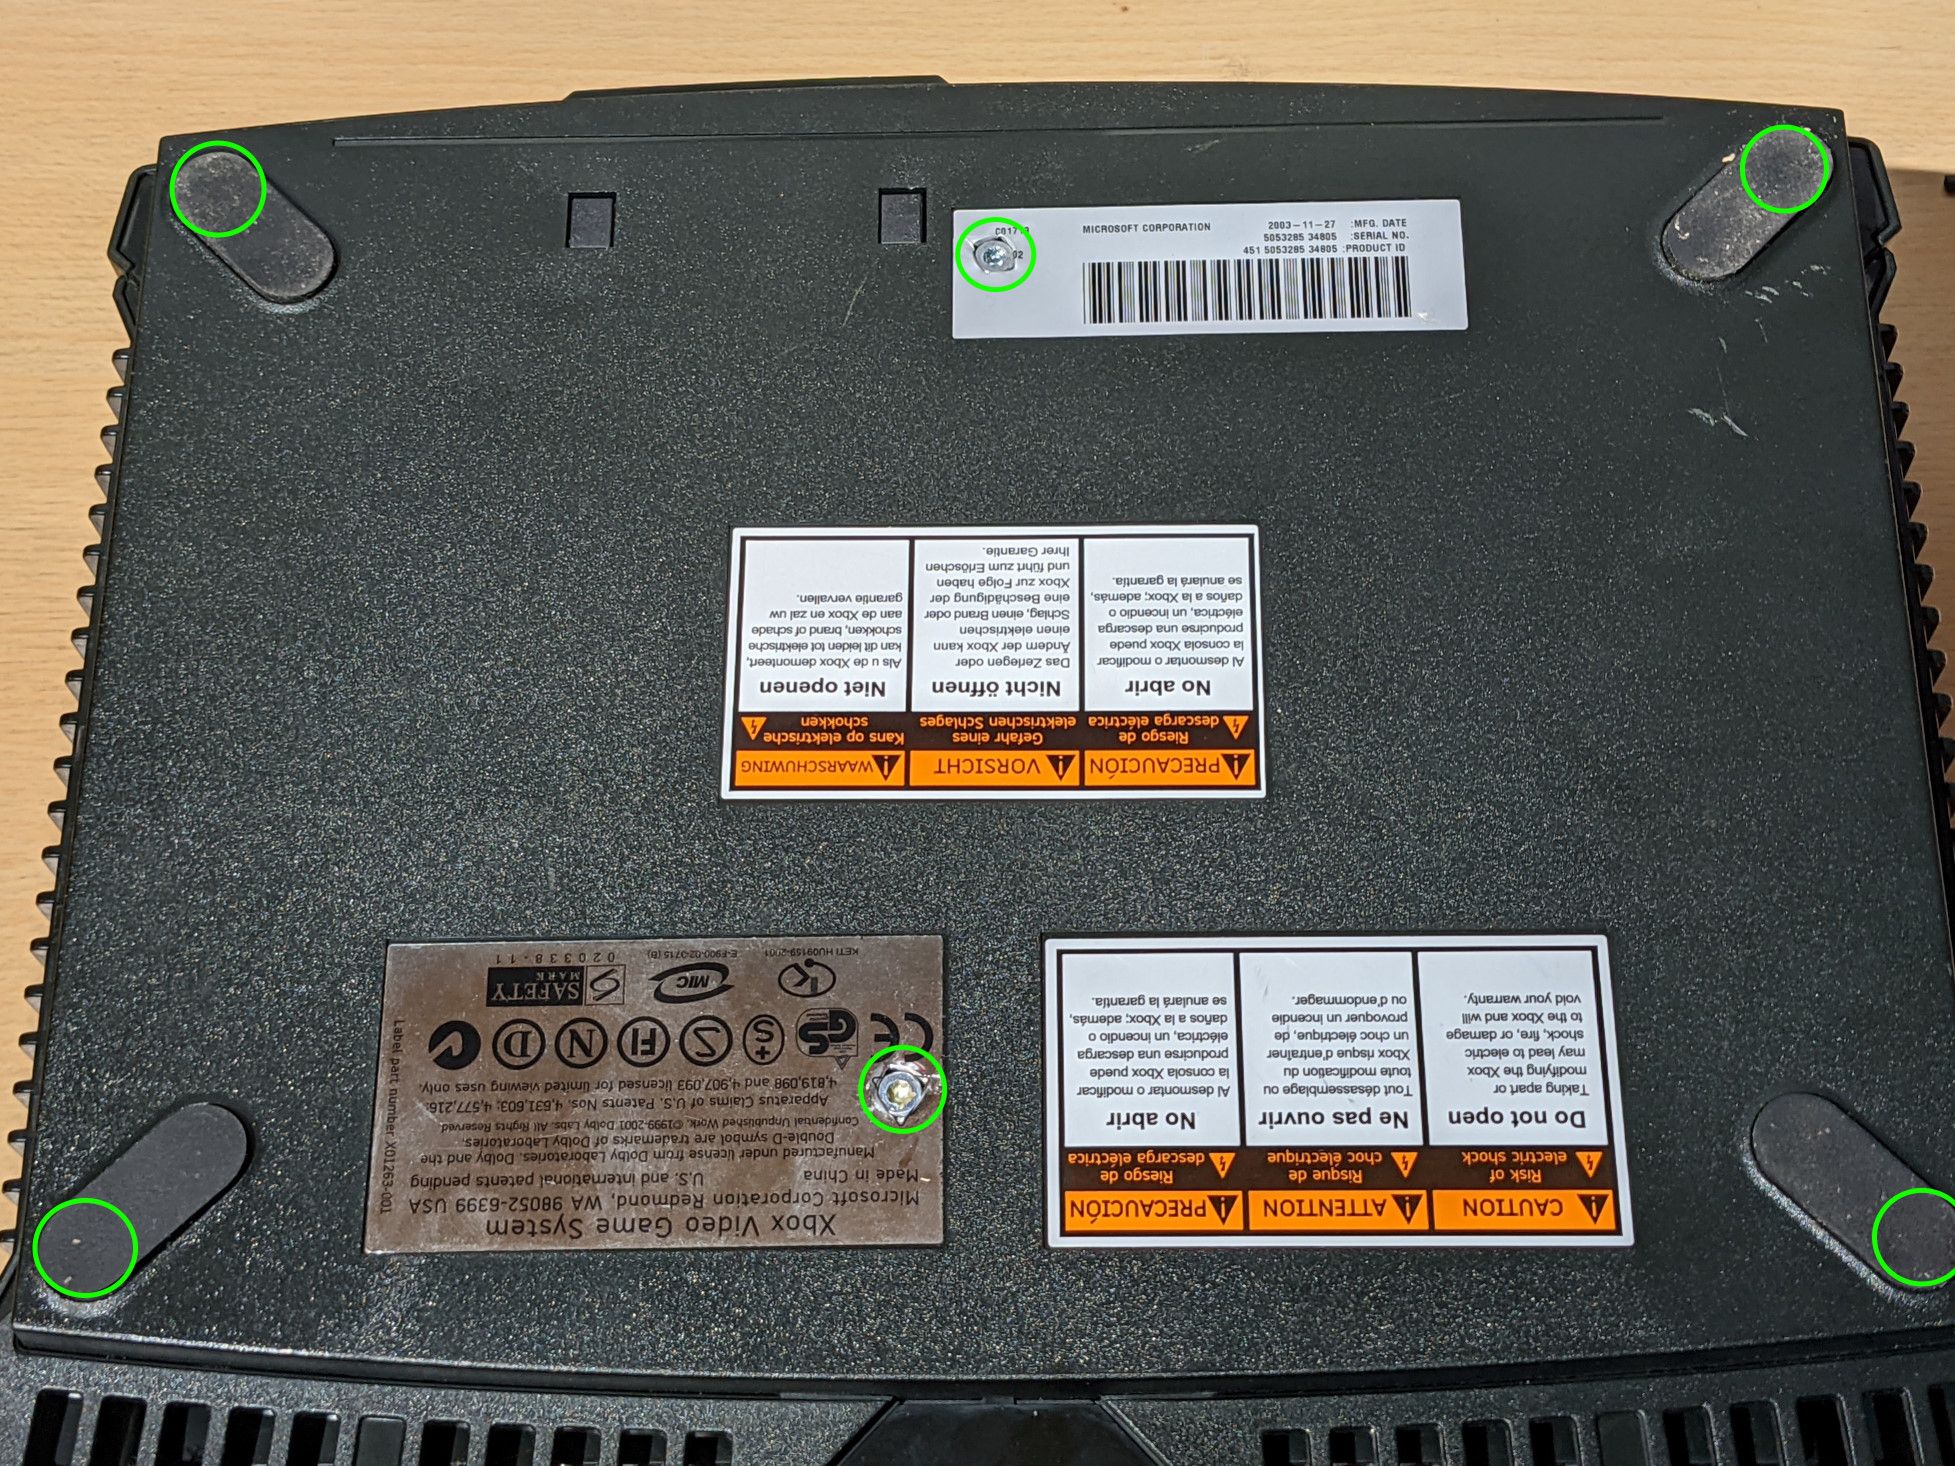
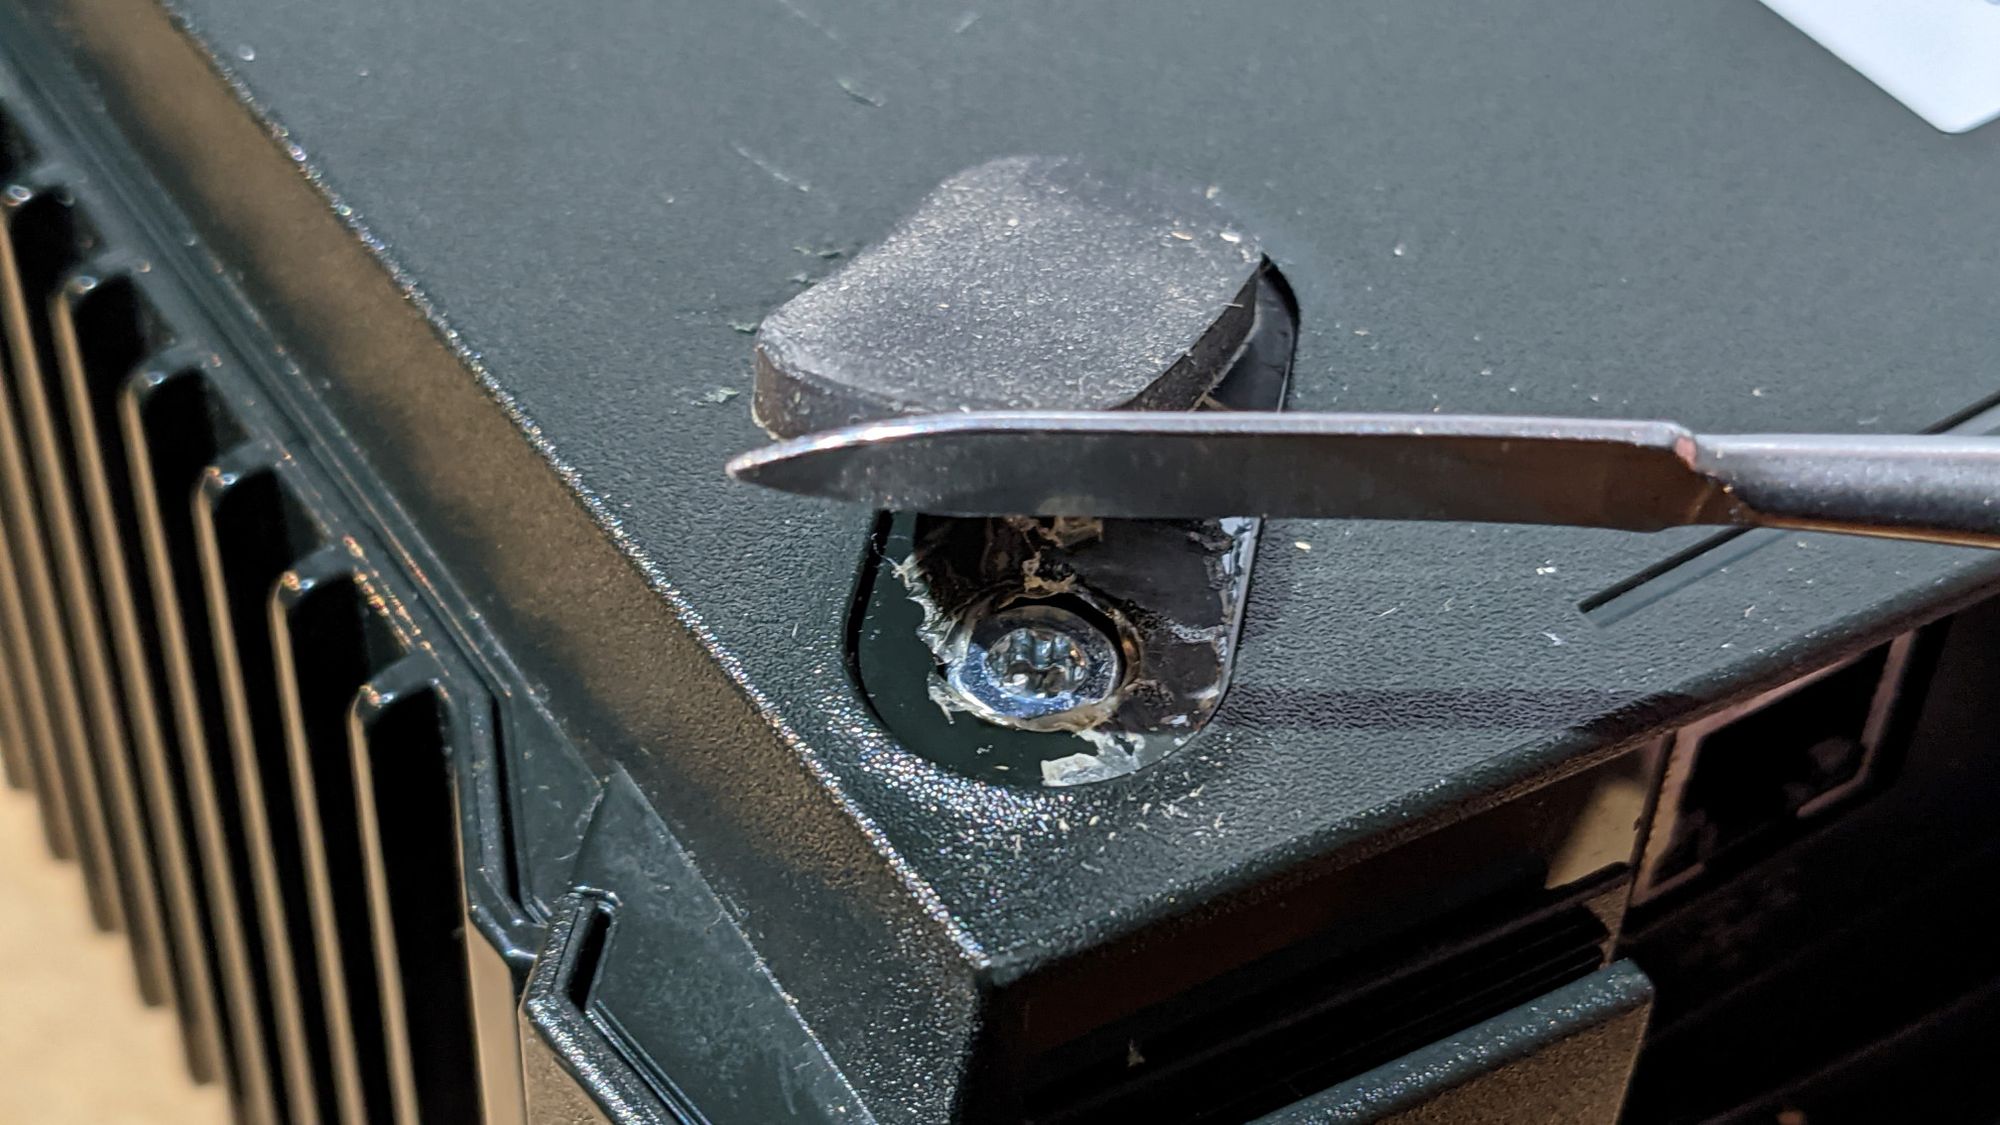
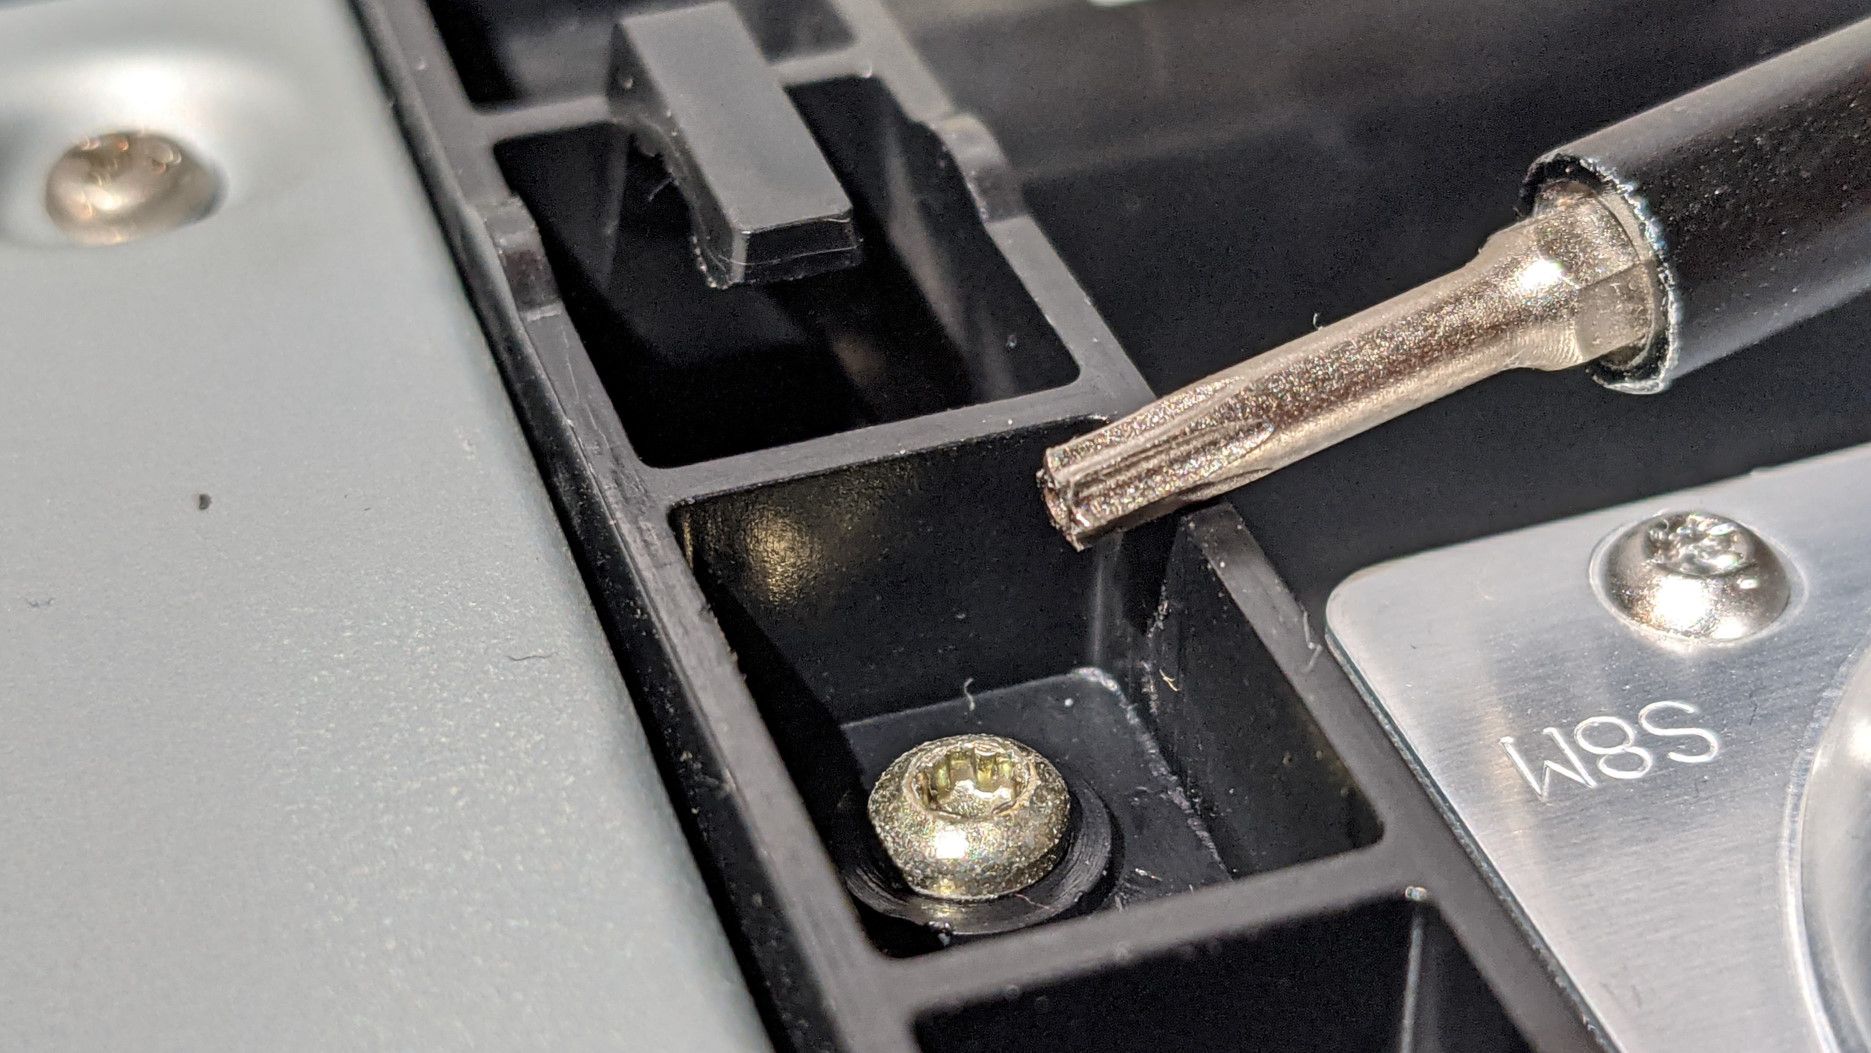
Opening up the XBOX is fairly easy, but it does require doing some damage to the stickers on the underside. Start by removing the 6 torx-screws indicated on the image below. 4 are under the rubber feet, and the other 2 are under two of the stickers. After removing those screws, the top housing should lift up with a little bit of patience.

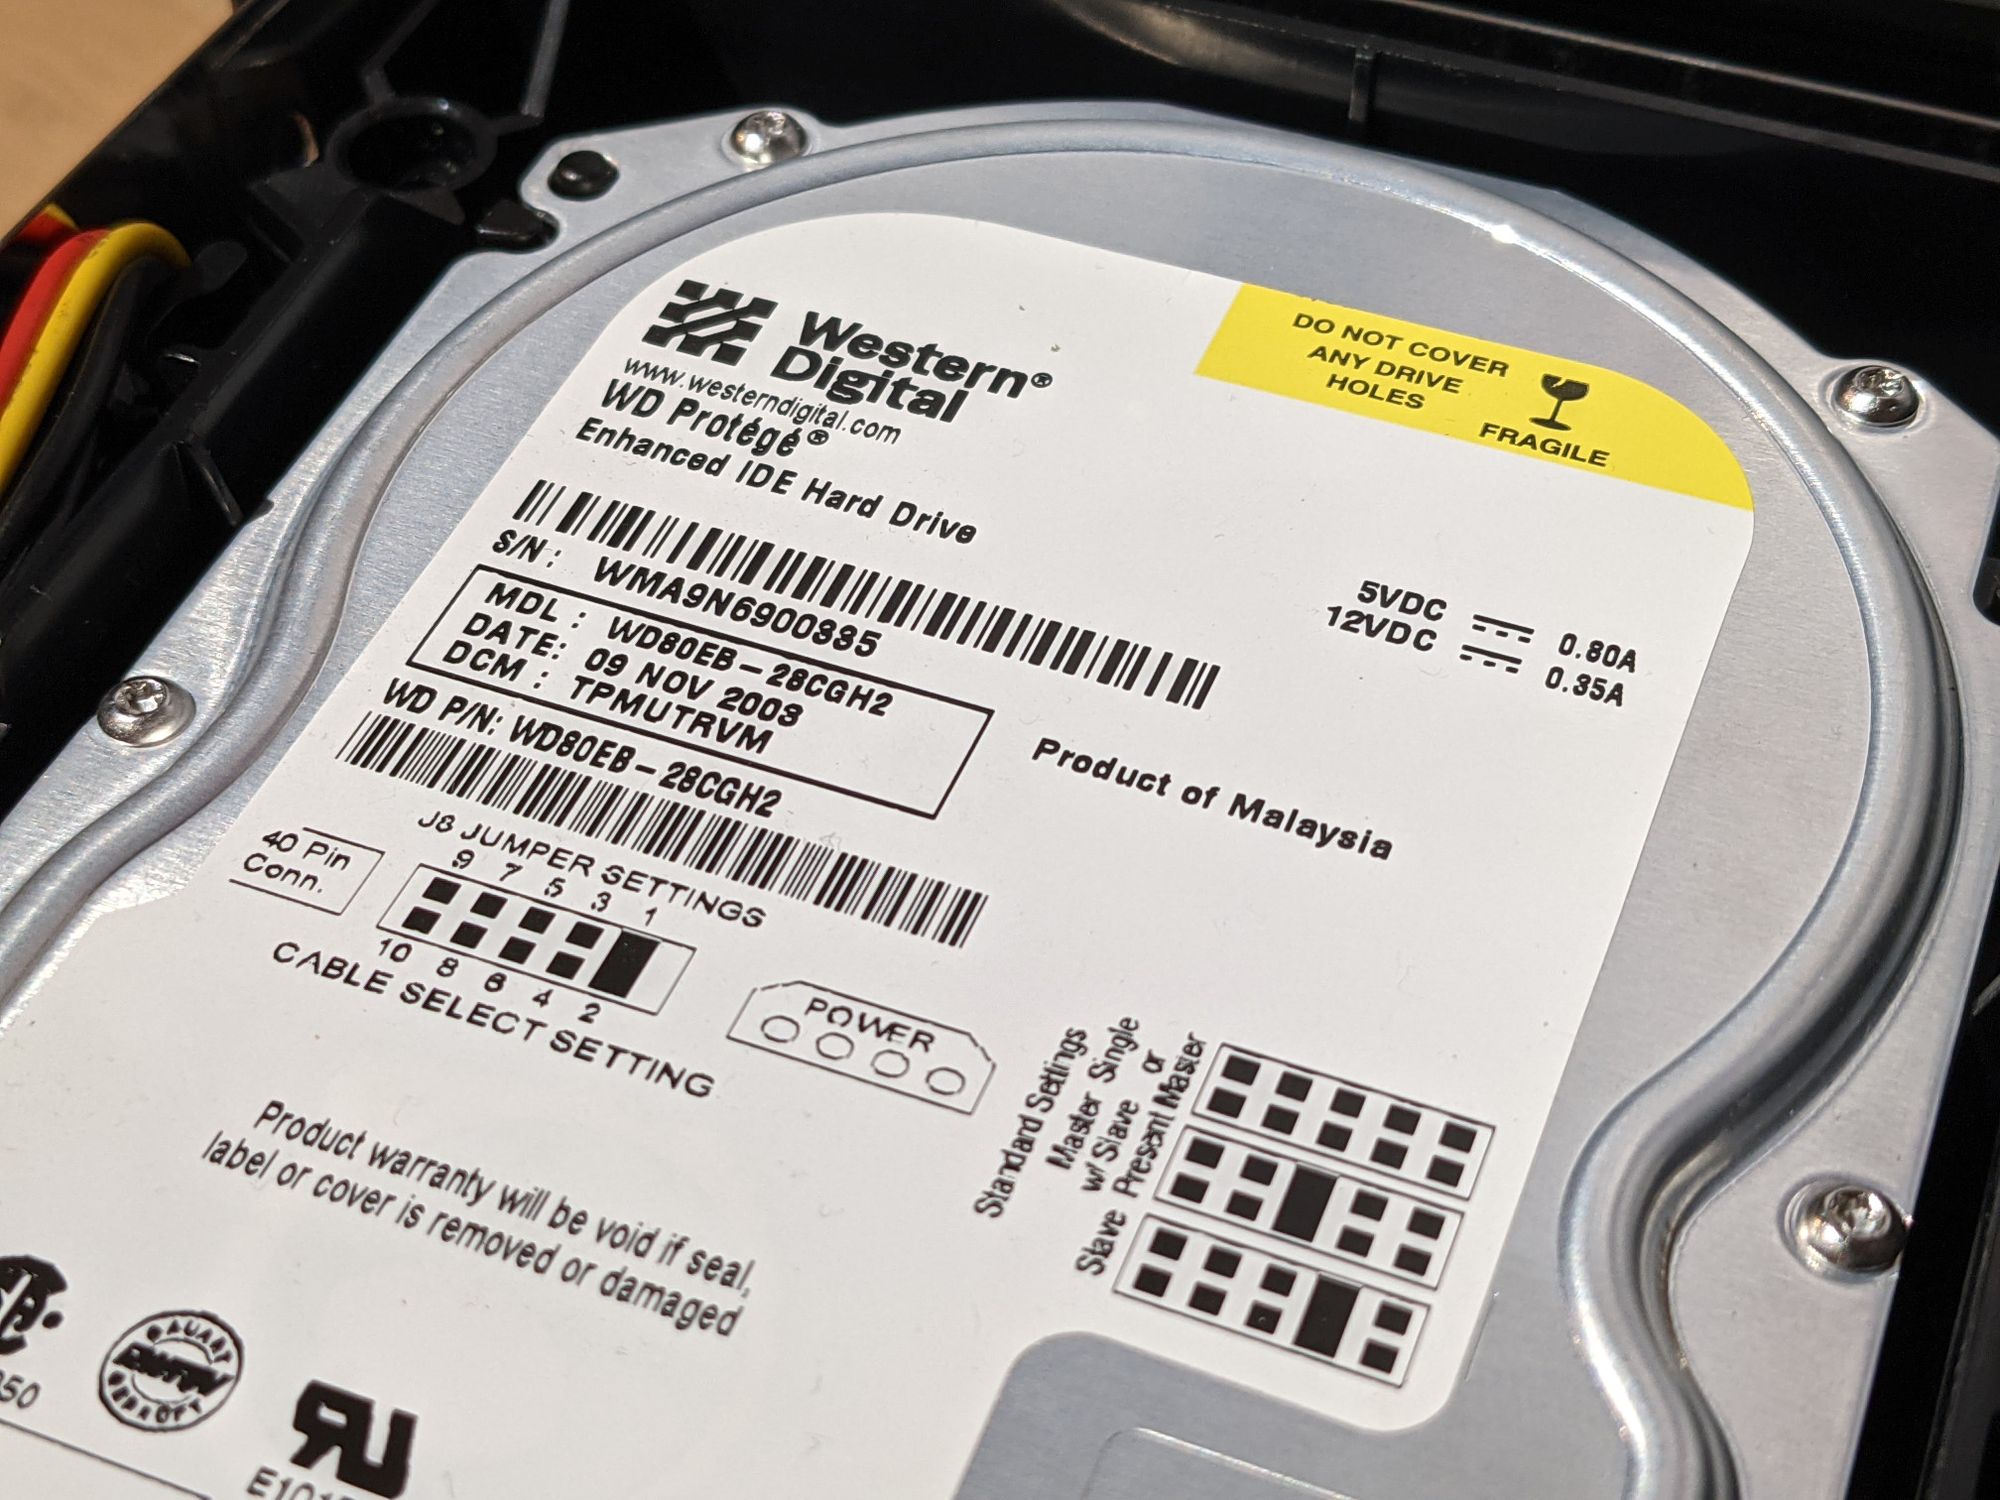
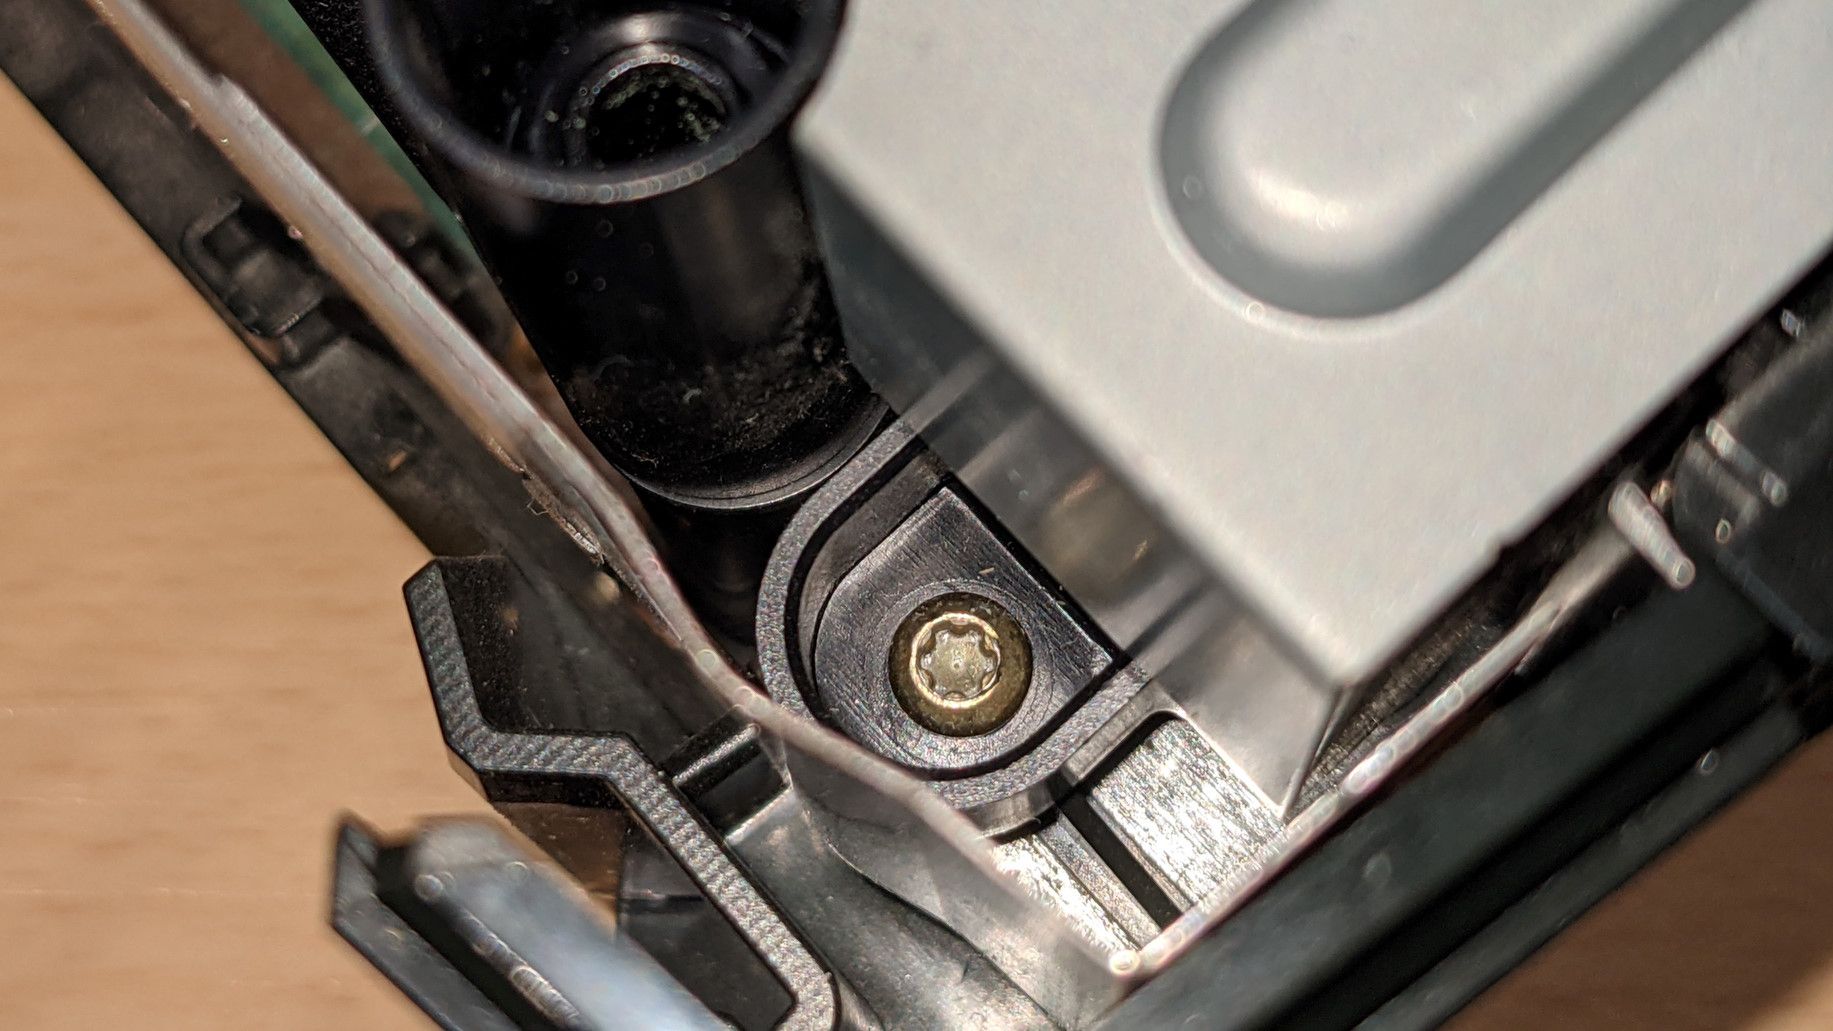
After lifting the cover you’ll probably instantly notice that the XBOX looks a lot like a PC inside. That’s because it pretty much is. We’ll need to remove the DVD drive and hard drive in order to get to the board. Start by removing all the cables from both drives. Make sure to pull them straight out, not from left to right, as to prevent bending the pins. The DVD drive’s plastic caddy is secured by two torx-10 screws on the front. The hard drive’s caddy is held in by just 1 screw to the left of it. After removing these cables and screws, both caddies should lift out easily.
Locating and removing the clock capacitor
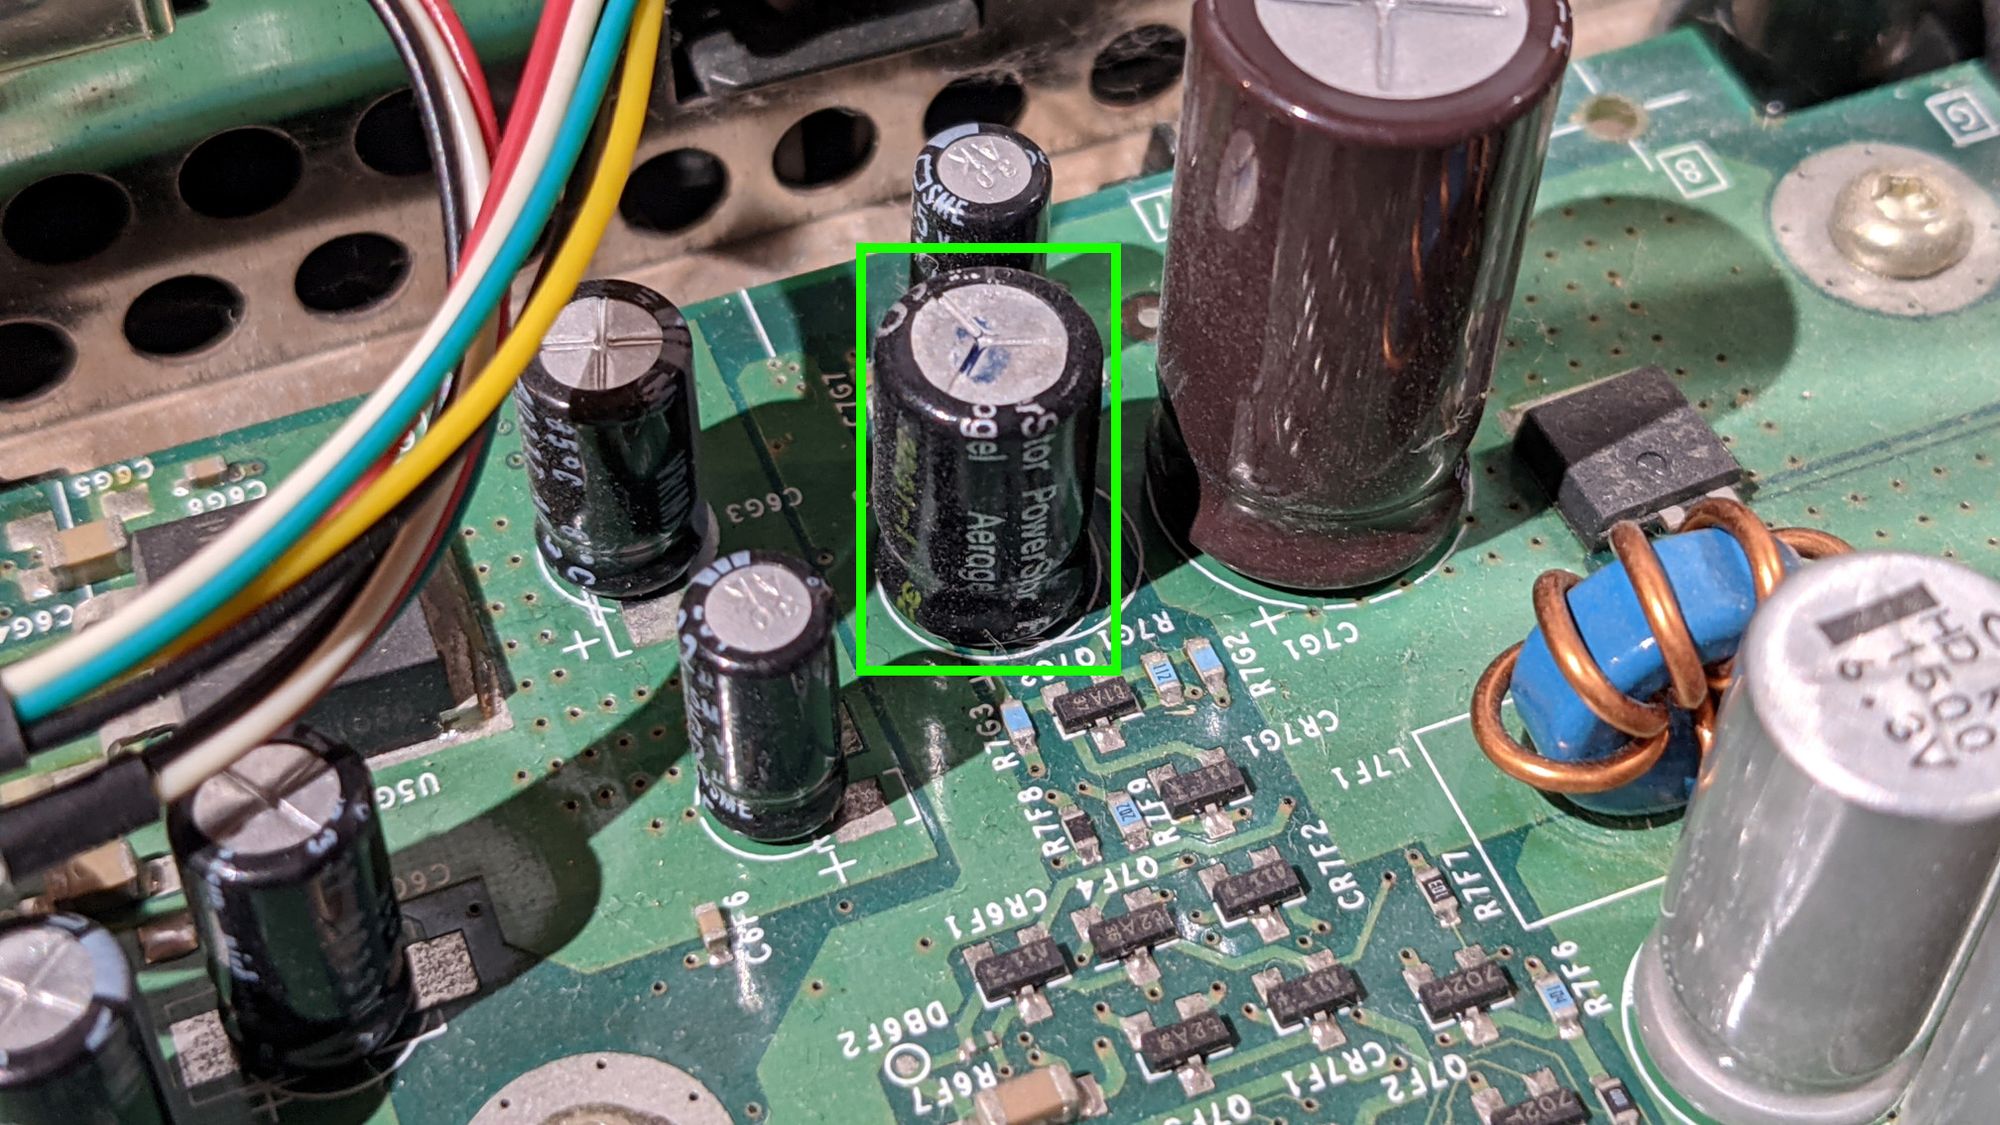
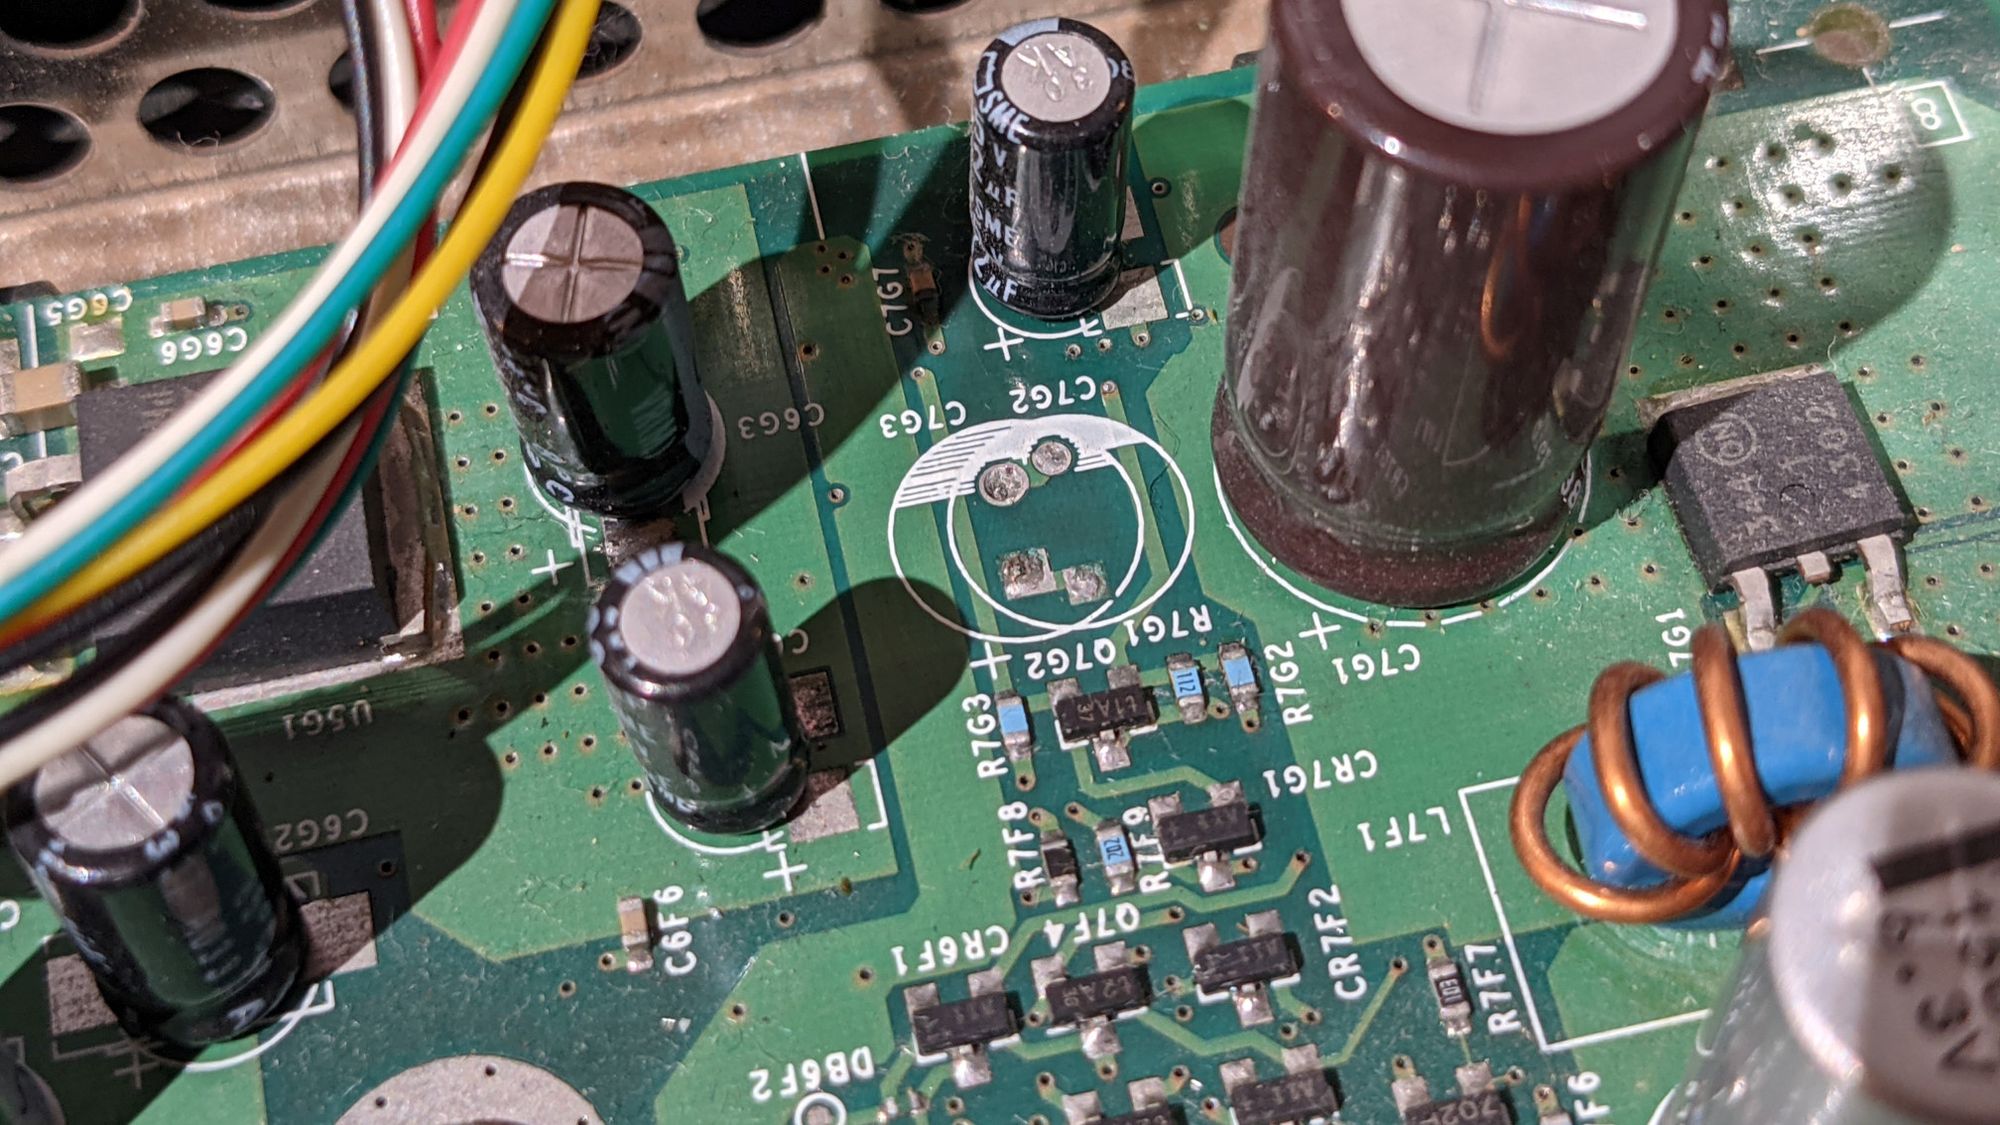
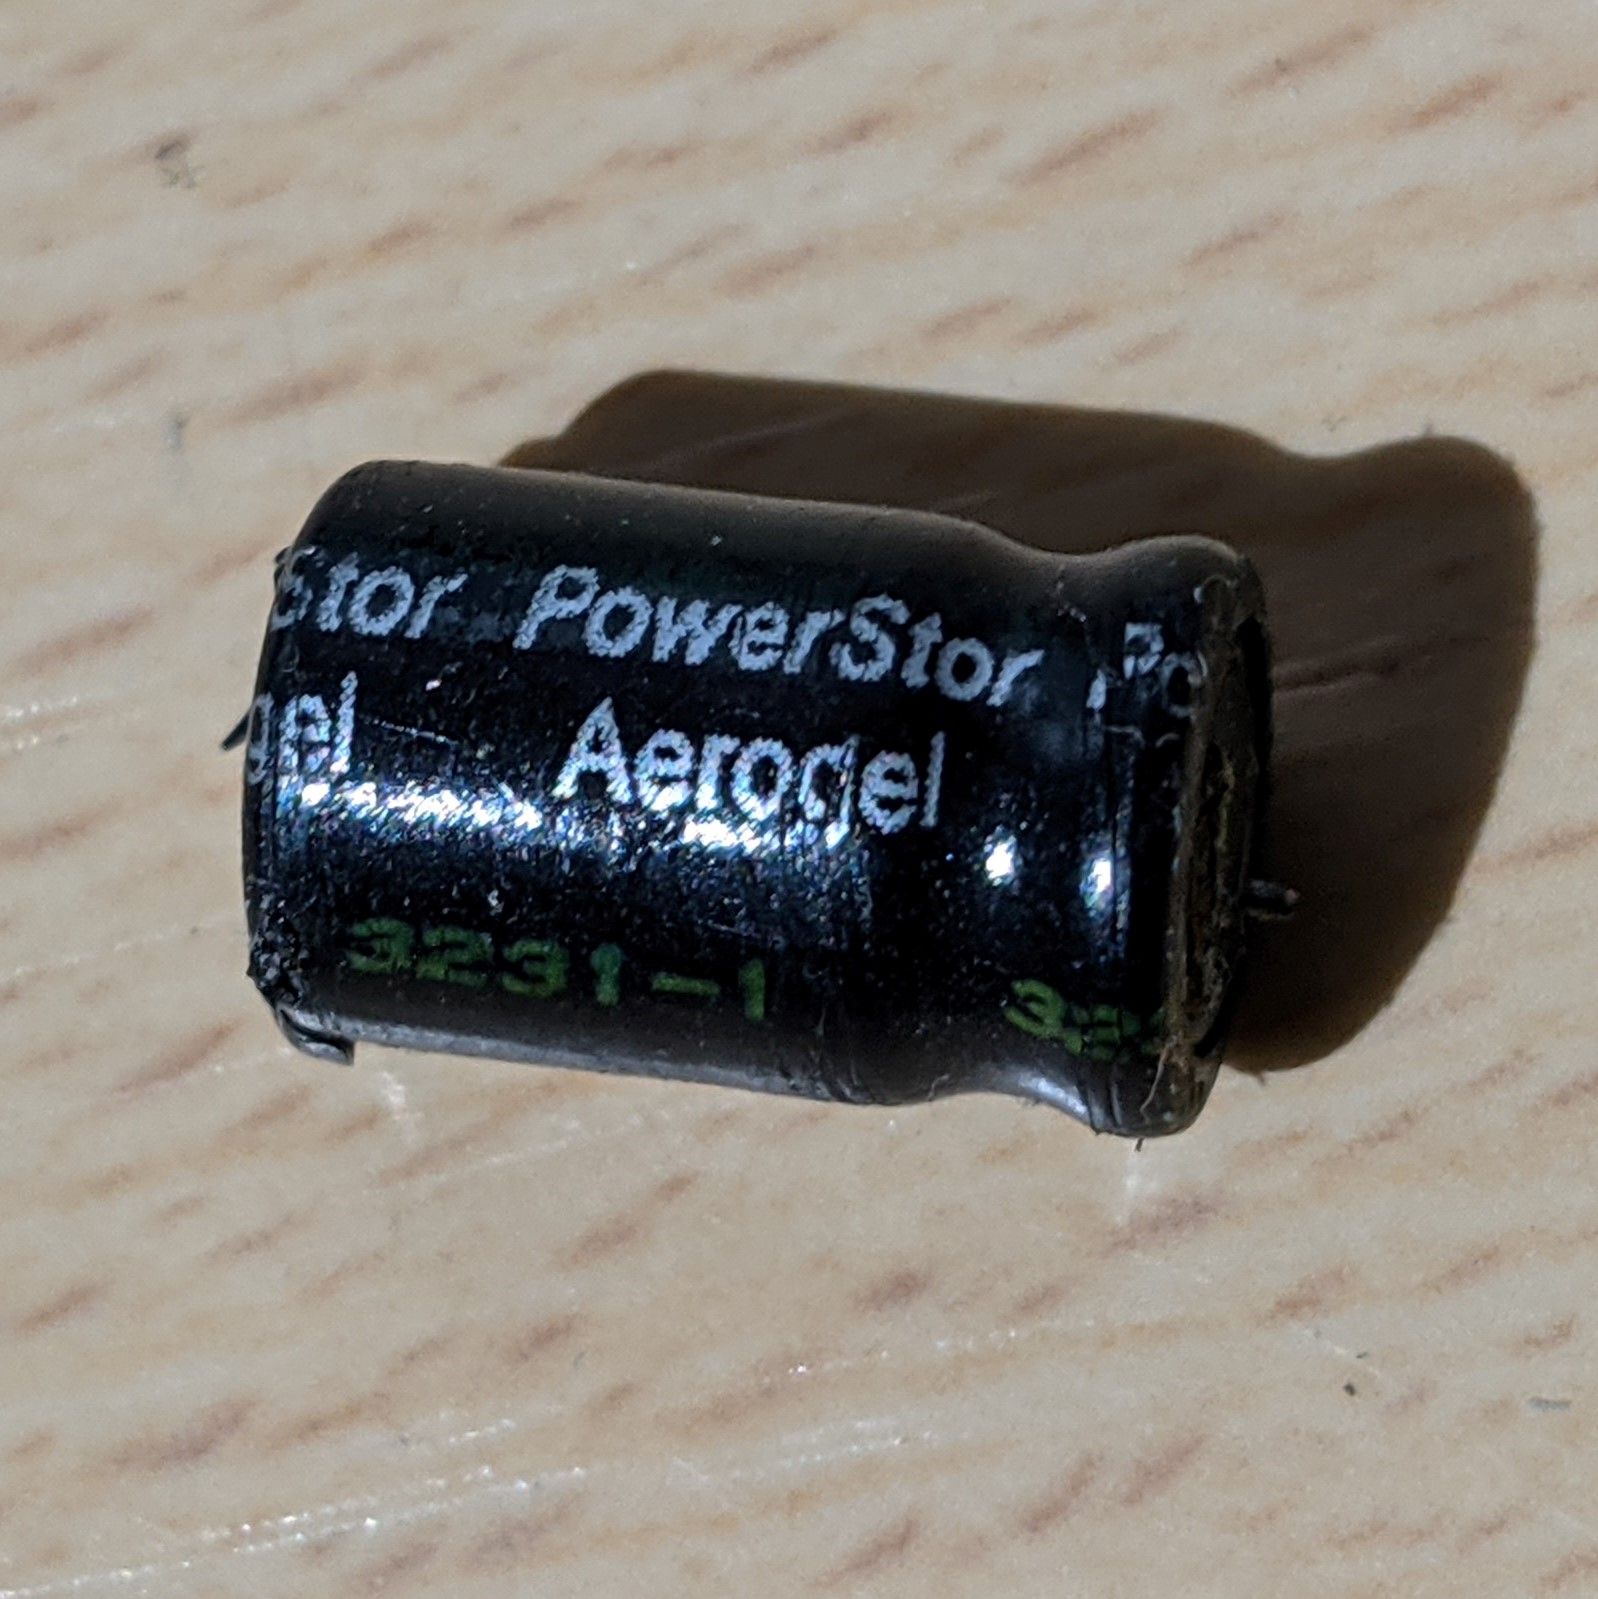
Now we can finally remove the actual capacitor. It’s pretty easy to identify. The capacitor is located near the first and second controller ports and has “powerstor aerogel” written on it. Mine was noticeably bulged already, so good thing I’m removing it now.
Removing the capacitor can be done in a few ways. You could unscrew the entire board and desolder it. This is not really necessary however if you’re only planning on removing it. This would be the best approach if you’re planning on installing a brand new capacitor though. I will not be doing this however, as I don’t mind having to set the time now and then.
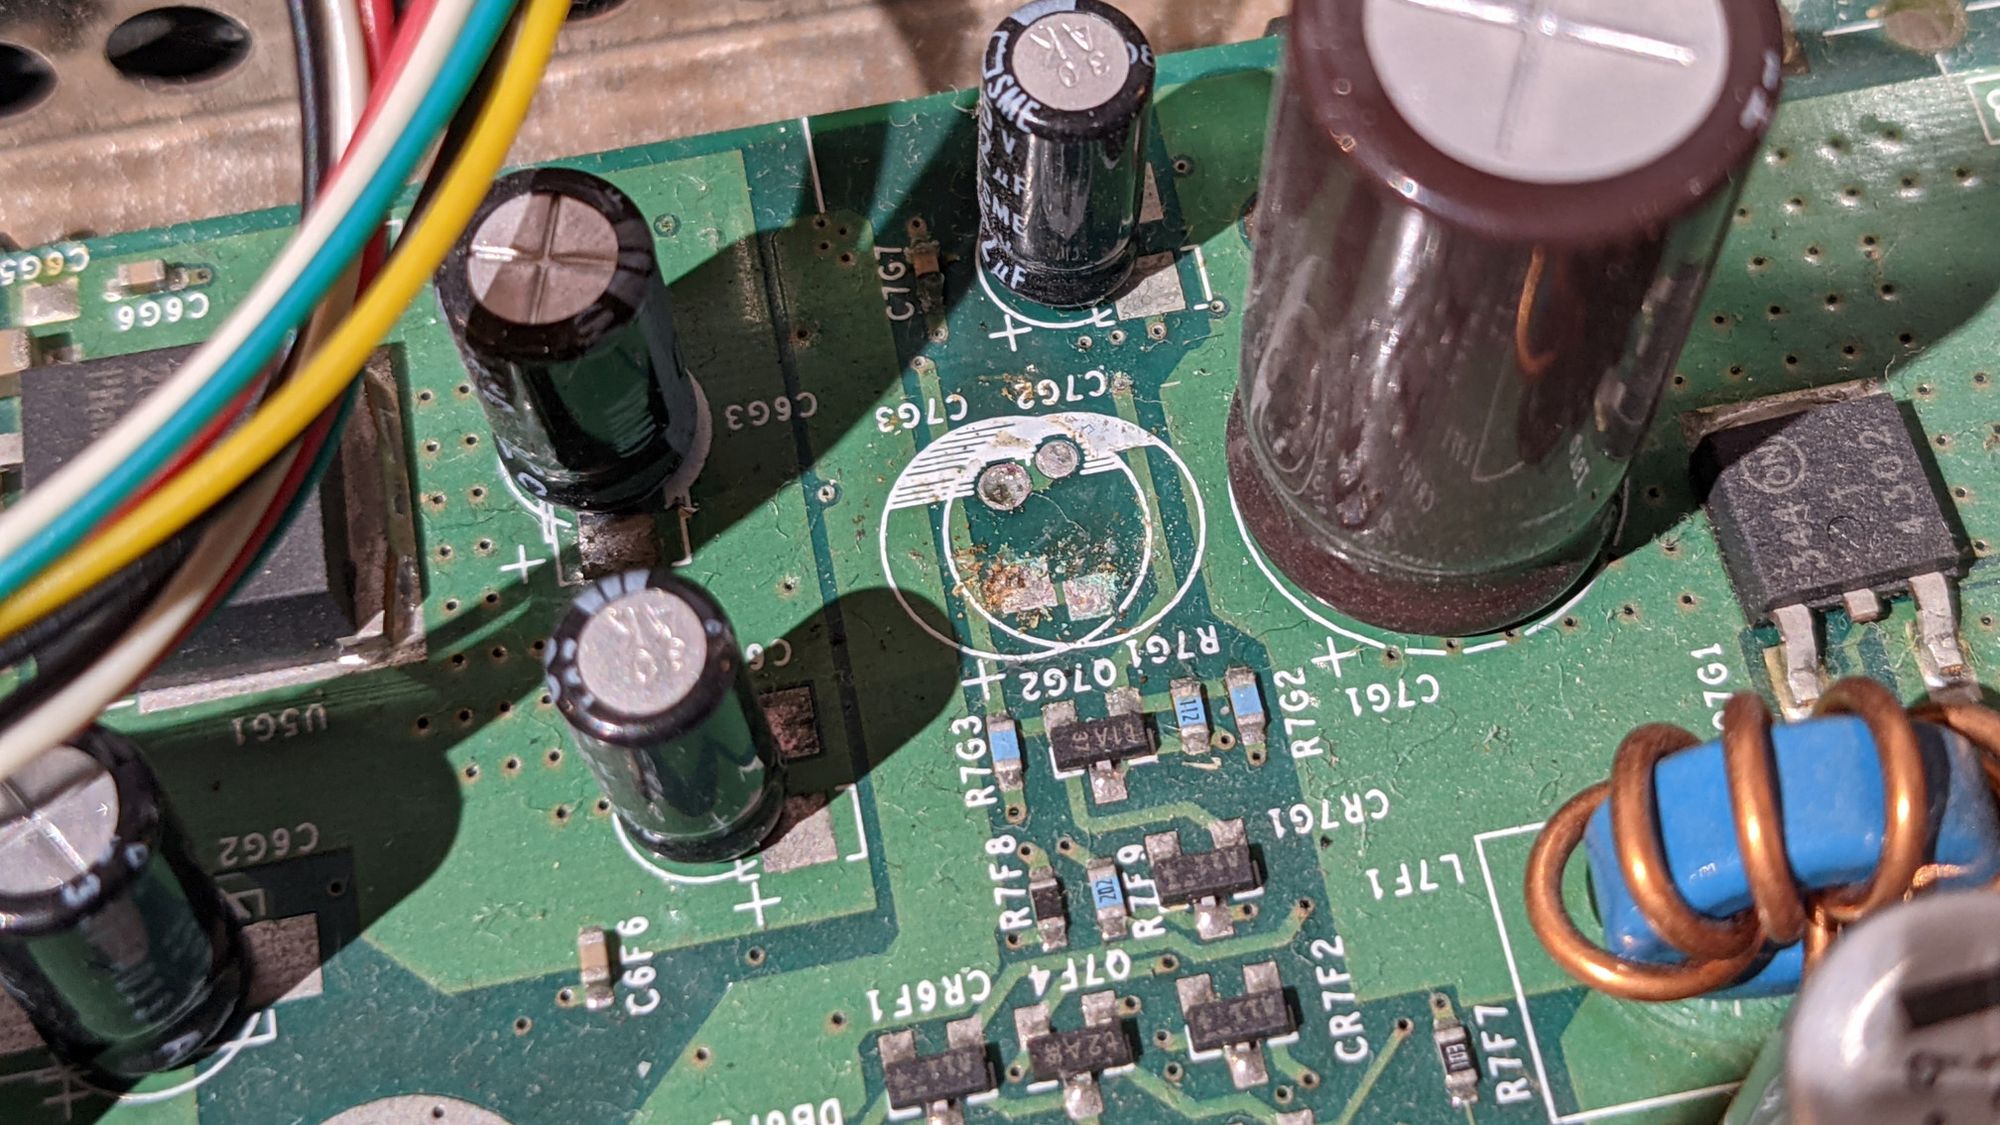
I removed the capacitor by moving it back and forth with a pair of tweezers. Do not use any force when doing this, just keep doing it, be patient, and eventually the capacitor will break clean off.
After removing the capacitor, it is important to clean the area surrounding it. I did this using some isopropyl alcohol and a fiberglass pen. As you can see in the pictures, the area underneath the capacitor had already started to corrode. Yours could be even worse, or cleaner if you’re lucky.
Finishing up
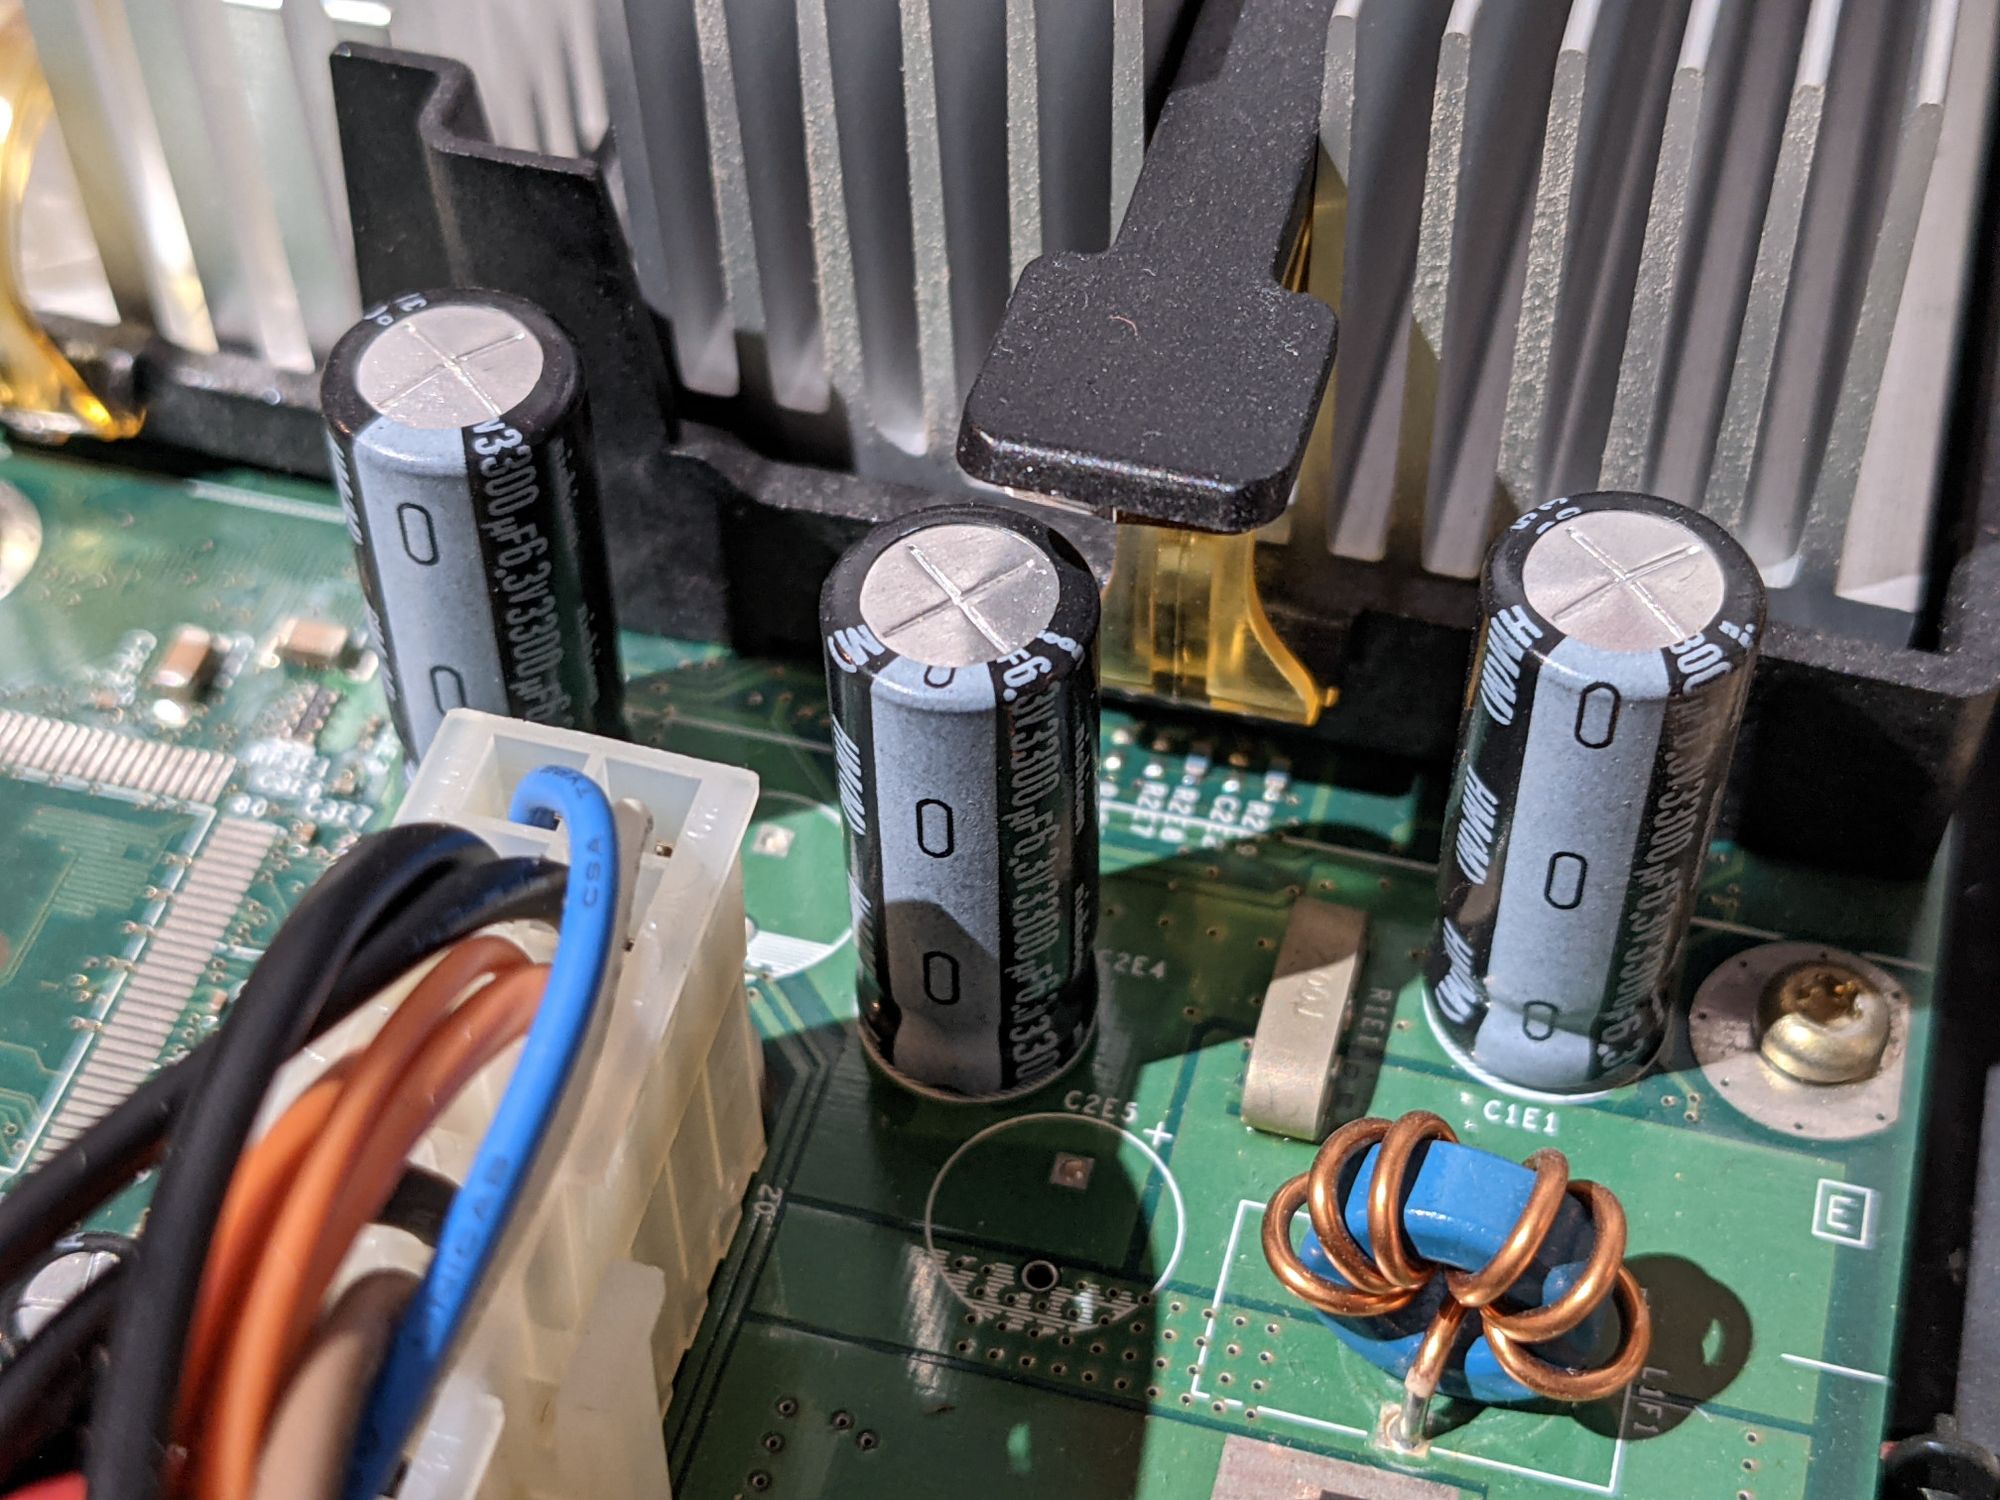
While you have your XBOX opened up, it might be a good moment to check if any other capacitors are looking bad. In the years when the XBOX was being made, capacitors were notorious for being very low quality and prone to failing. Check if any are leaking or bulging. If yes, it’s best to replace those ASAP. Mine were fortunately all looking fine. When you’re all done, simply close the console back up and you’re ready to enjoy it for many more years to come!