Cleaning a €2 NES
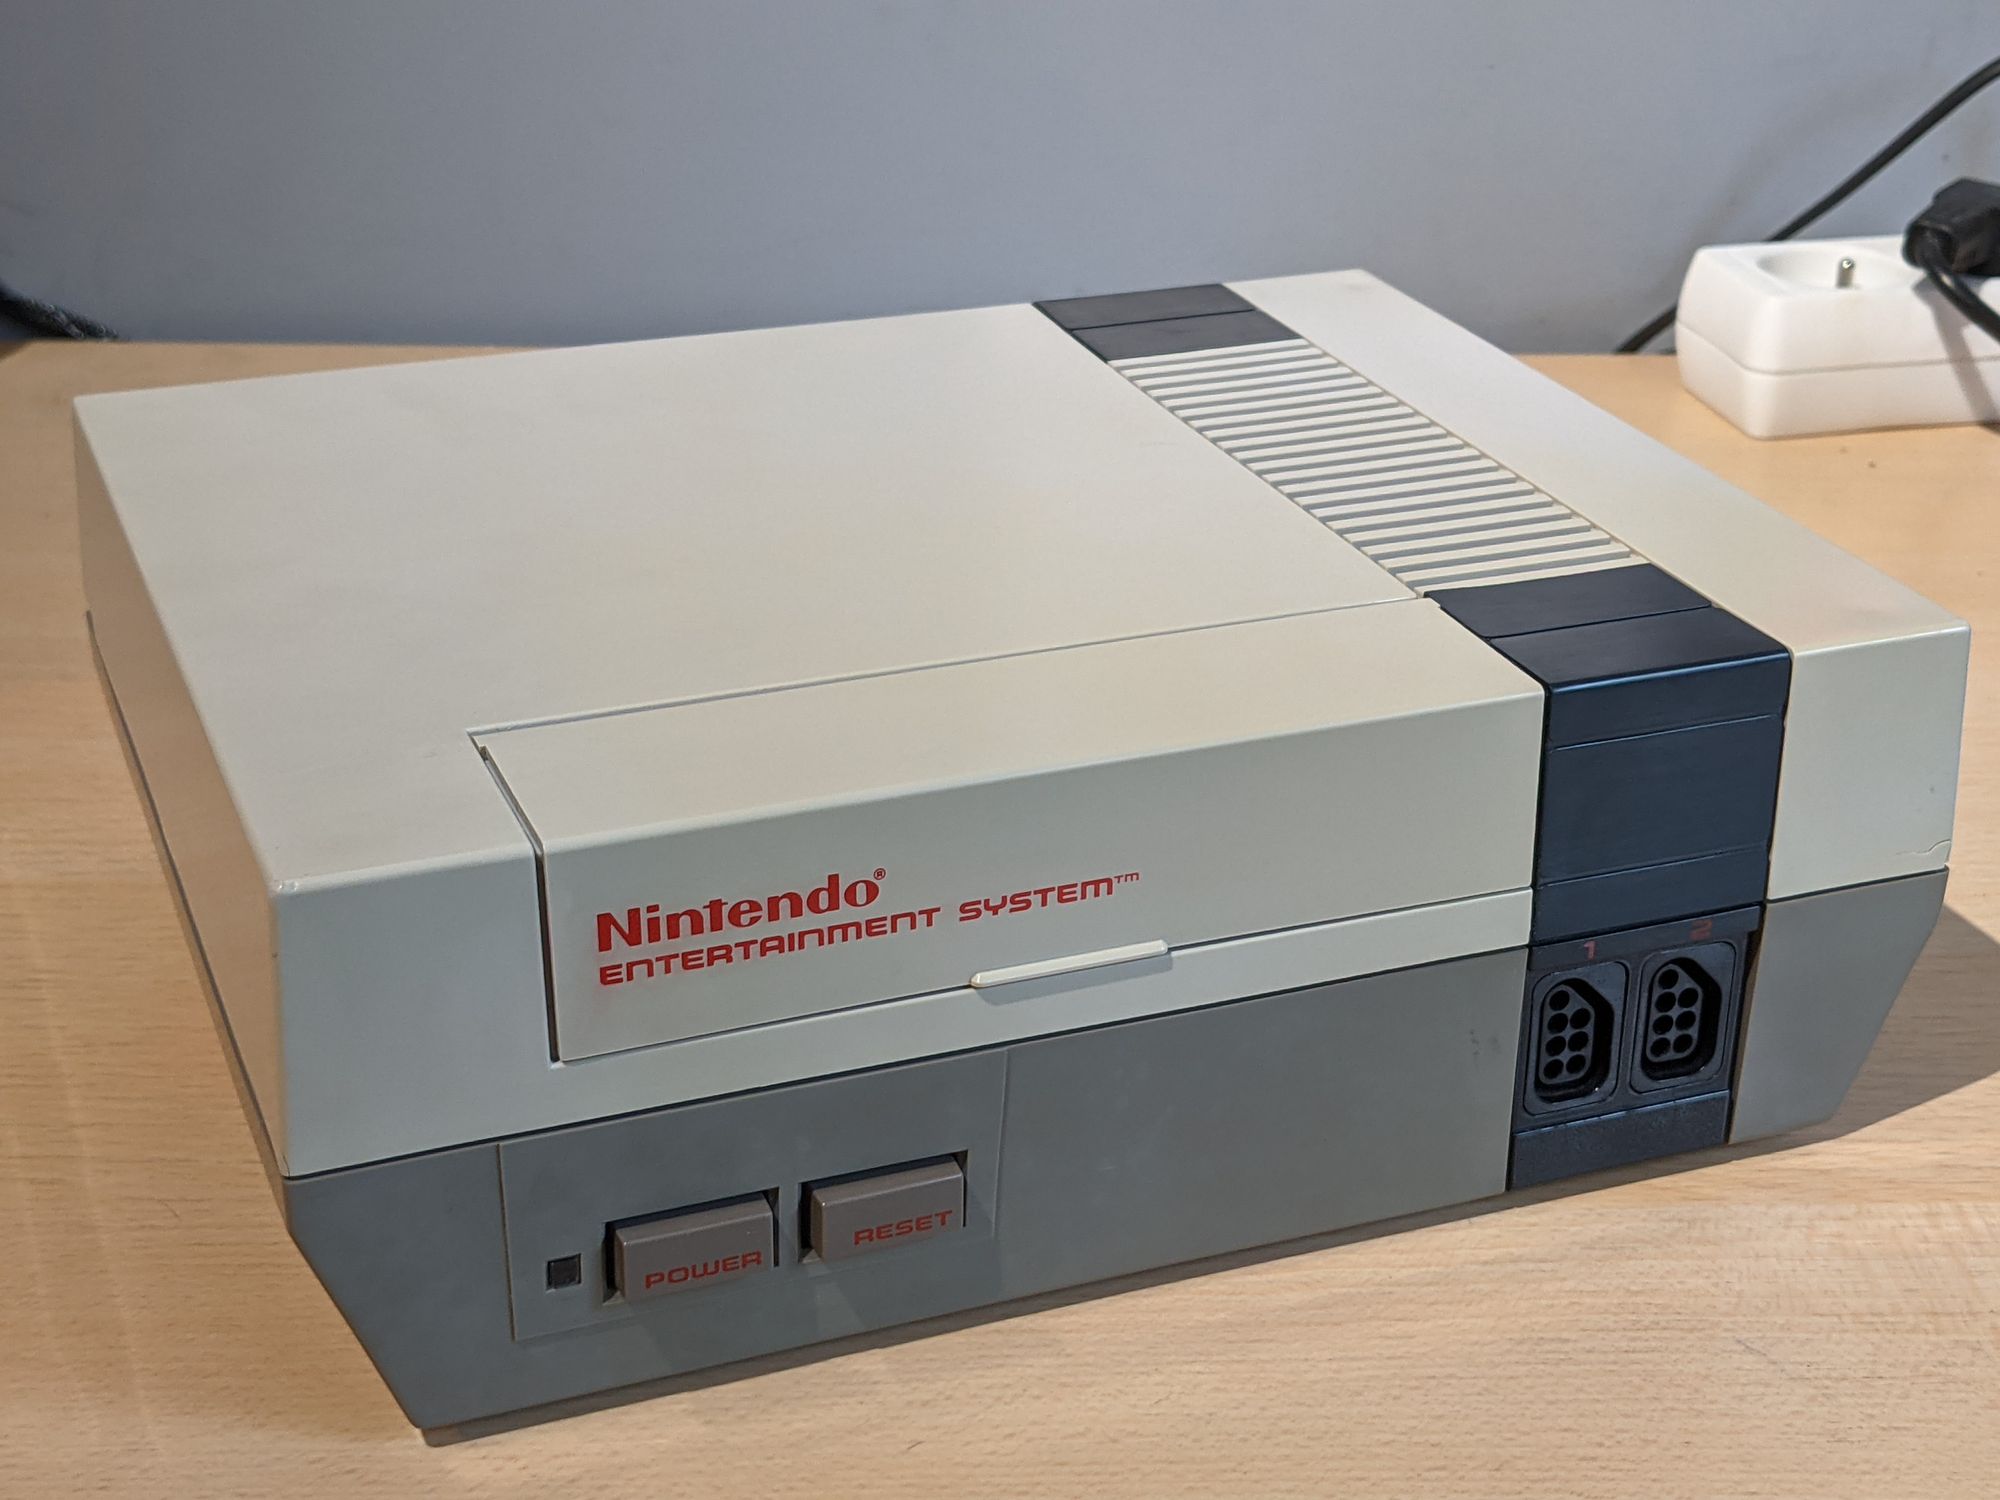
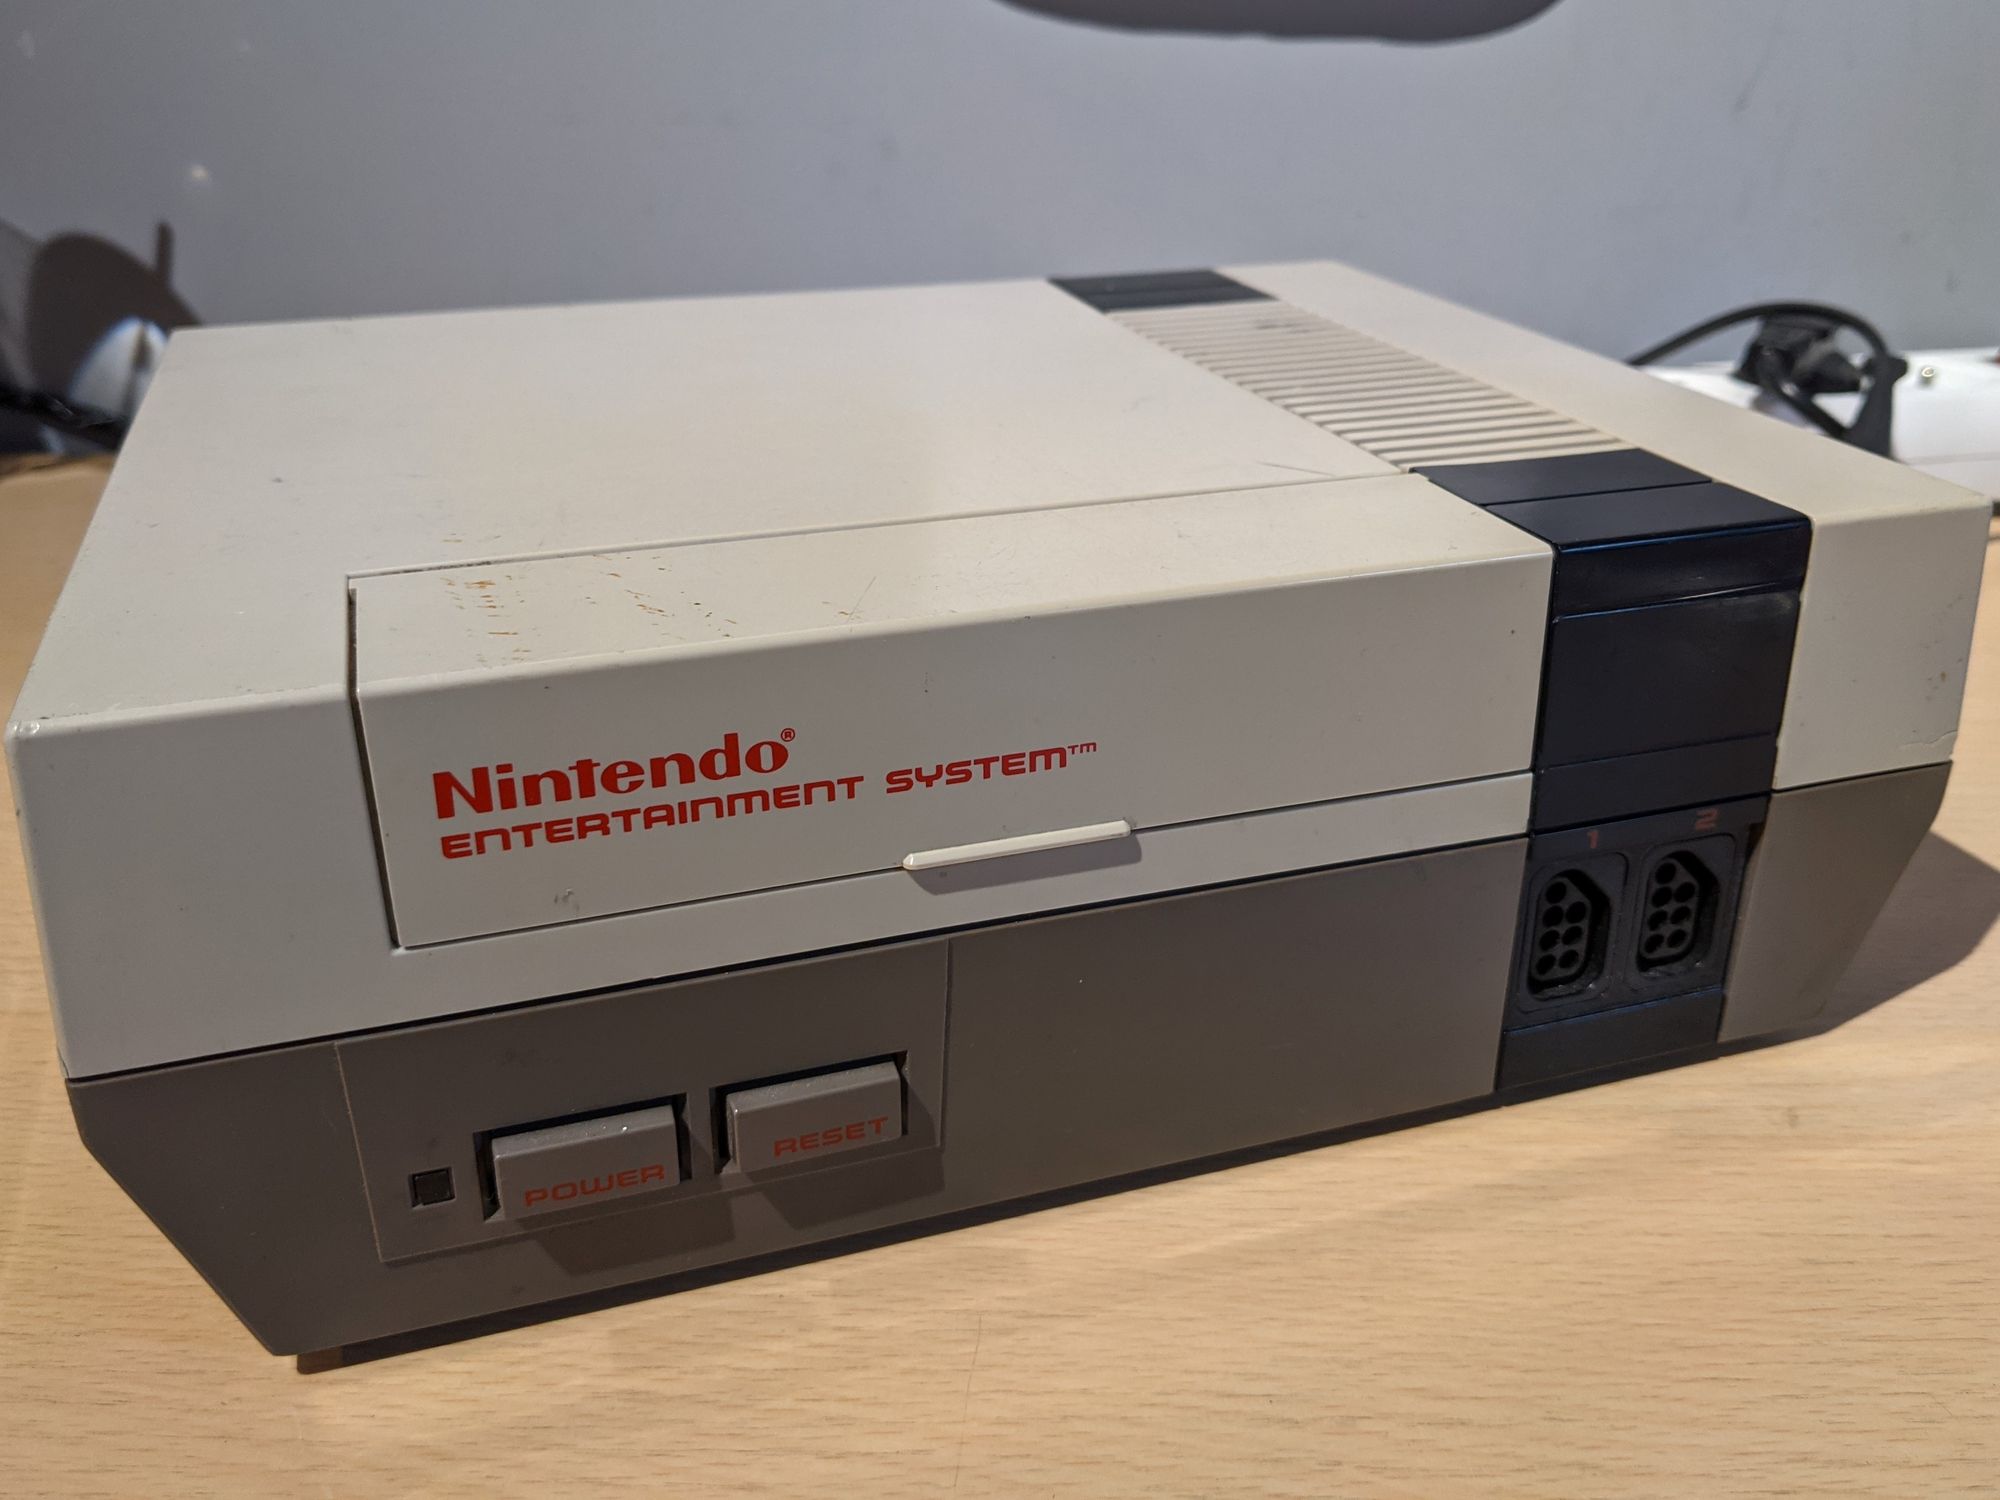
From time to time, I enjoy going to a flea market to see if I can find anything interesting. Recently I found a loose NES console for €2. Sadly, it was in pretty rough shape. Still, for that price, I consider it a good deal.
This will be a short post, just to show how I cleaned up this console. It’s always satisfying to see a console like this get cleaned and given a new home.
Inspecting
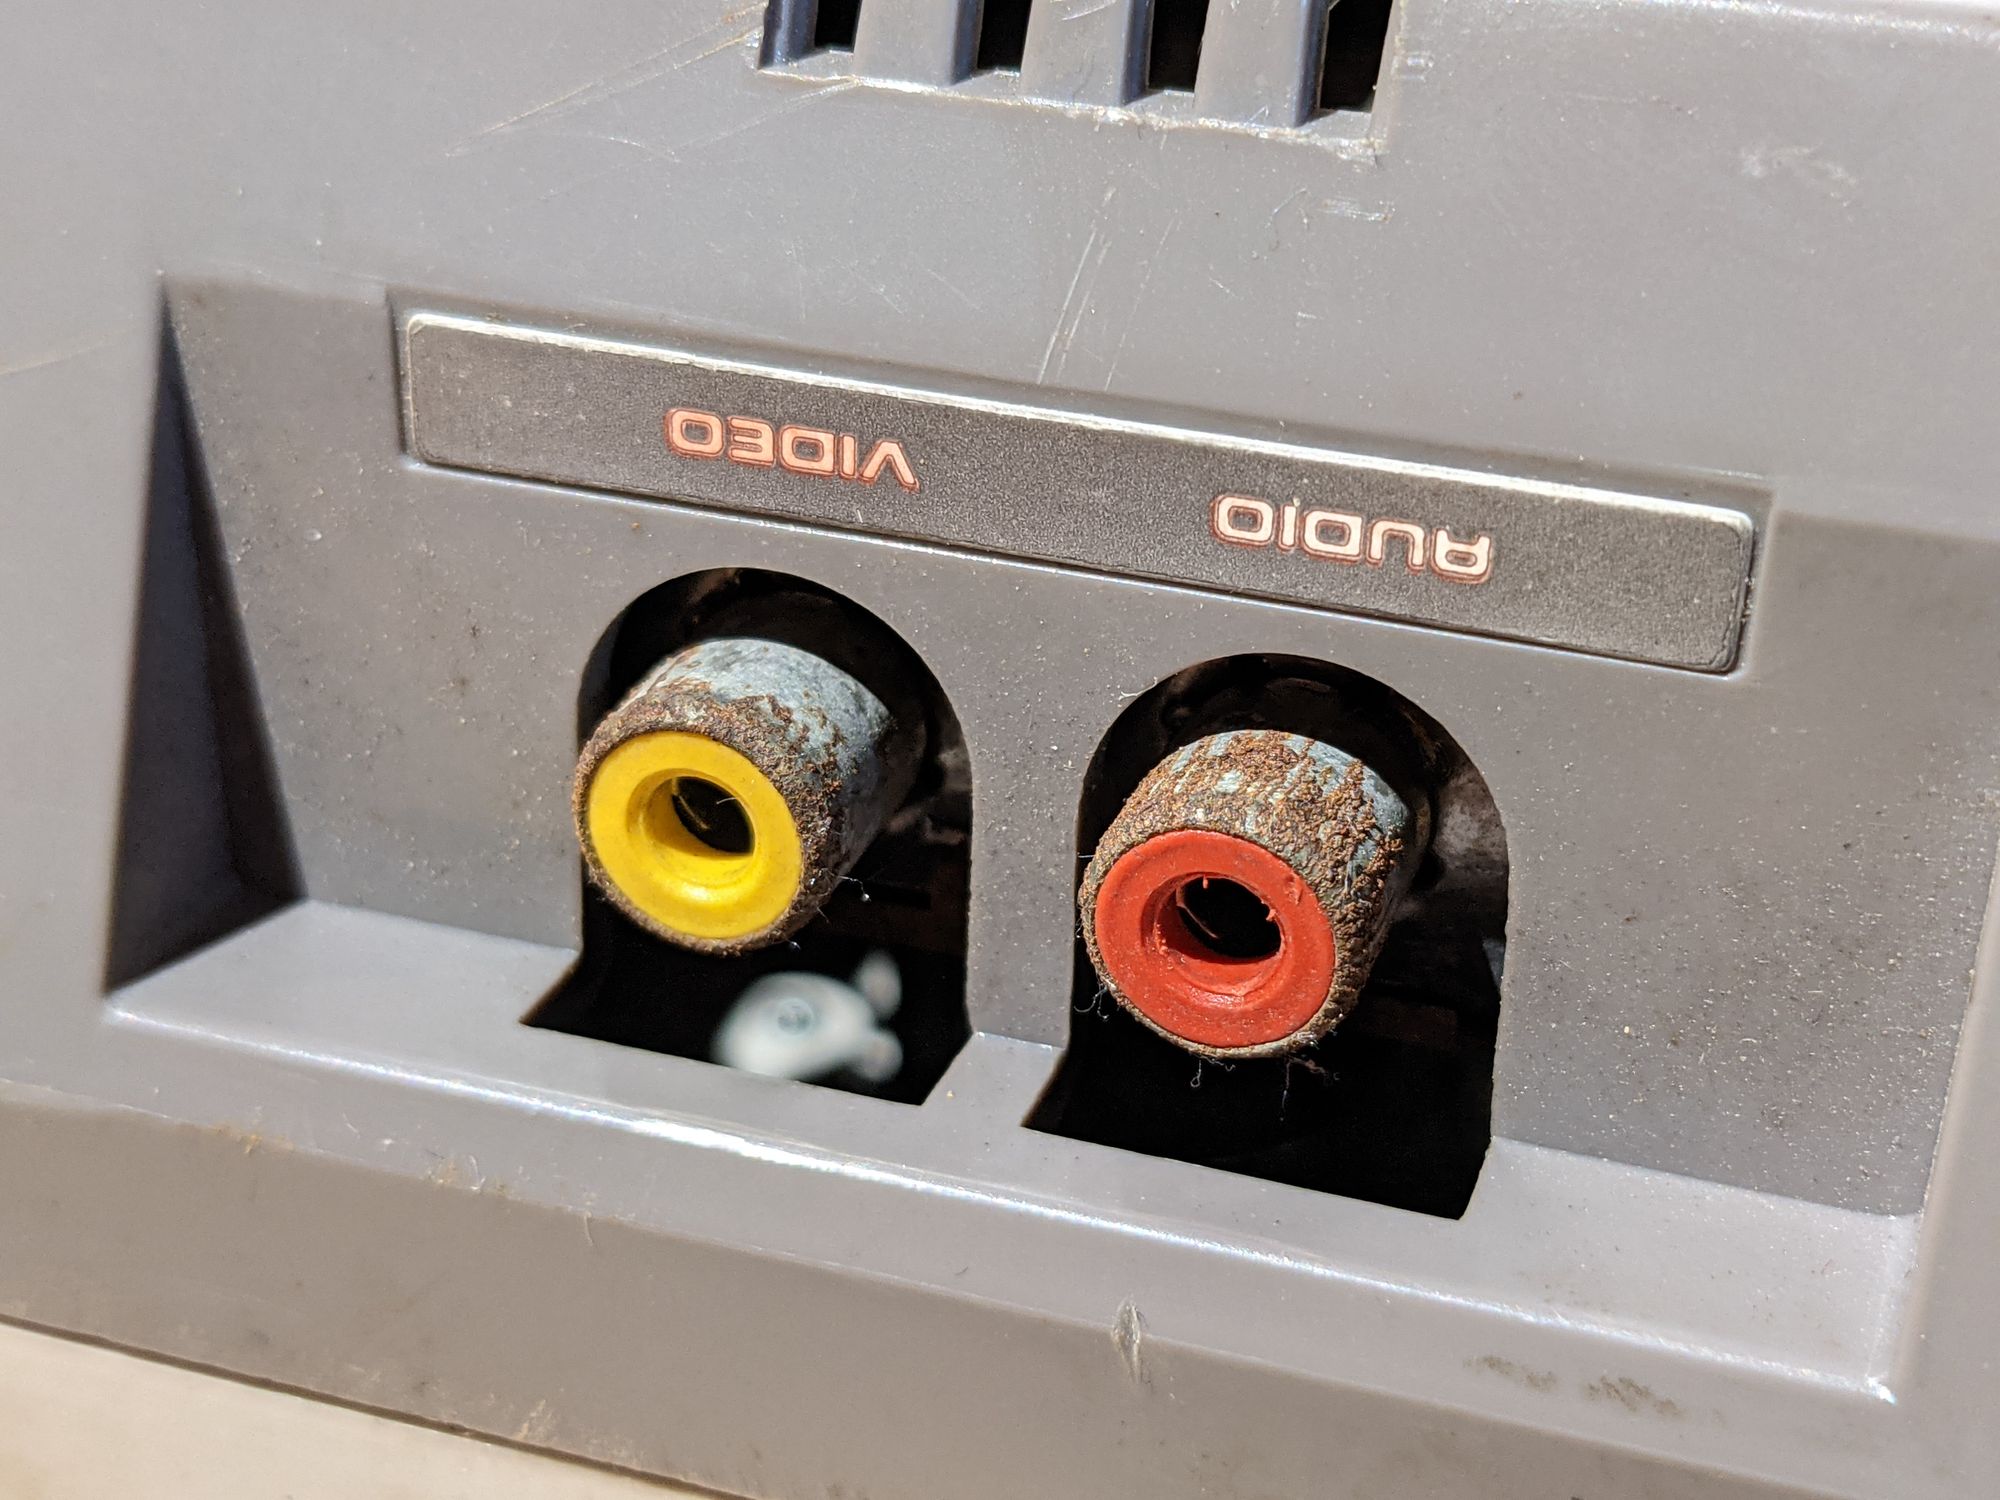
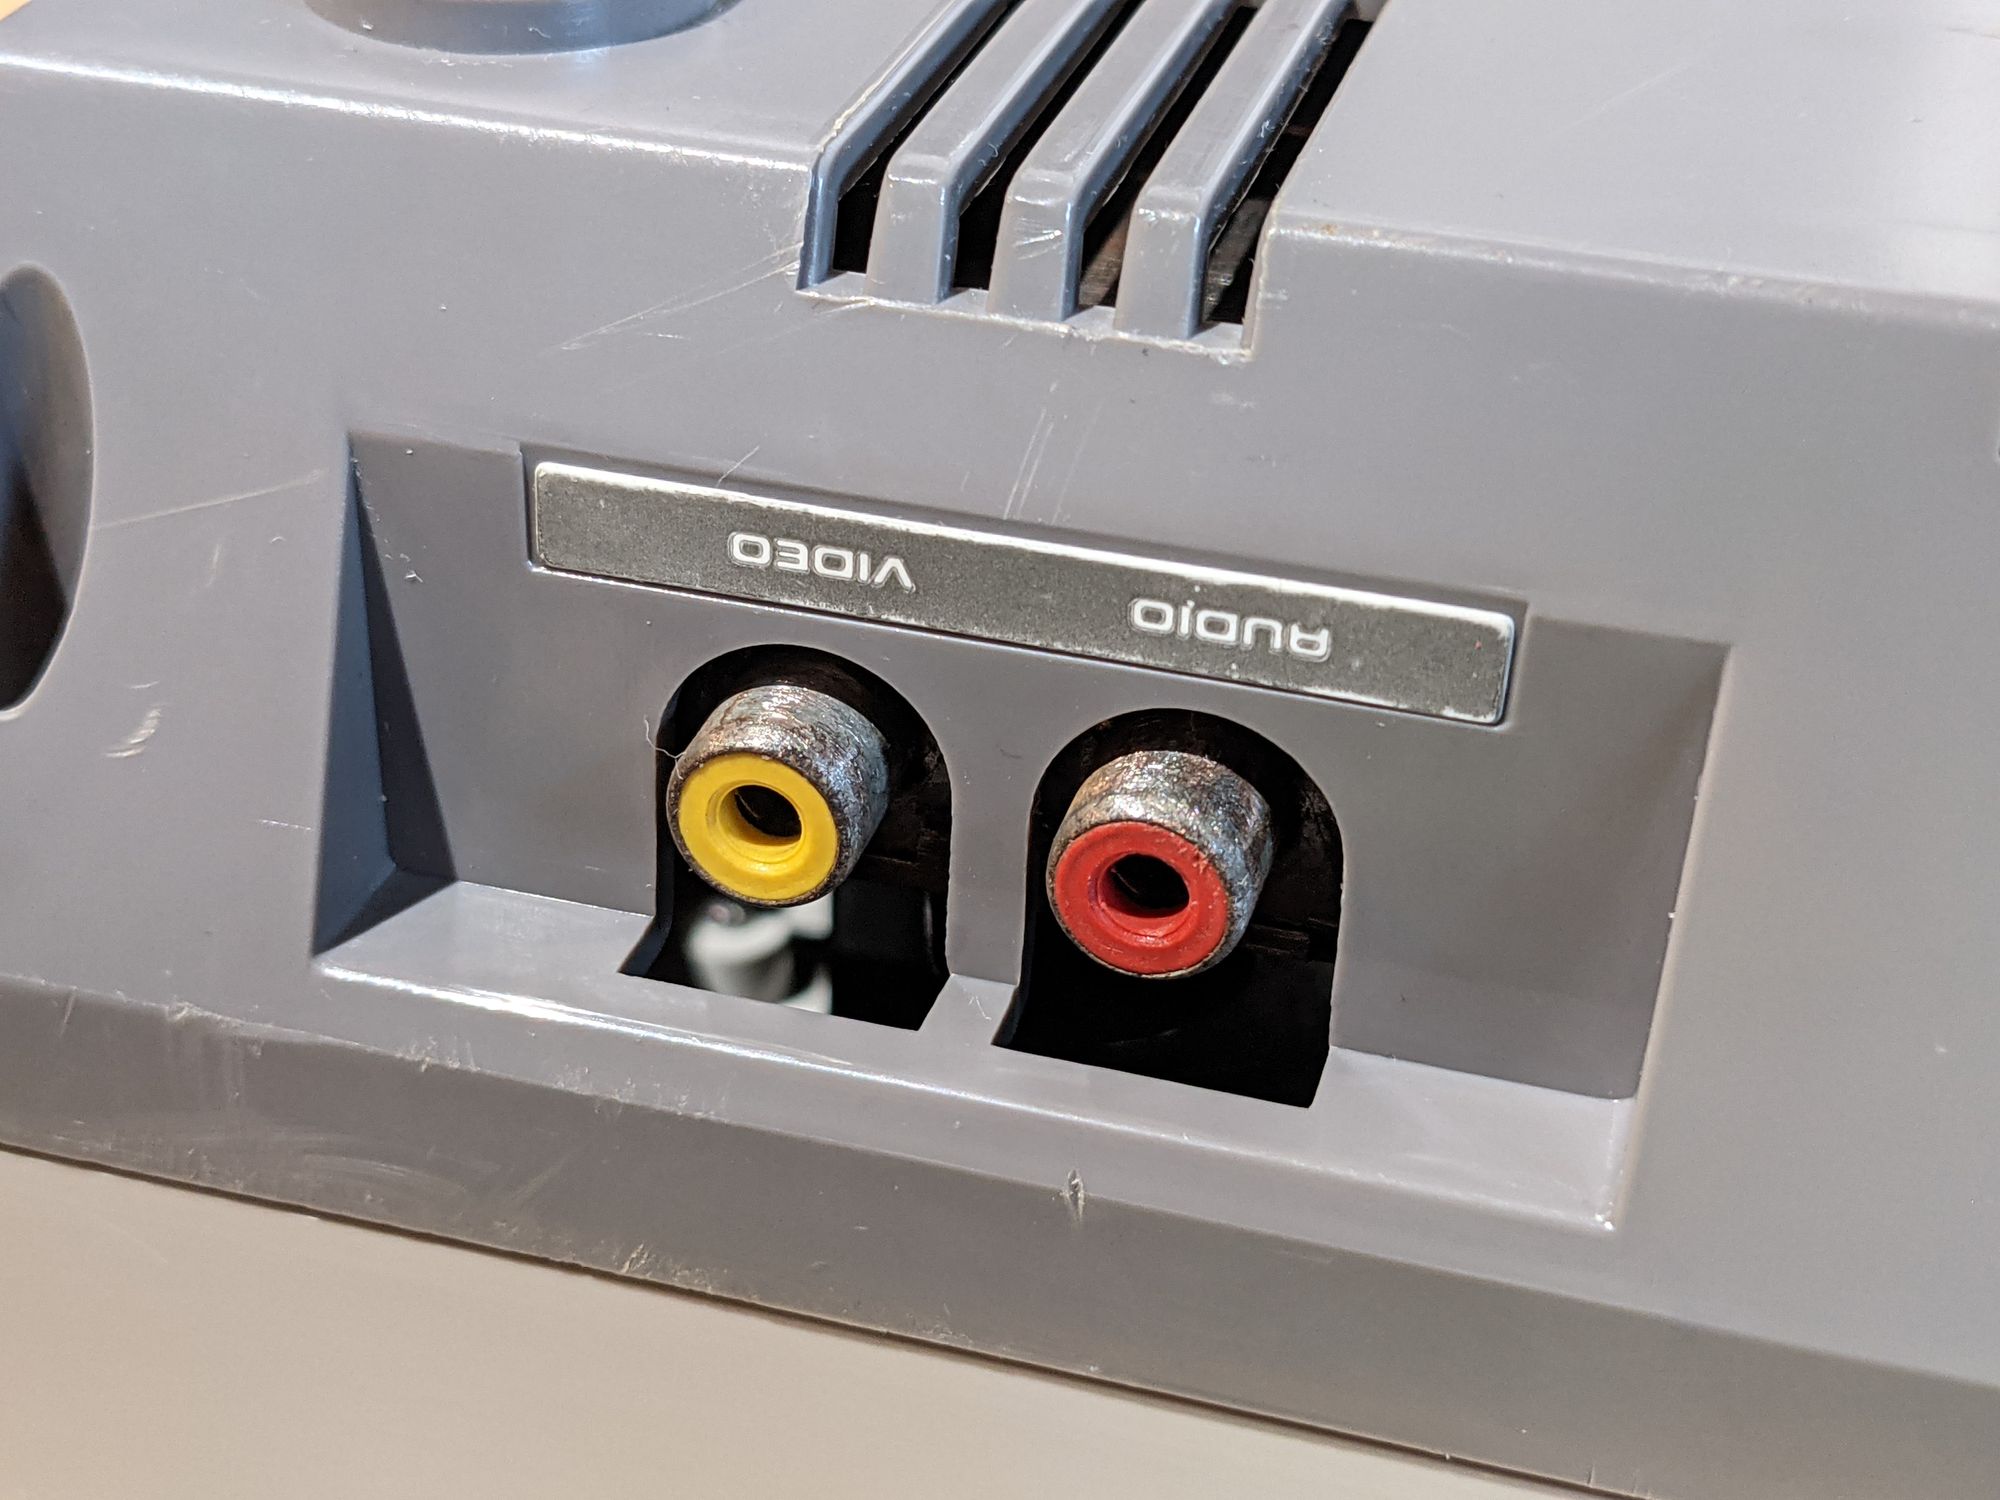
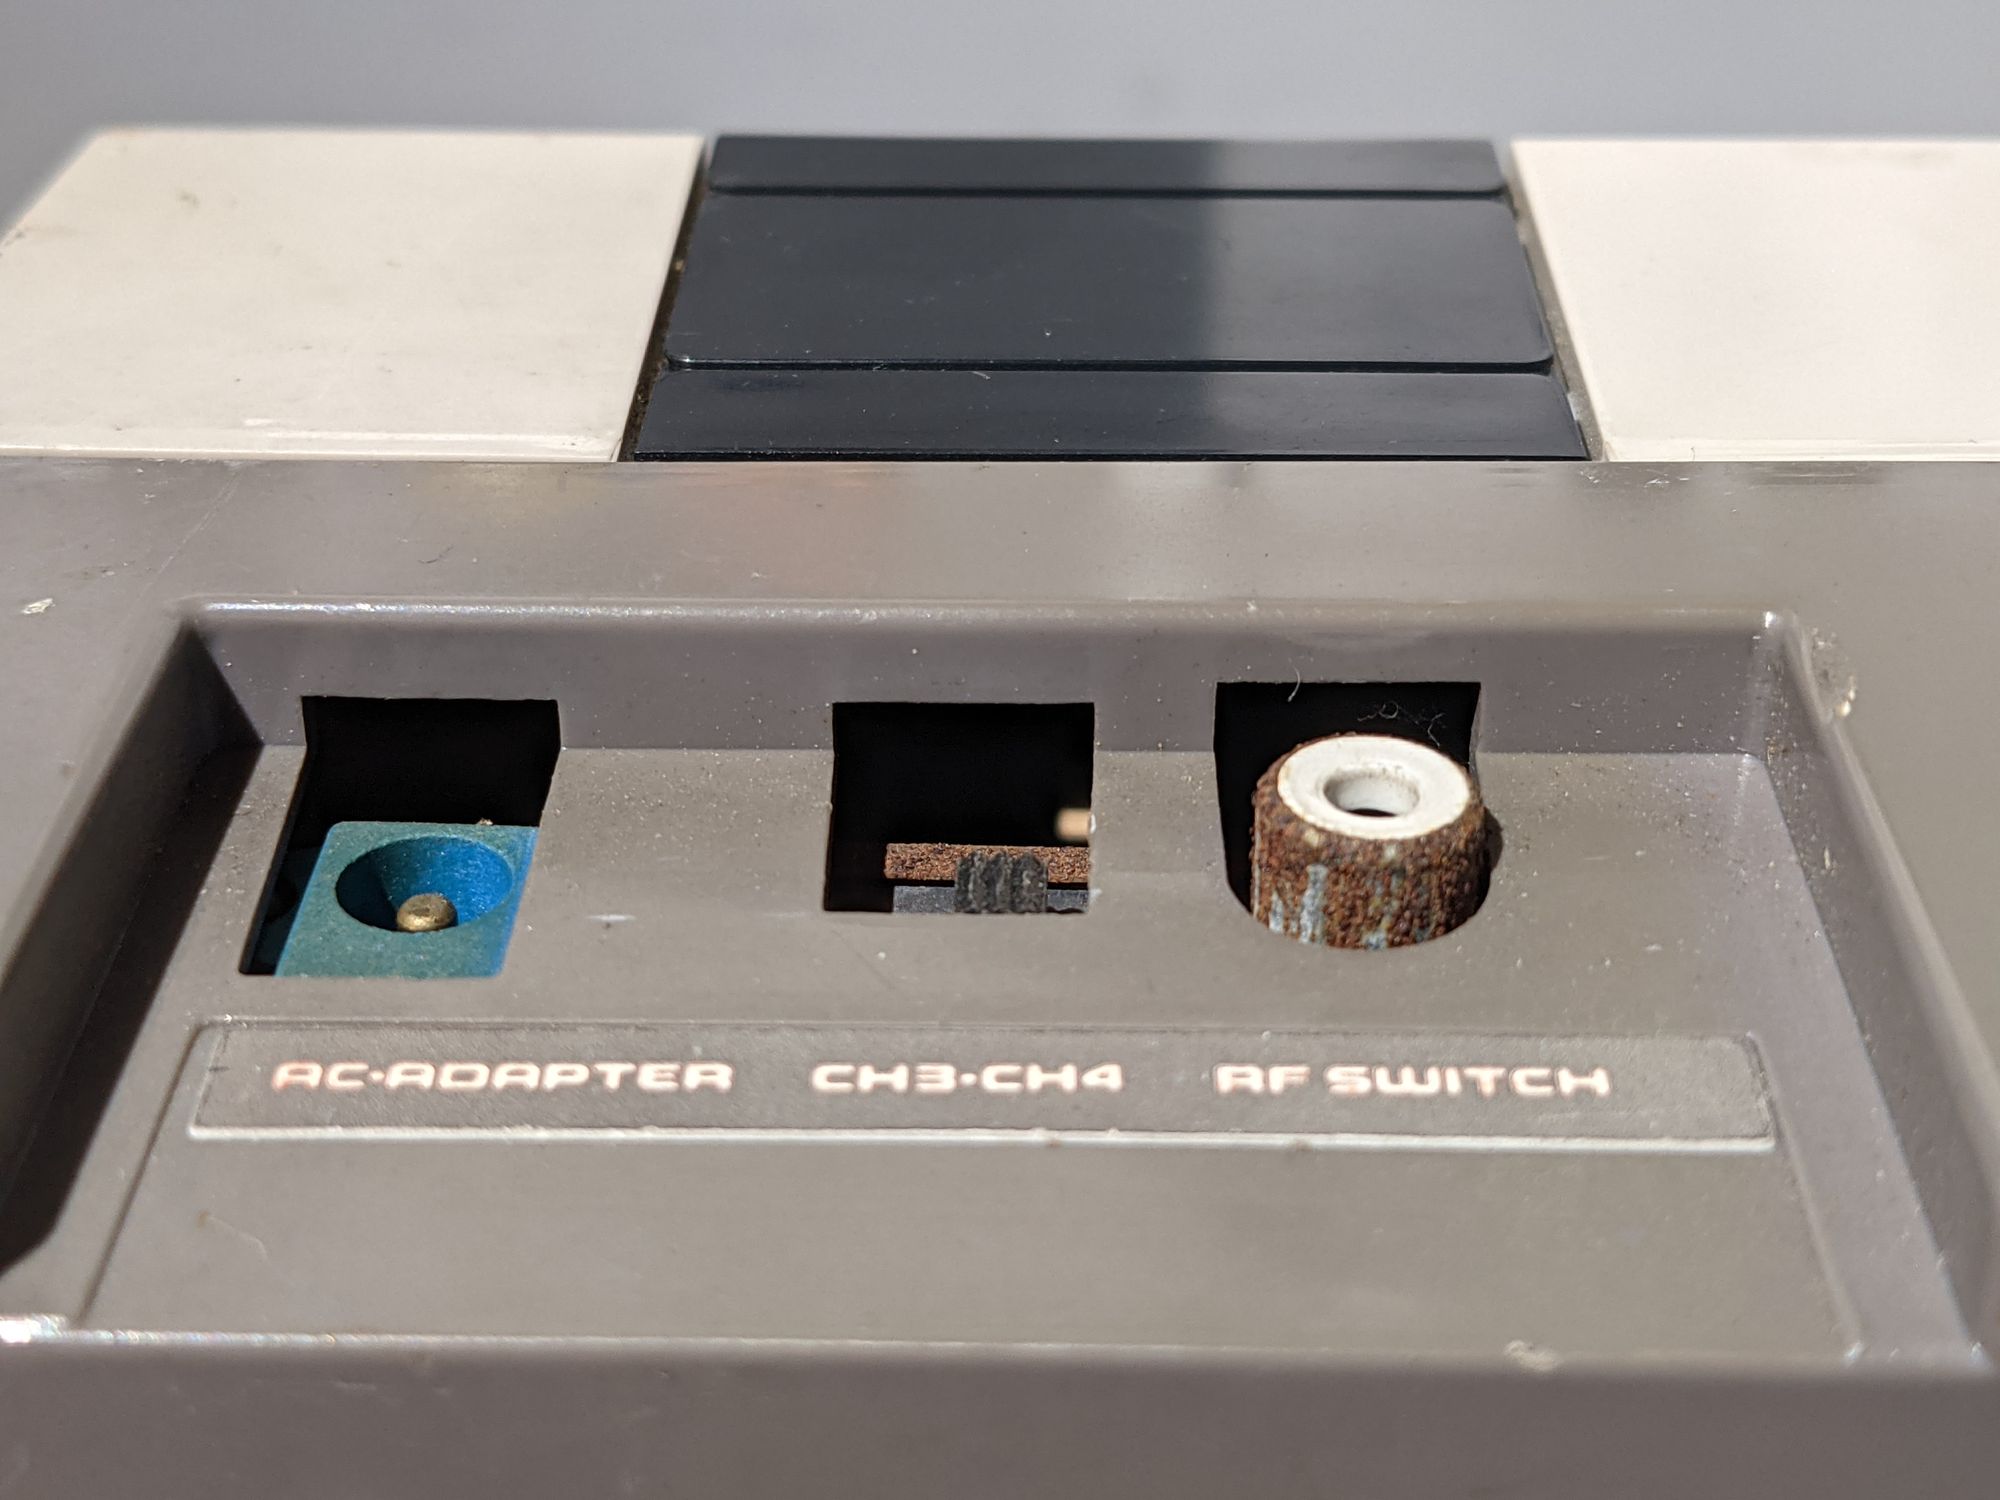
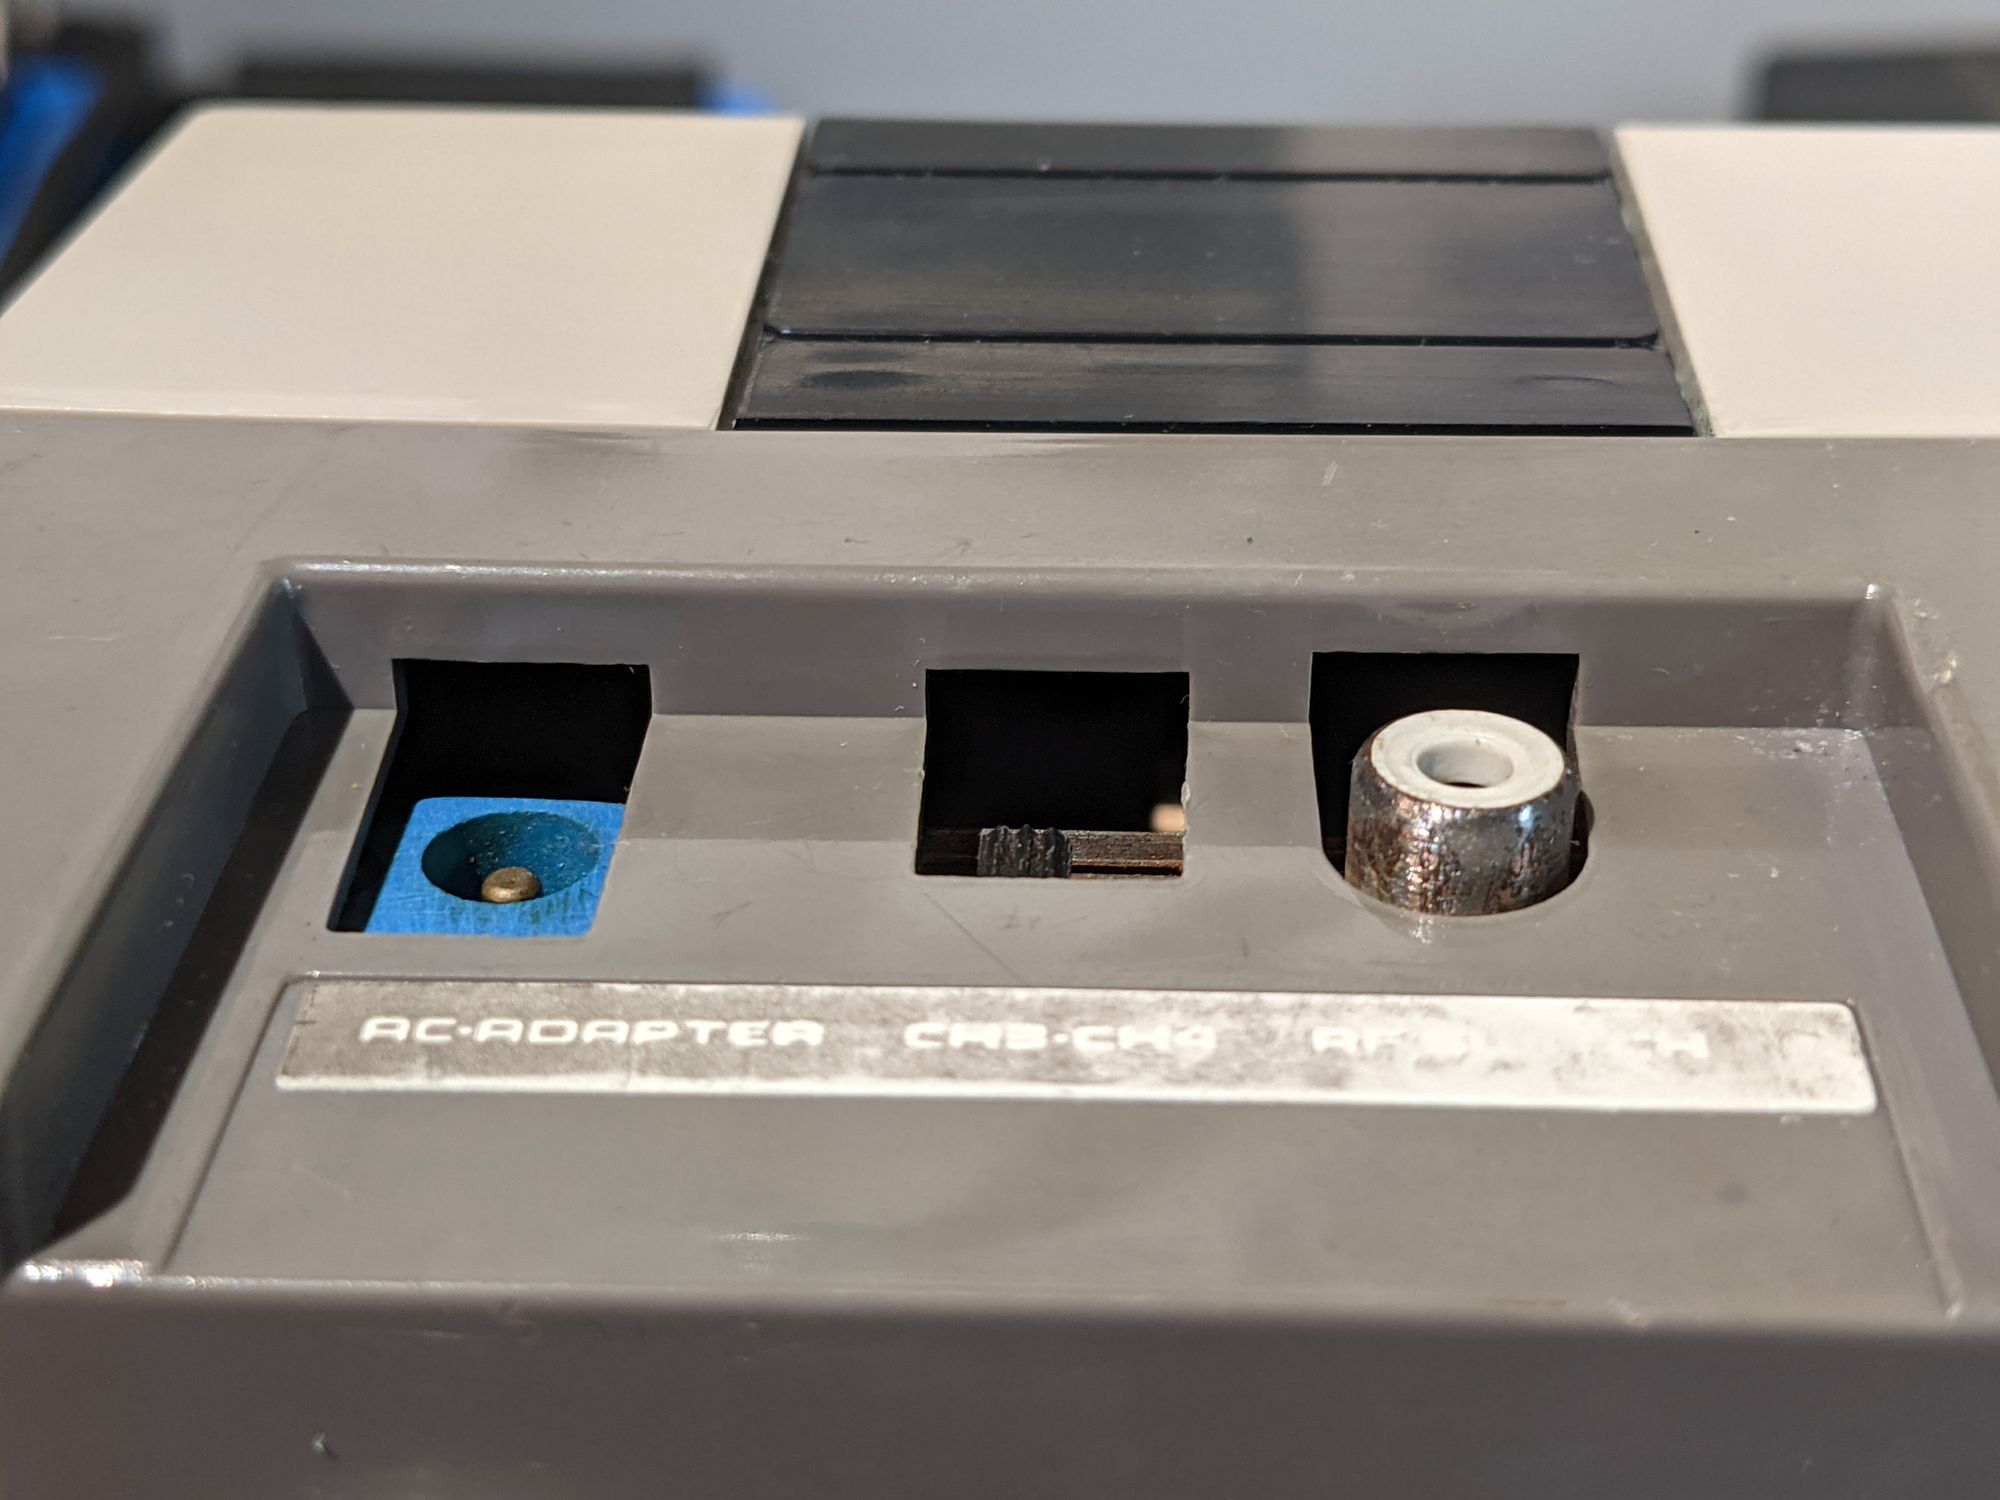
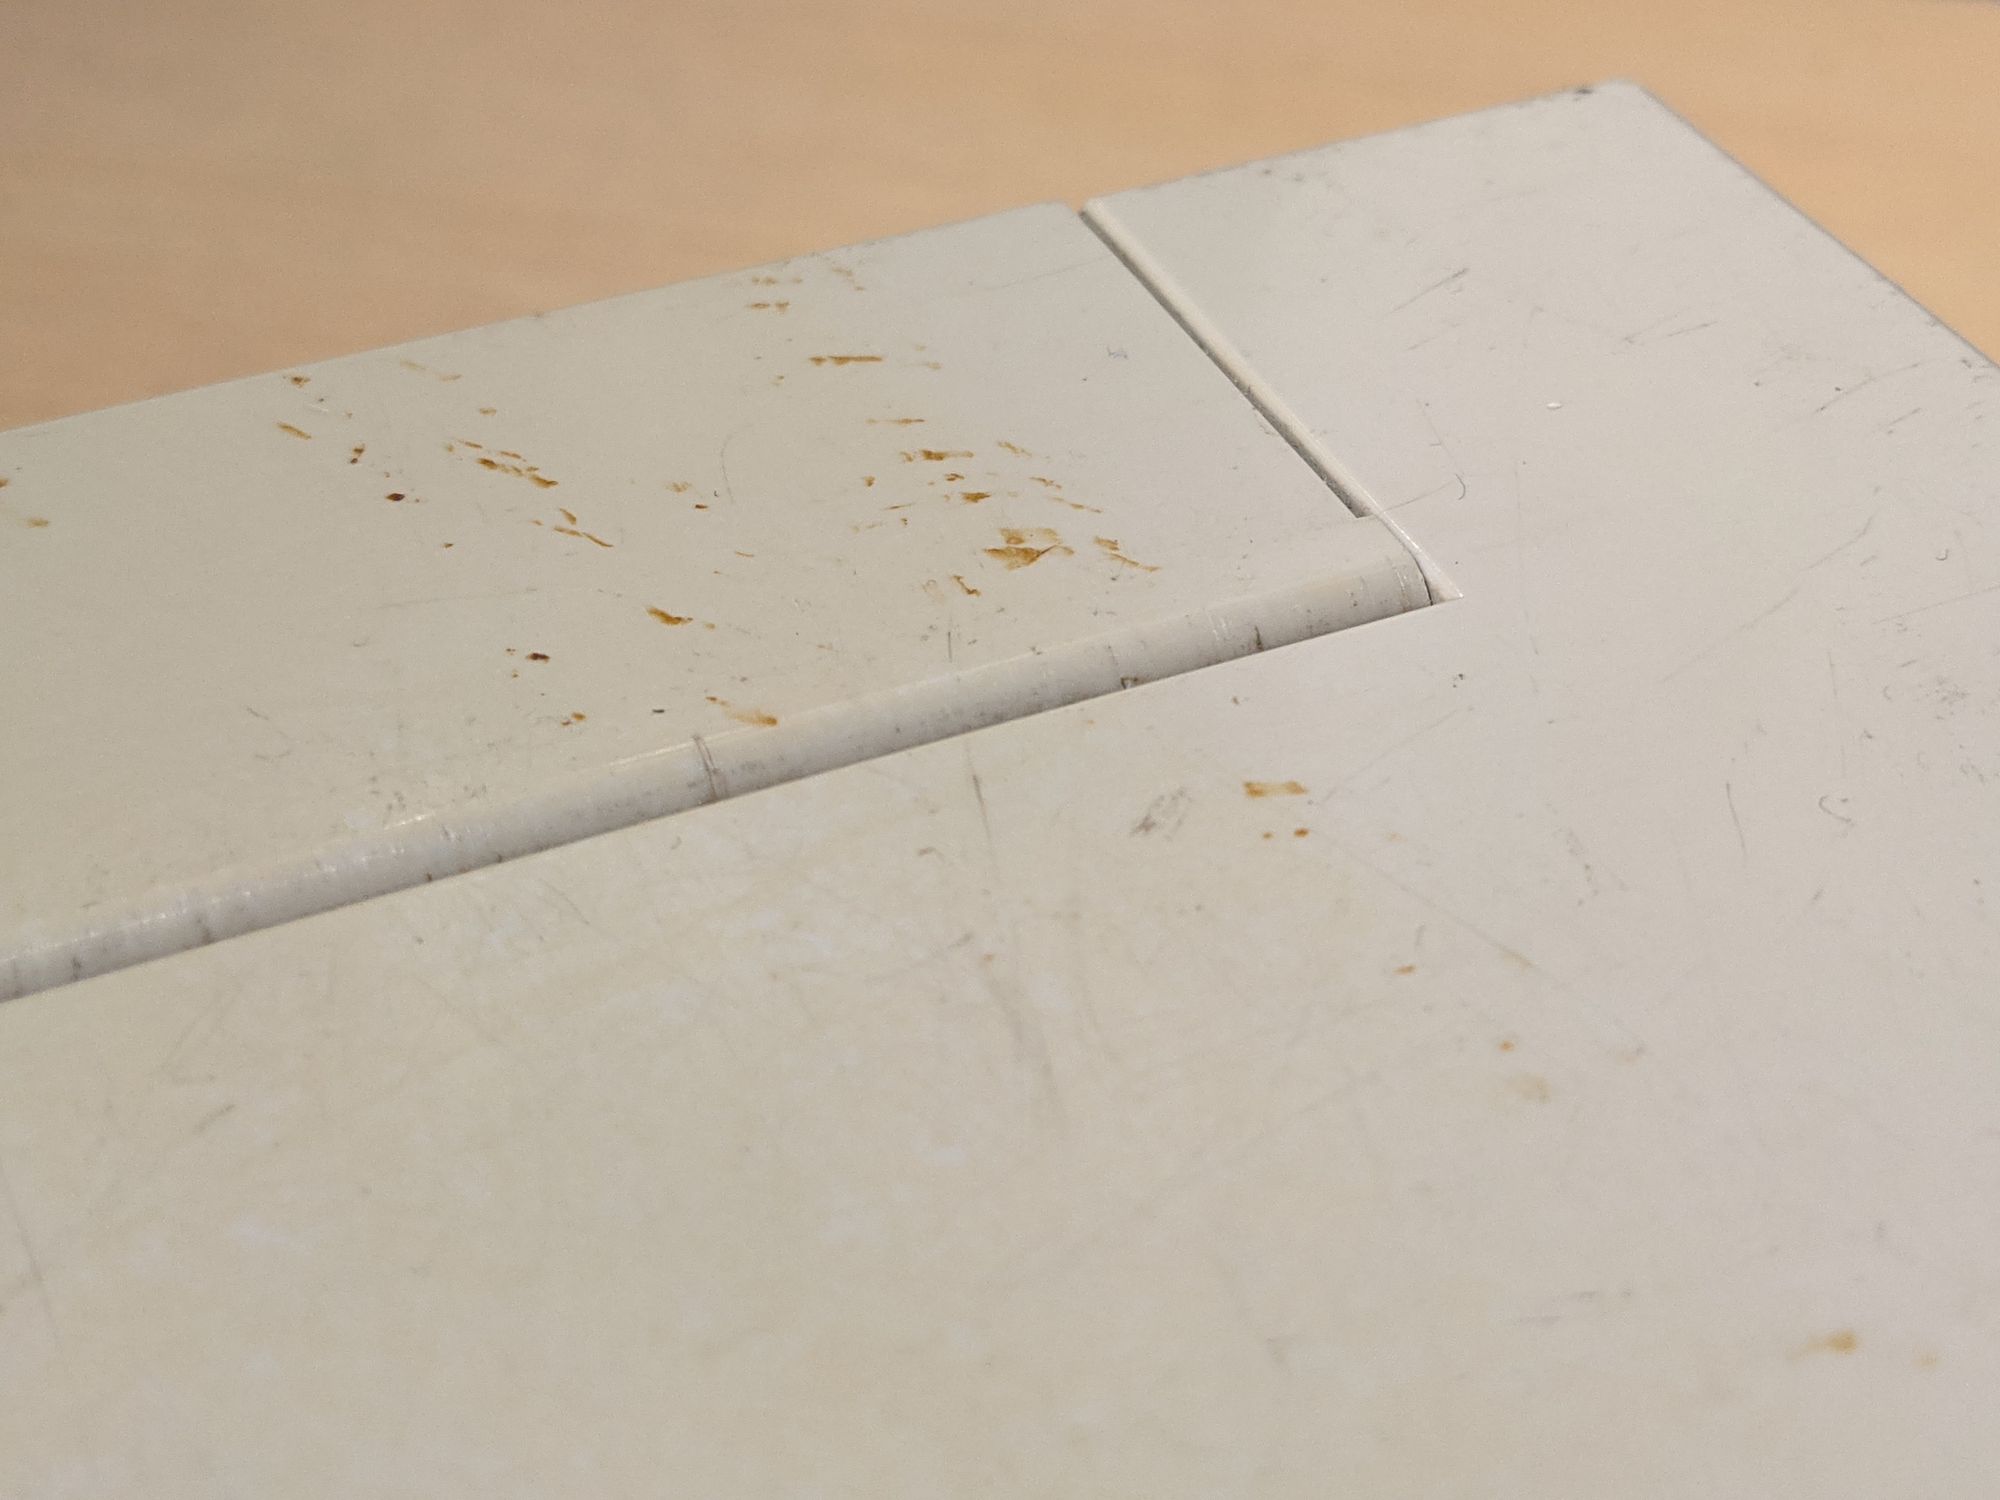
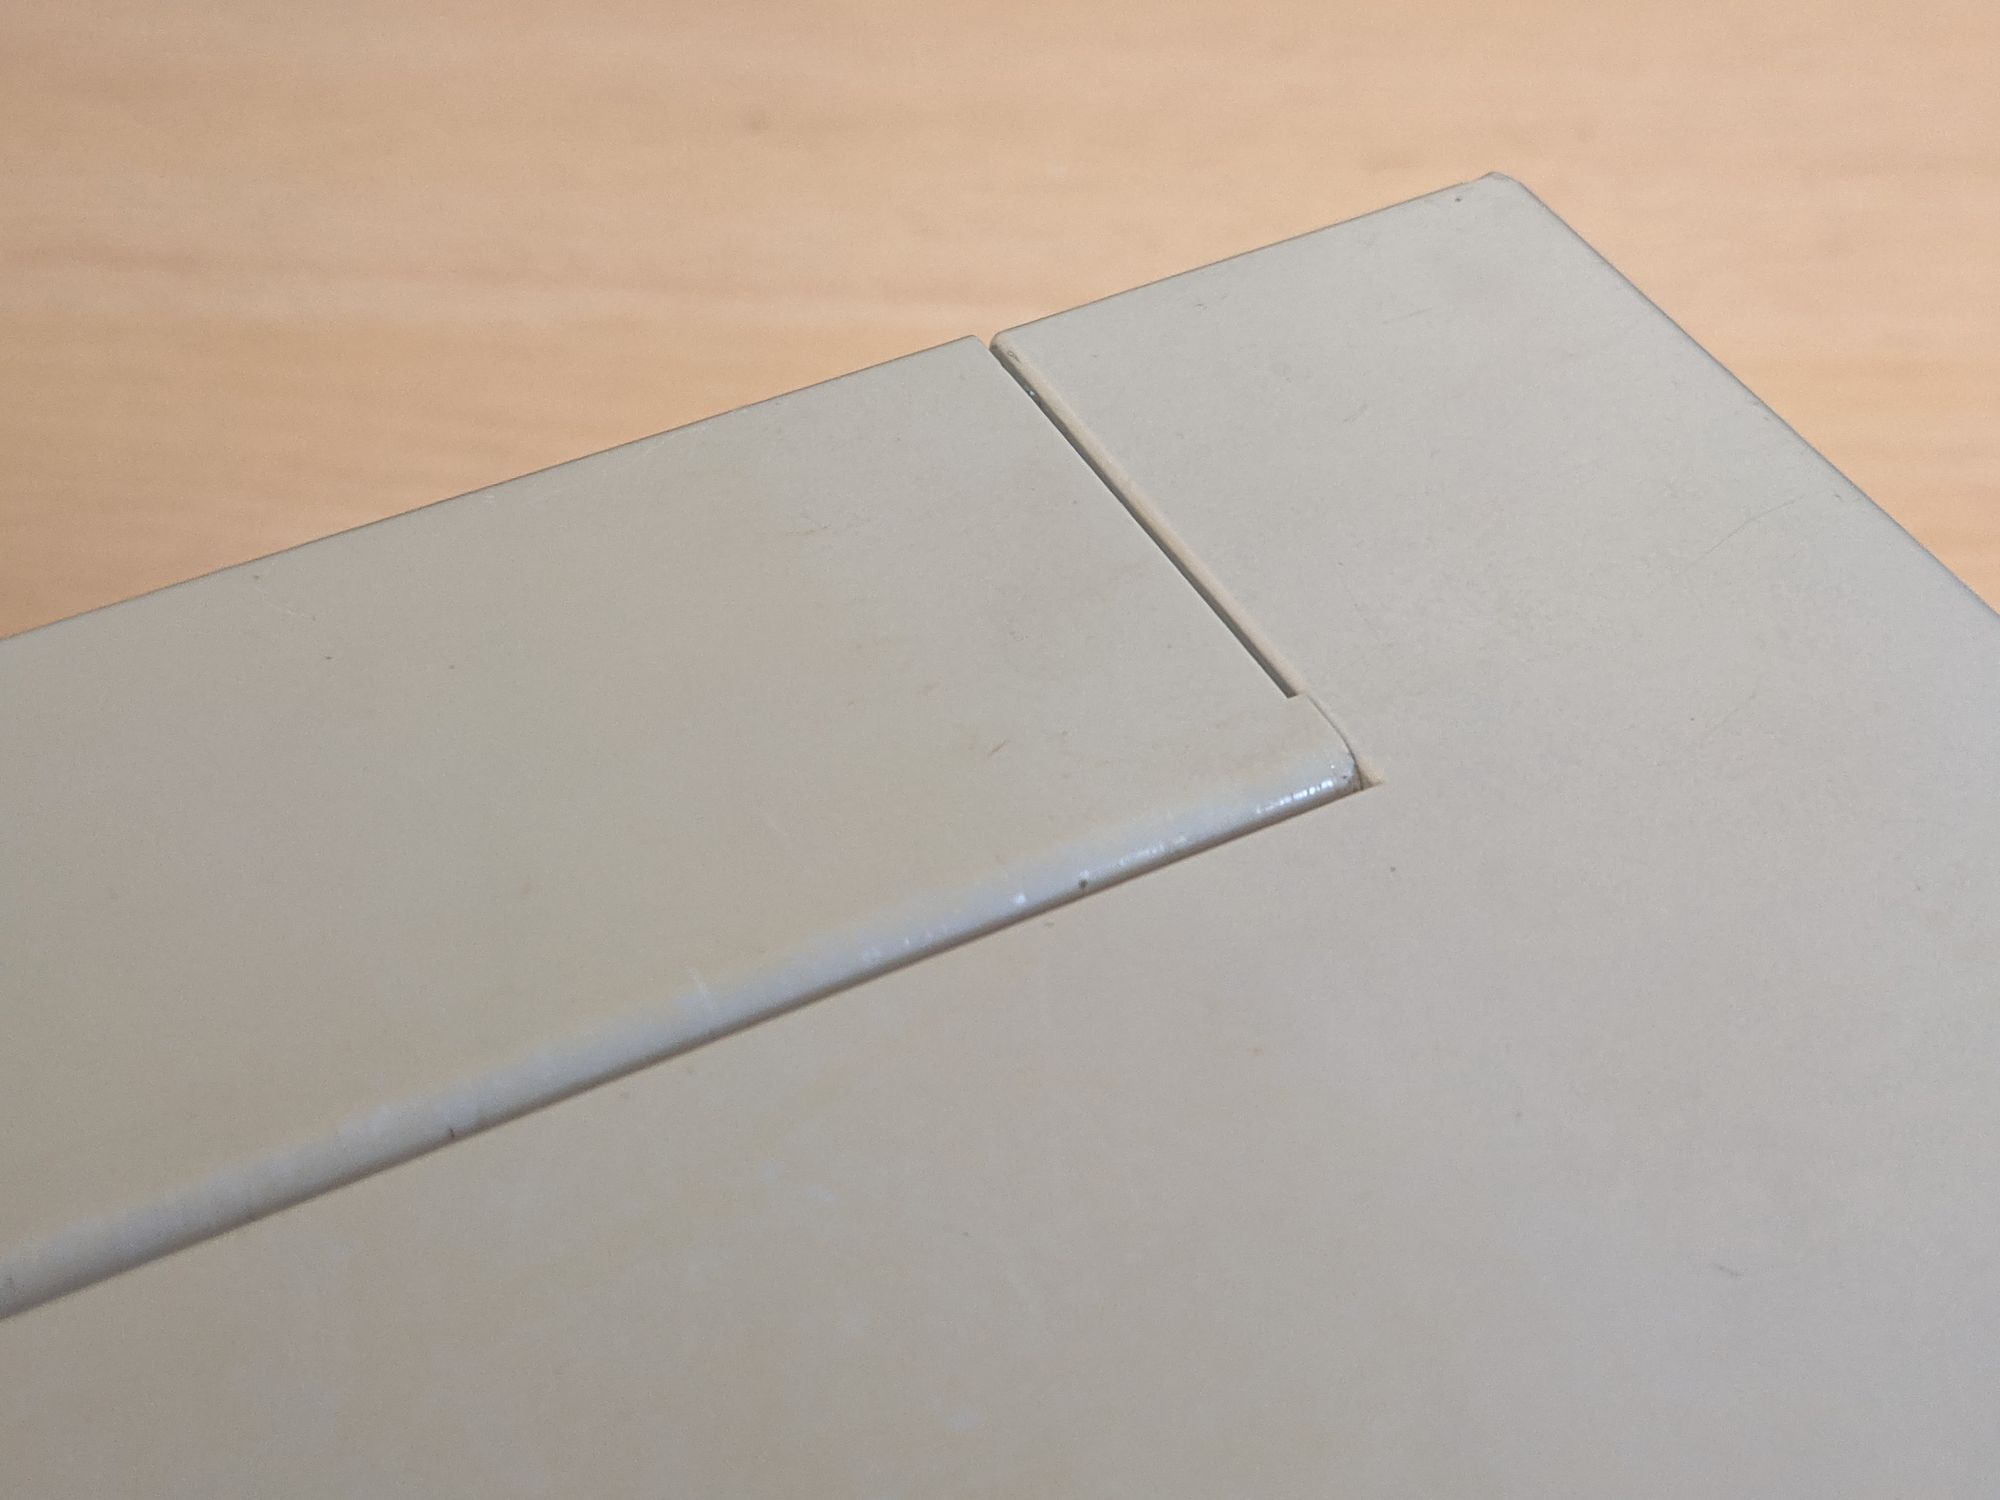
When taking a first look at this console, it was immediately clear it would need some care. The RCA jacks were all very rusted, the console had some yellowed plastic, and lots of scuffs and marks. The picture doesn’t show everything, it looked worse in person.
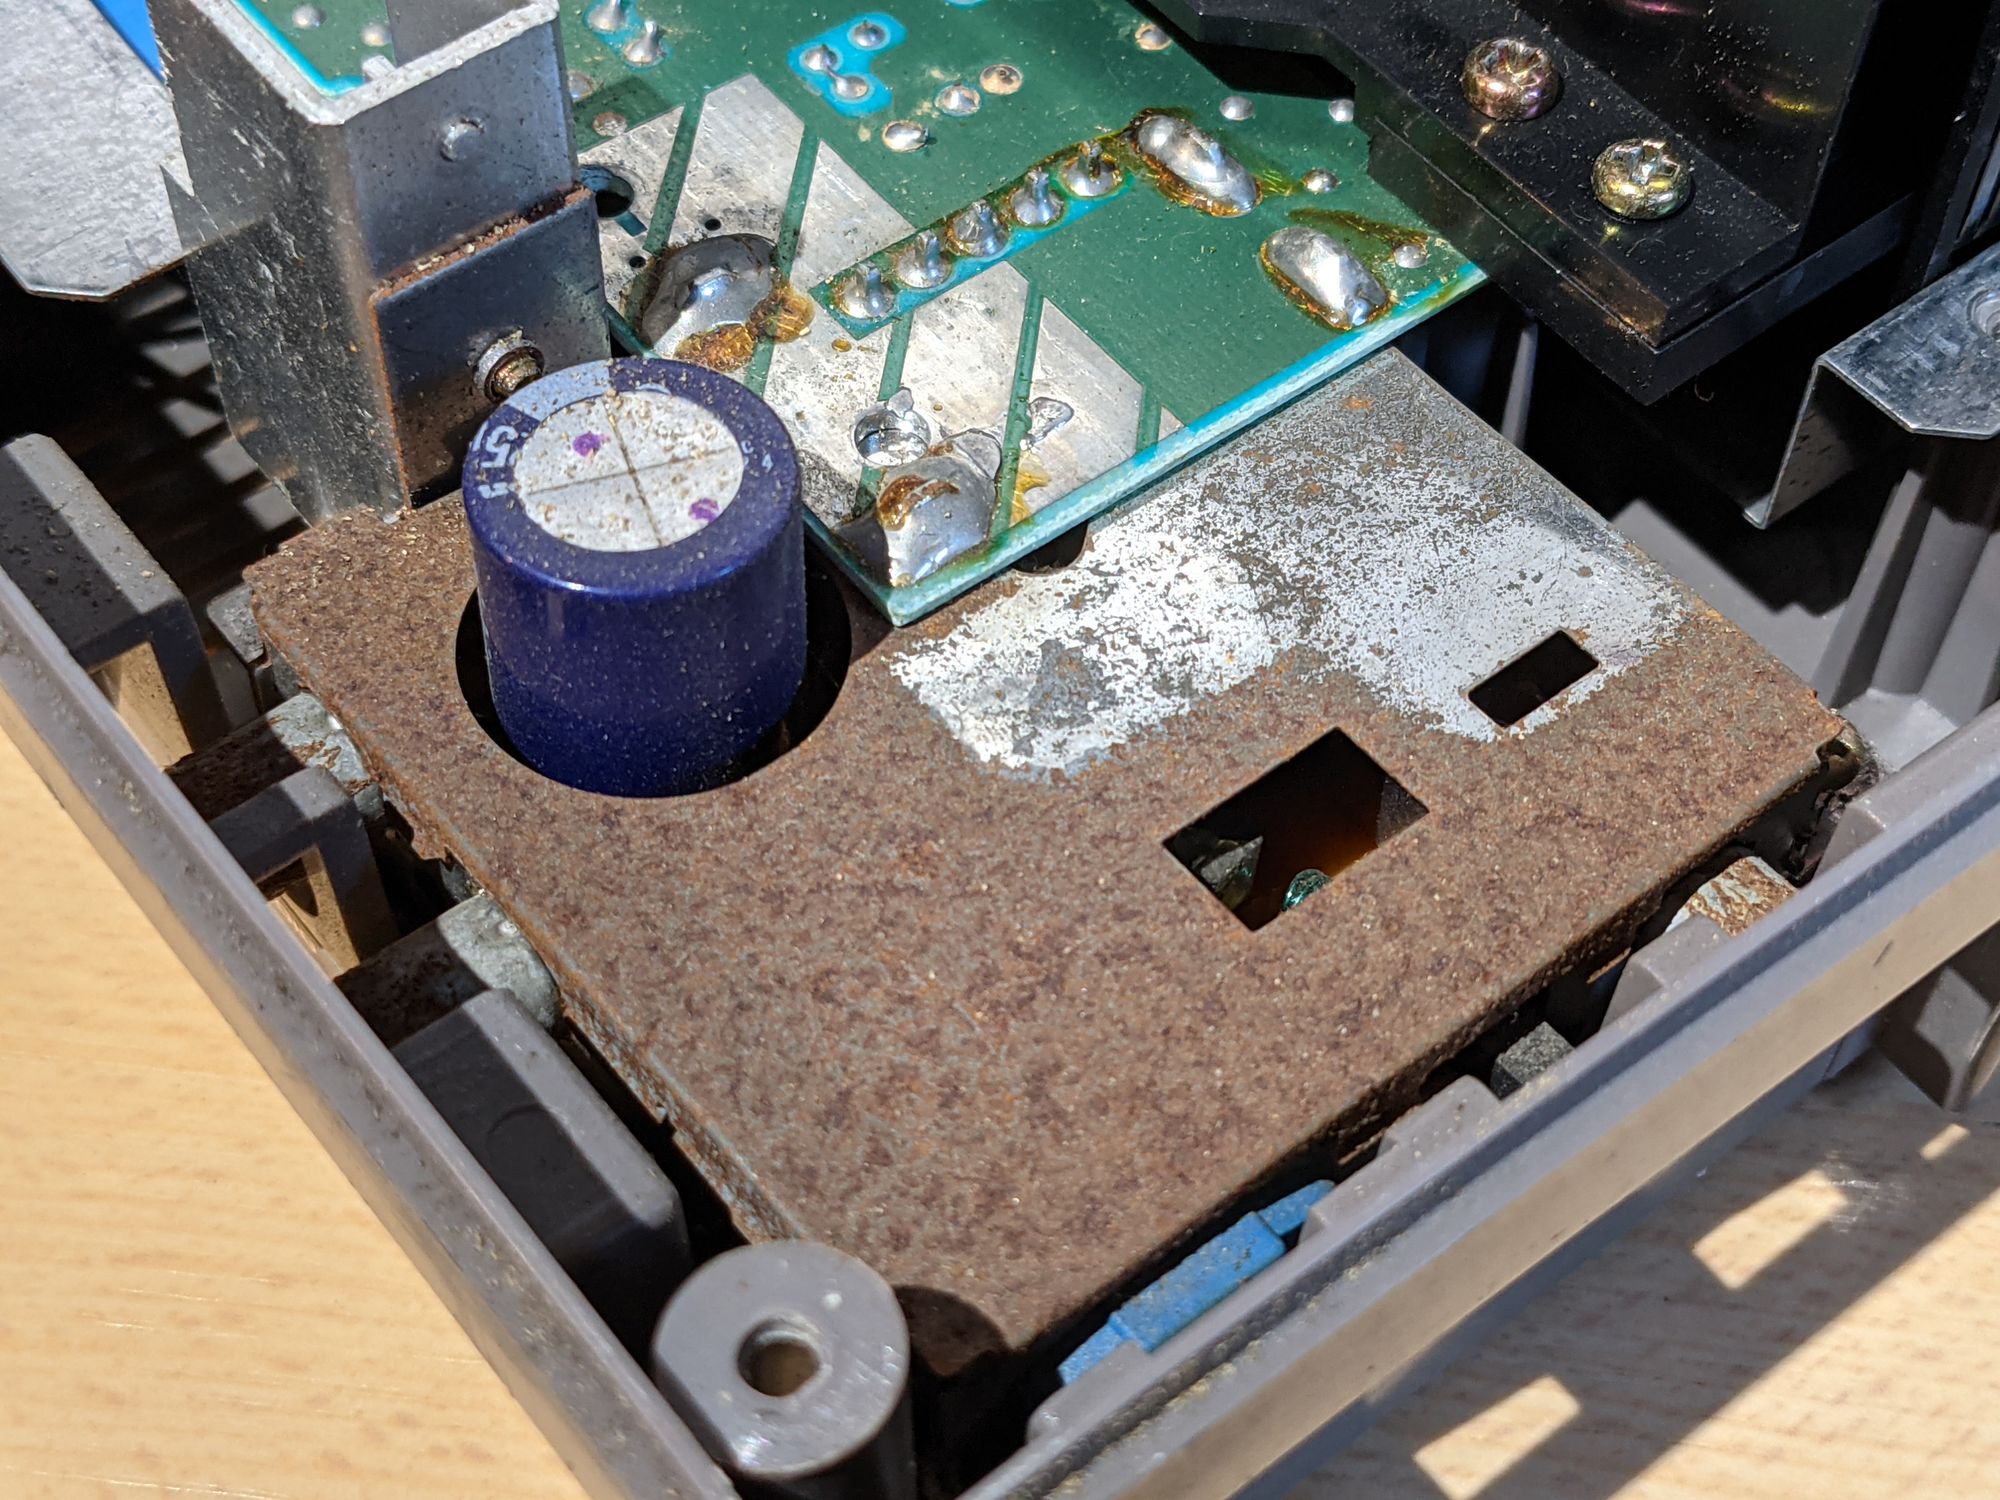
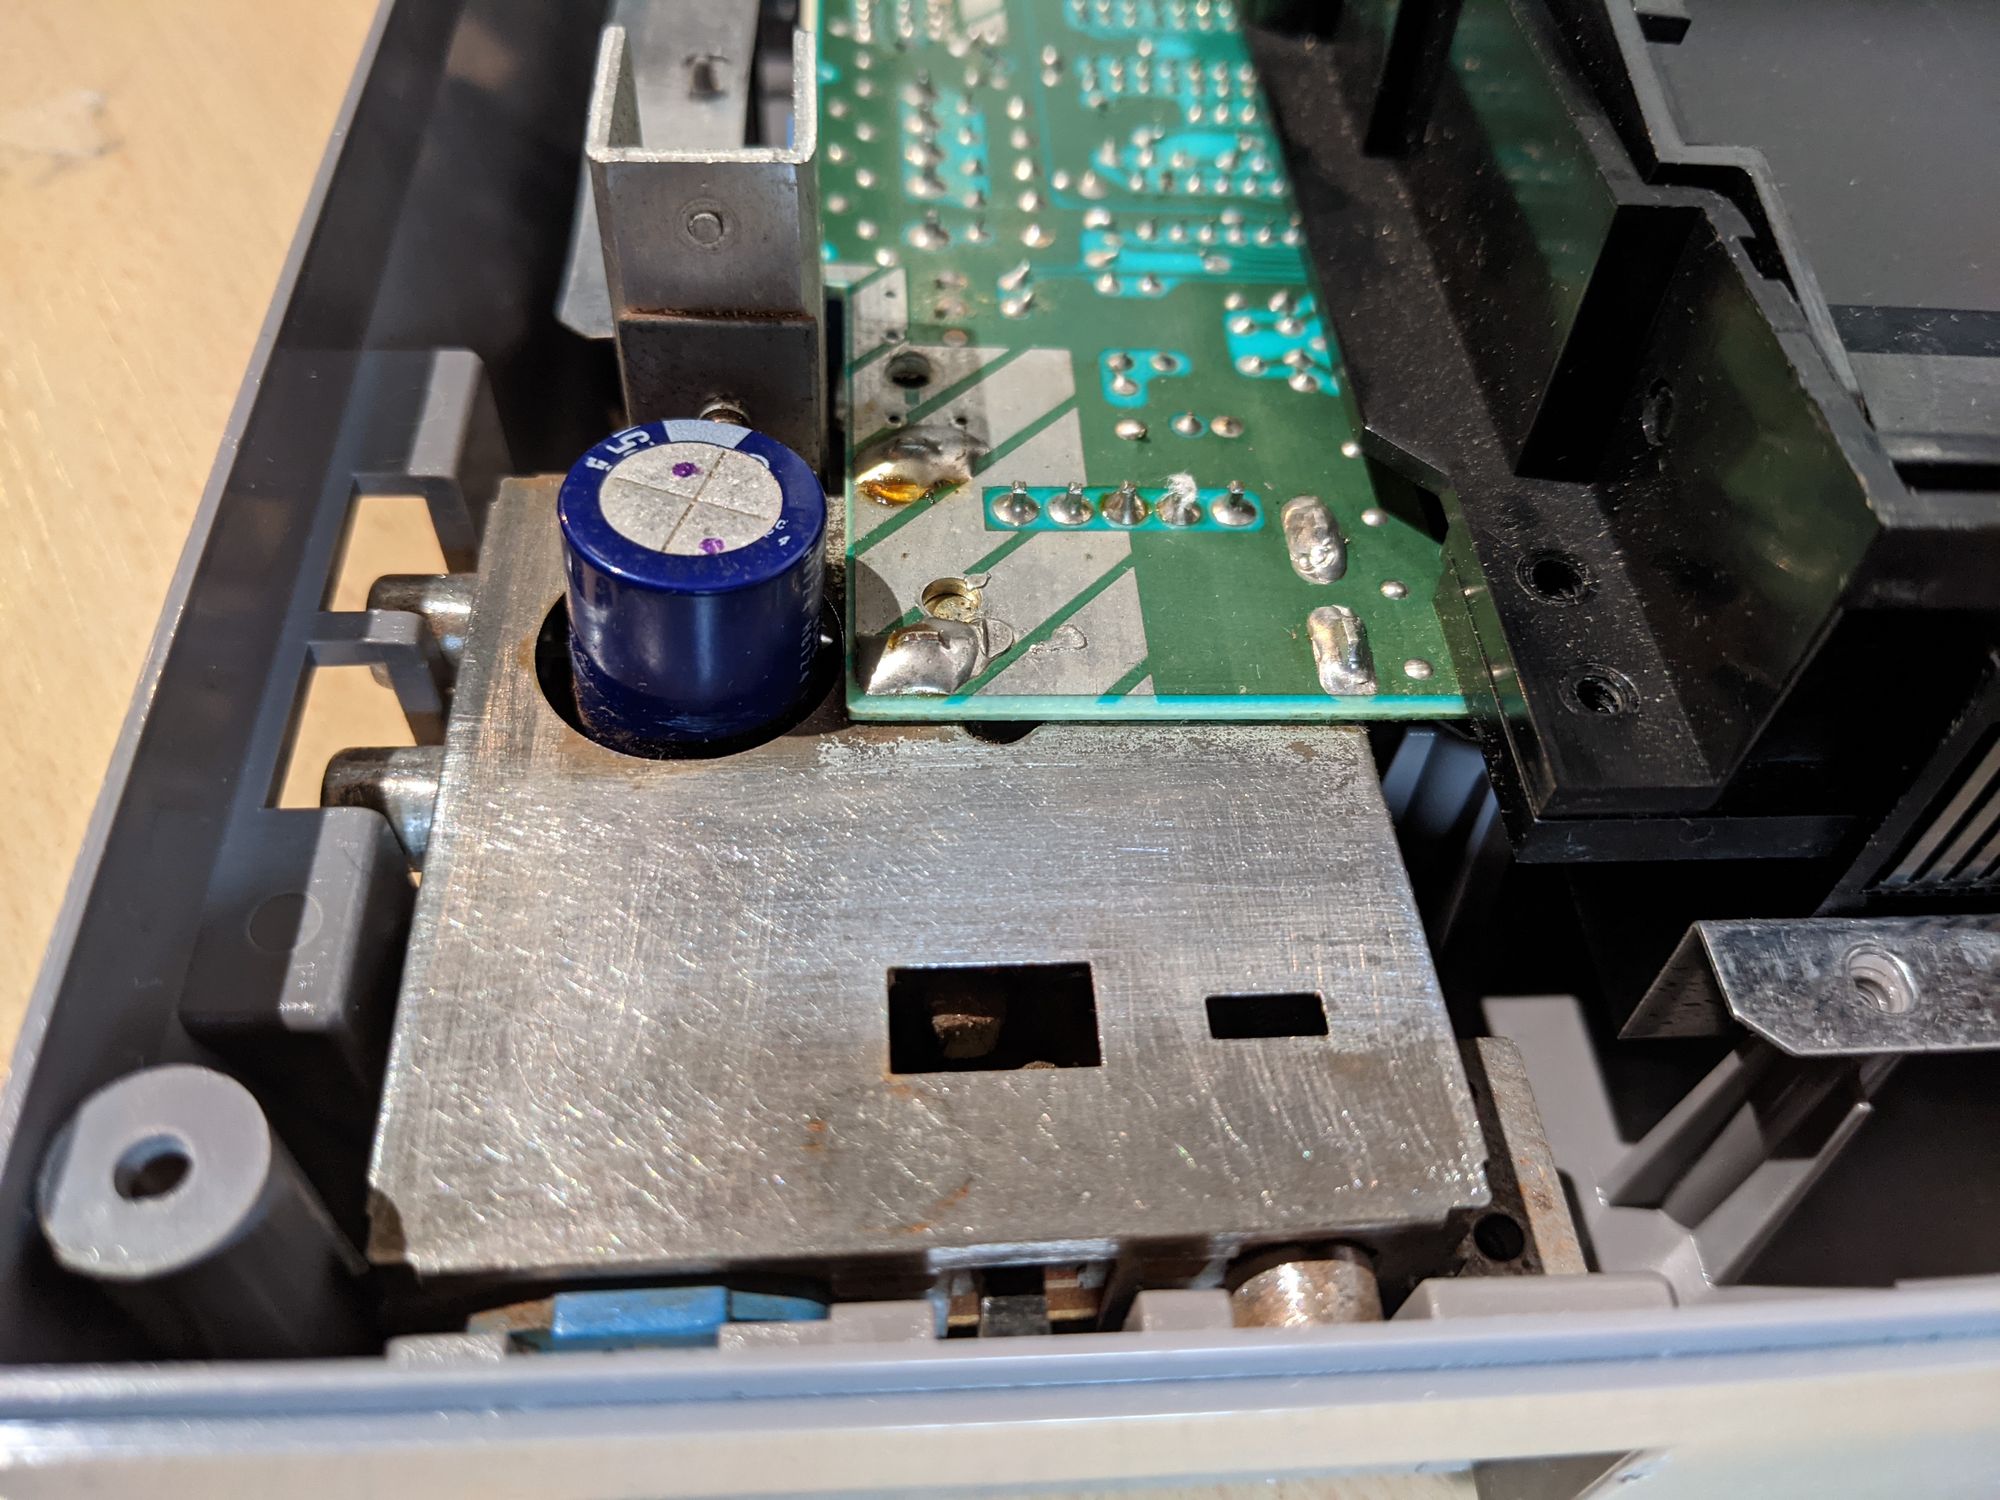
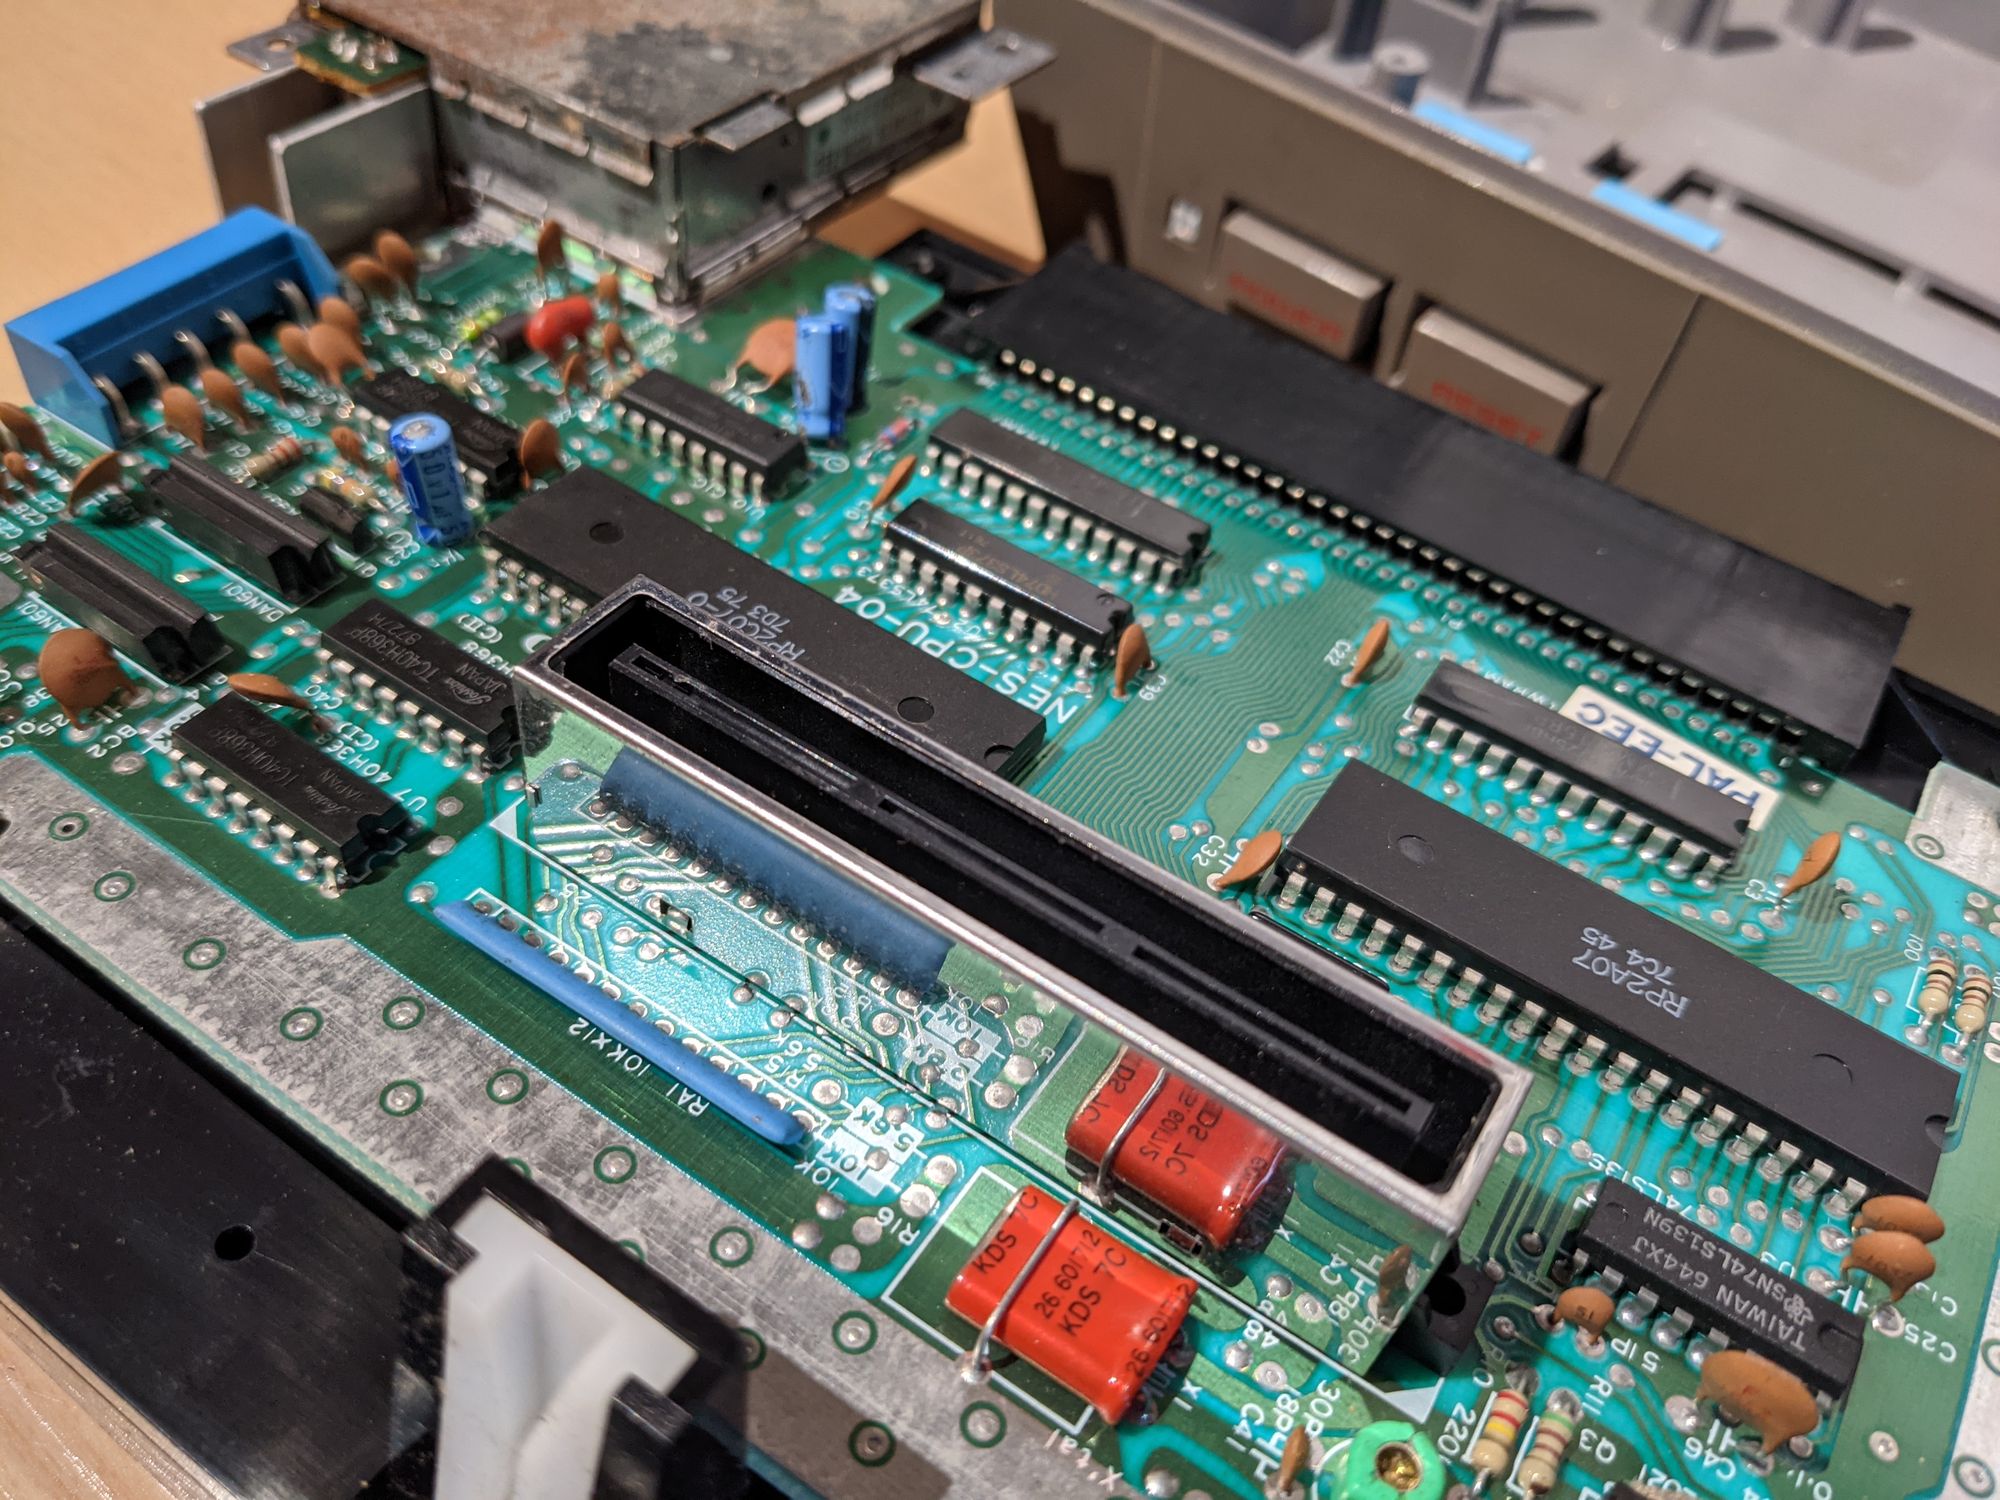
I decided to open the console first before testing it. This ended up being a good decision because the RF shield around the power module was extremely rusted. Fortunately, the inside of the module and the main PCB were looking fine.
Cleaning
For the case, I started by cleaning it with warm water and soap. After that, I removed any leftover stubborn scuffs using some window cleaner and a slightly rough sponge. I had thought about using retr0brite to whiten the plastic, but I’ve had poor results with it in the past and I just don’t like how vague the different methods are. When I have a yellowed console, I tend to just leave it as-is, since I don’t mind yellowing so much in the first place.
Tackling the rust was a bit more difficult. I used the same method I’ve been using for years, it doesn’t result in perfection, but it does neutralize the rust while making things look a lot better. I started by putting a bit of vinegar on the rust and letting that sit for a while. That prevents the rust from spreading further, and removes quite a bit of it. Next, I used a generous amount of isopropyl alcohol to clean the vinegar and some more of the rust. Finally, I remove any really bad spots of rust with some fine sandpaper. I also carefully used some sandpaper on the RCA jacks to remove as much rust as possible and restore continuity to the ports.
Lastly, I cleaned the cartridge connector, switches, ports and board with some alcohol.
Like I’ve said, the result isn’t perfect (it rarely is), but I think it’s a very nice improvement.
Testing & finishing
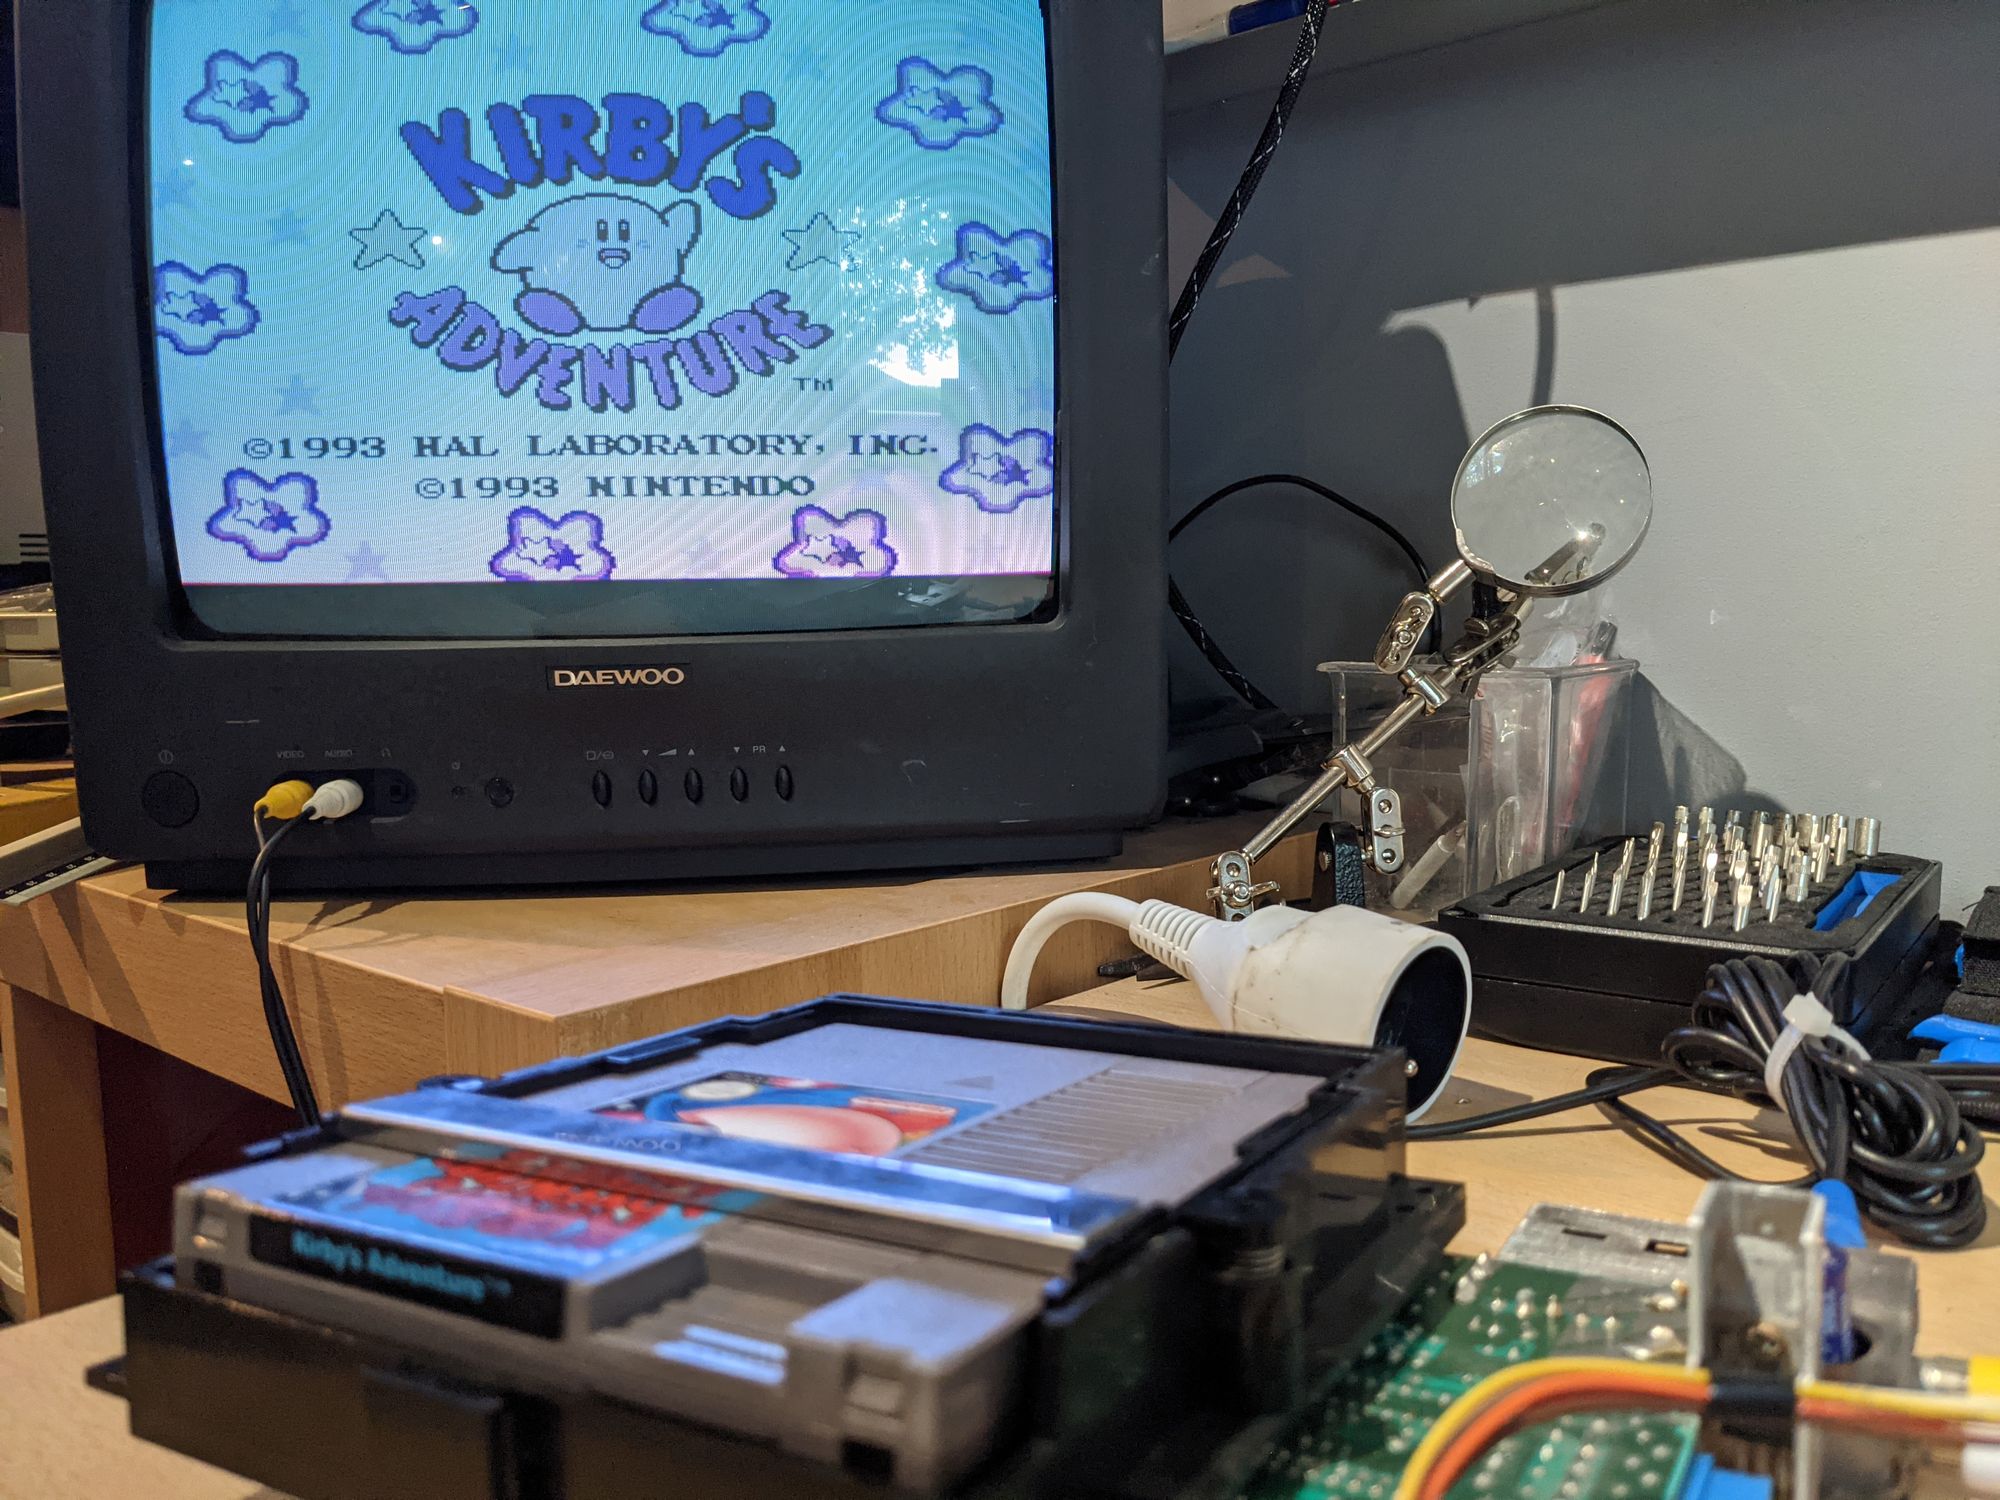
Before putting it back together, I wanted to test the console. I inserted a game and was glad to see the console be fully operational!
All that was left to do was put it back together and enjoy the results!