Commodore 64 Super Games Cartridge Repair
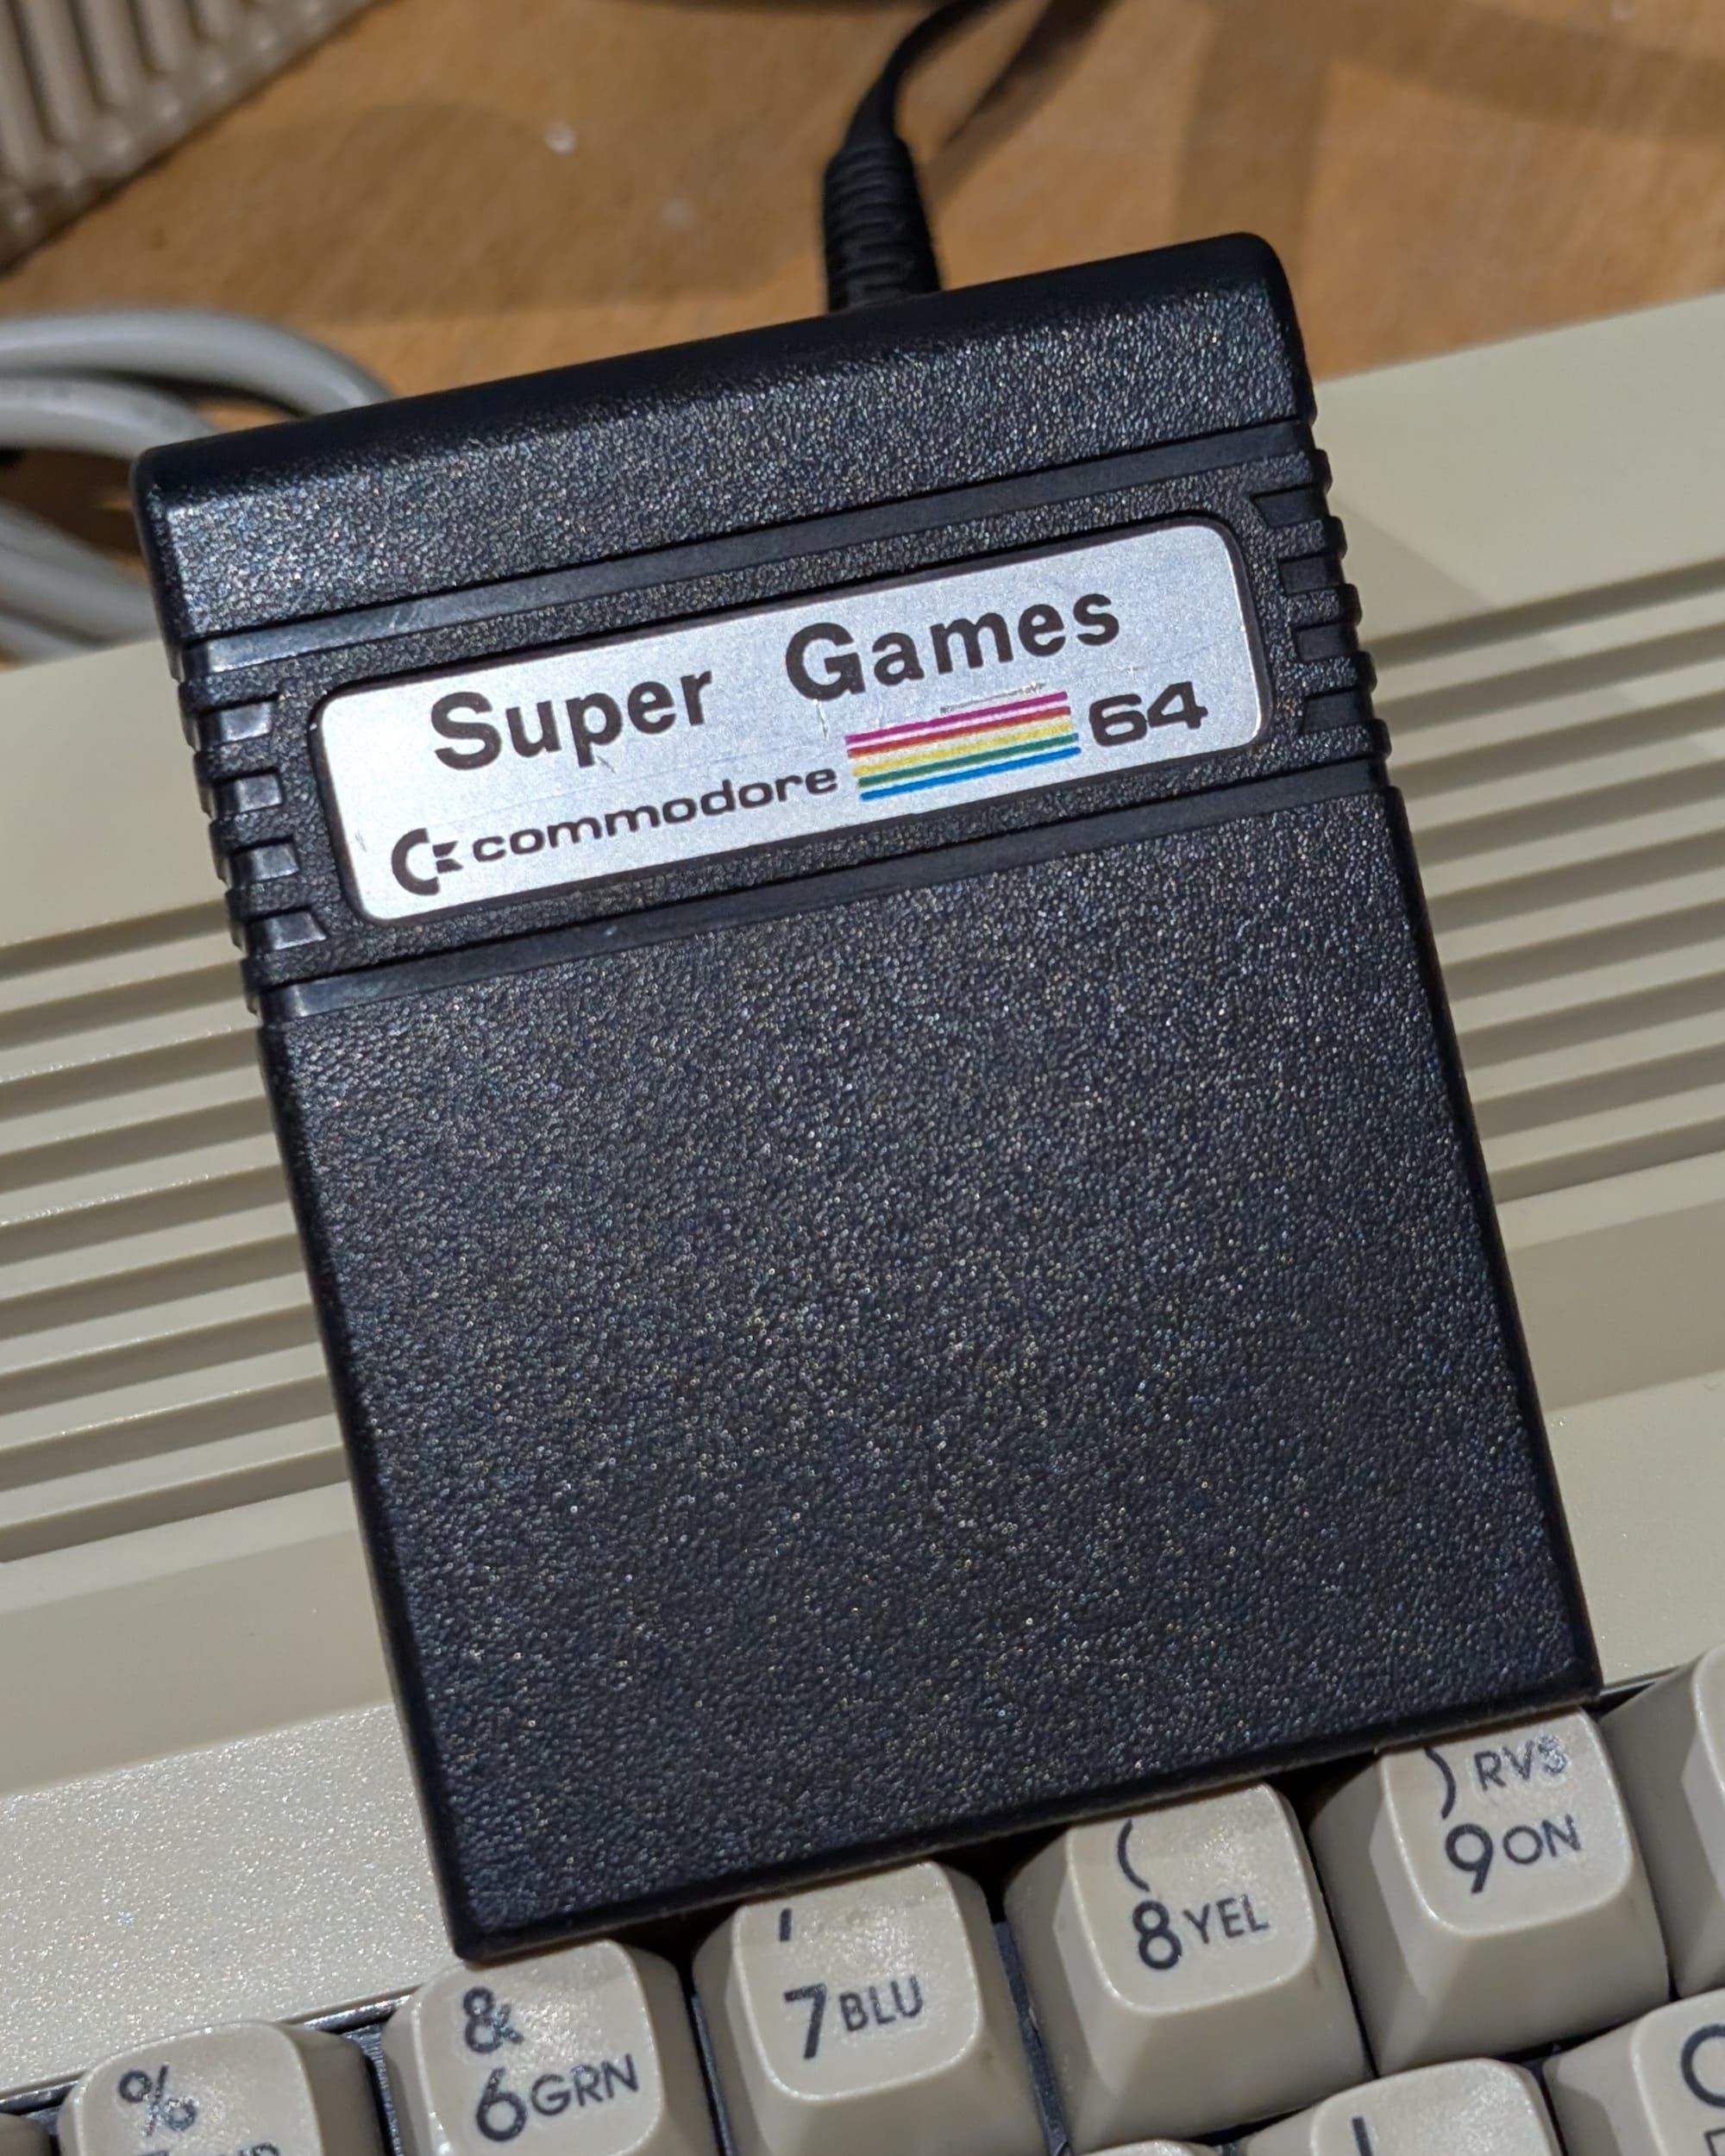
Although I have a fairly decent selection of Commodore 64 games, I've only ever owned one cartridge: Super Games. Unfortunately, I had never seen this cartridge work properly. When I recently dug out my C64, I decided it was time to fix that. The process ended up being more interesting and challenging than I expected.
Ruling out the obvious
With old cartridges like this, cleaning is always the first step. I had already done this in the past, but I scrubbed the pins with isopropyl alcohol again anyway. As expected, however, this didn't help.
With the cartridge inserted, the Commodore 64 just booted to a black screen. Since this was the only cartridge I had, I could not rule out any issues with the computer itself.
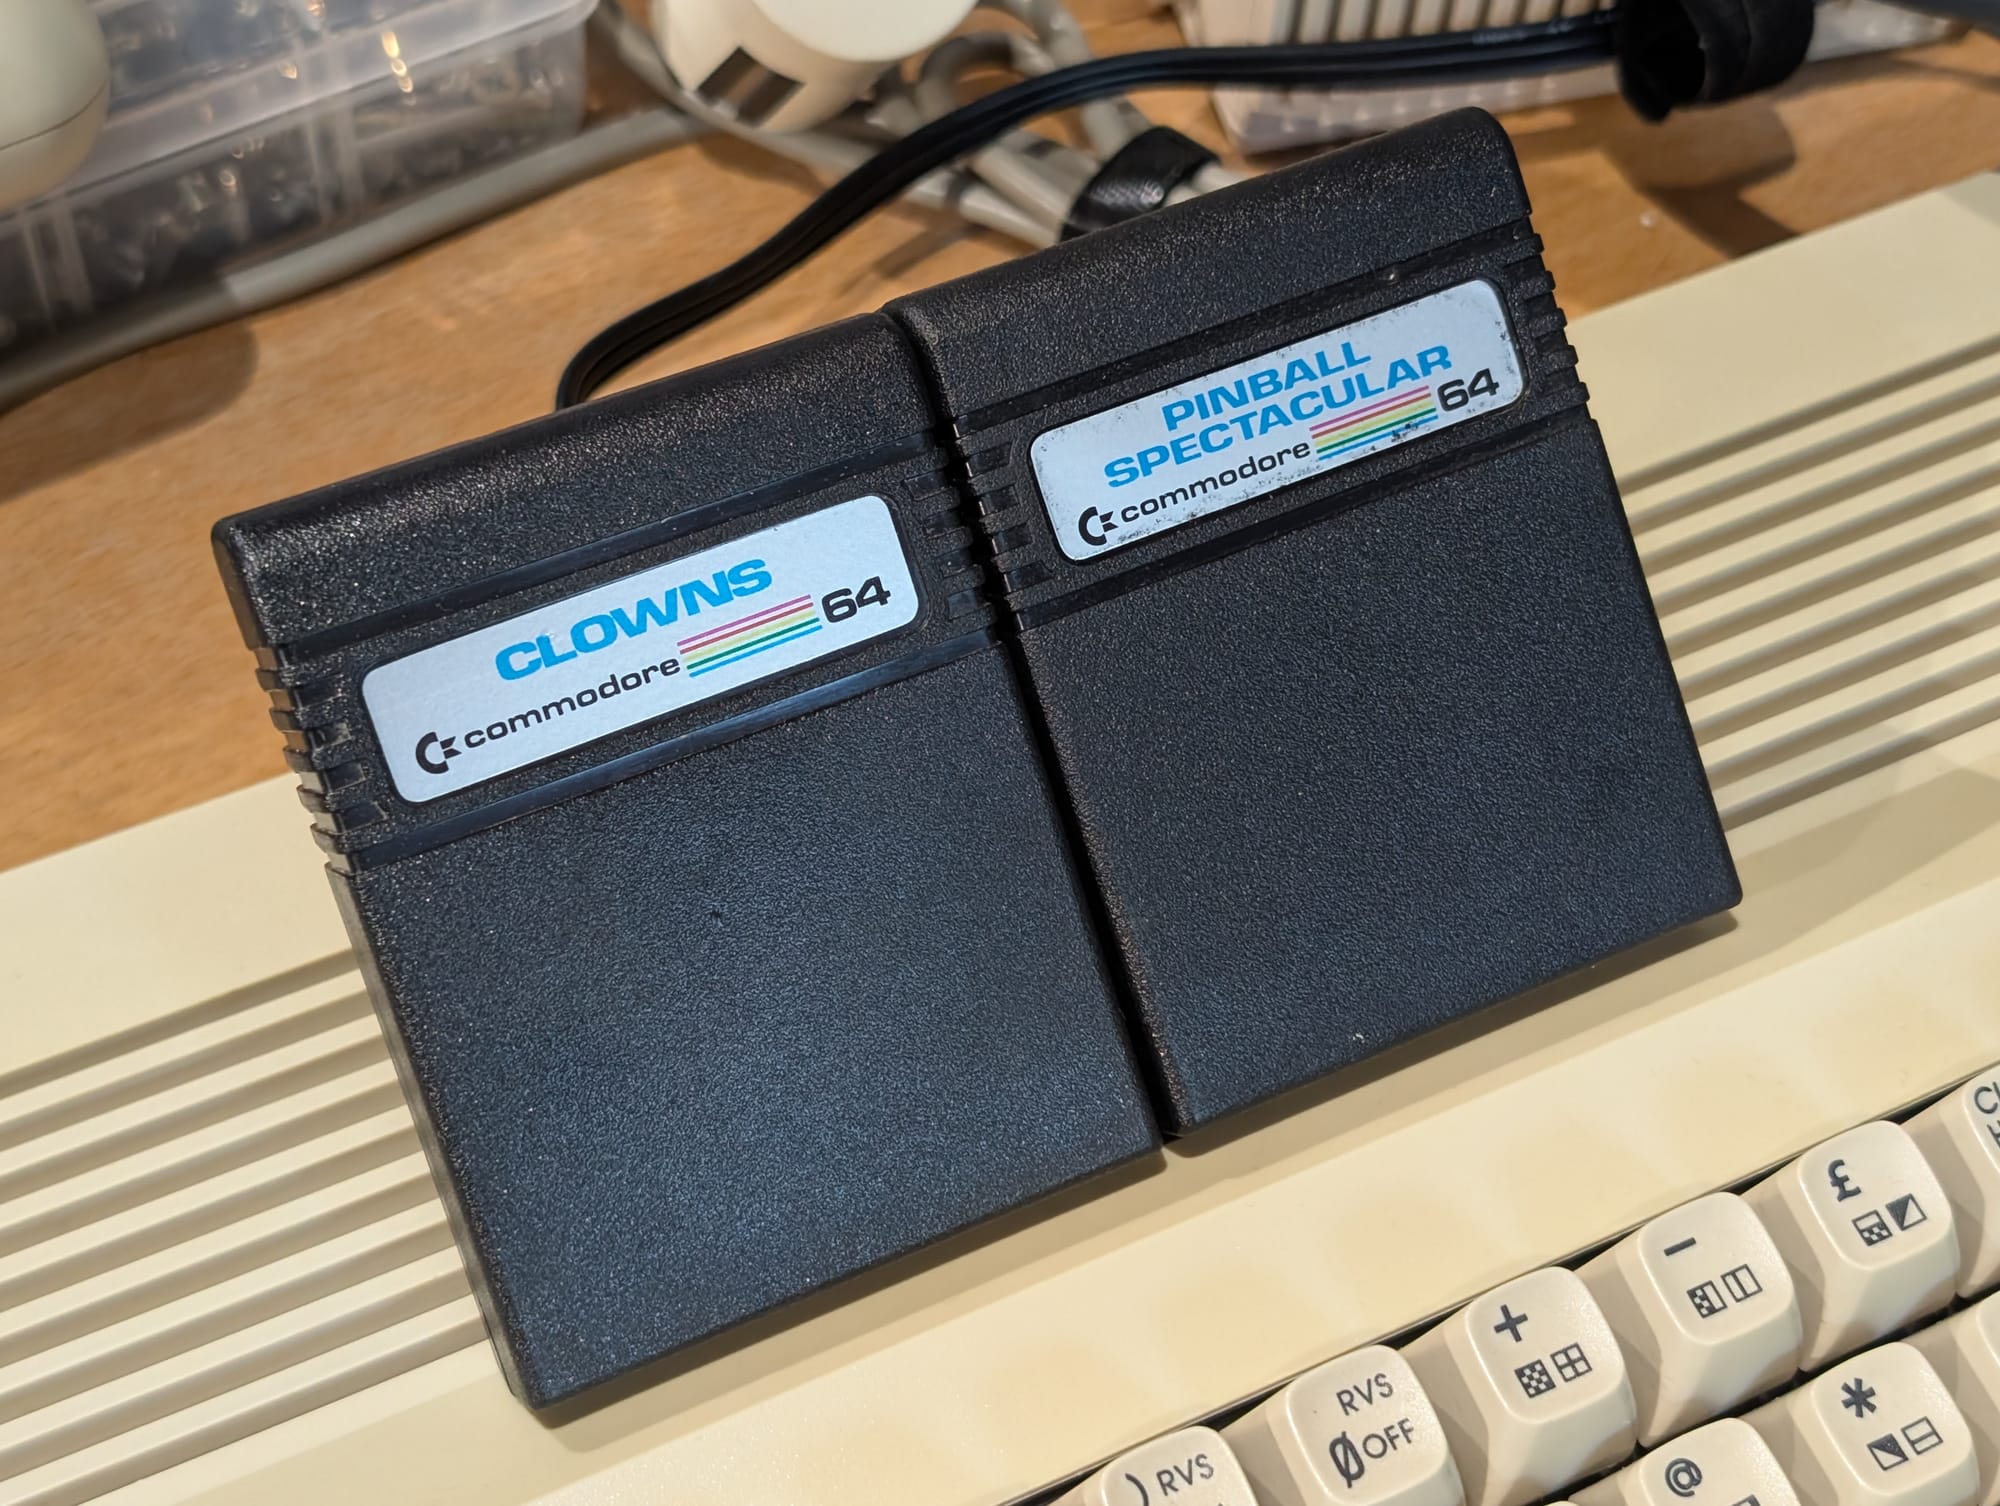
Since I wanted to rule this out first, I decided it would be easiest to just buy some known-good cartridges. I ordered two cheap but tested cartridges. This might seem a little lame, but it was the simplest way to rule out many potential problems, and they were games I didn't mind owning.
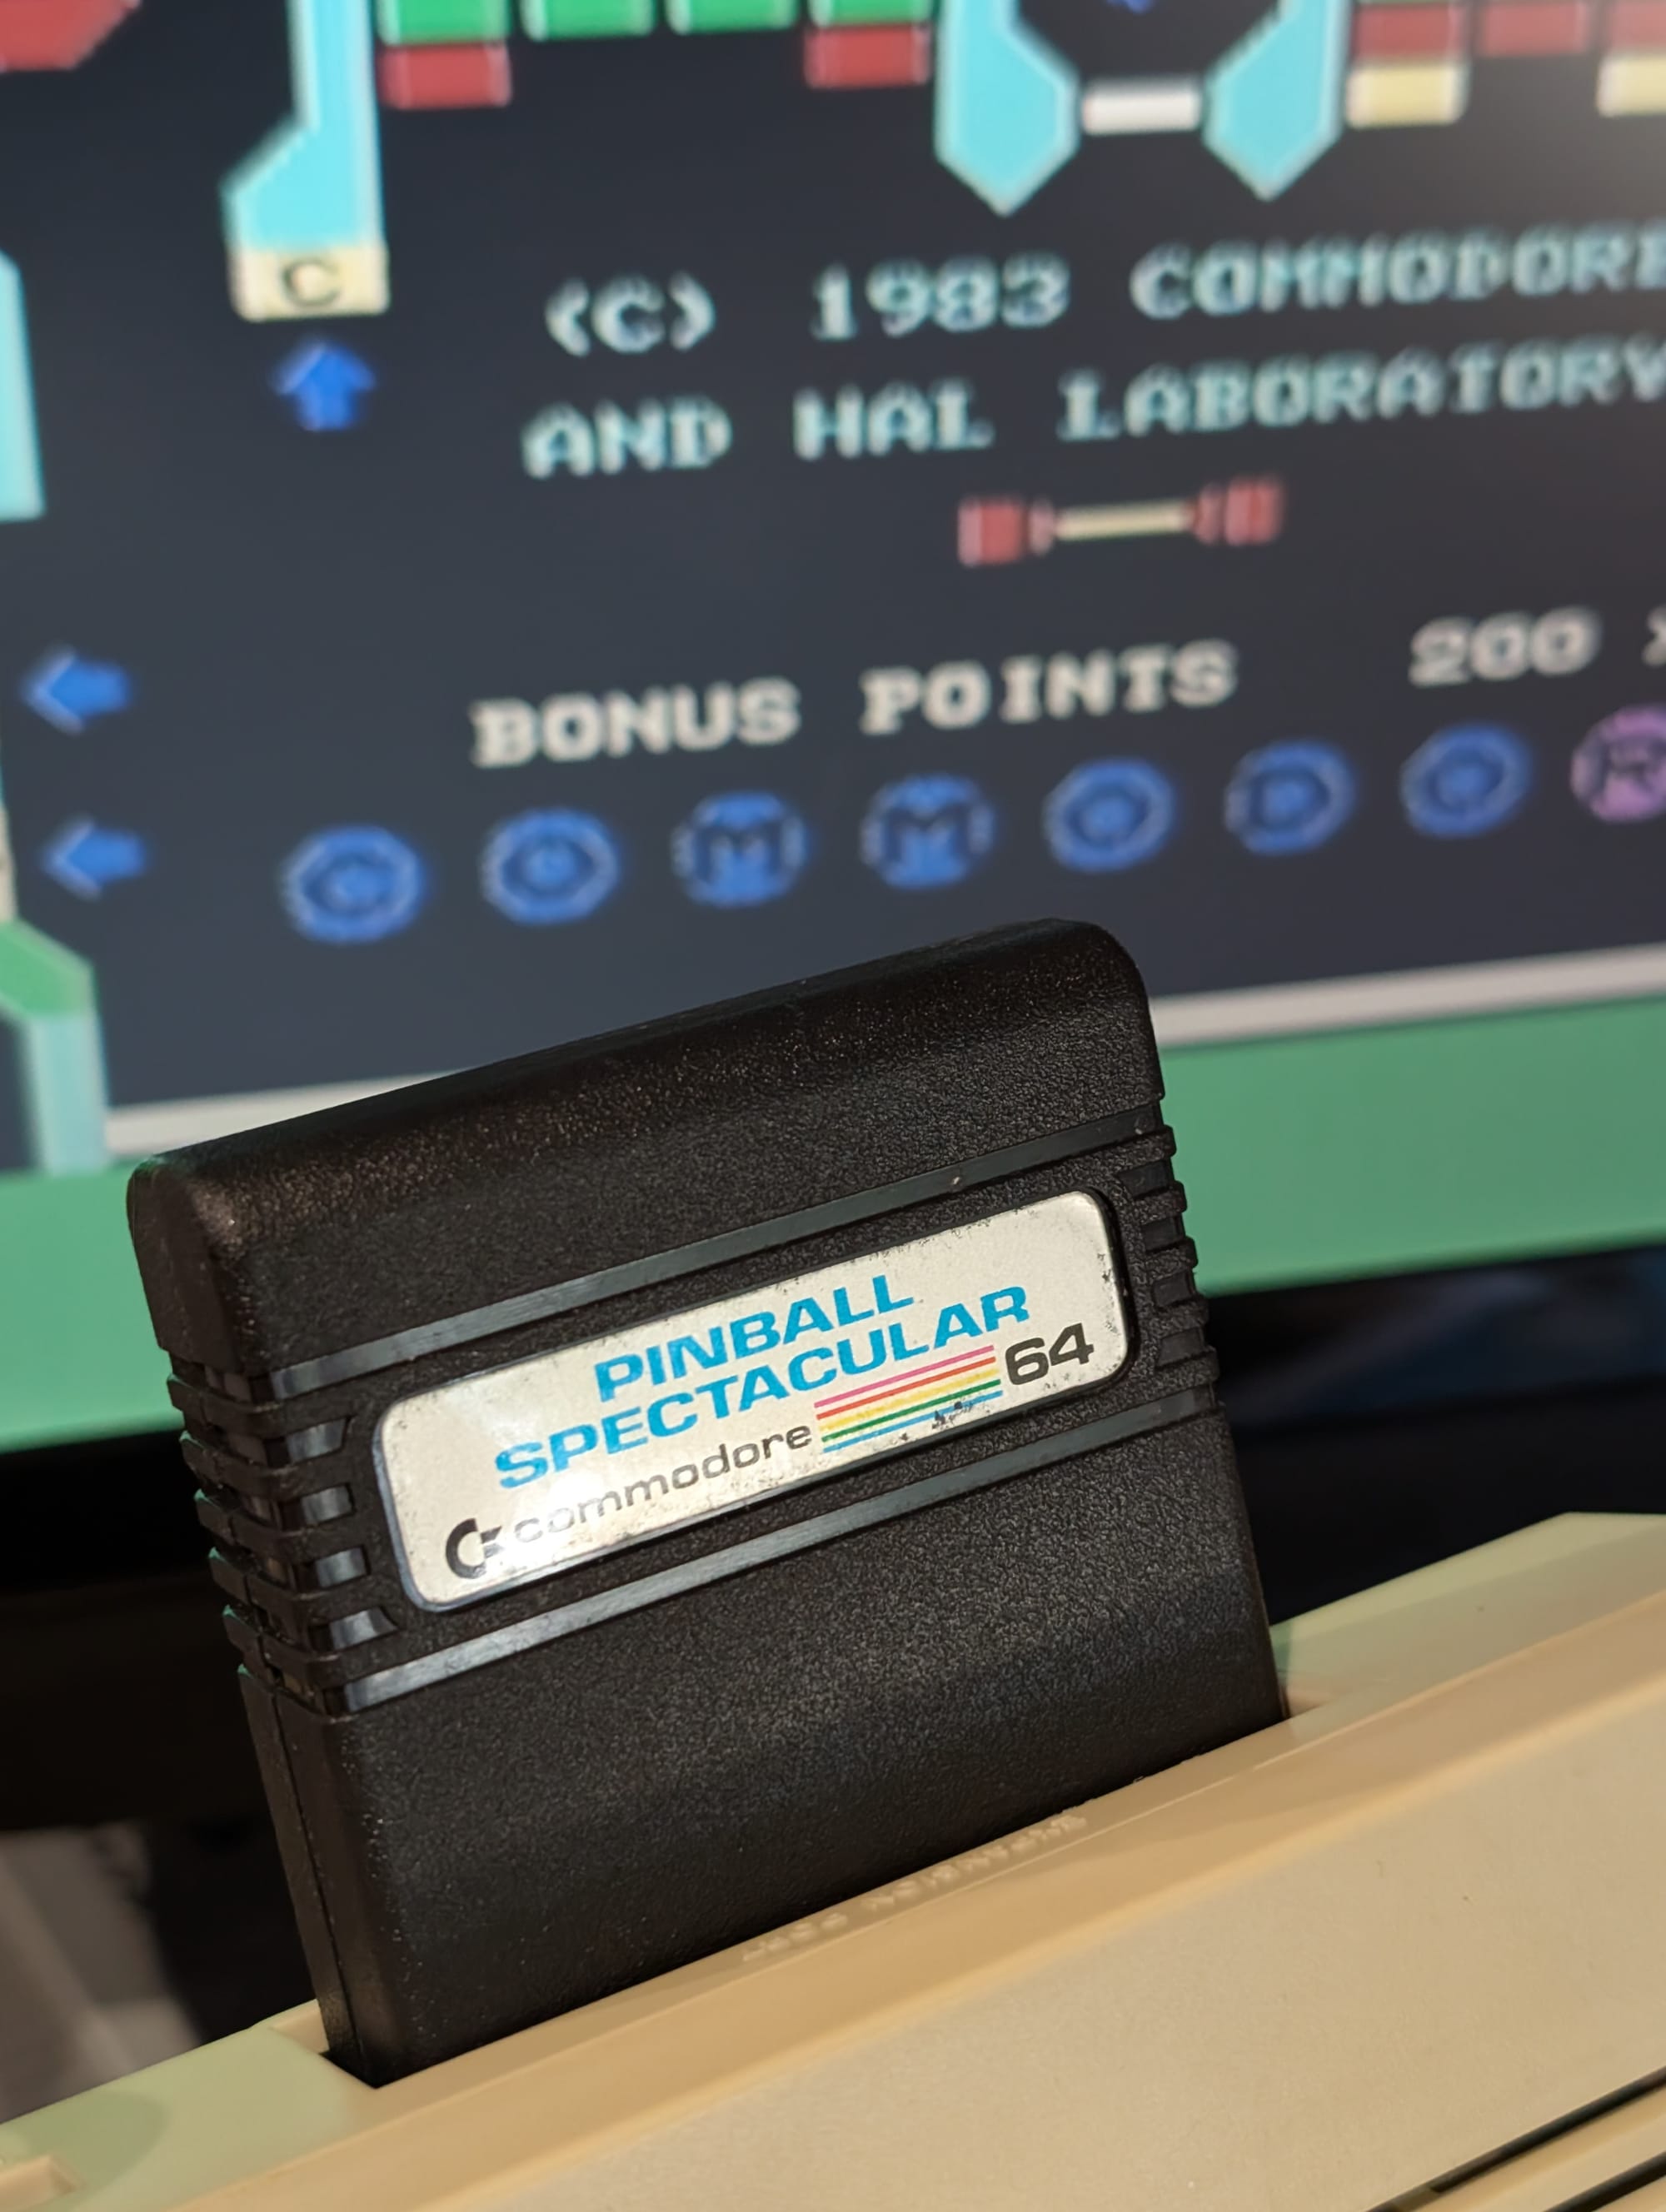
After they arrived, I cleaned them thoroughly and confirmed that they worked perfectly with the C64.
A closer look and testing chips
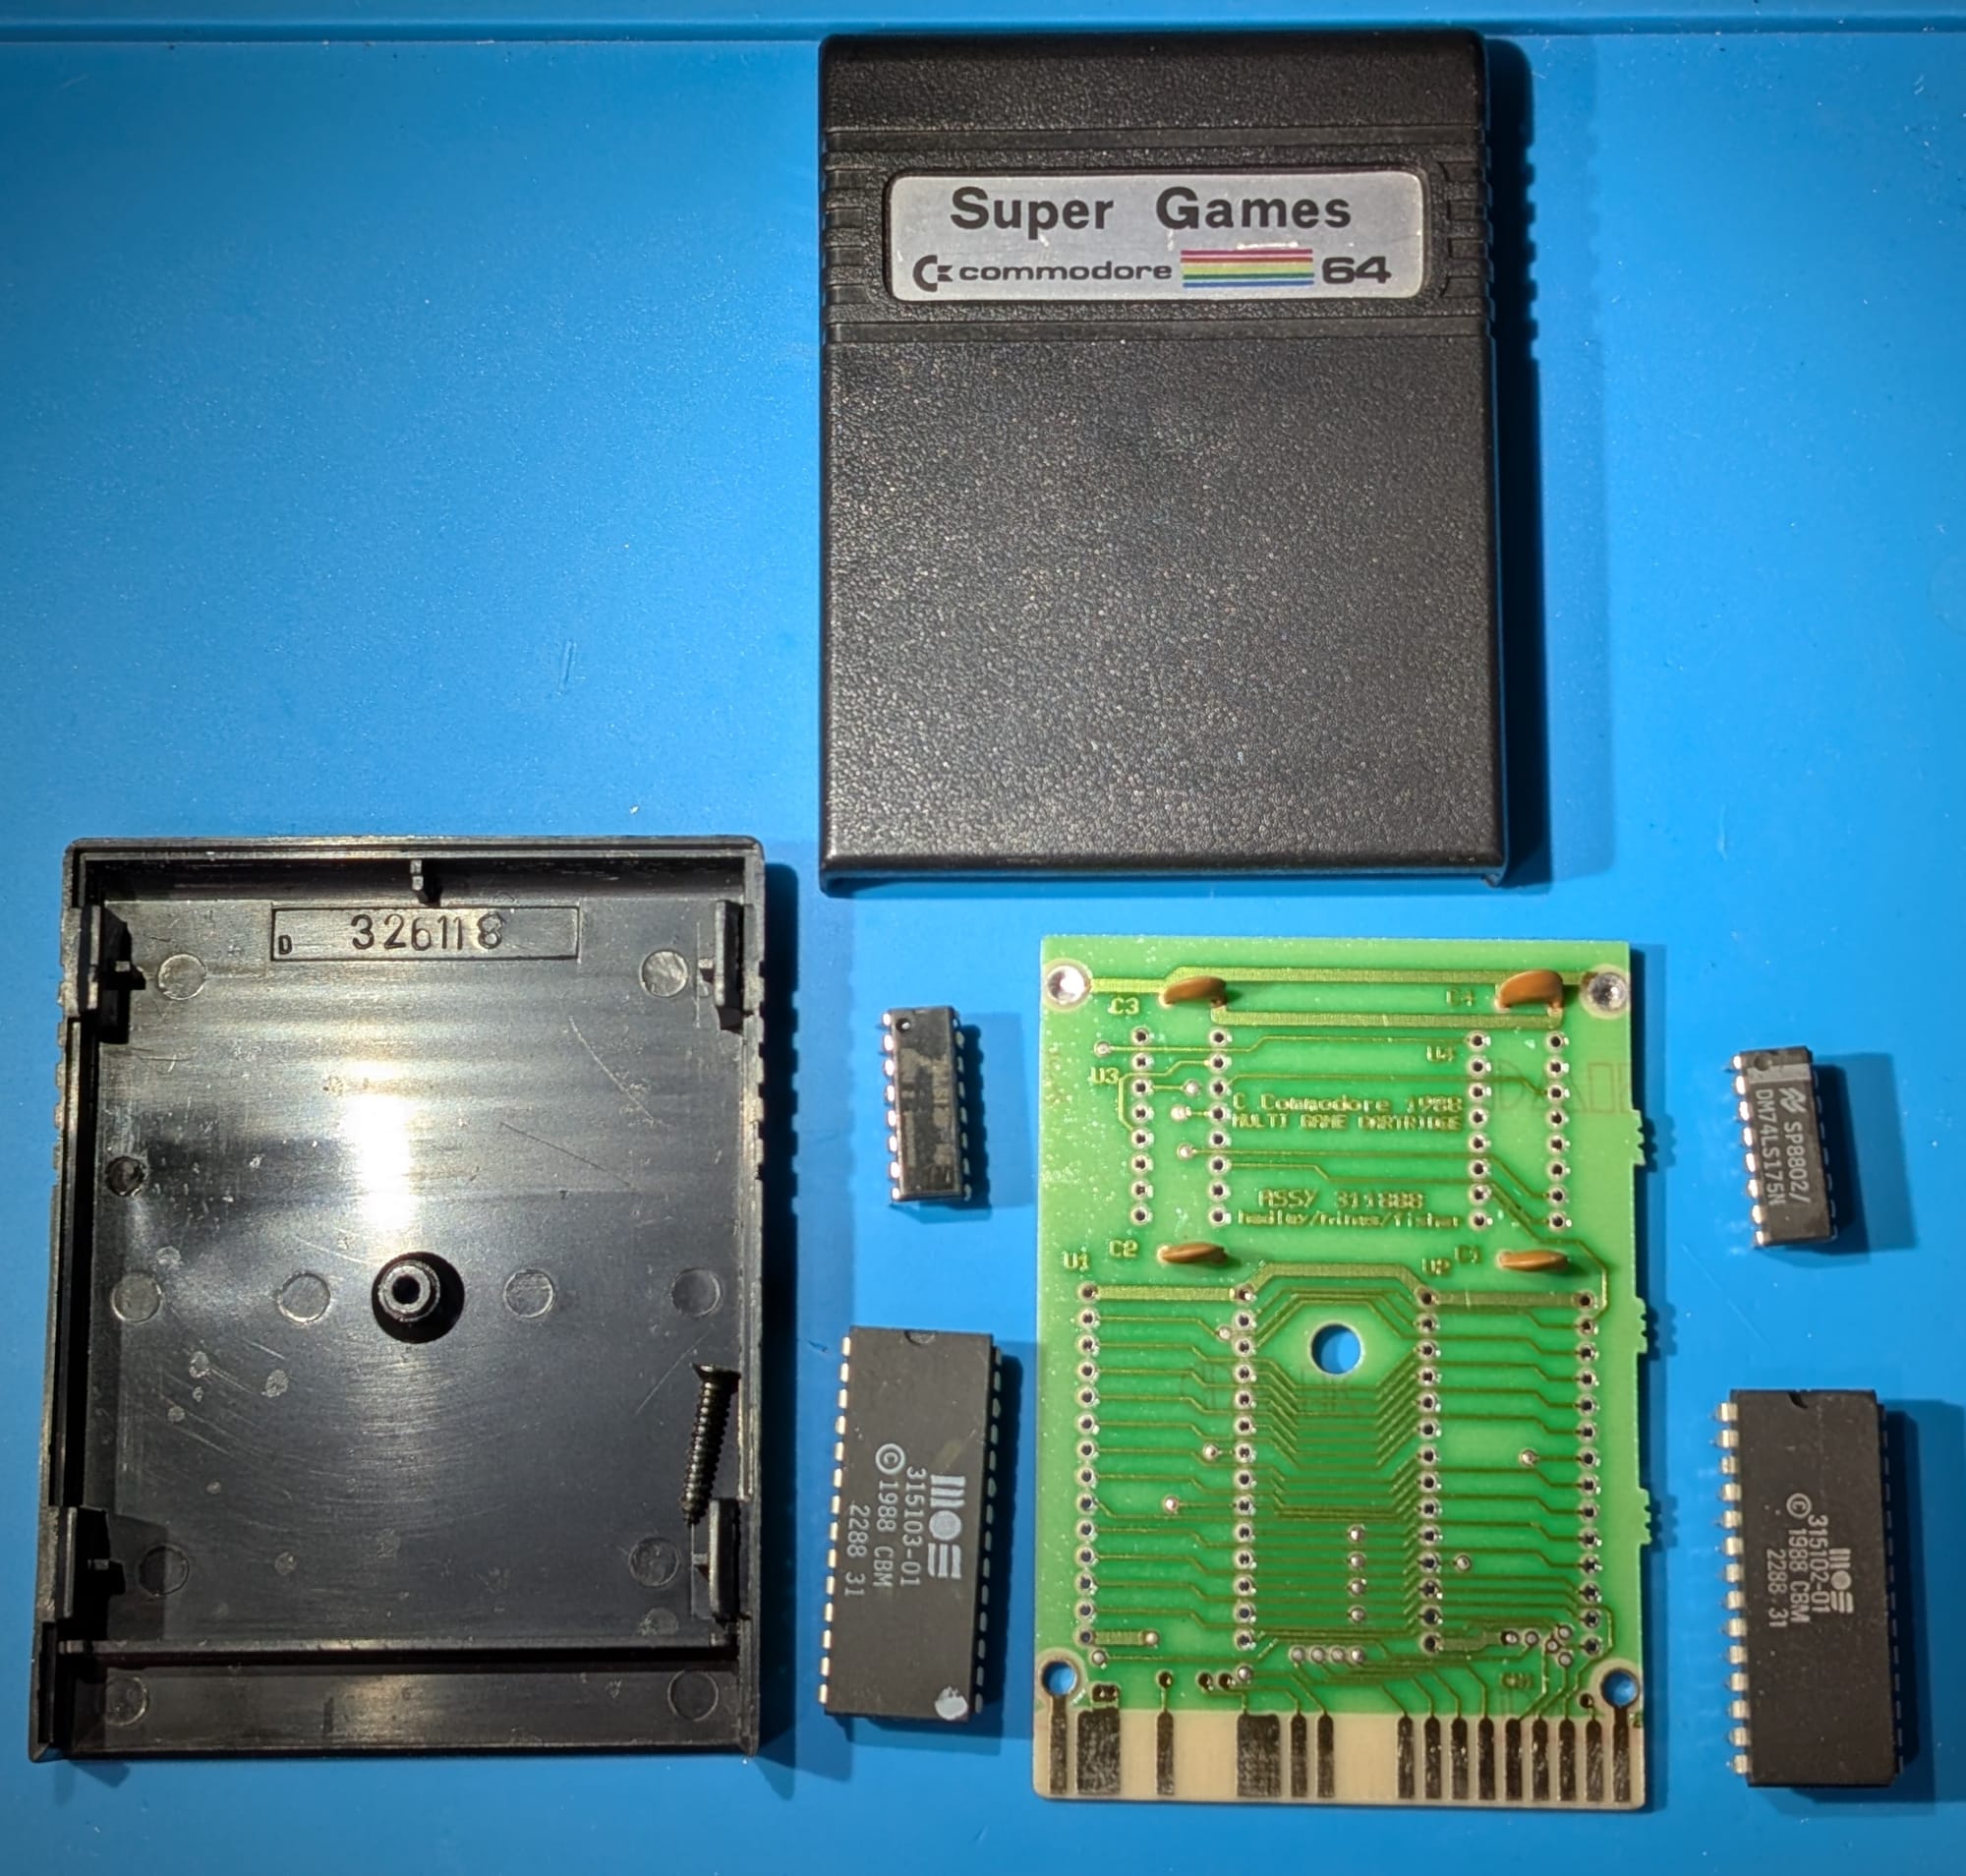
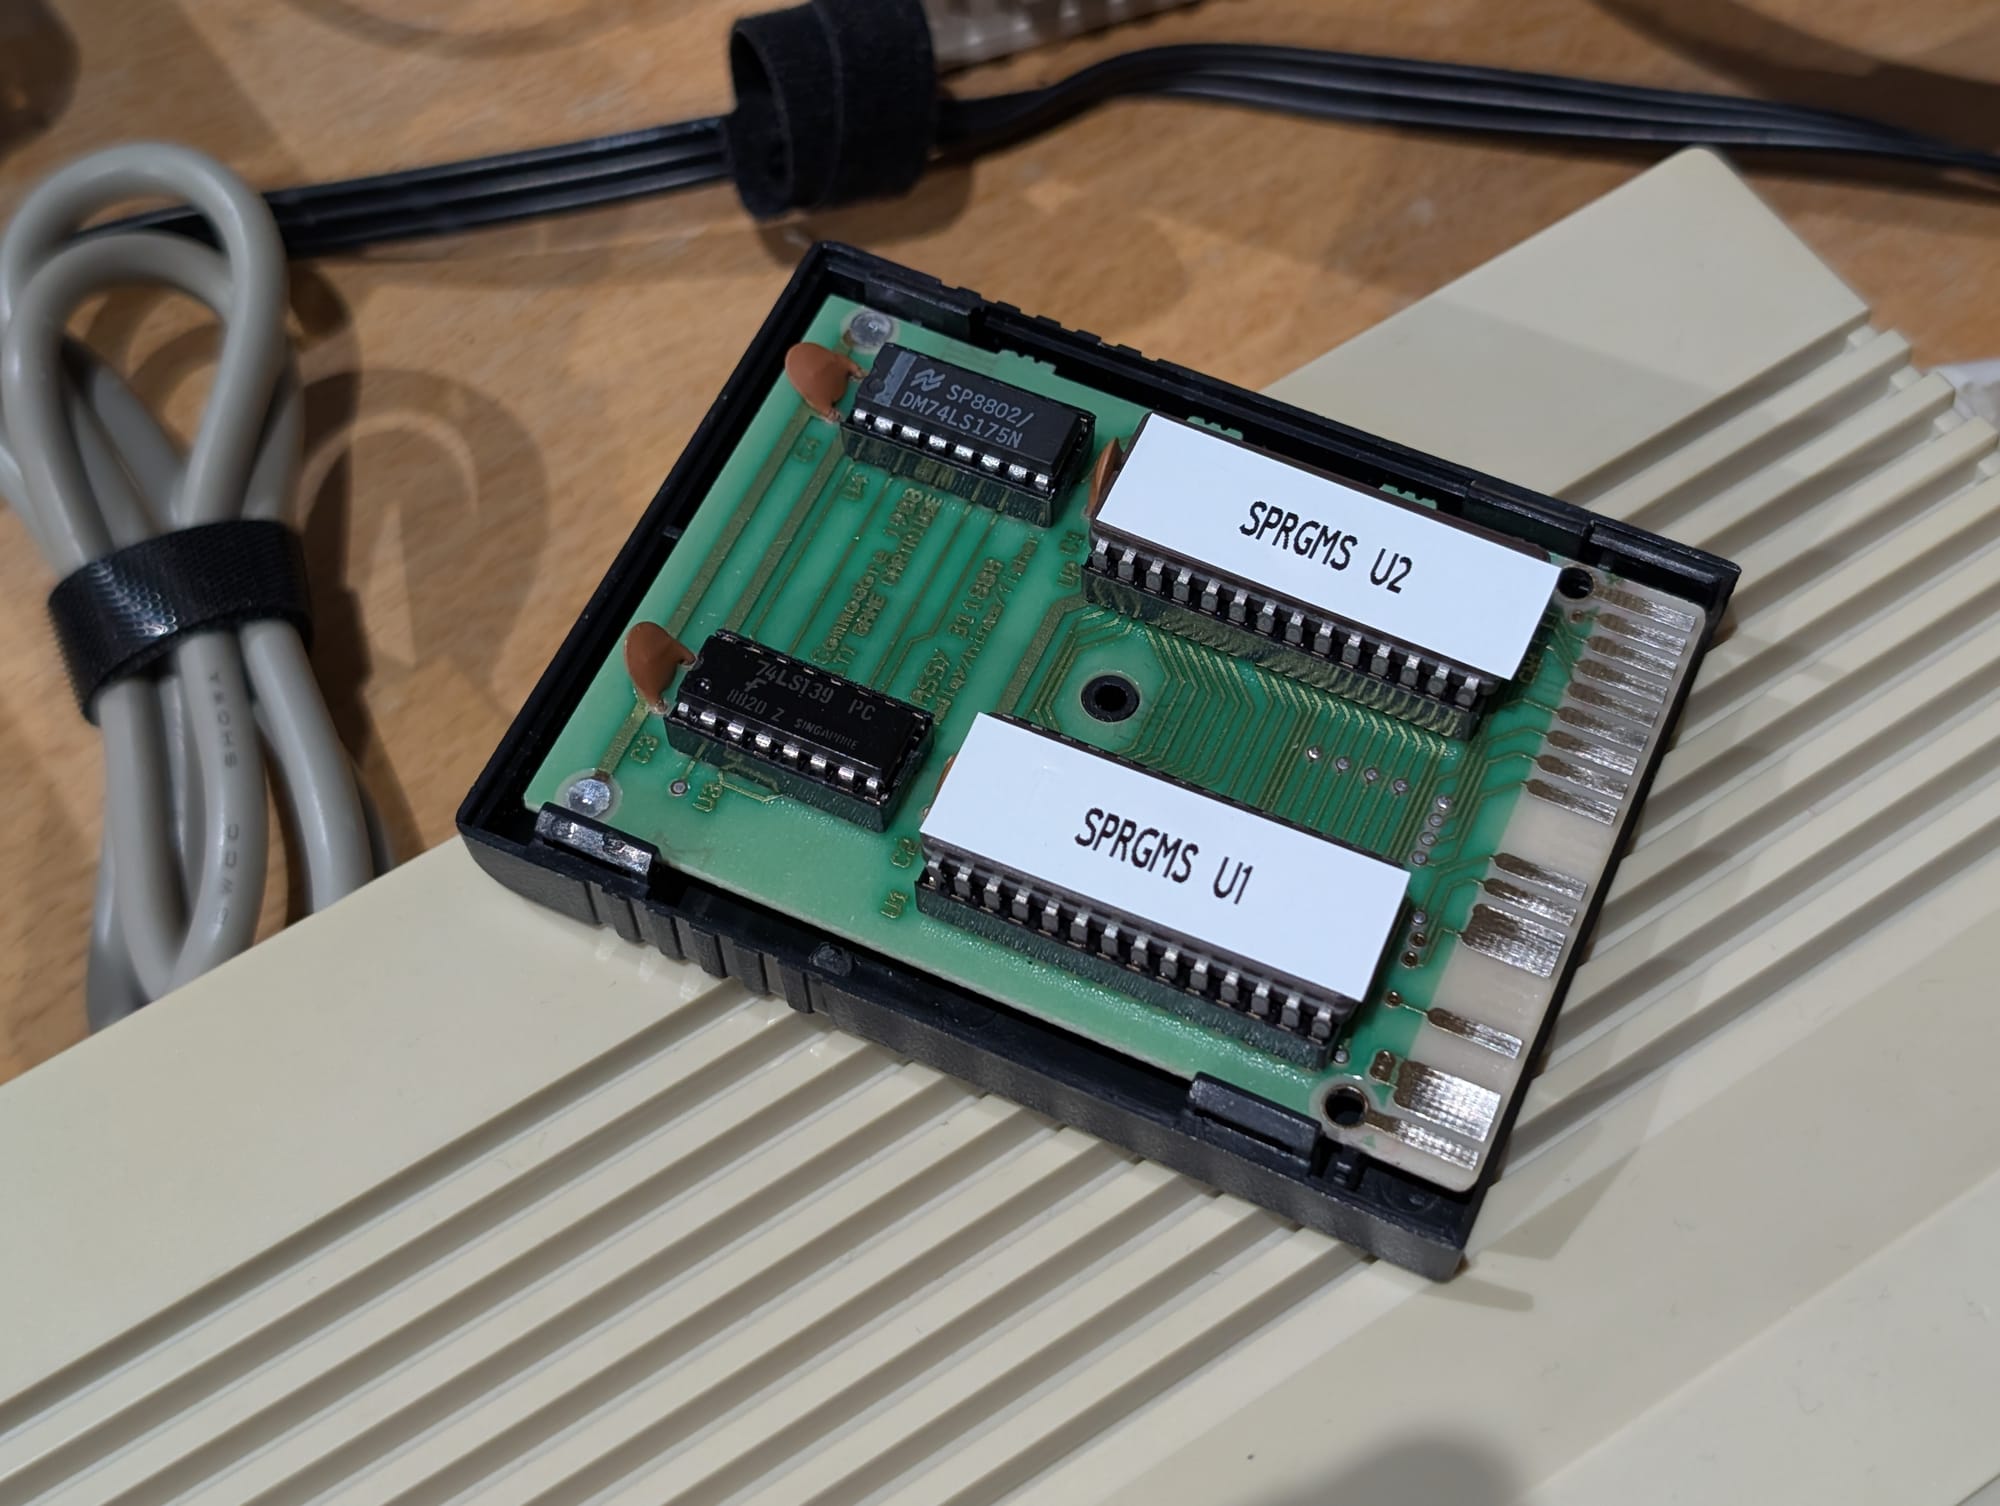
Knowing now that the problem was almost certainly with the cartridge itself, I opened it up for a closer look.
There was no obvious damage to the PCB. The traces and solder joints appeared intact. The ceramic capacitors also showed no visible damage.
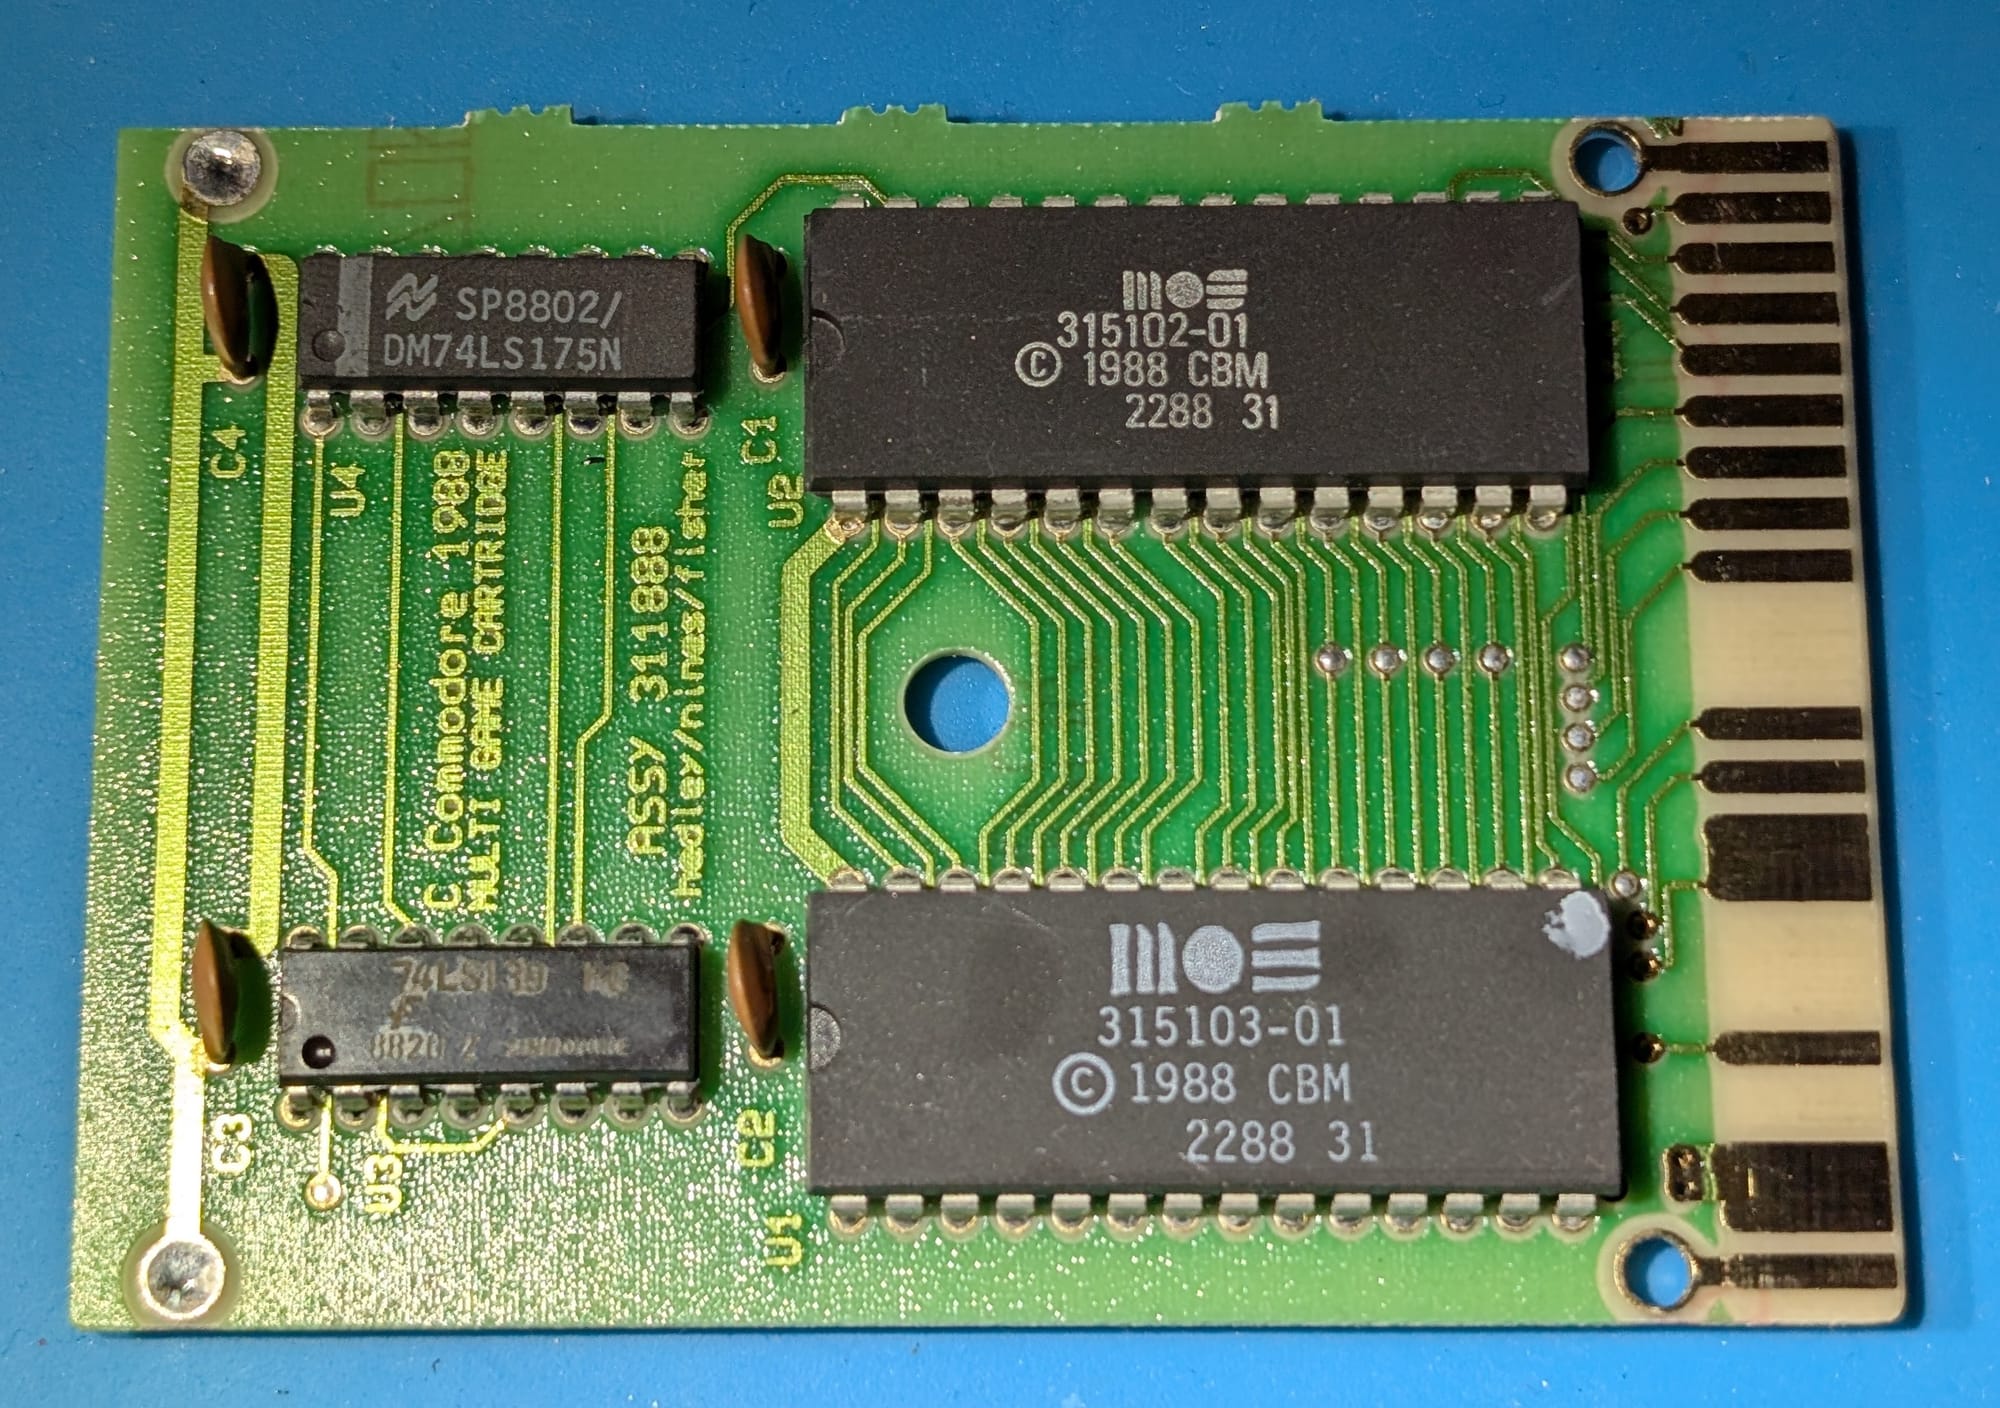
I suspected that there was something wrong with one of the chips. This Super Games cartridge is actually quite unique for a Commodore 64 cart. It has 64k of data split between two 32k PROM chips. In addition to the PROM chips, there are two small logic ICs on the board that help with bank switching.
As covered in a previous post, I bought a TL866 II Plus EEPROM programmer a few years ago, which I luckily still have at hand. After doing some research, I discovered that all of these chips can be tested using the TL866 II Plus.
First, the chips needed to be desoldered and removed from the board. This was fairly straightforward using a solder pump and solder wick.
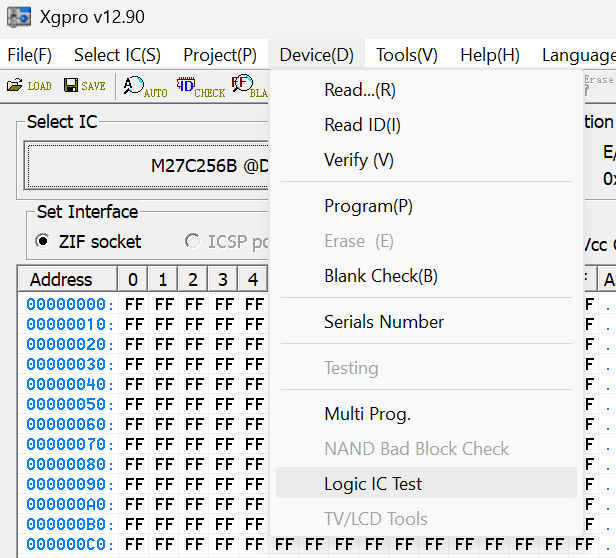
I started with the logic ICs. The XGPRO software that comes with the programmer has an option to test many different logic ICs under the 'Device' menu. It's a really useful feature that I wish I had discovered much earlier!
As both logic ICs tested OK, they could be ruled out. Leaving one of the PROM chips as the most likely culprit.
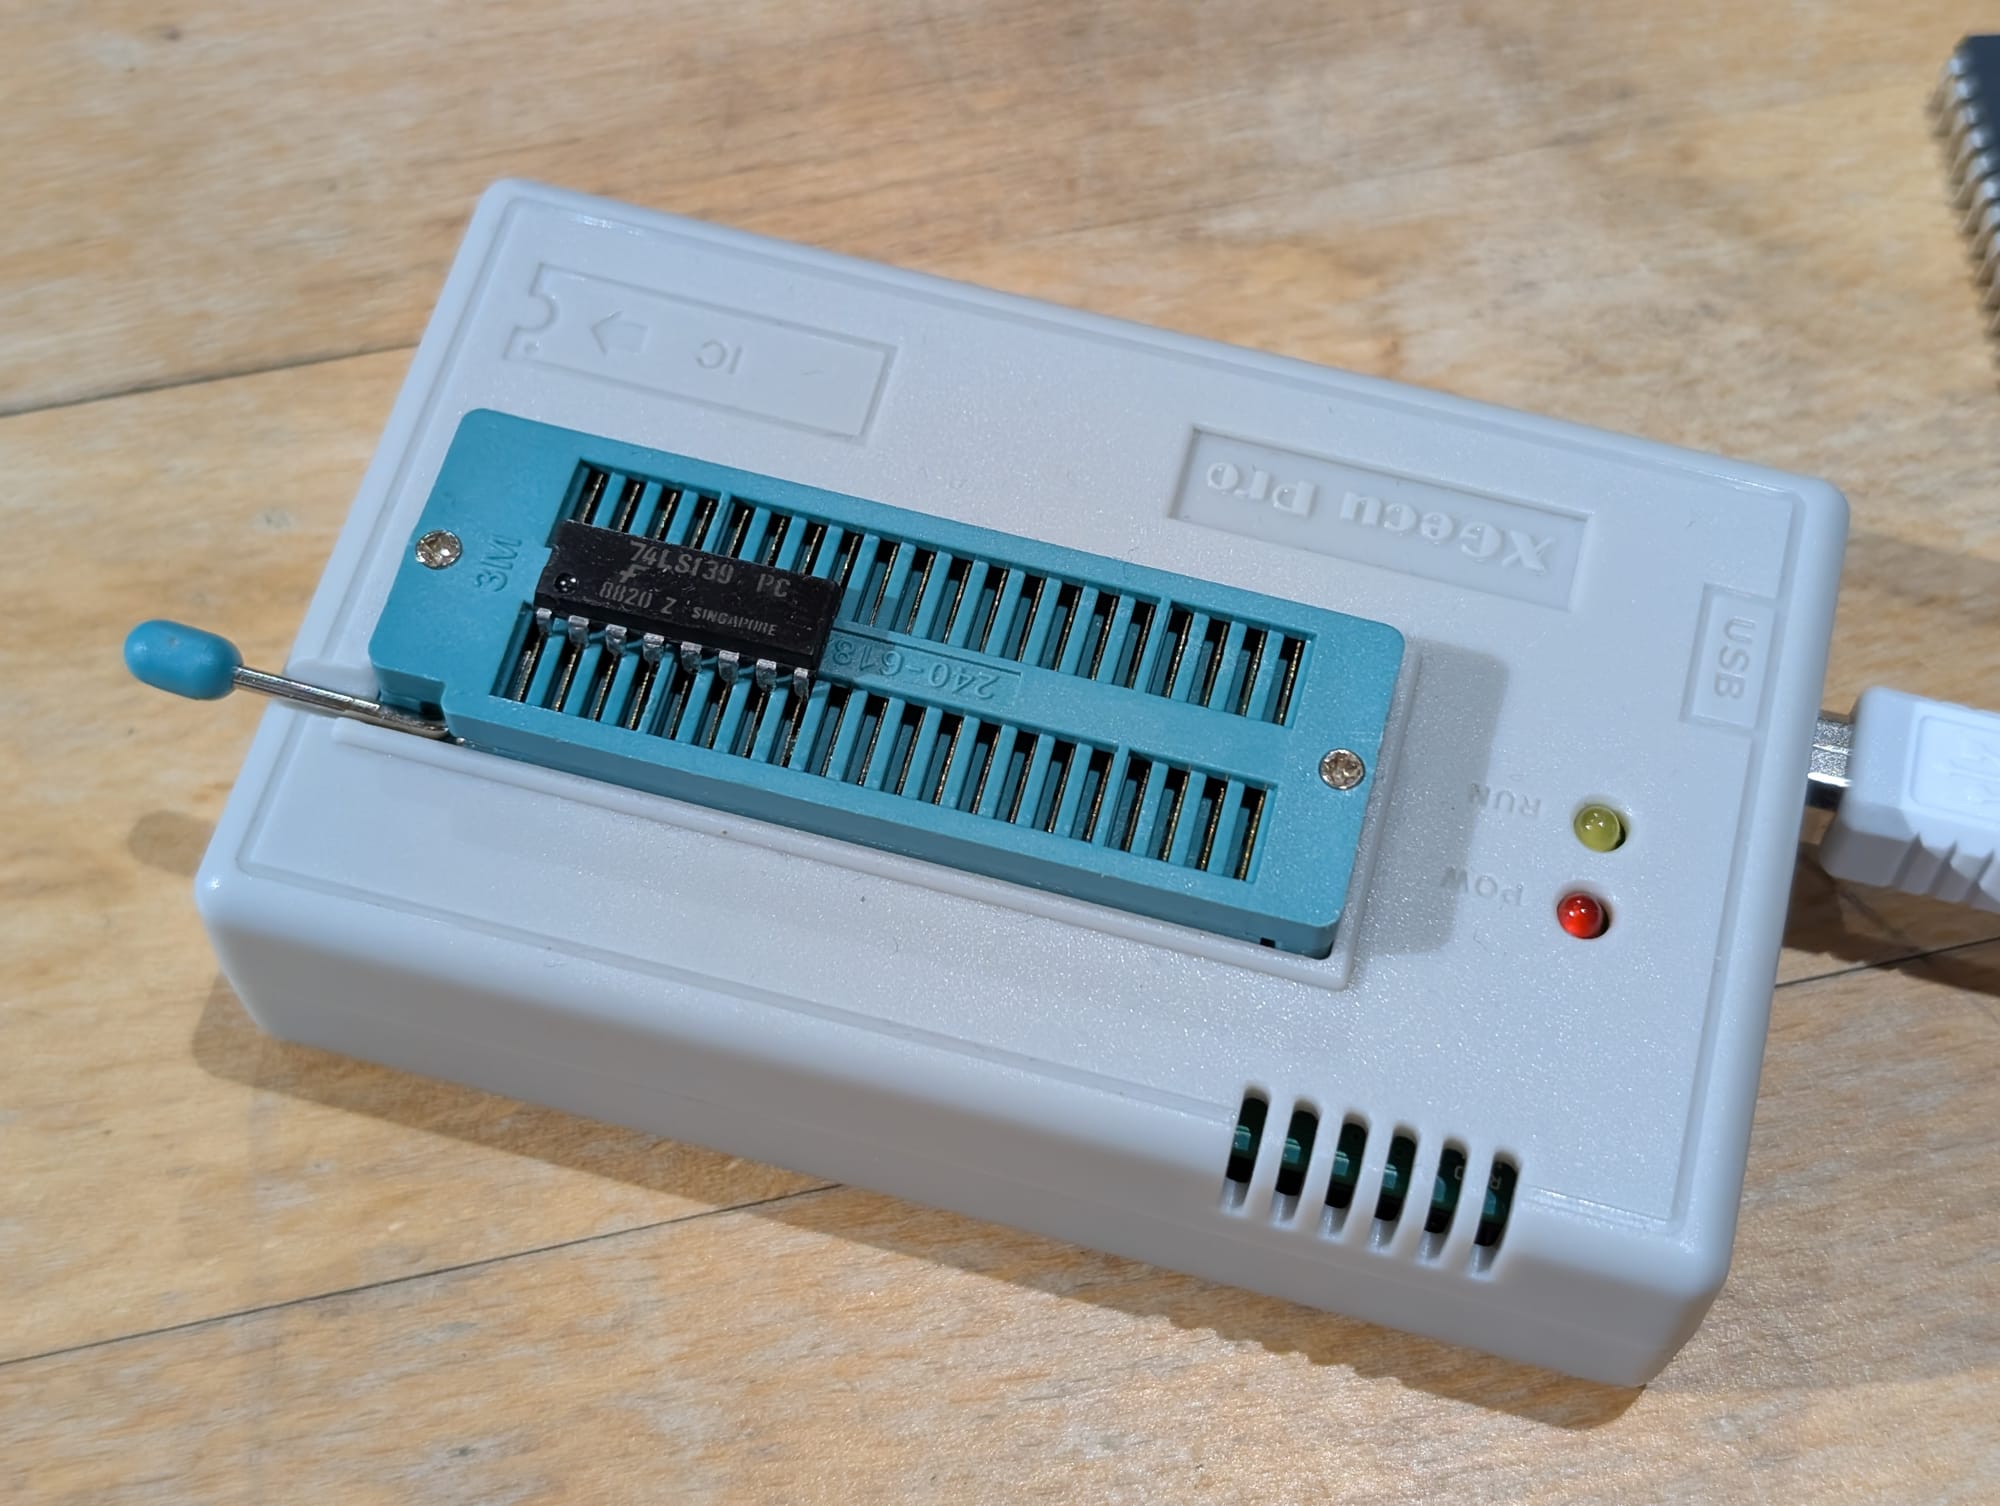
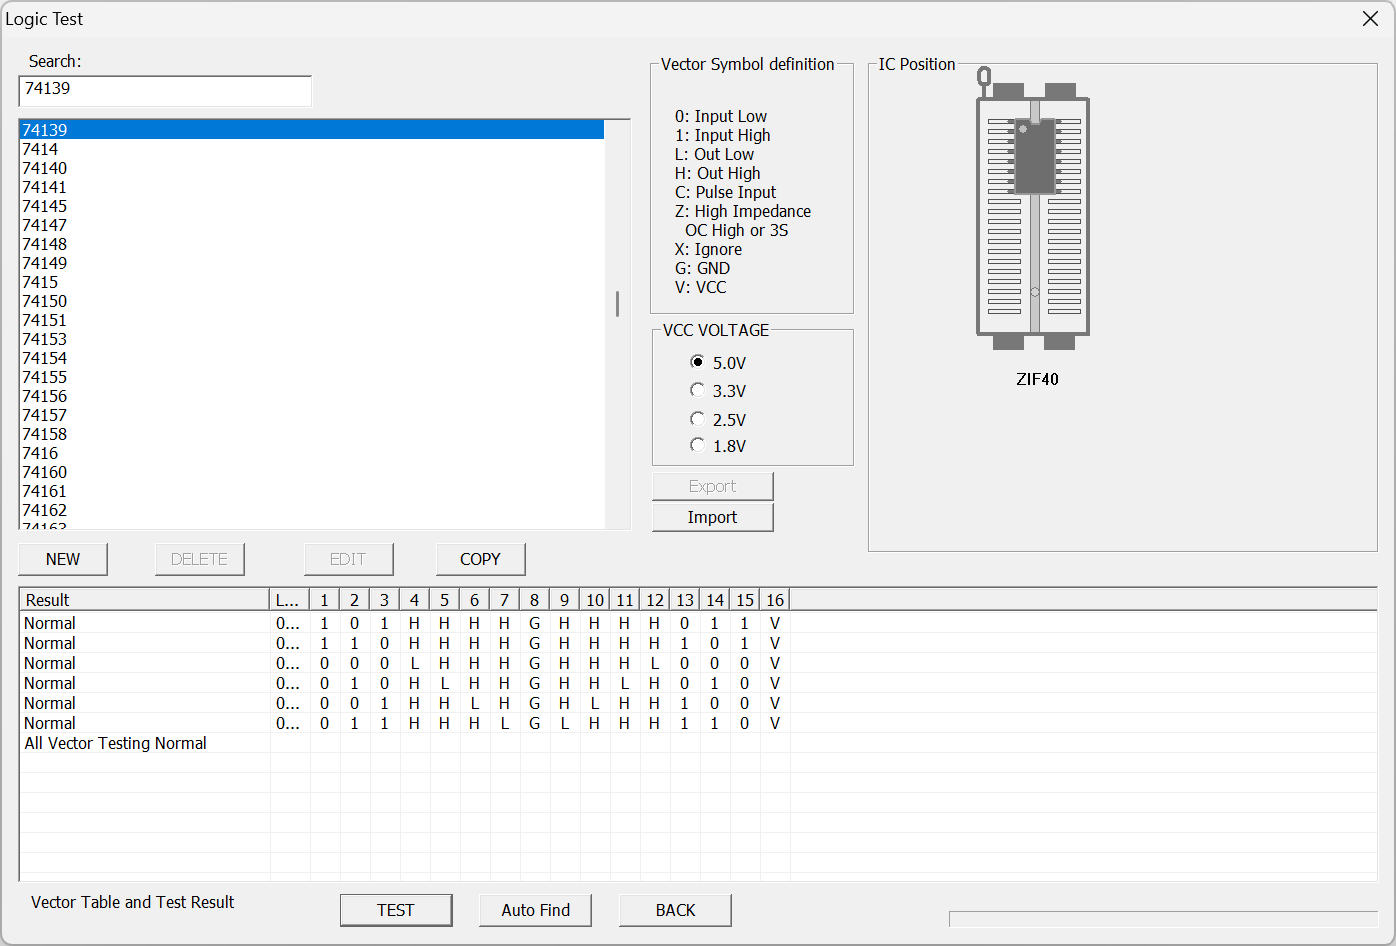
The 74LS137 IC, 74139 in the software.
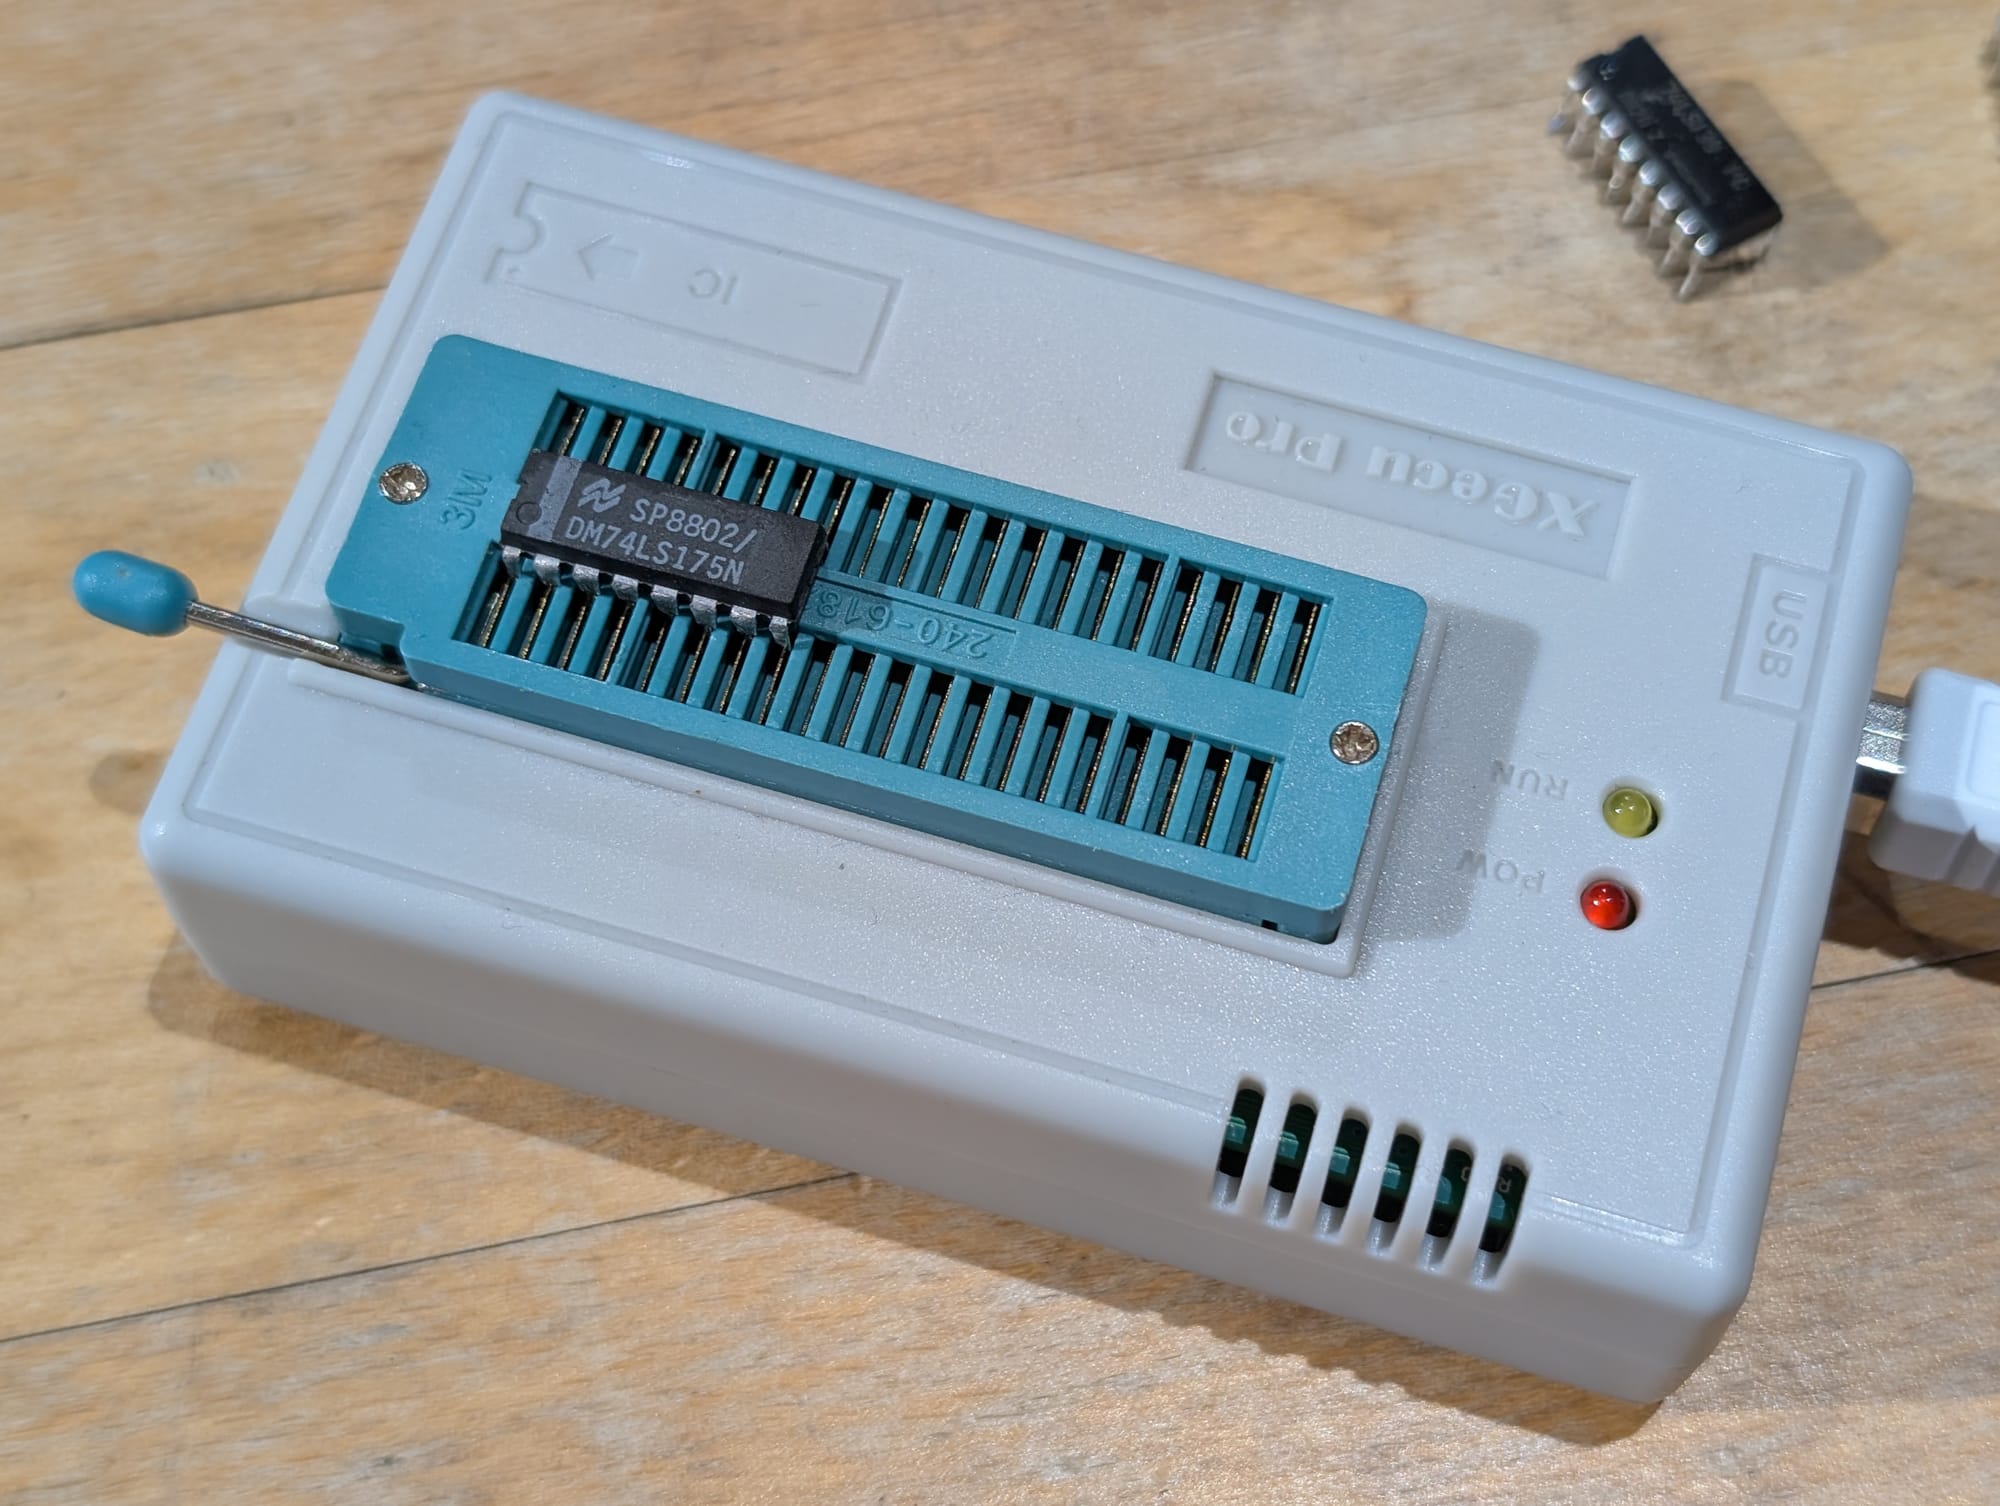
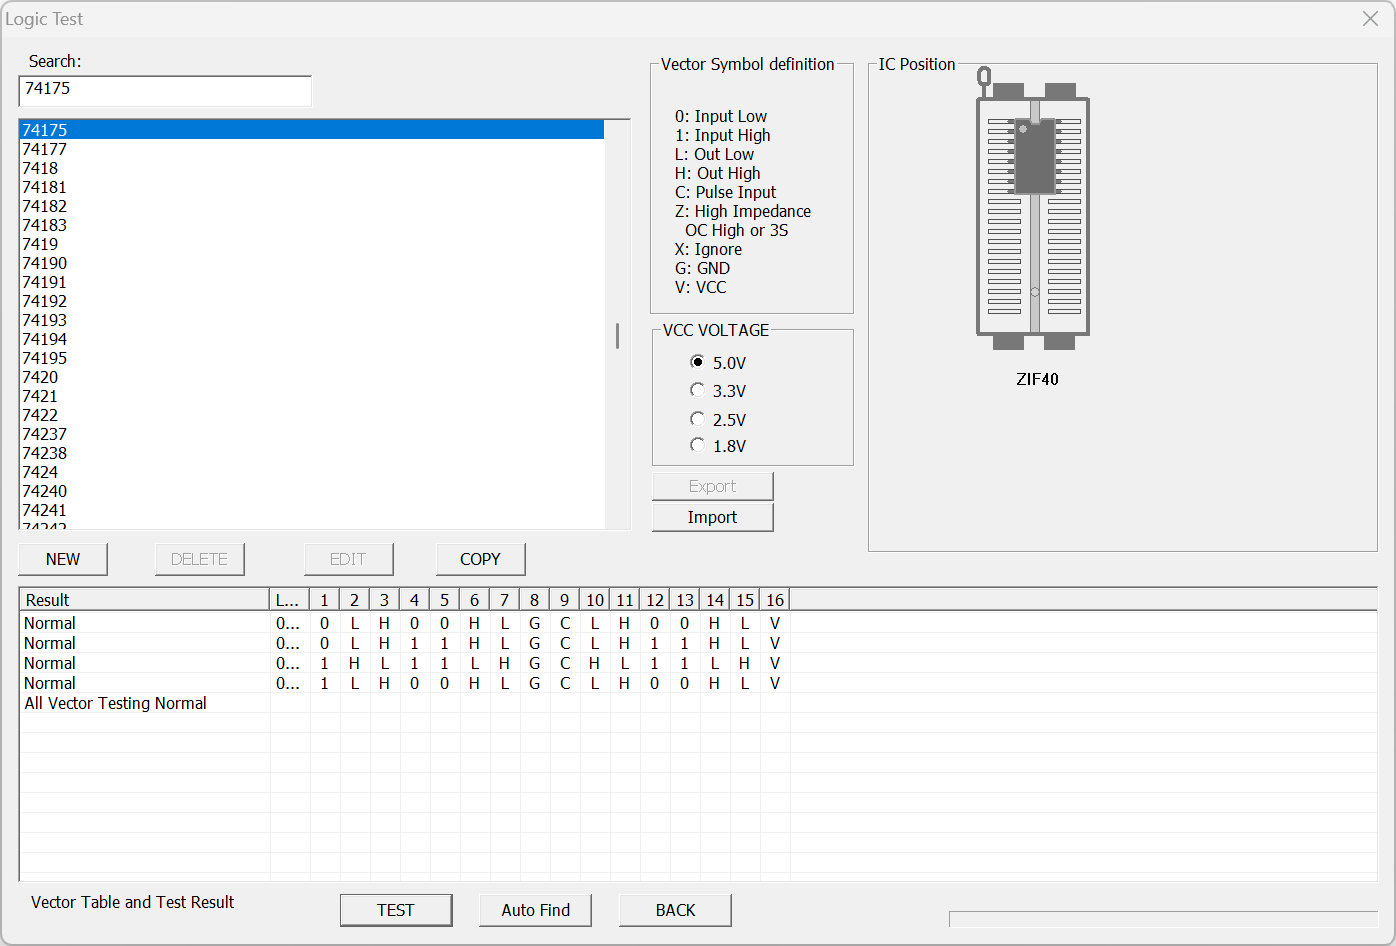
The 74LS175 IC, 74175 in the software.
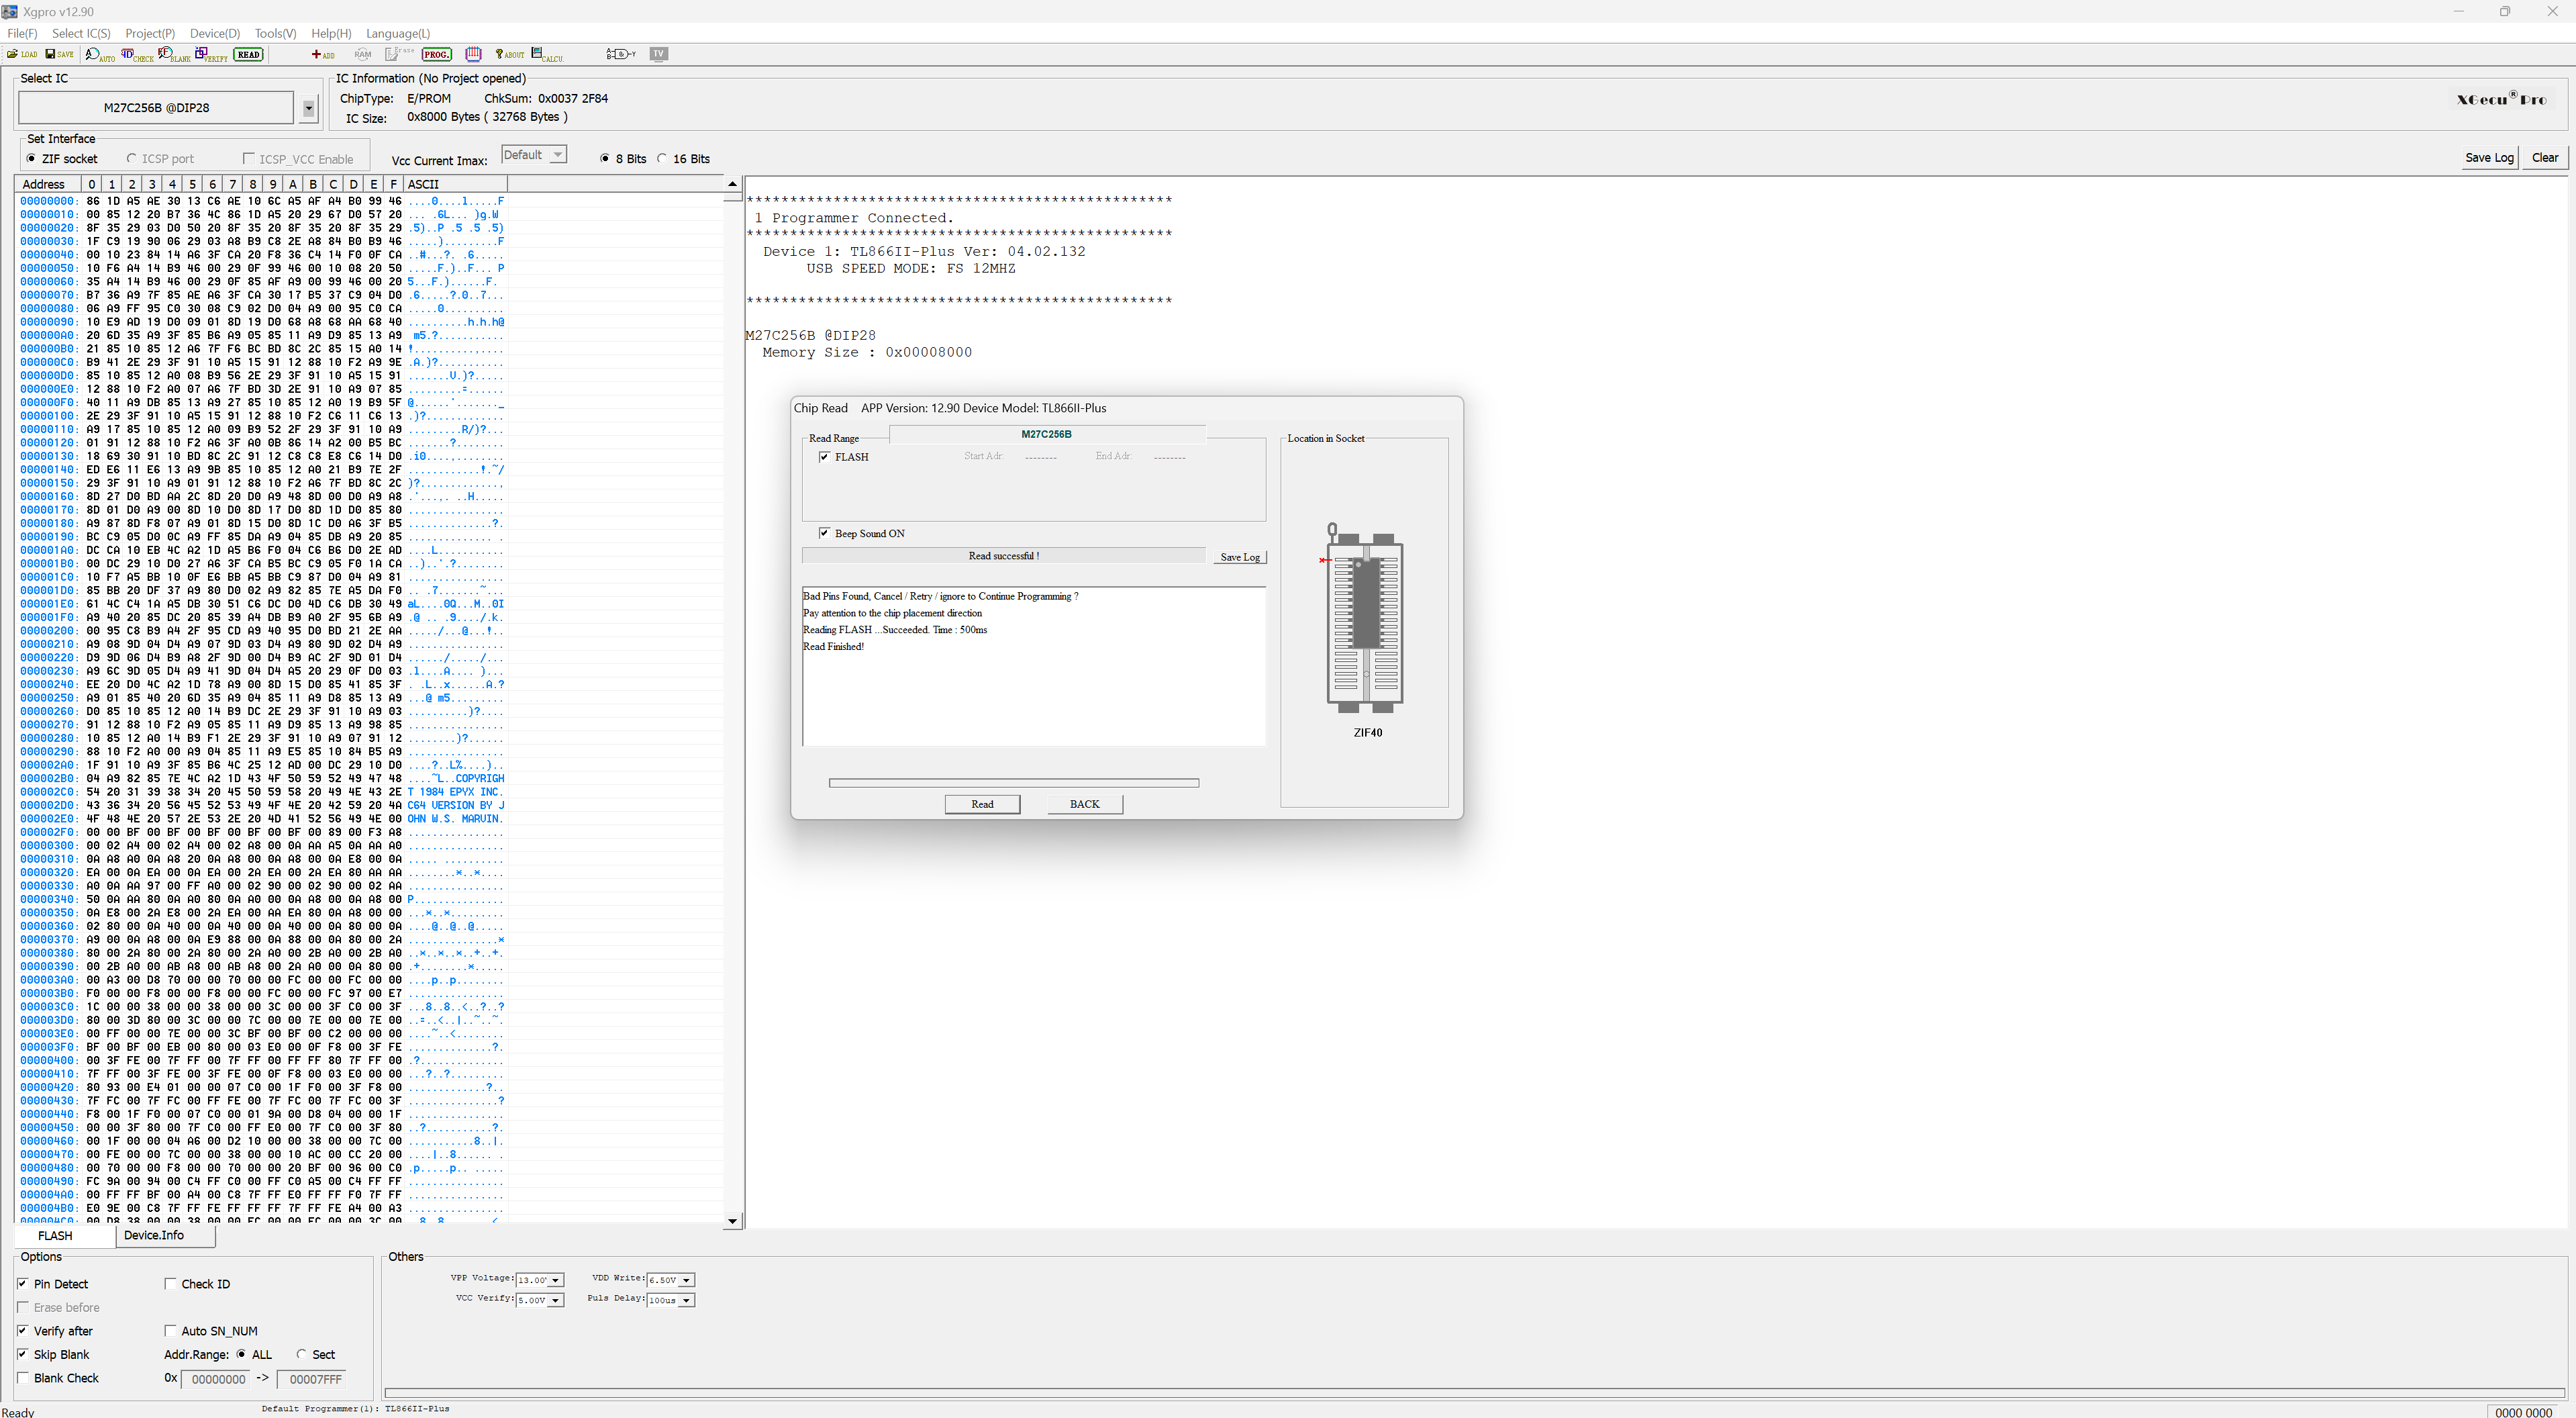
The PROM chips are manufactured by MOS and are not listed in the XGPRO software. However, as this excellent overview of MOS ROMs shows, these particular chips are pin-compatible with 27C256 EPROMs, except for the MOS chips missing the VPP pin, which is not needed to read the data. As the software supports 27C256 EPROMs, it was possible to read the data from the MOS ROMs by selecting this chip model in the software. A warning will be shown that the VPP pin isn't being detected, but the software allows you to ignore this and continue reading.
One of the ROM chips contained data and seemed fine at first glance. The other one, however, was completely blank. With that, we have the cause of the problem! This chip must have somehow erased itself after many decades, or there must be another problem with it. I've heard that other MOS ROM chips can be unreliable, such as the Commodore VIC-20's Kernal ROM chip, so this didn't surprise me much.
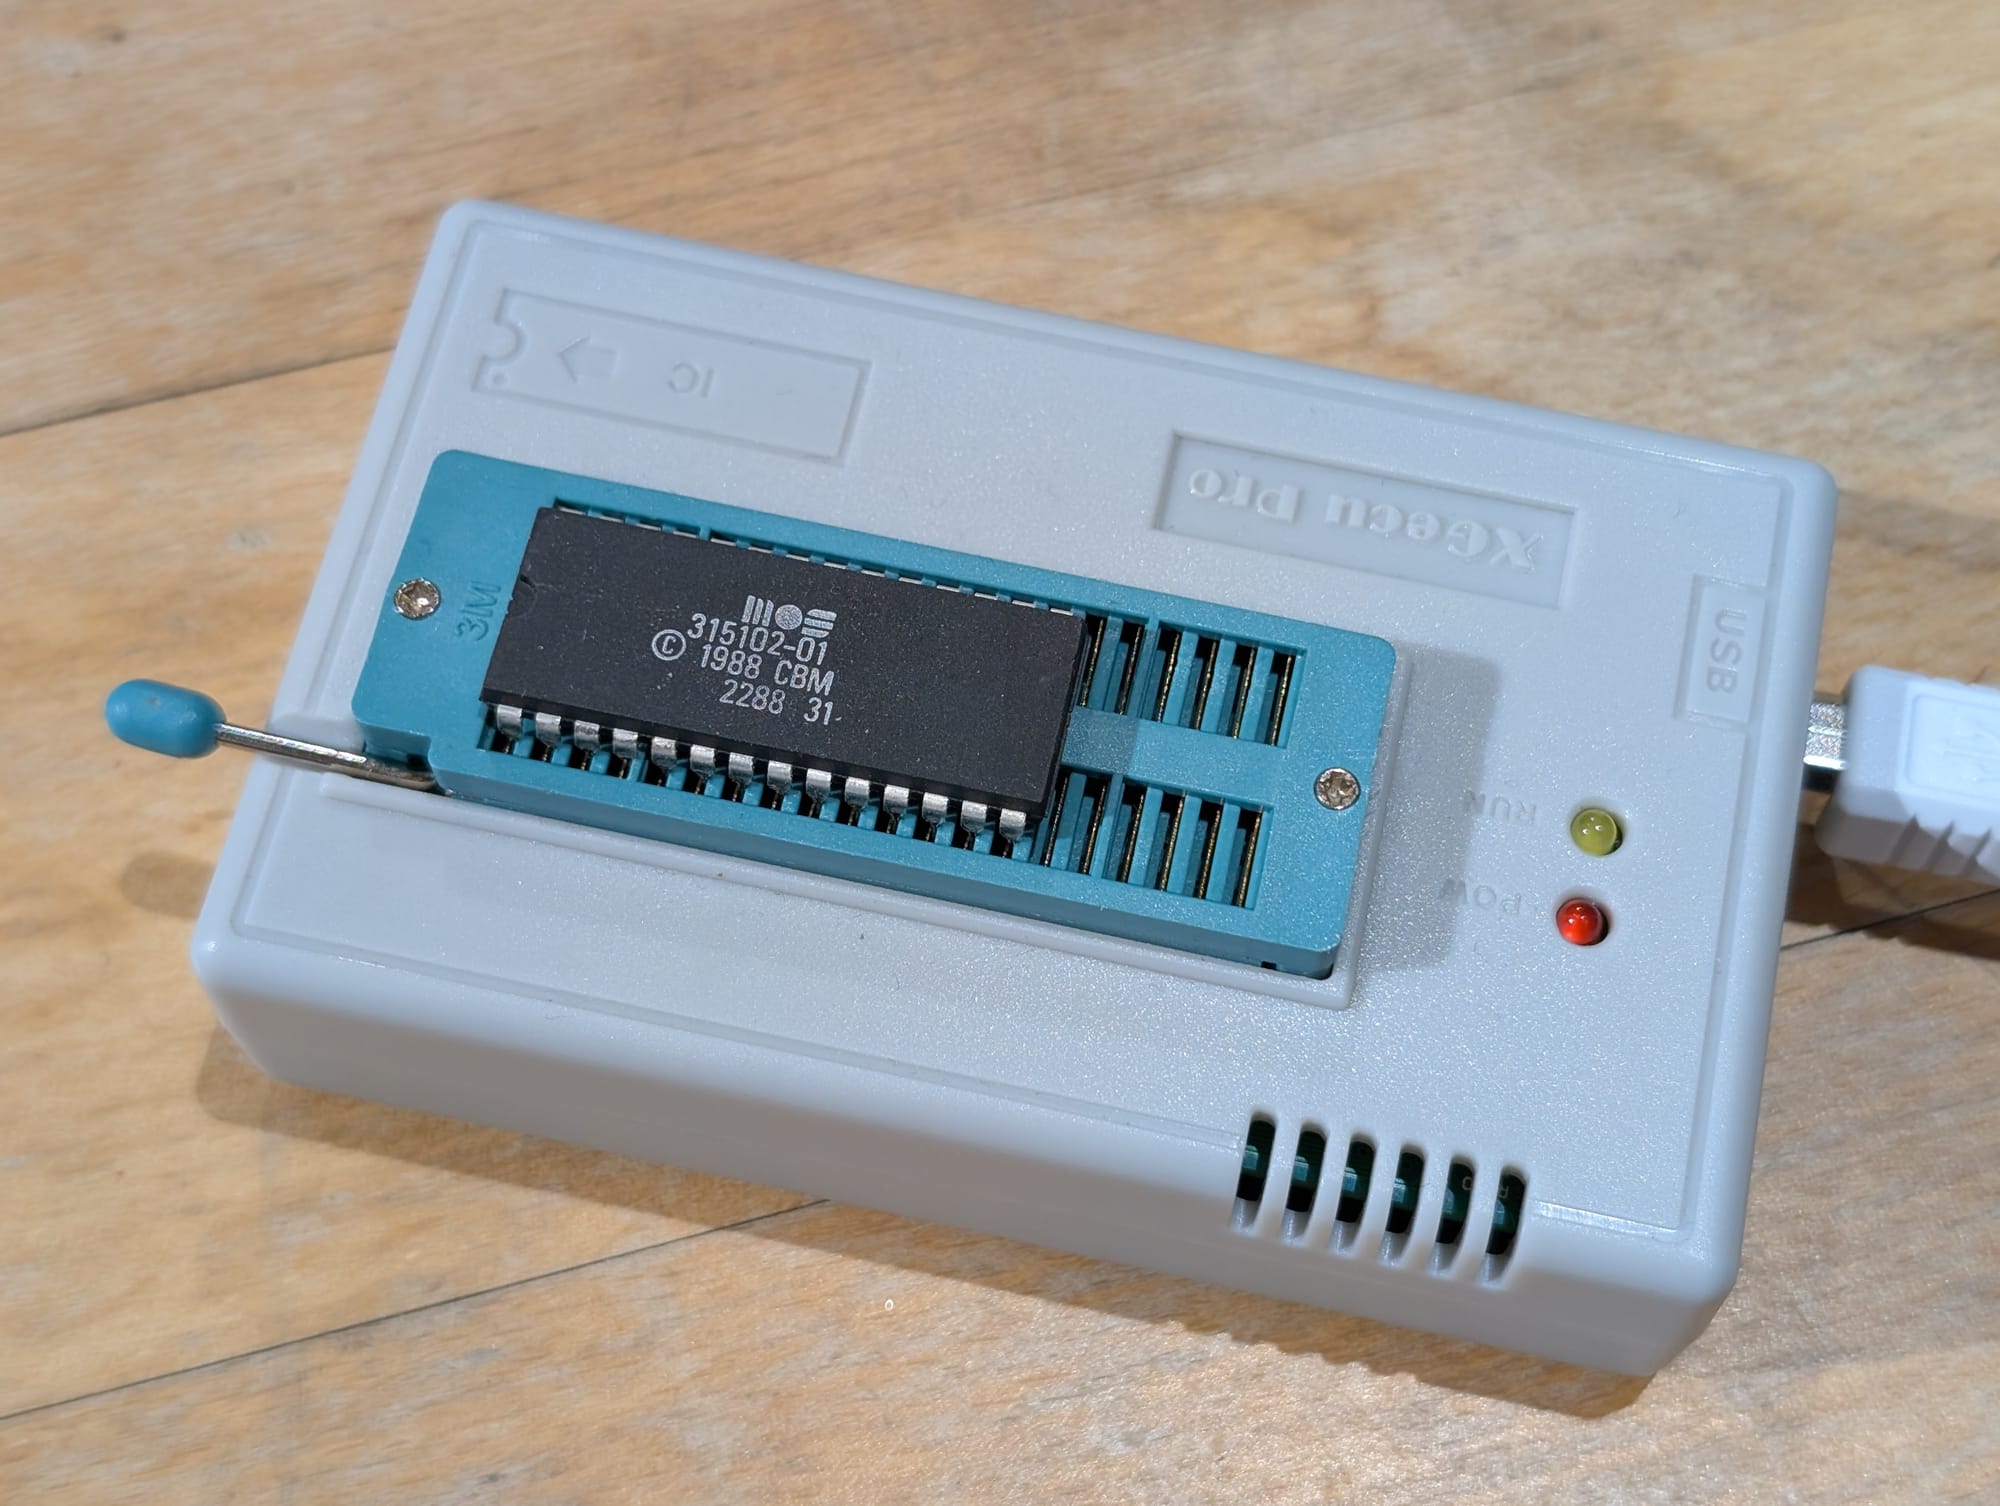
The 315102-01 ROM, clearly having data on it.
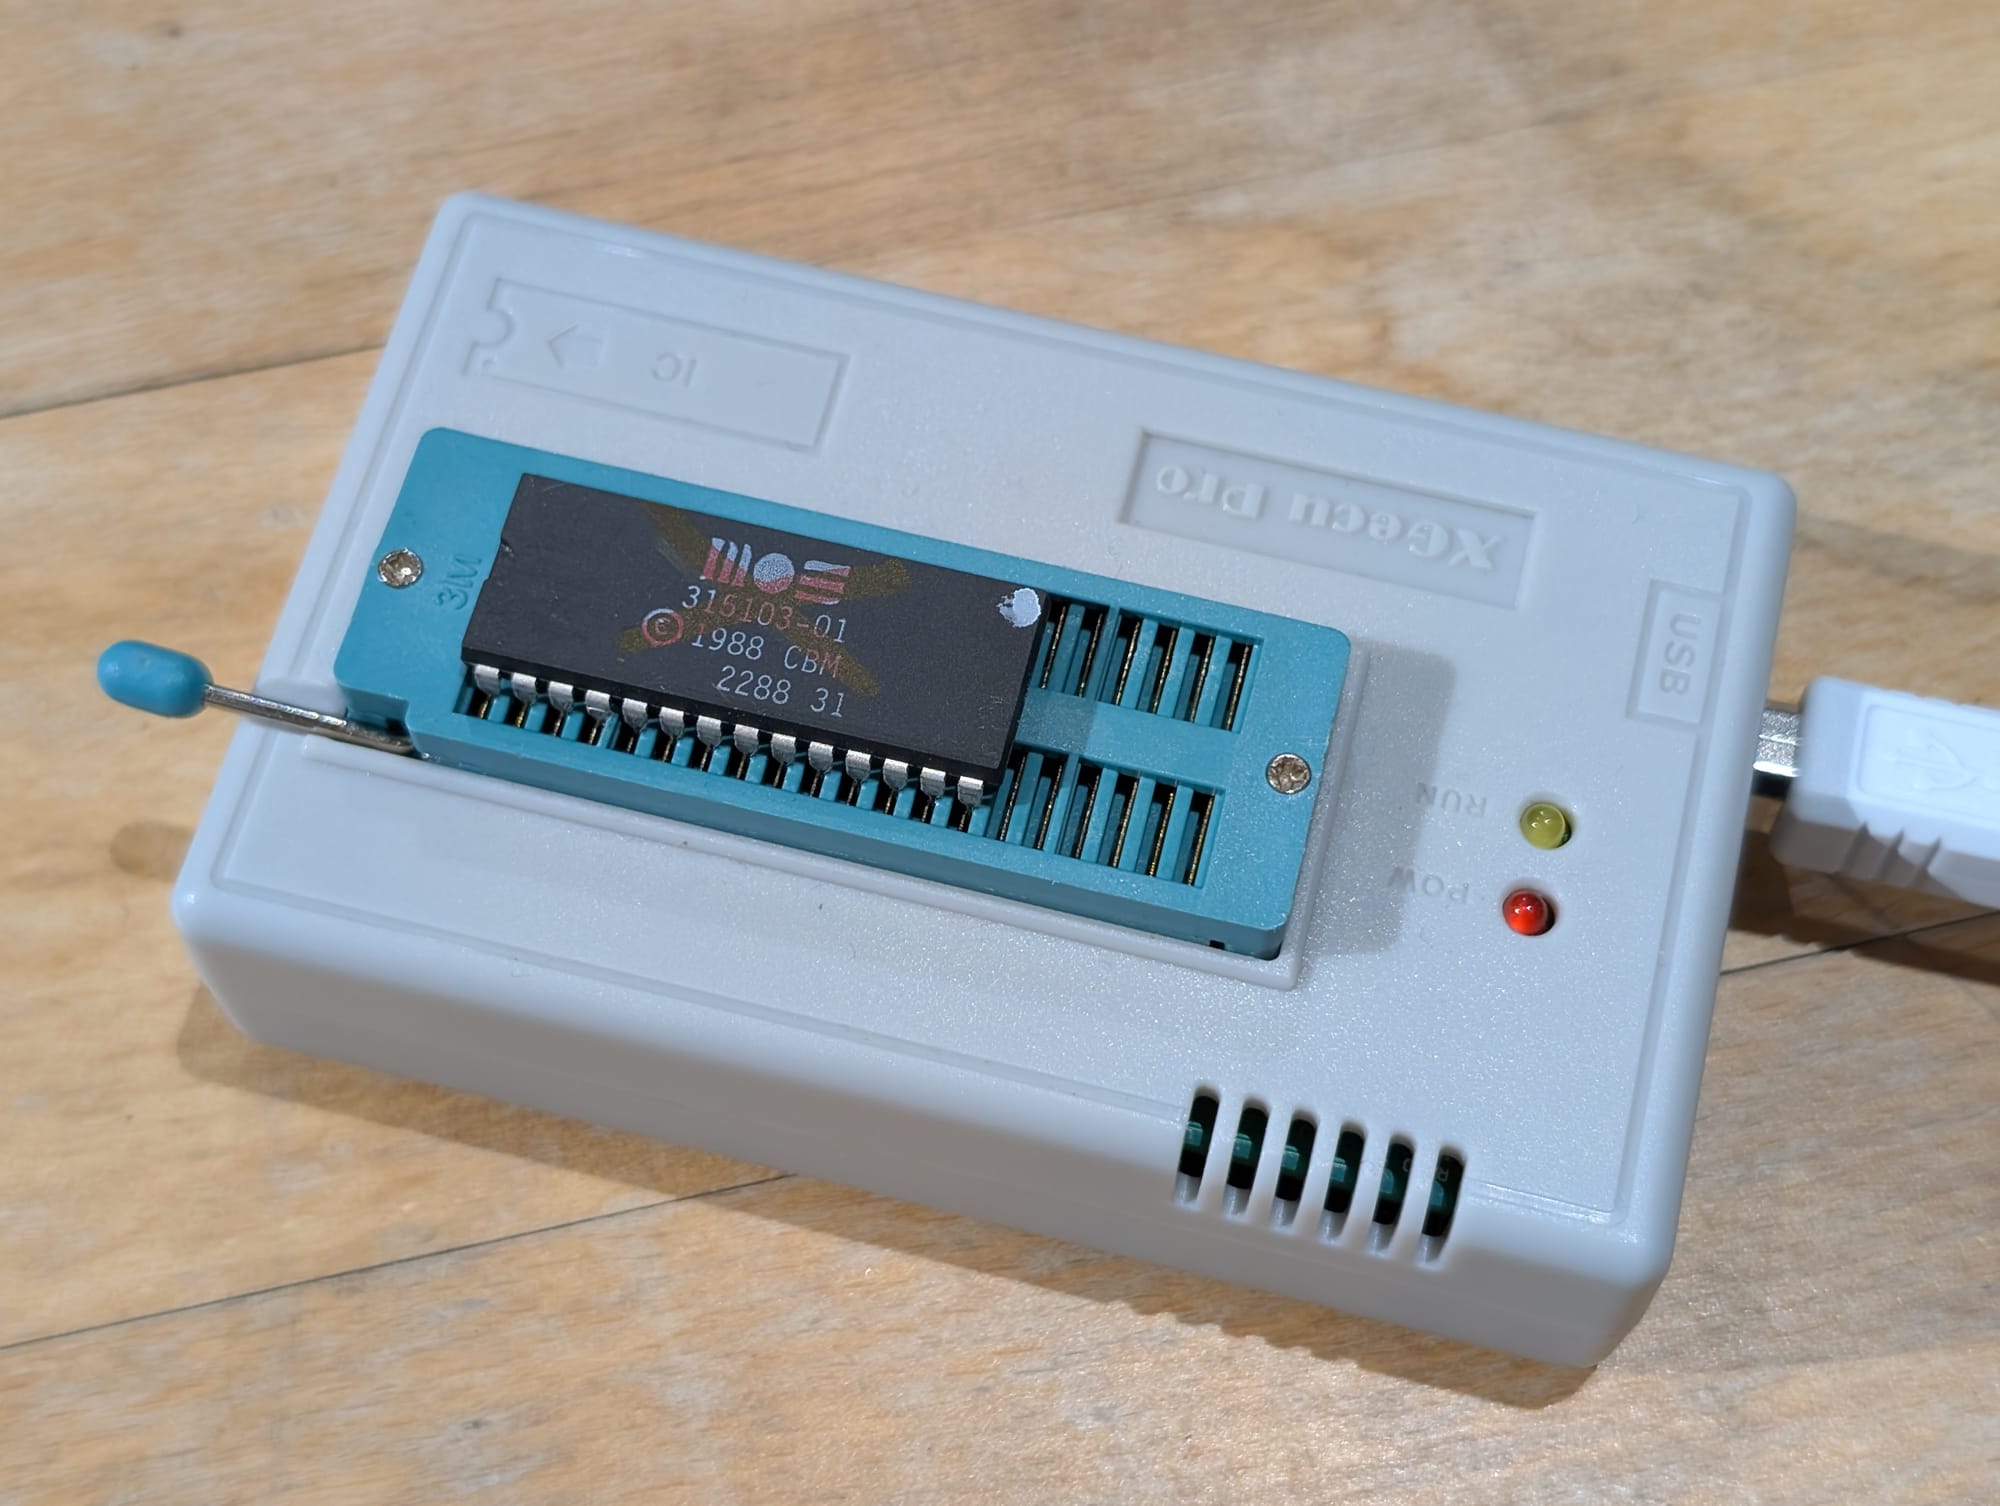
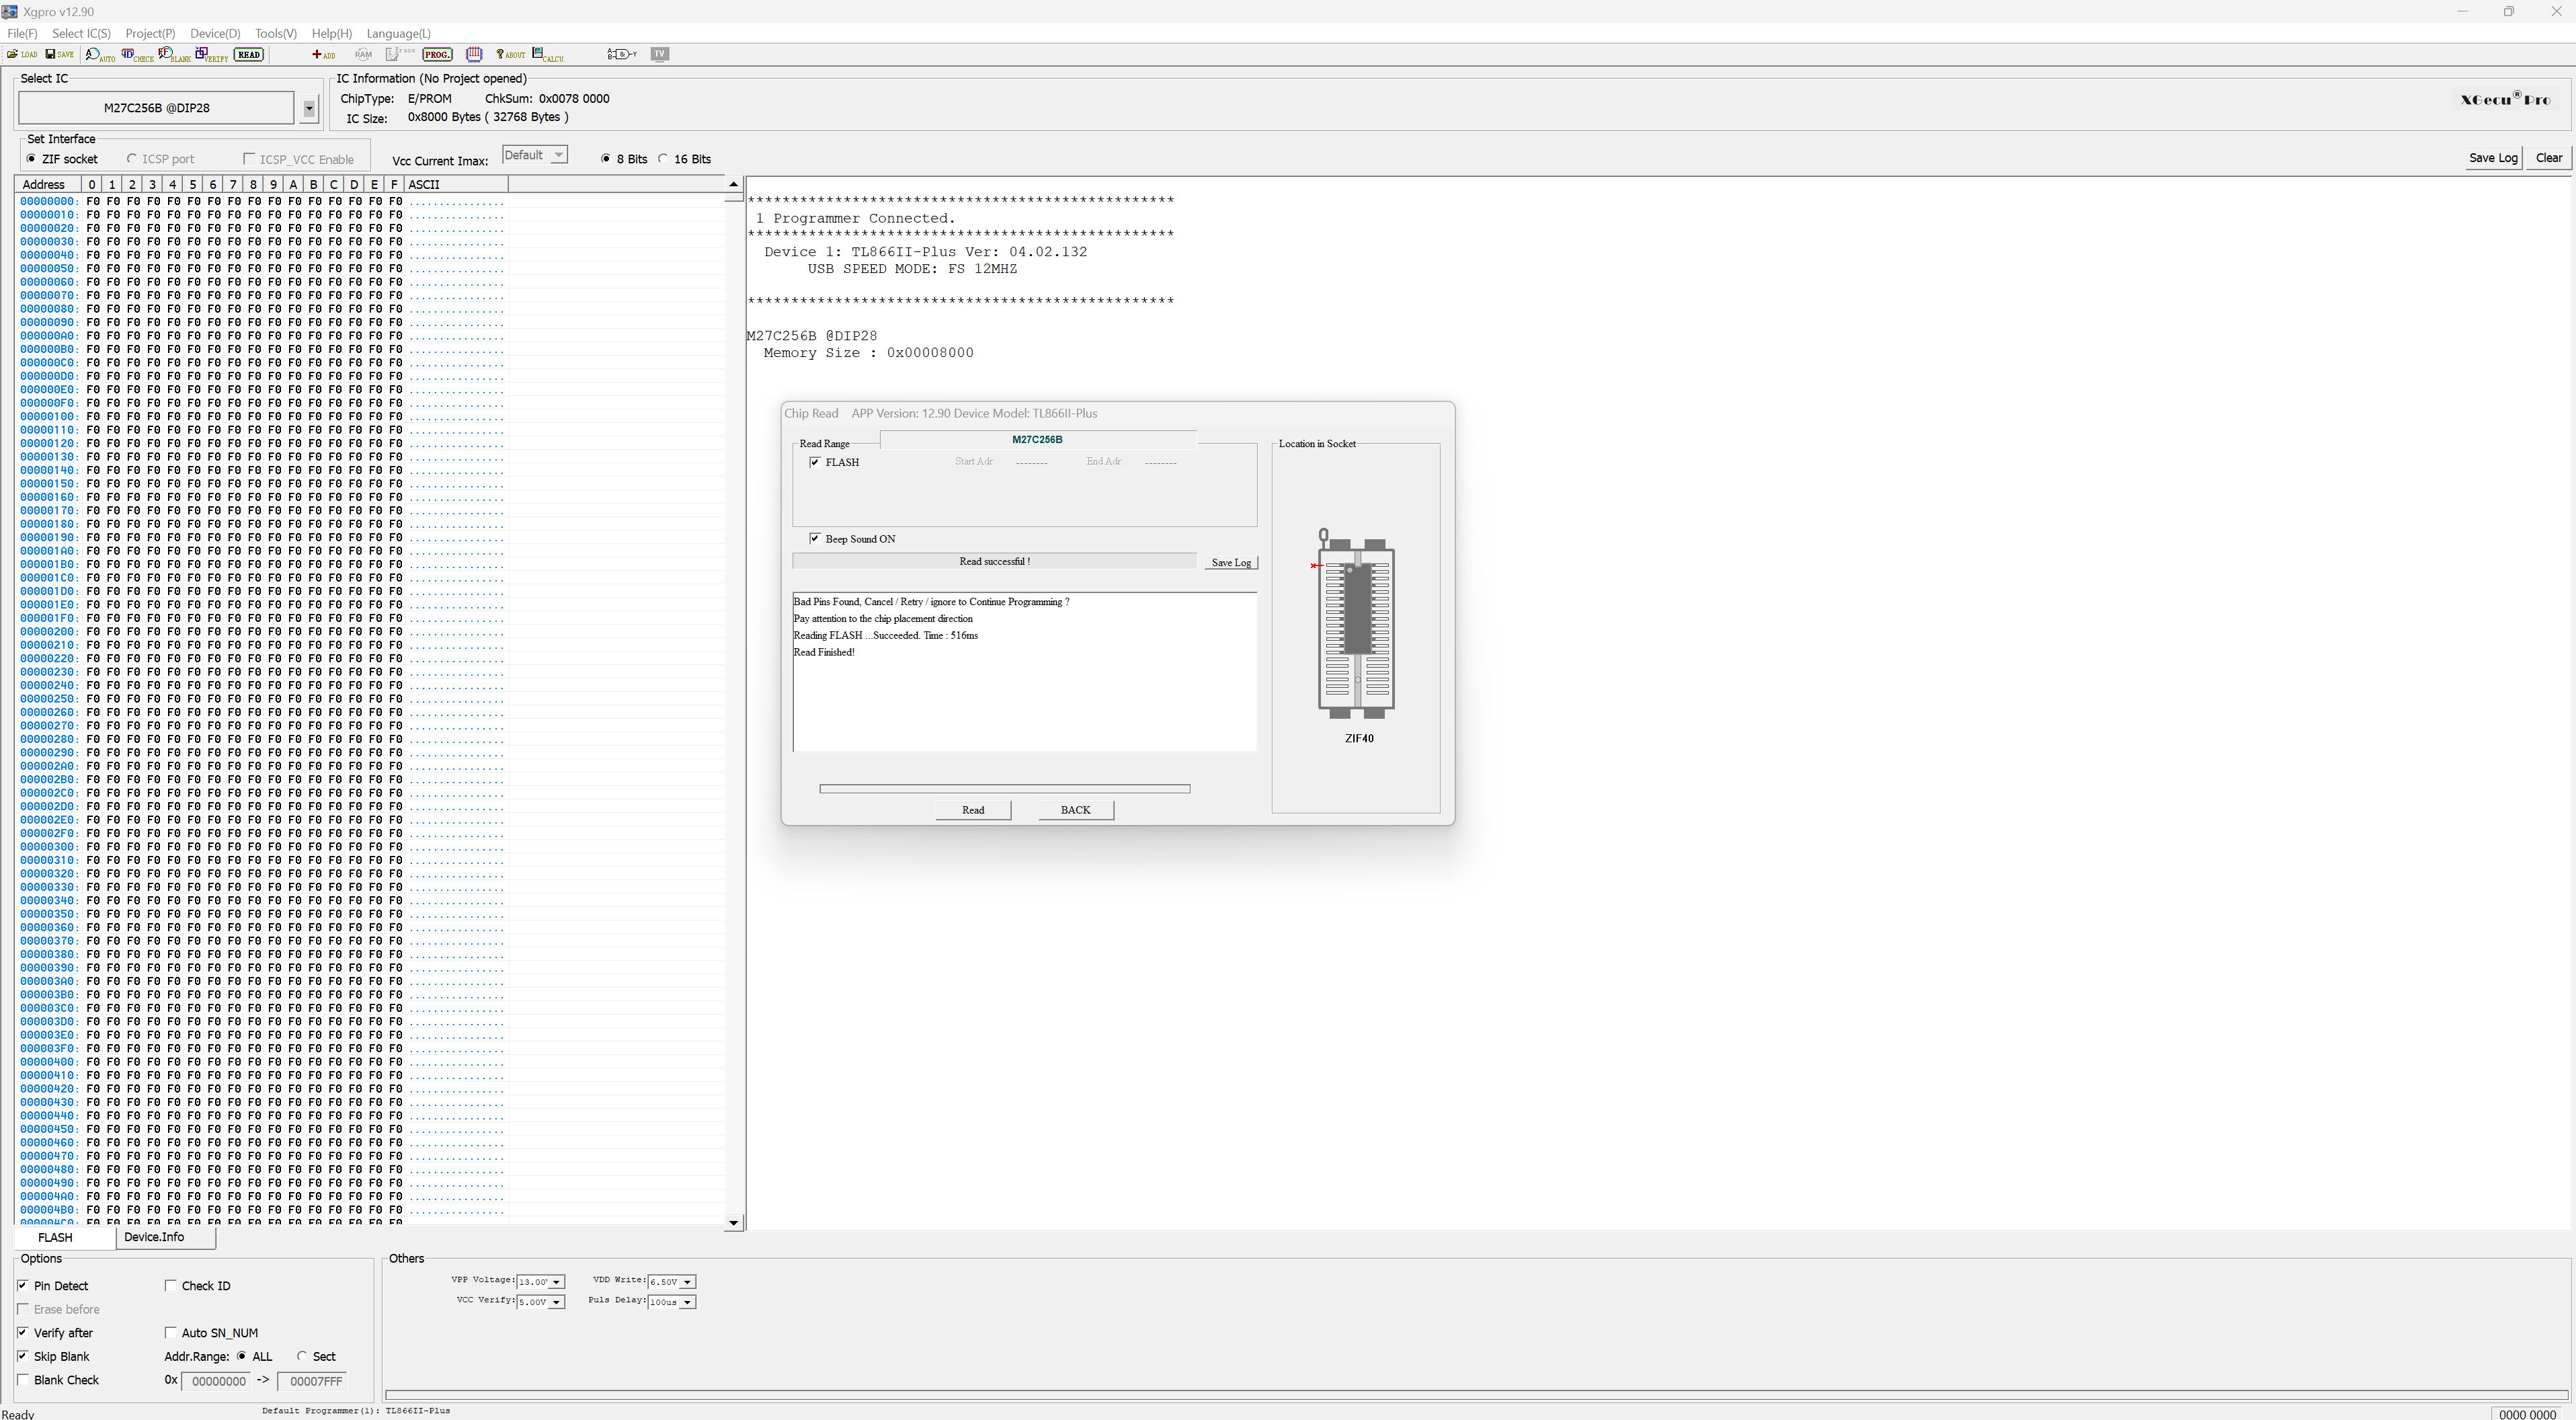
The 315103-01 chip, showing no data being on it. I marked the chip as bad.
Replacement ROM: first attempt
As I previously mentioned, the faulty MOS ROM is pin-compatible with 27C256 EPROMs, so it can be replaced with one of those. I ordered two of them, which fortunately weren't too expensive or hard to find.
All I needed now was the data to write to the EPROMs. After searching online, I found dumps of the Super Games cartridge in two formats:
- two .BIN files, one for each chip
- a single .CRT file, which is mostly intended for use with emulators
The two .BIN files were ideal because I could write them directly to the EPROM chips.
I installed sockets on the PCB so that I could easily install and remove the chips again if necessary. I decided to replace both ROM chips as a test. This was mostly to rule out the possibility that the data on the other chip had also been partially erased. With the chips now in sockets, it would be easy to replace them with the original ROM later.
However, after writing the data to the EPROMs and putting them in the sockets, I was surprised to find that the cartridge still just booted to a black screen. I double-checked my soldering, but everything seemed fine. So, I had to investigate further.
Constructing BIN files from CRT file
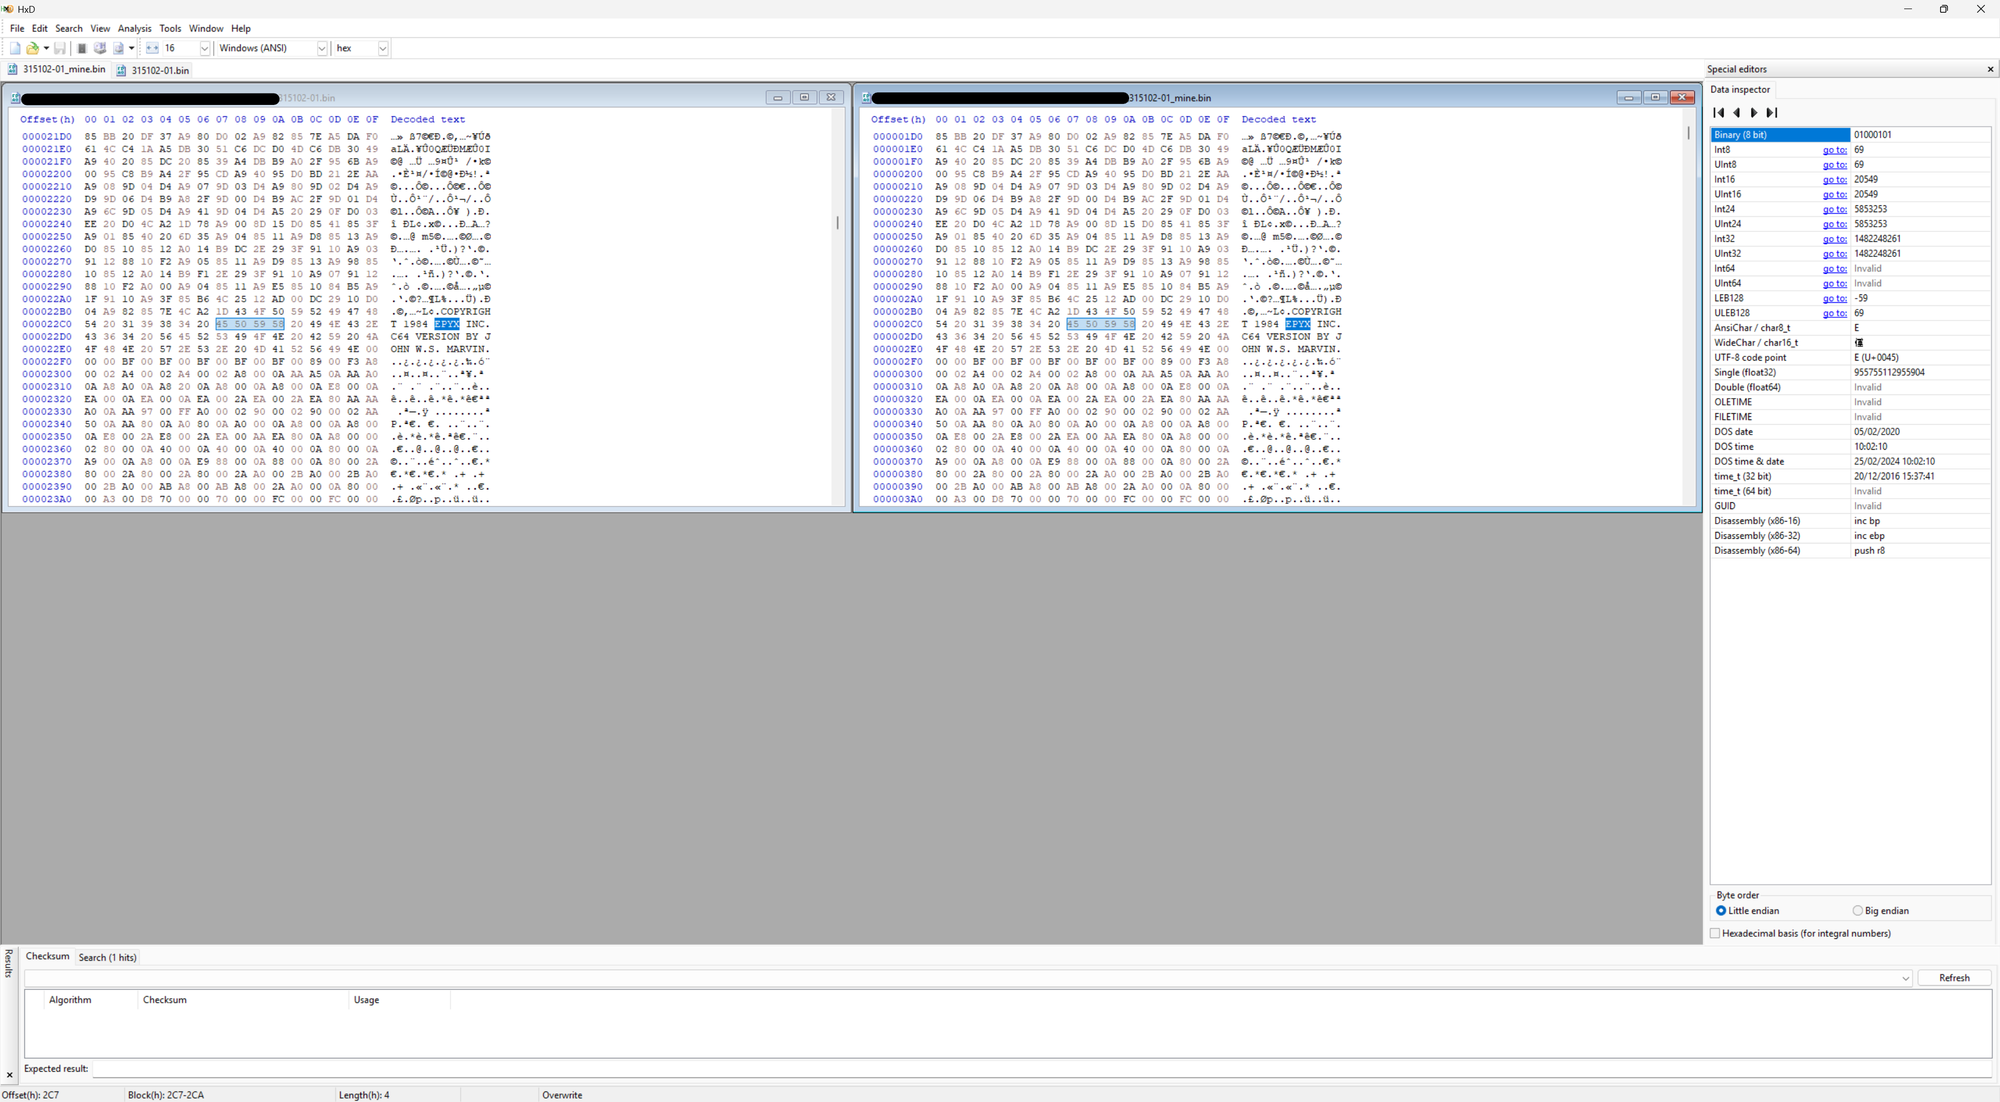
After that unsuccessful first attempt, I opened the .BIN file for the 315102-01 ROM in a hex editor and compared it with my own dump of the chip's contents. I noticed that, although it contained the same data, it was in different locations.
I did some more searching before eventually finding this article by a fellow blogger. It explains how they used a Super Games cartridge to create a custom 64k cartridge containing a game of their choice. The article contains useful information about how the cartridge data is split between the two chips.
Near the bottom of the page is an overview of how to convert a Super Game .CRT file to a .BIN file for writing to EPROM chips. I gave that a try by doing the following:
- Opened a clean copy of the Super Games .CRT file in a hex editor.
- Removed the CRT and bank headers at the addresses mentioned in the article.
- Created two new empty .BIN files, one for each chip.
- Moved the banks of data from the .CRT file to the appropriate locations in the two .BIN files, as shown in the overview in the article.
Replacement ROM: second attempt
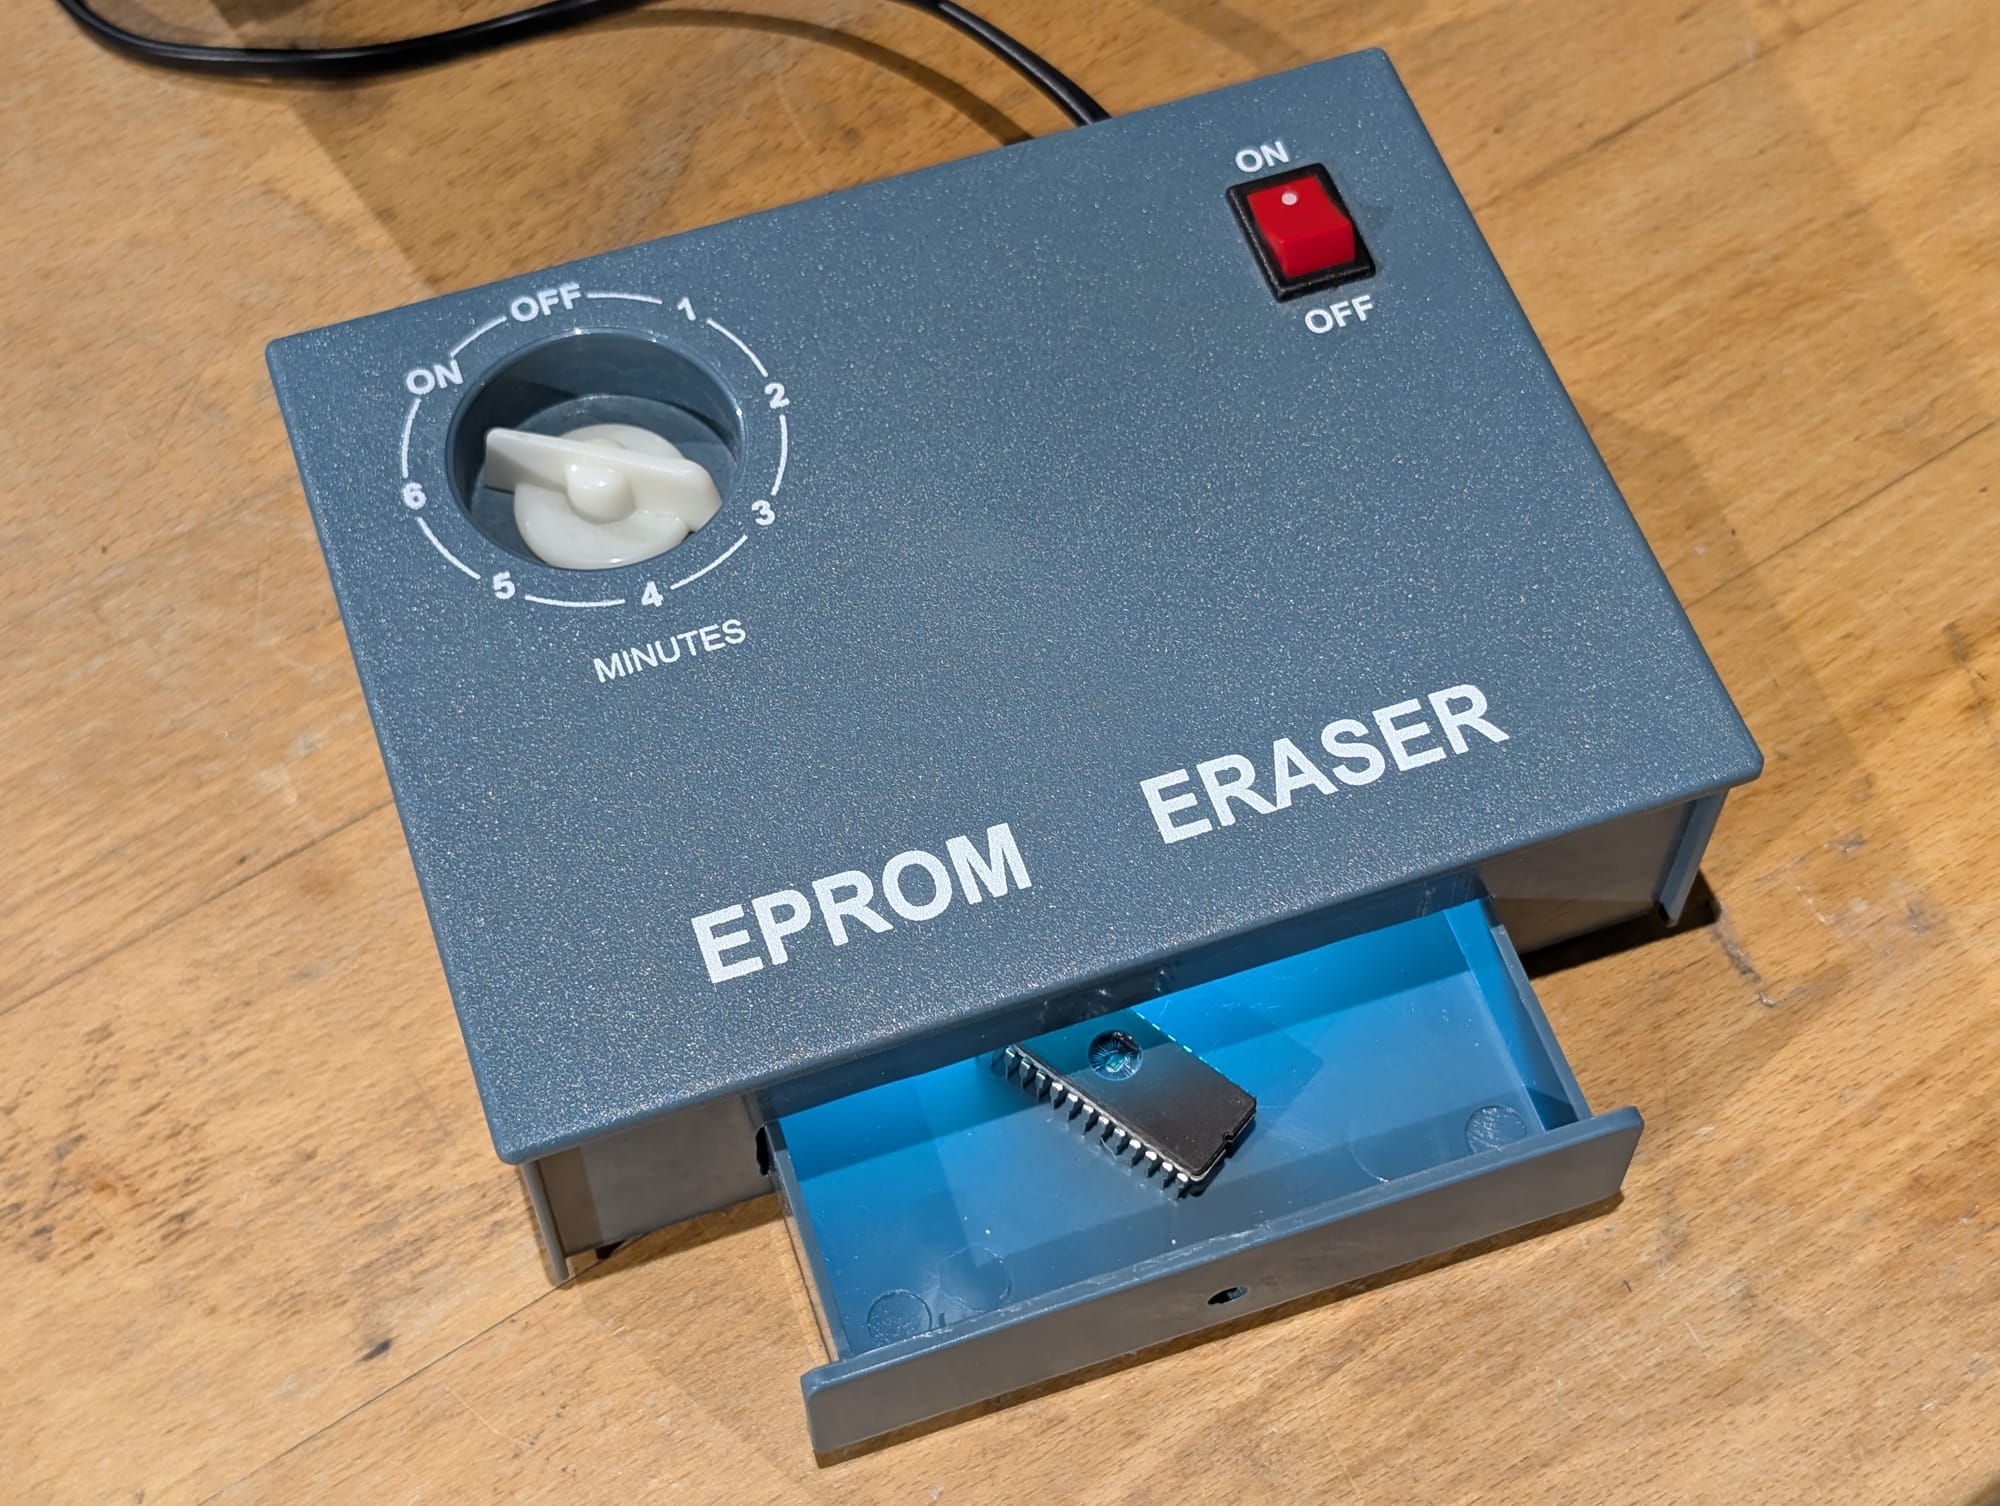
With two newly constructed .BIN files ready for testing, I erased the EPROMs and wrote the new files onto them. These chips need to be erased by shining UV light into the little window on top. I use a dedicated EPROM eraser tool for this purpose, but any strong UV light source should suffice.
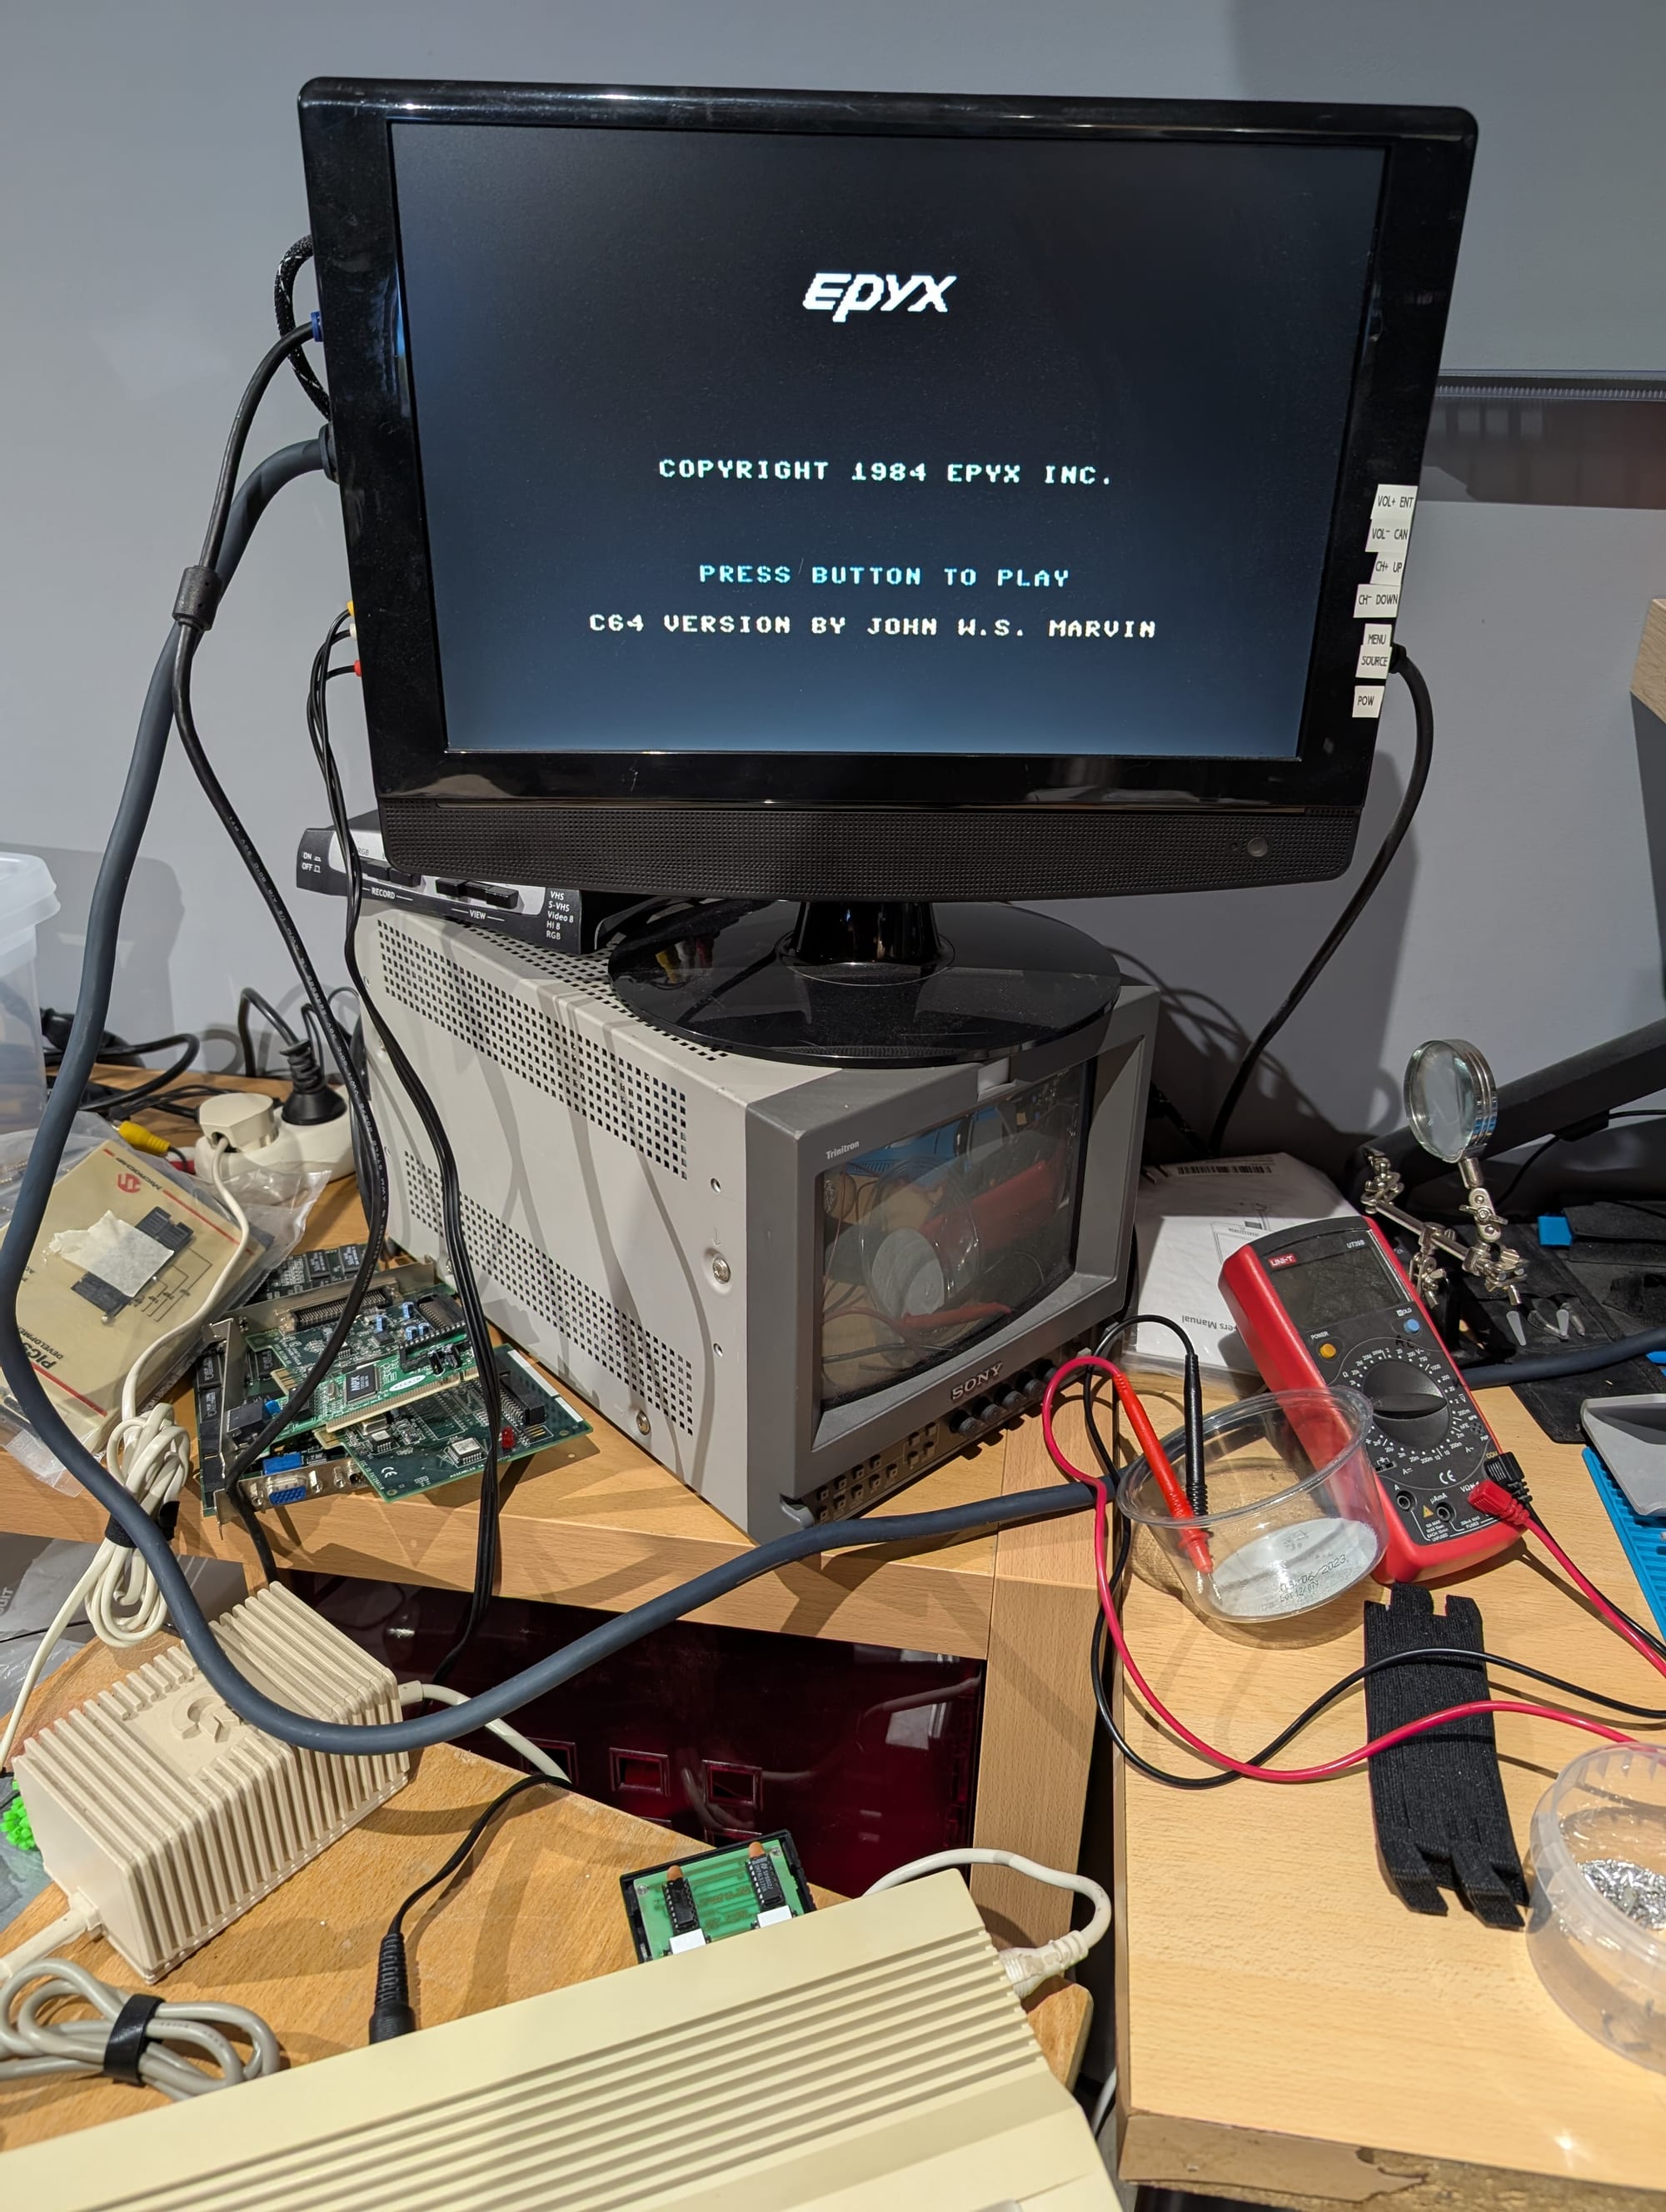
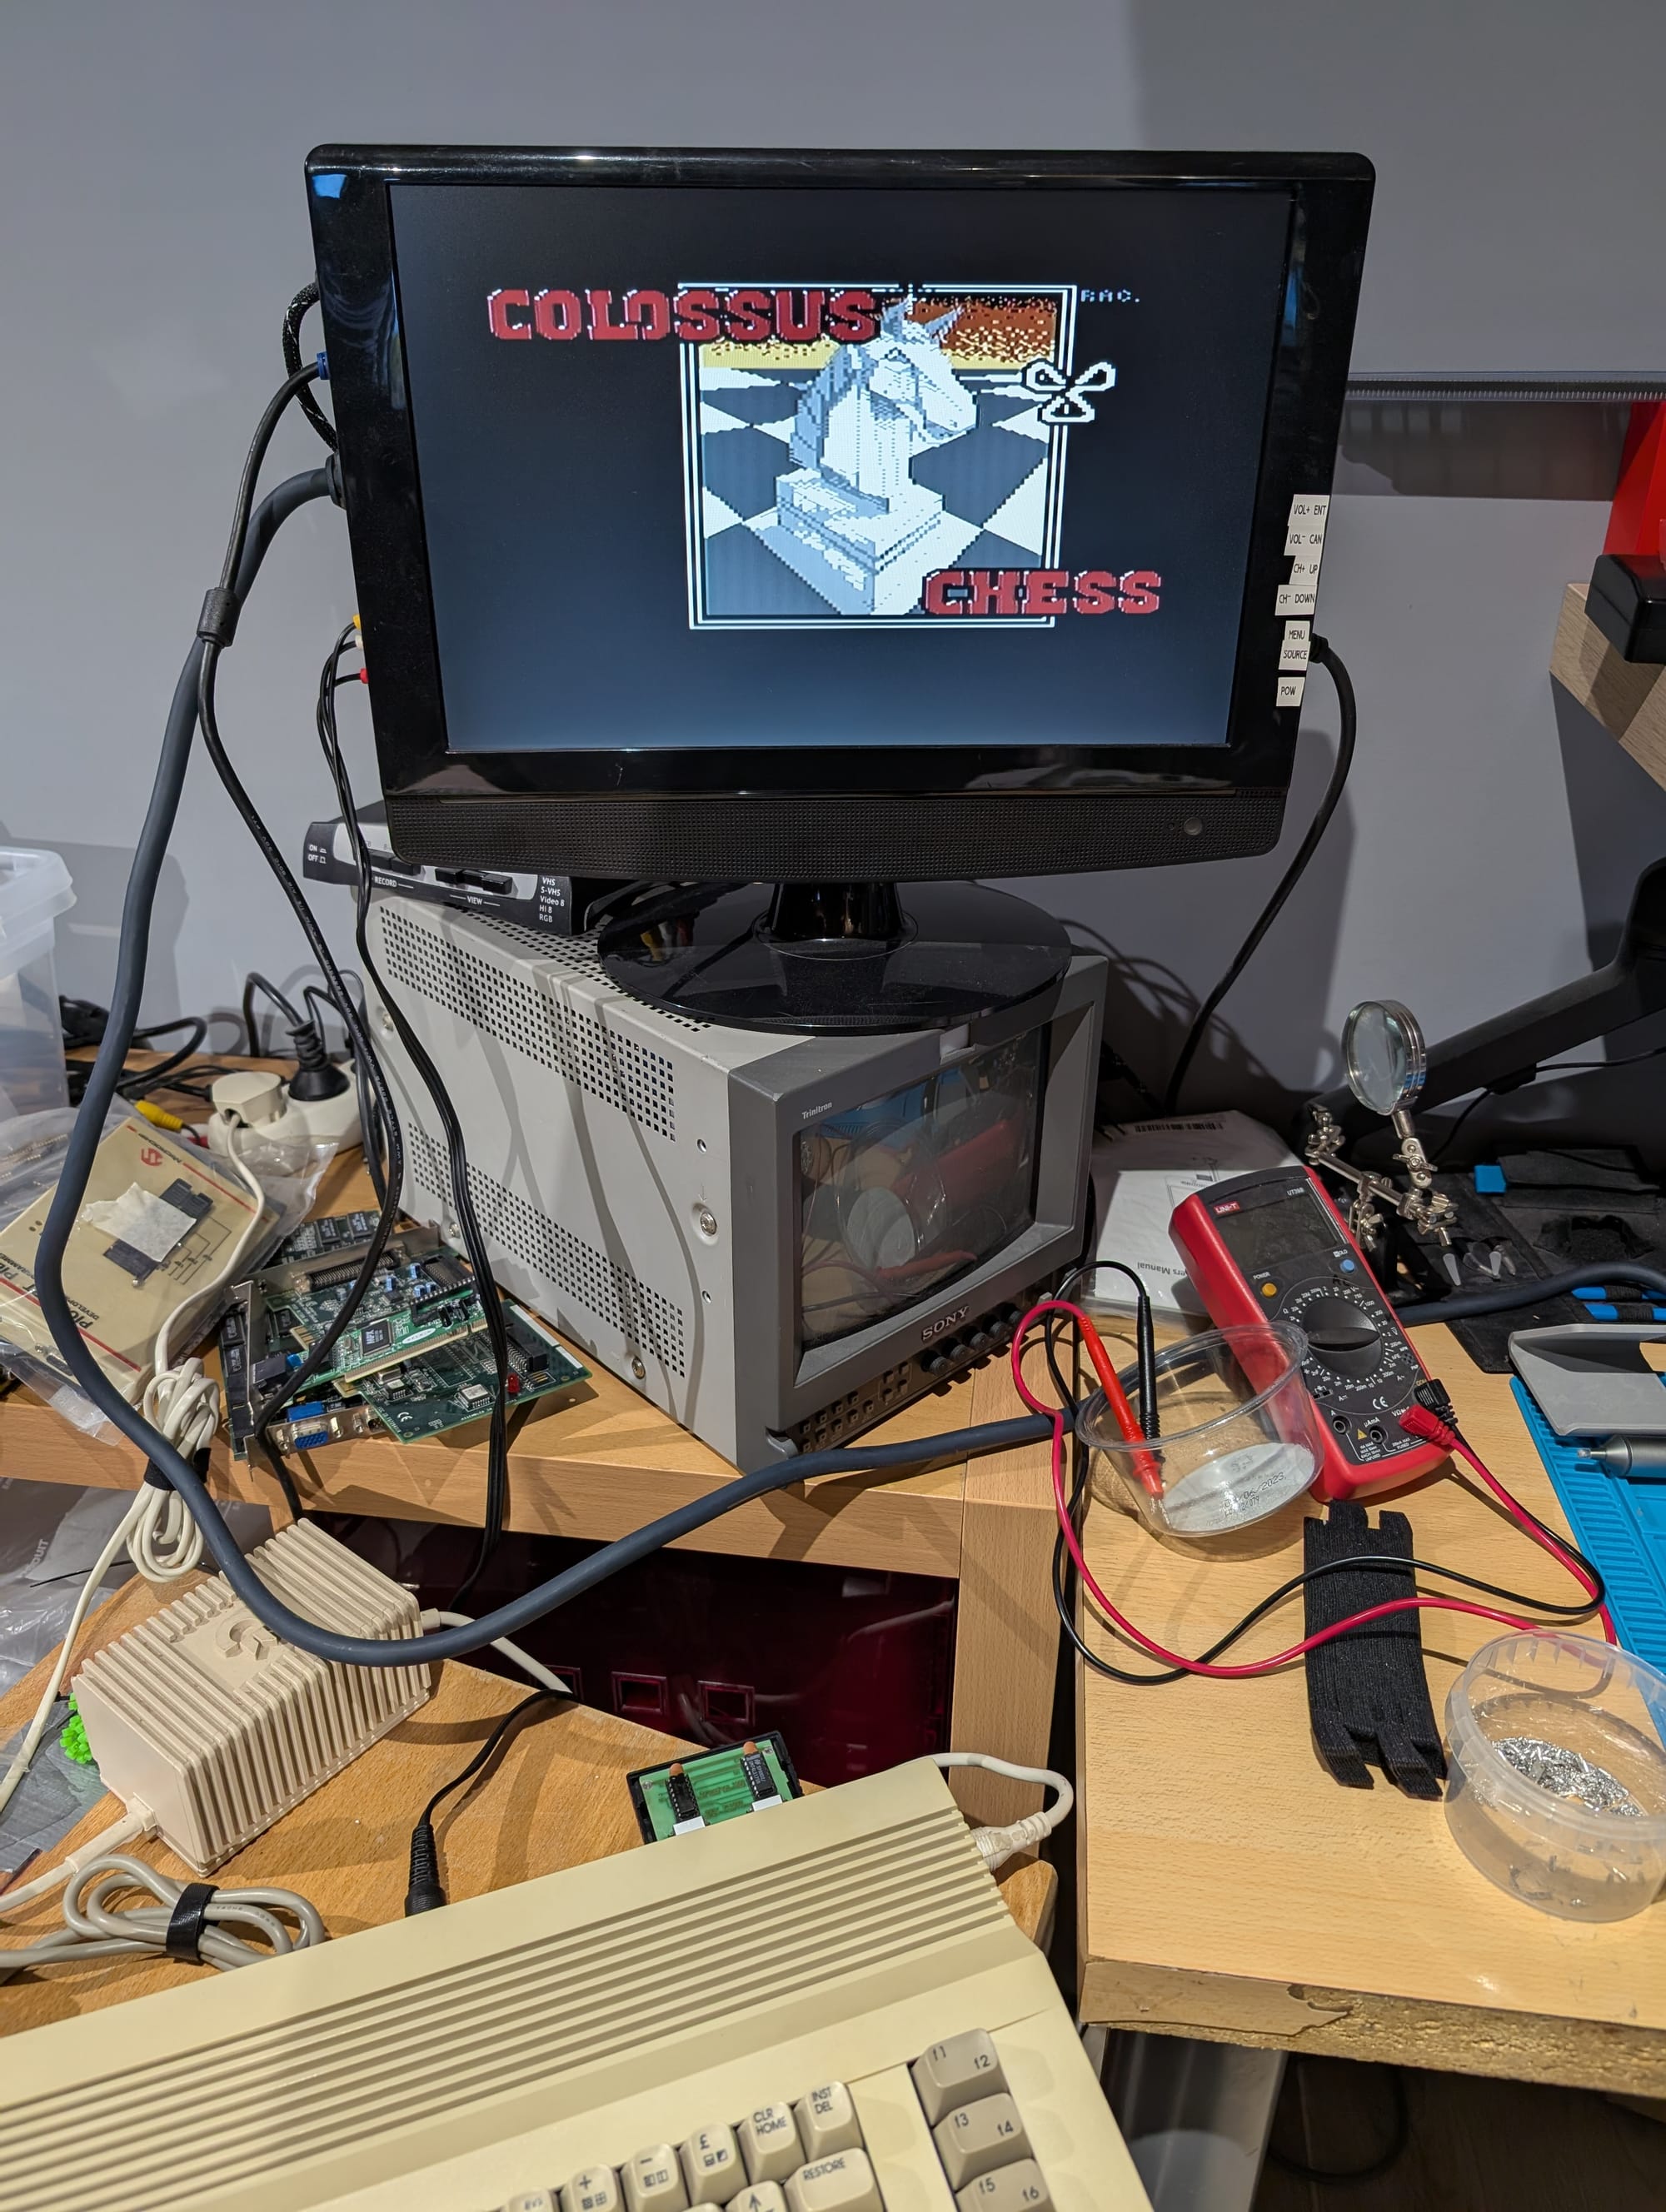
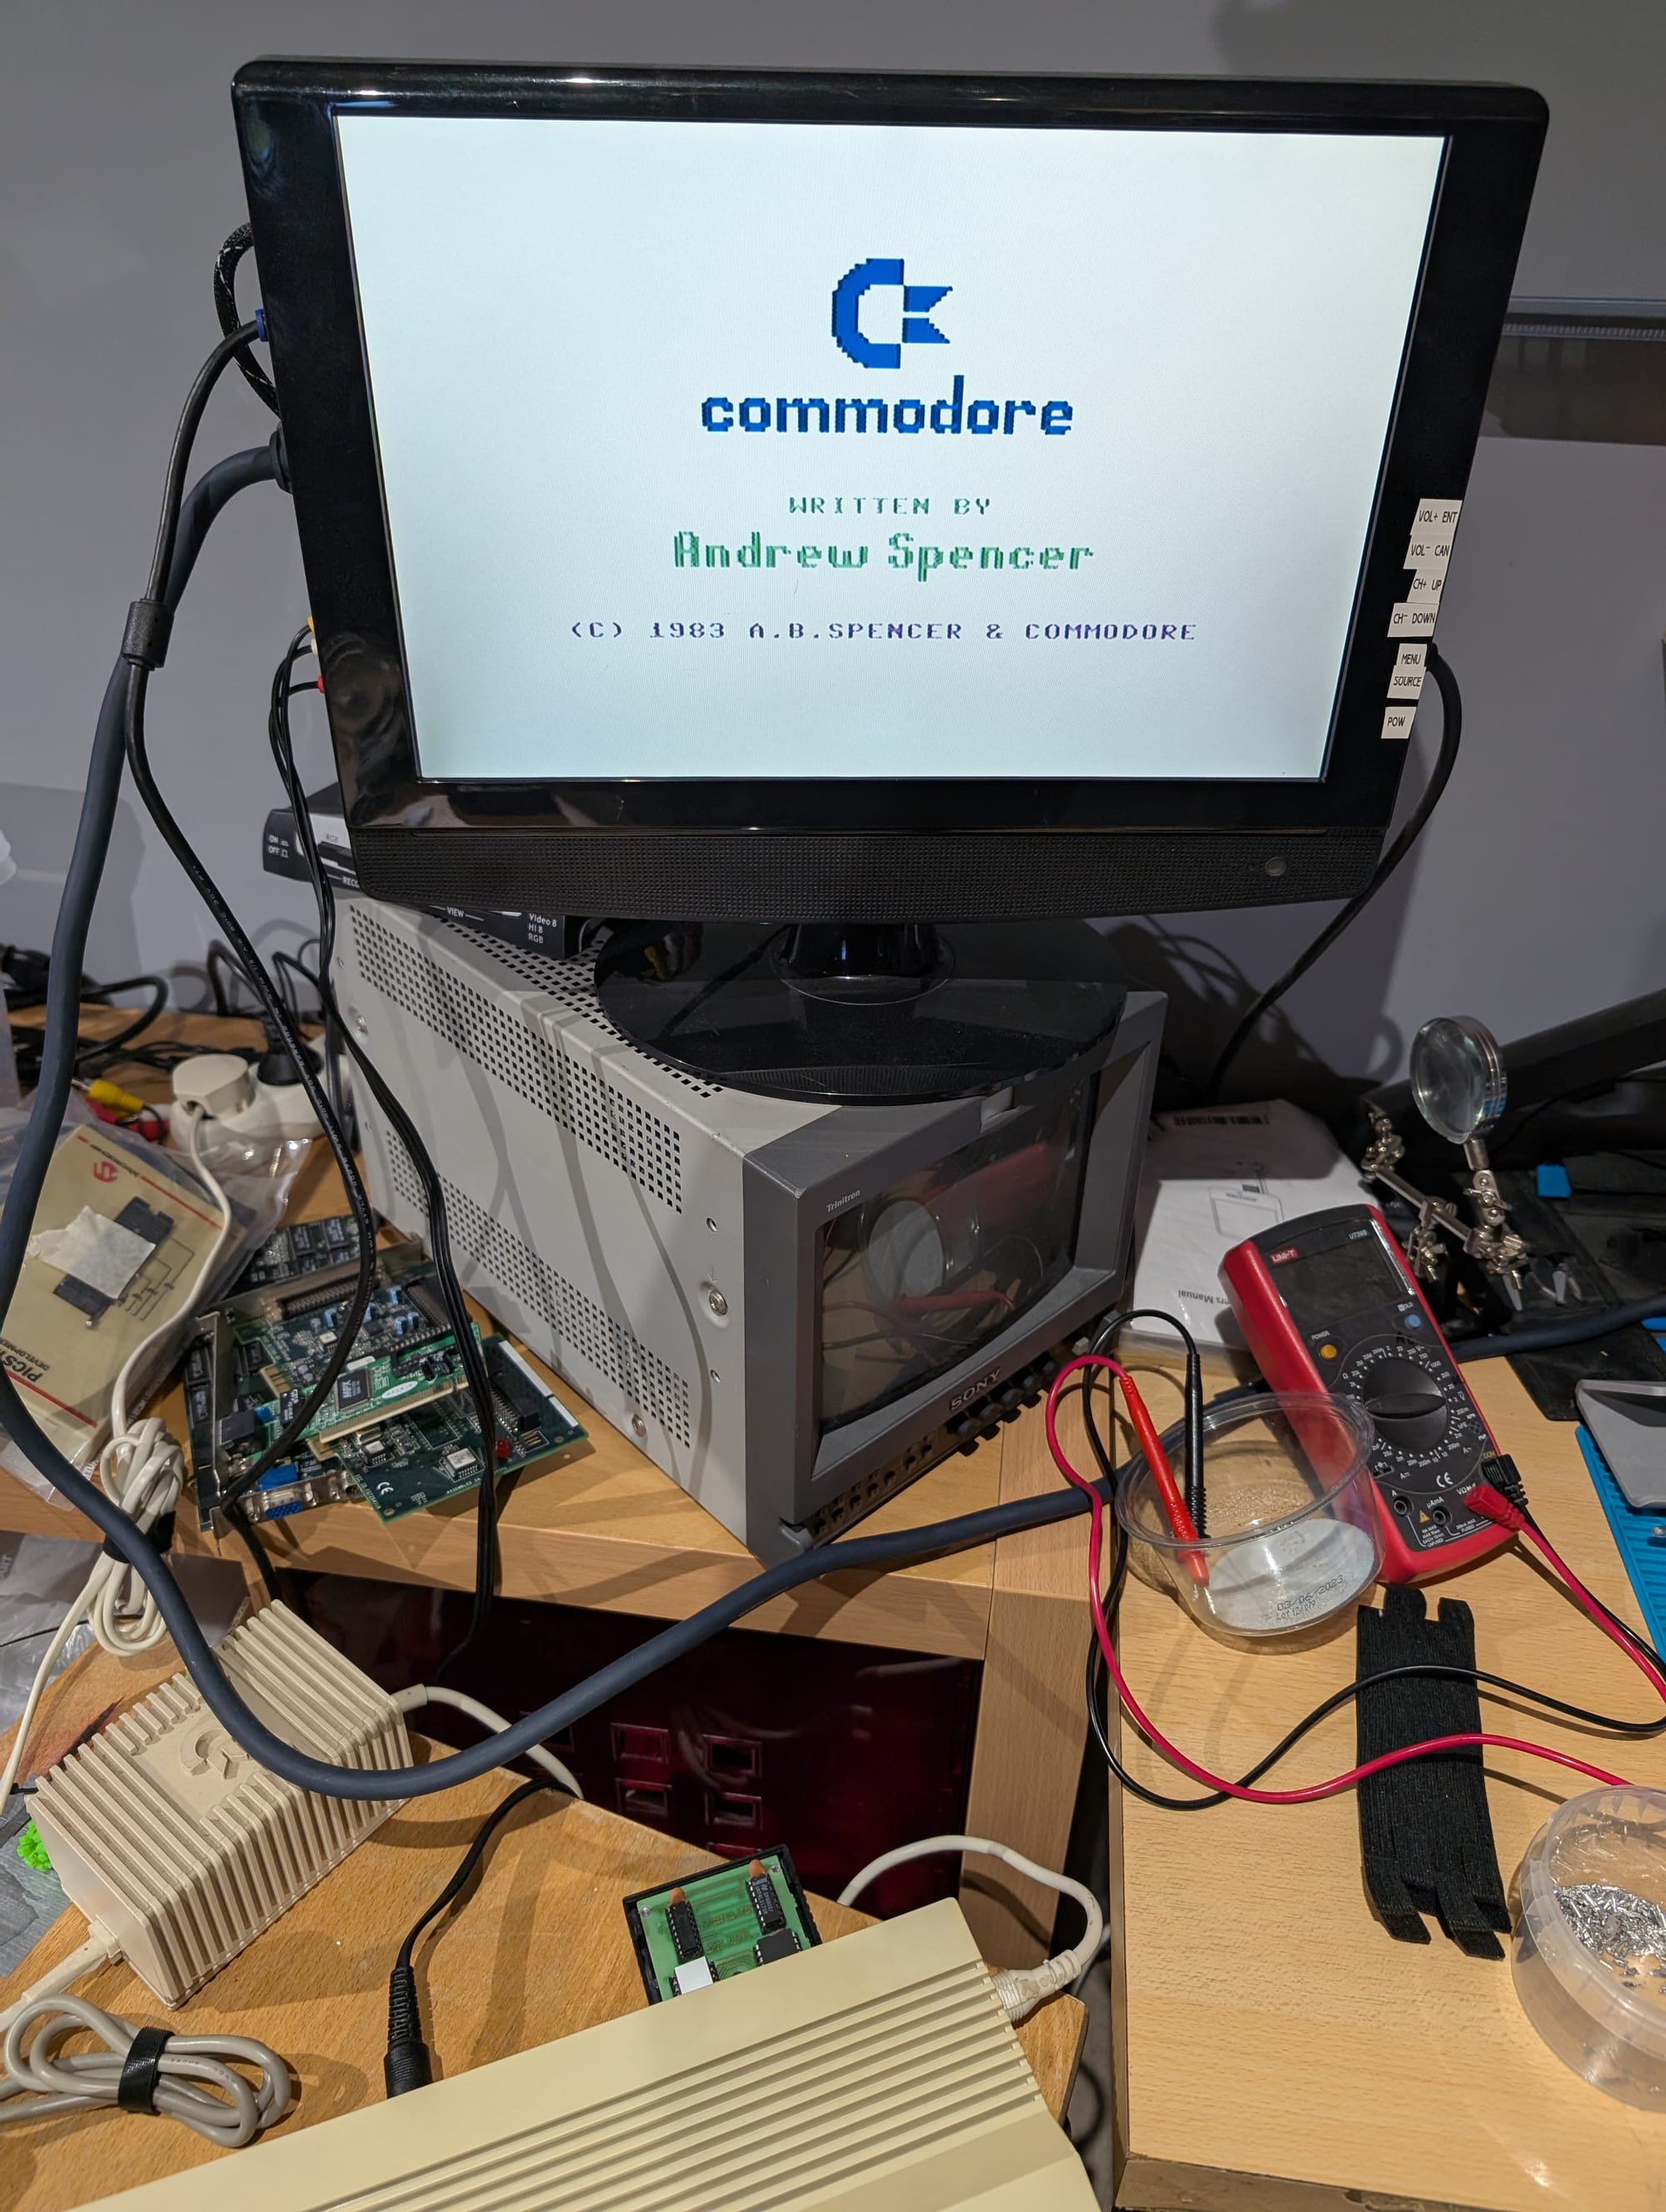
I put the chips back in the sockets, plugged the cartridge back into the computer, and... It worked!
I even reinstalled the original 315102-01 ROM and confirmed that it worked in combination with the replacement EPROM, too. You can see this in the last picture below.
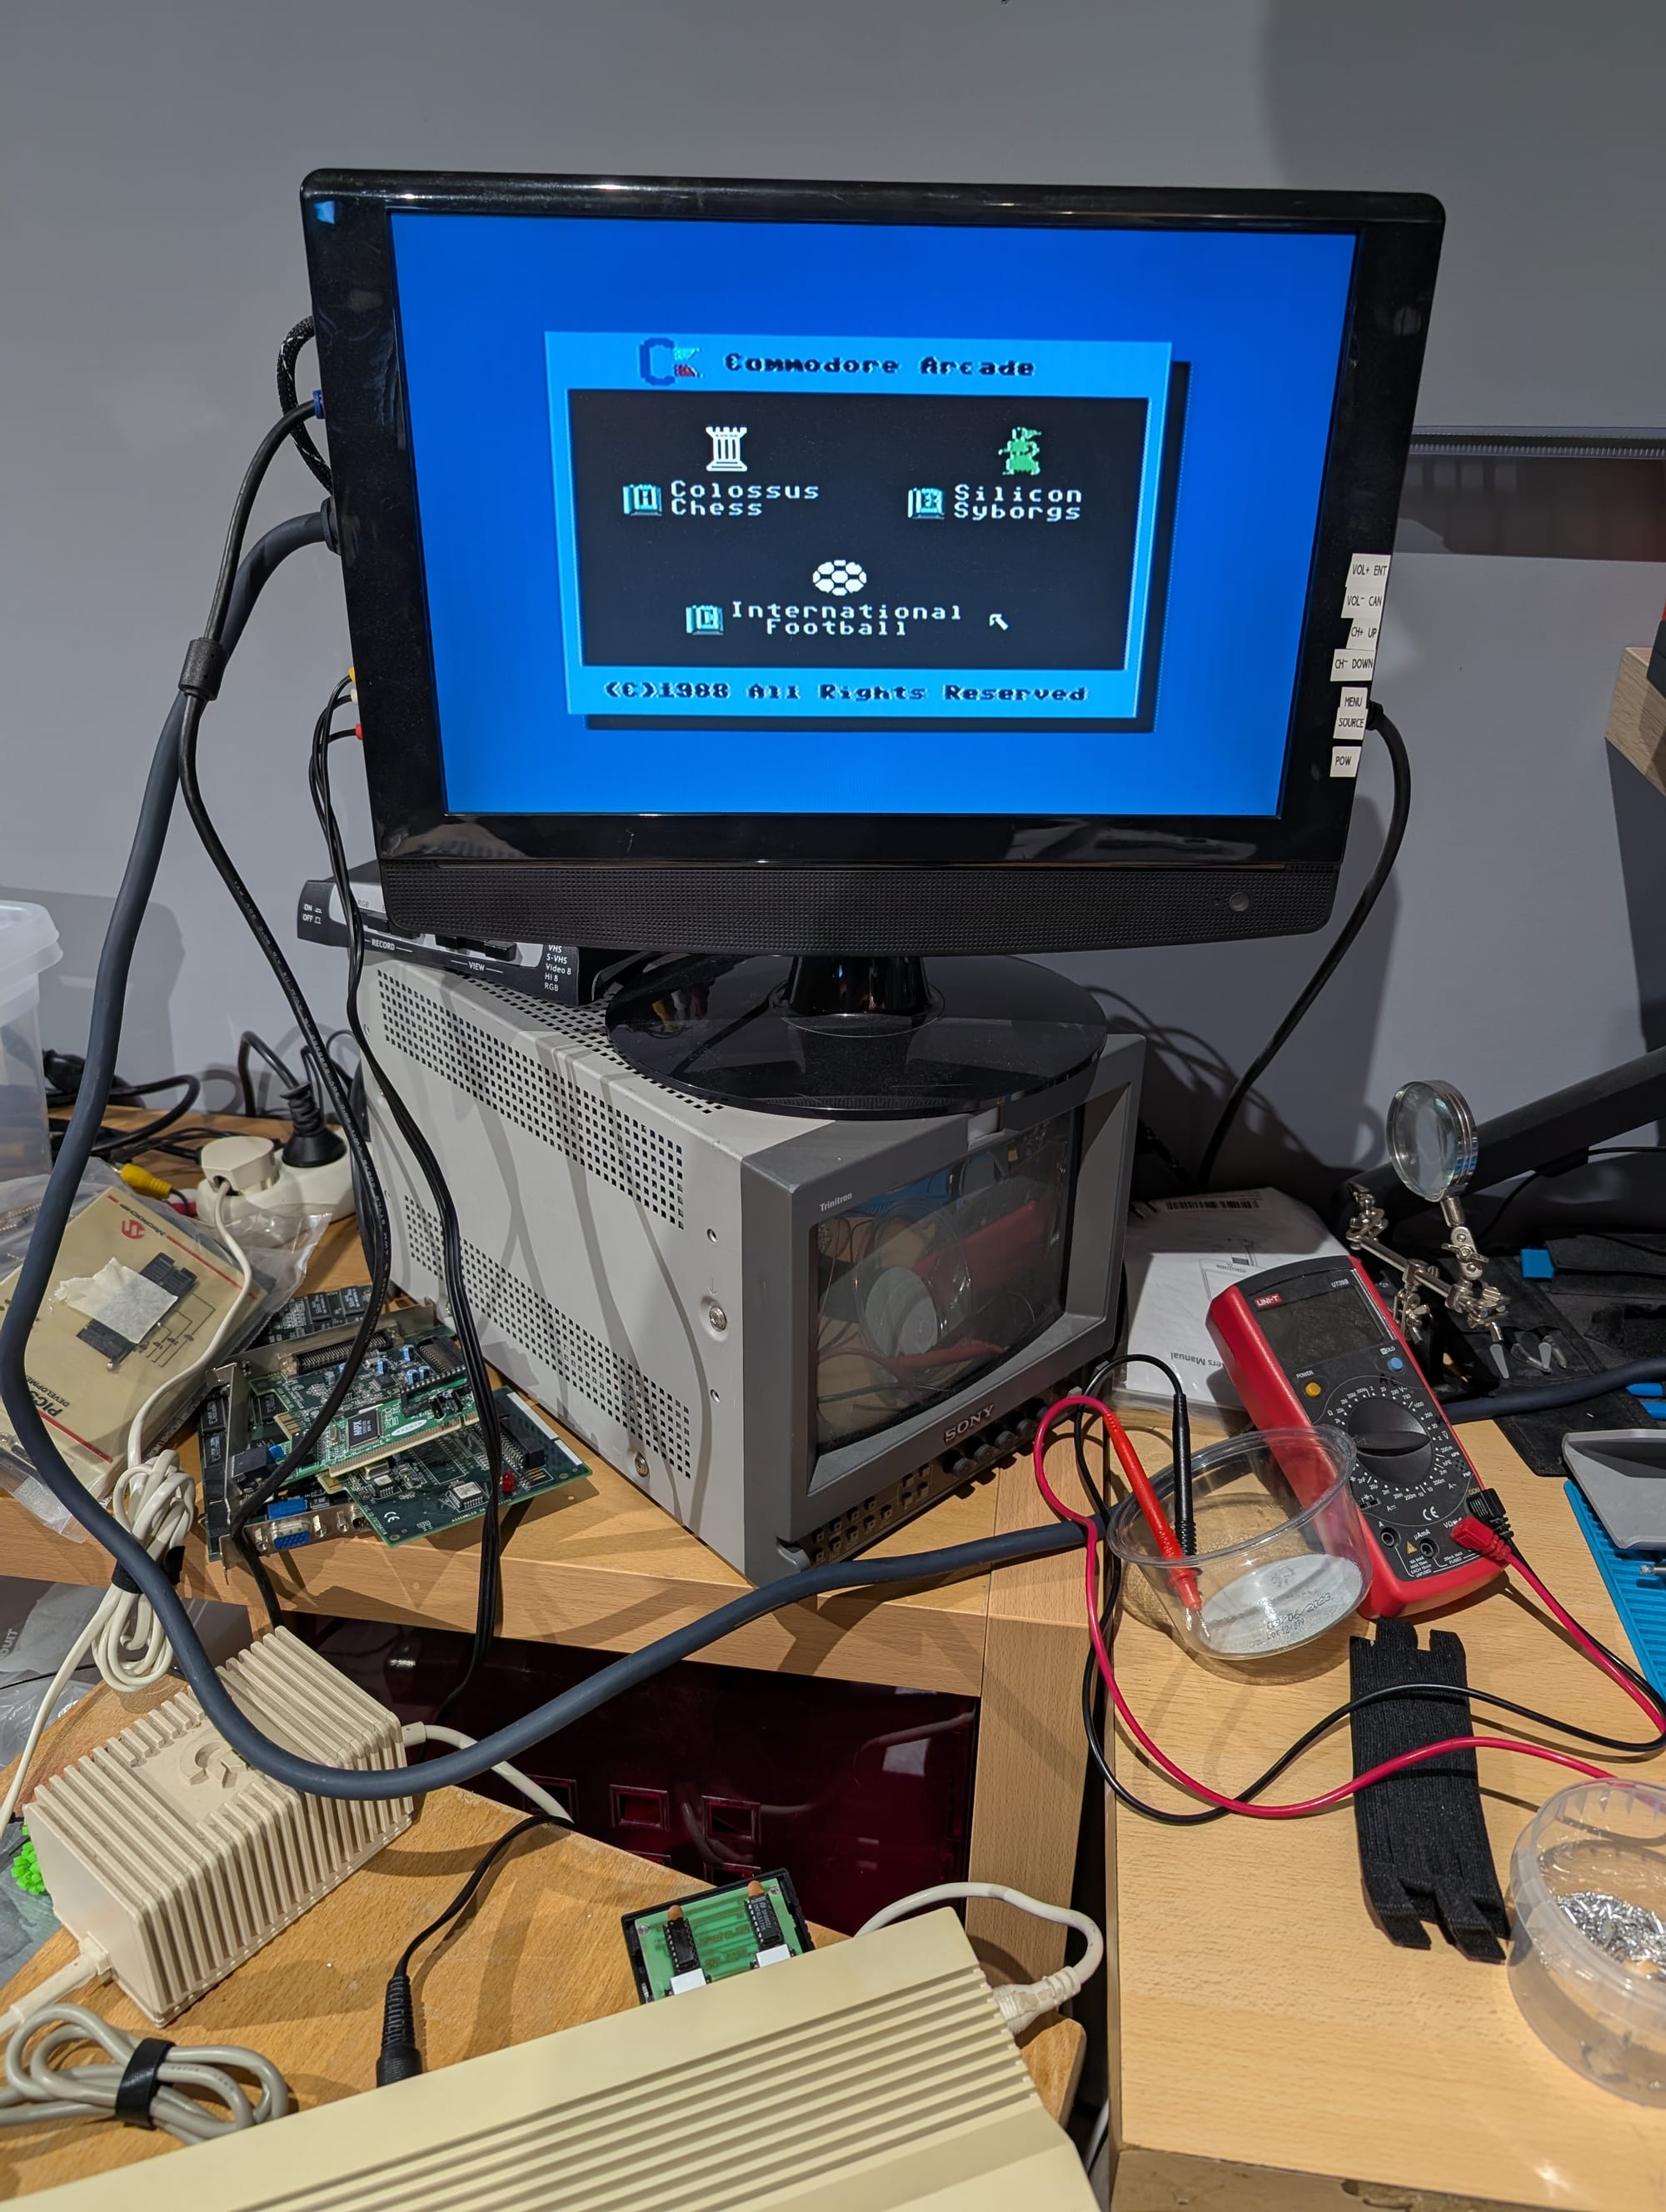

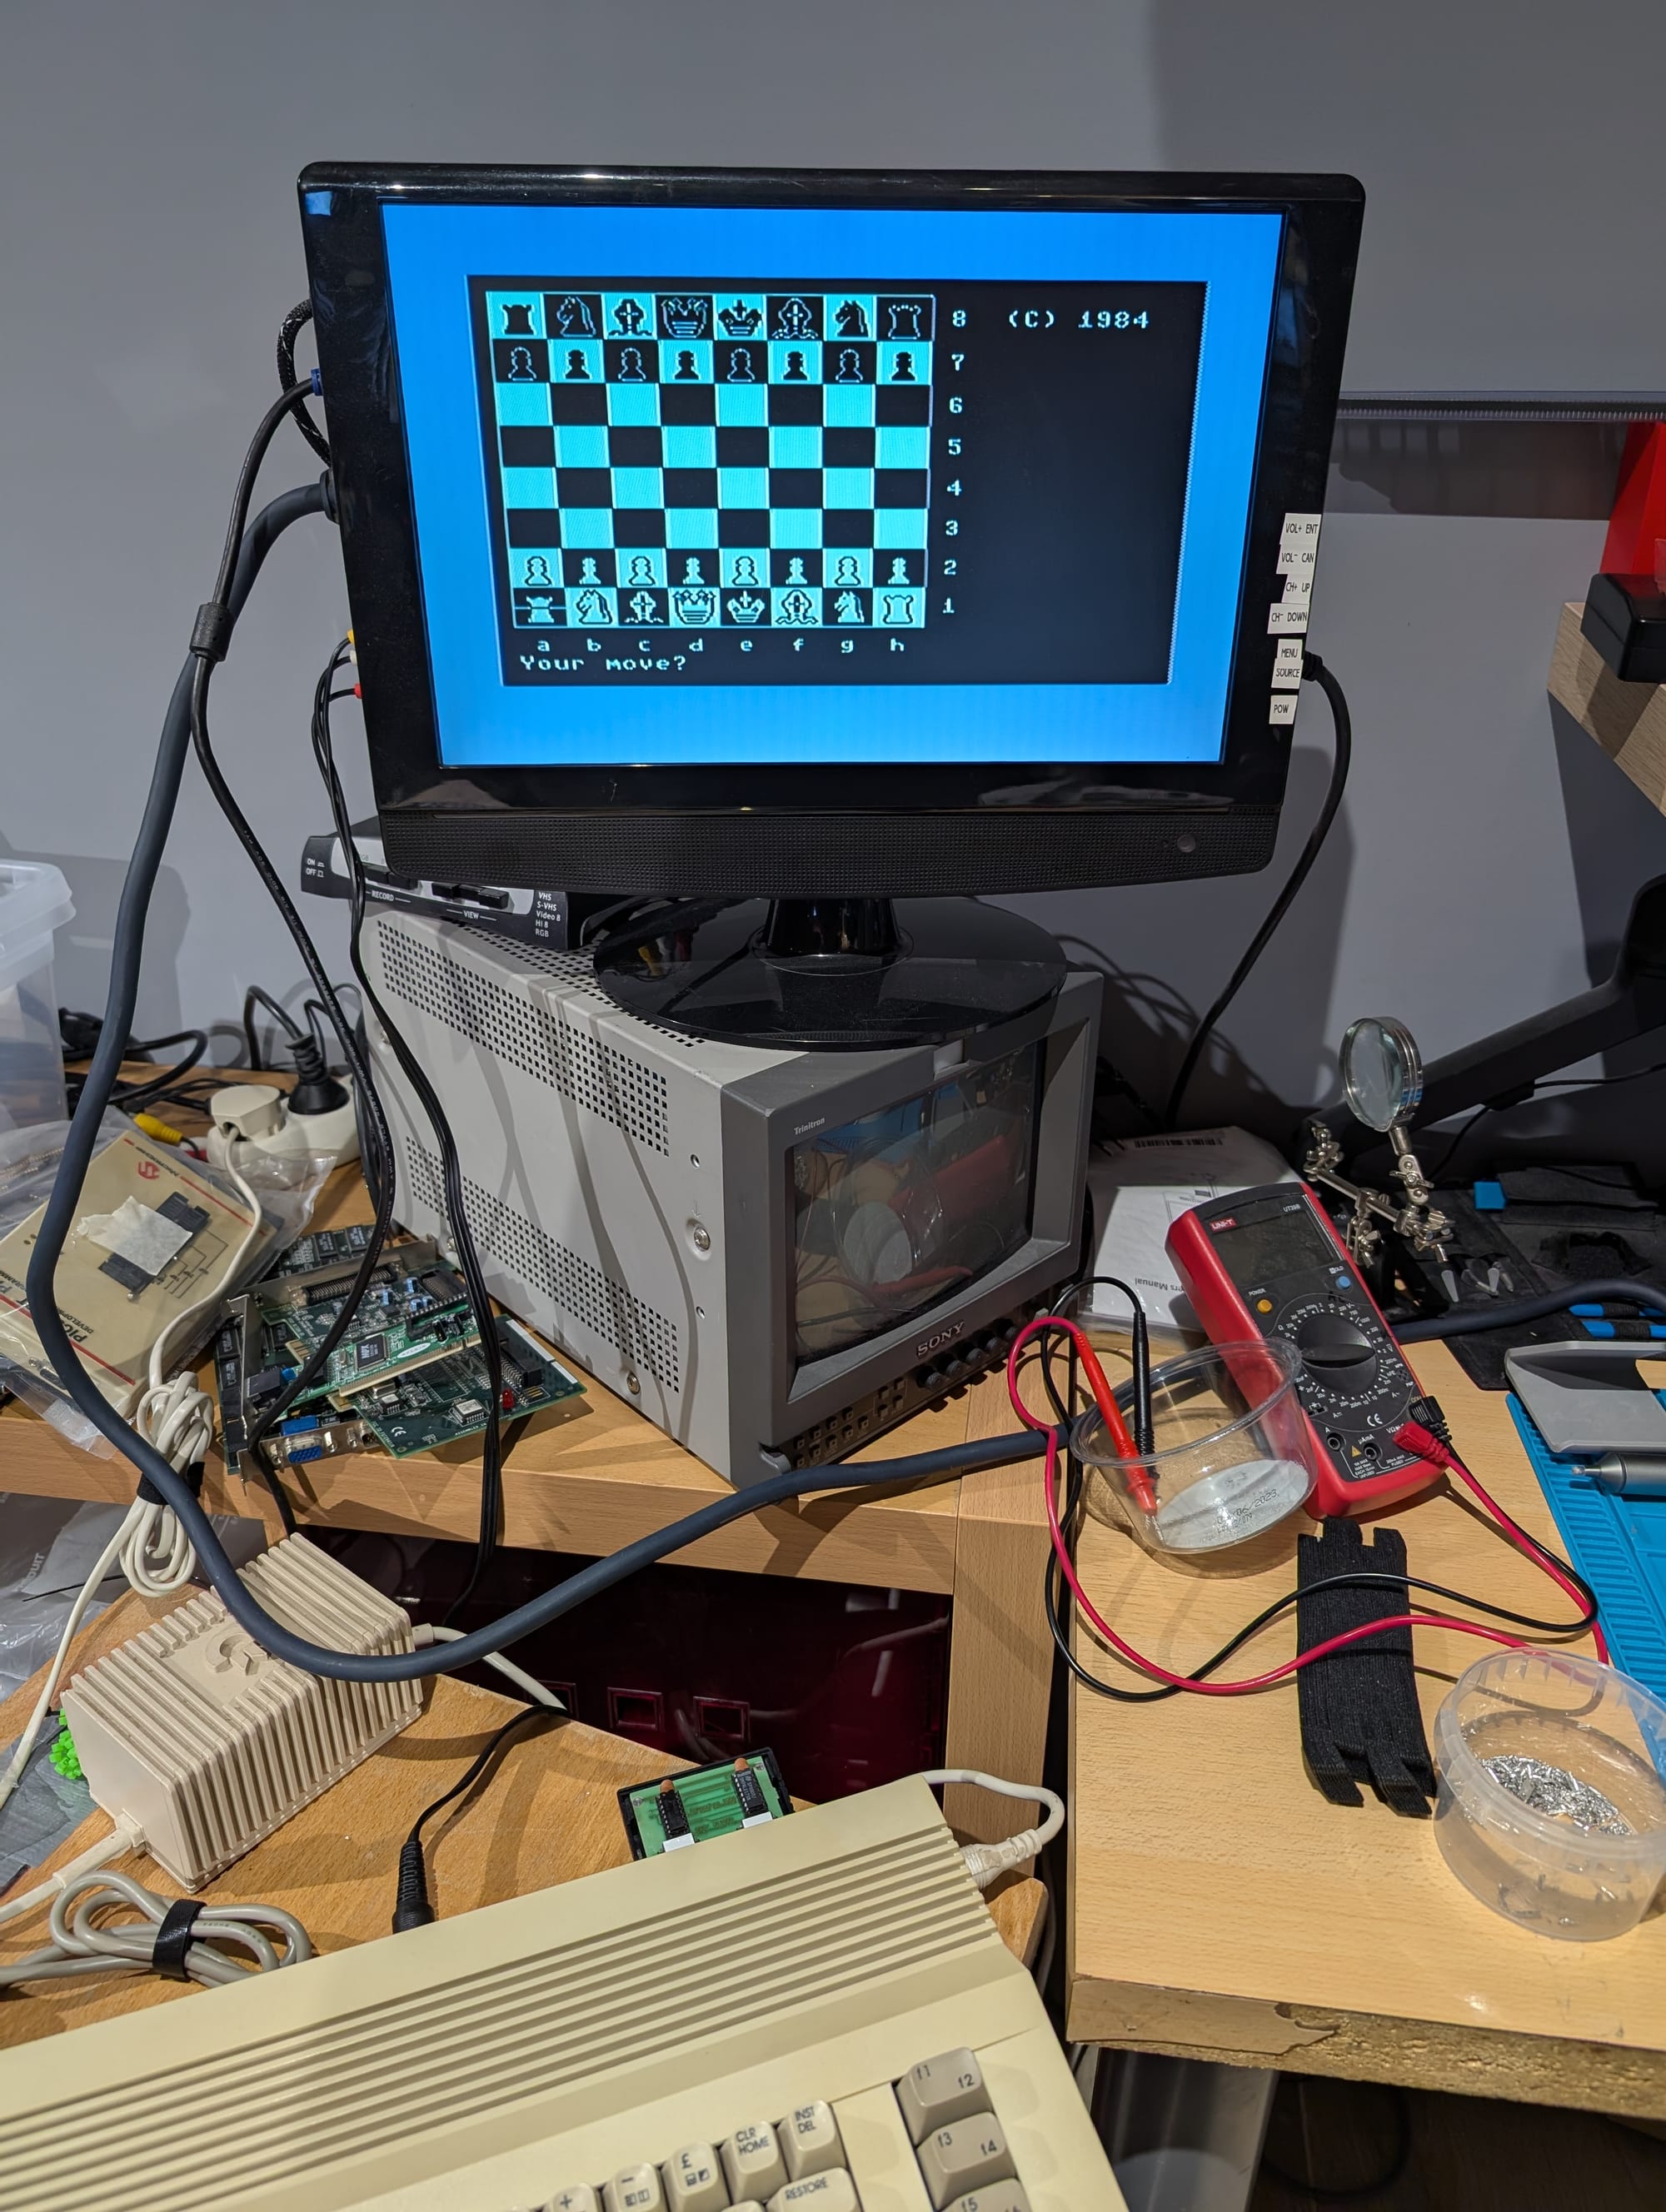
Yes, I need to clean my workbench, I know.
Closing thoughts
I'm really glad to finally have a working Super Game cartridge. Some might think it futile to put so much effort into repairing a simple game cartridge like this. It would certainly have saved me a lot of time to just buy a different one. They aren't particularly rare or expensive. However, I did this mostly for fun, as well as for the interesting challenge and learning experience it provided. The process was just as valuable to me as the end result.