Apple Power Macintosh 8100/110

This powermac 8100/110 was given to me by someone who was just about to throw it out. The machine was untested and didn’t come with the original monitor, mouse or keyboard. This makes things very challenging to test, since I don’t own any appropriate accessories to connect this computer to. This meant that I had to get a bit more creative.
A bit of ranting...
I’ll start with a confession for those who don’t know me: I’m not the biggest Apple fan. A lot of the reasons why people like Apple products are the same reasons why I don’t like them. One of these reasons is very prominent with this machine: Everything is proprietary. They want you to use this Apple computer with an Apple monitor, an Apple keyboard, an Apple mouse and Apple software. This makes it far more difficult than it could be for people like me who have a machine they want to test but don’t have any accessories for it. I really don’t want to hunt down the original accessories, so I will try to get around the proprietary ports by building adapters. Fortunately, I enjoy doing this kind of stuff.
Aside from this, there are also a number of things I really like about this machine. It looks nice, is very compact, very expandable and has a neat auto-ejecting floppy drive. It also had some very impressive hardware for its time.
The hardware
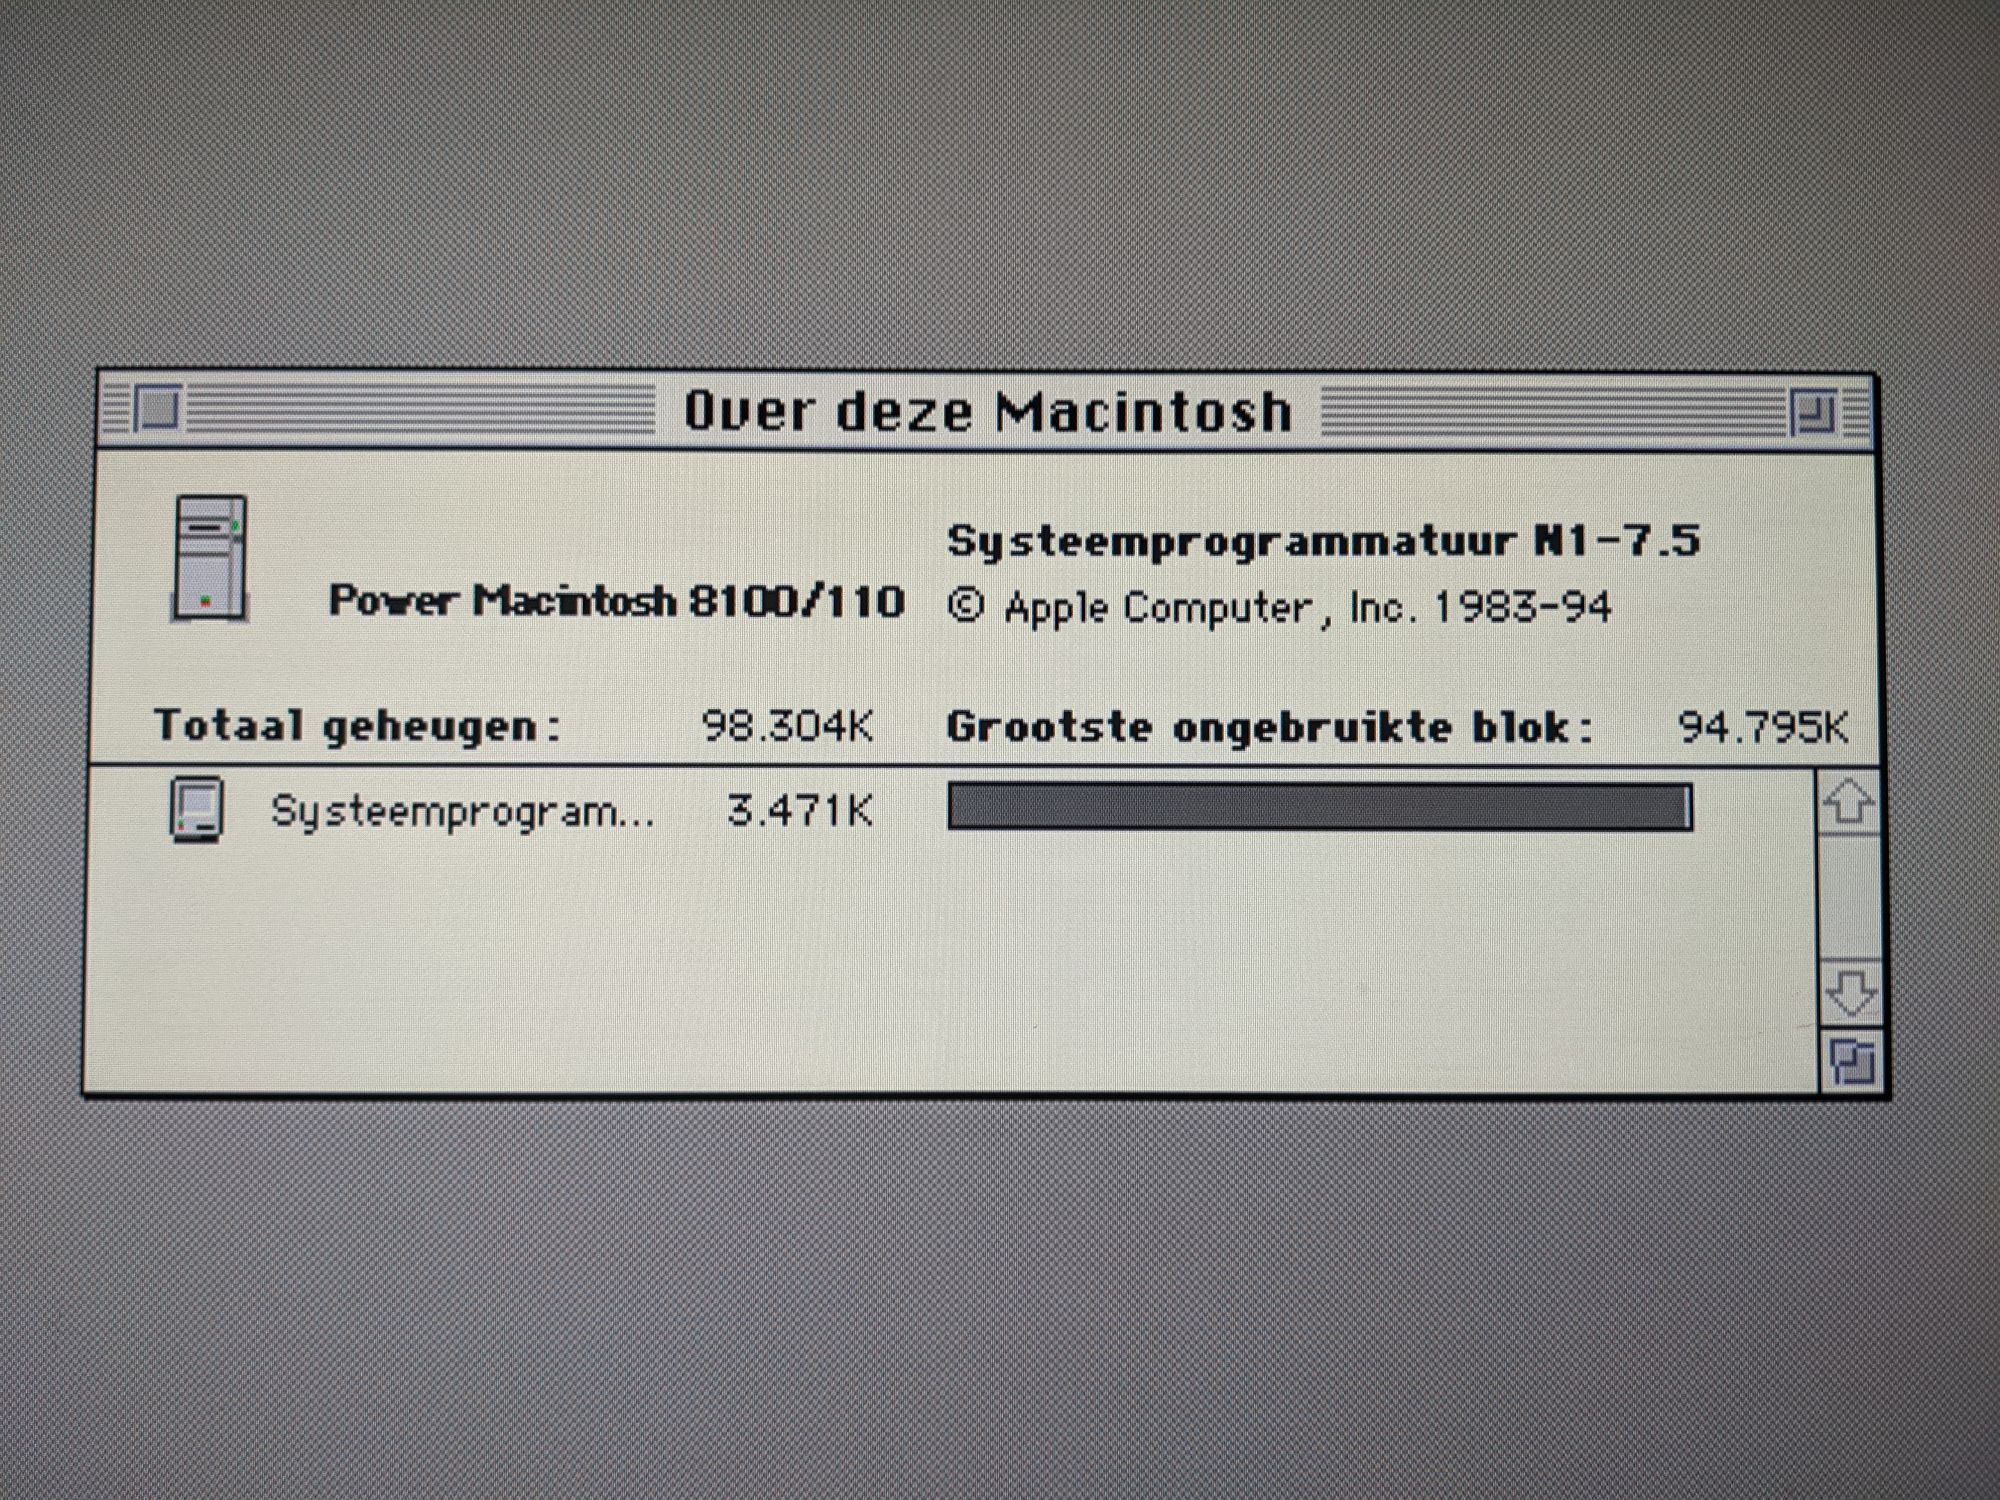
Before turning the machine on, I opened it up to see if everything looked OK and if it had been expanded in any way. It seems like the previous owners installed a 1GB Quantum SCSI hard drive in addition to the original Apple drive that came with the machine. They also expanded the RAM to 100MB. Other than that, it had the same configuration as any other powermac 8100/110. You can check out the full specs here.
Usually I cover cleaning the machine but I barely had to do anything with this one. Aside from a bit of dust on the inside it was already very clean, both inside and outside. The only unfortunate thing about the case was that the ABS-pieces had yellowed throughout the years. I prefer leaving yellowed plastic the way it is since I’ve had mixed results trying to ‘retrobrite’ plastic in the past.
After this quick visual inspection and blowing out the dust, I turned it on to see what would happen. The fans started spinning and the typical Apple startup chime played through the internal speaker. Unfortunately, I could hear one of the hard drives had a problem with spinning up. Other than this I had no clue if the machine was outputting anything because I didn’t have anything connected to it. Let’s fix that now!
Connecting to a standard VGA monitor
The mac has two ports for connecting a monitor: A HDI-45 port and a DA-15 port. The HDI-45 port is meant for very specific Apple monitors and carries both audio and video. The DA-15 port is a bit more similar to a typical VGA port, but uses a connector that’s different from the standard DE-15 connector. I will be connecting to this DA-15 port since it’s much easier to build adapters for this connector.
I first looked into pre-built adapters. Despite my best efforts looking online I could not find any for a reasonable price in the EU. The cheapest option was around €30 including shipping from the US. However, import fees and tax will be added on top of that. I really did not want to spend €40-50 on an adapter for an untested computer, so I decided to look into DIY options.
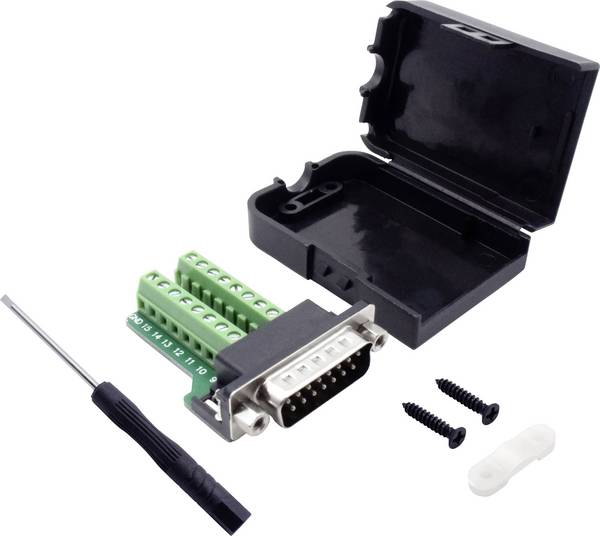
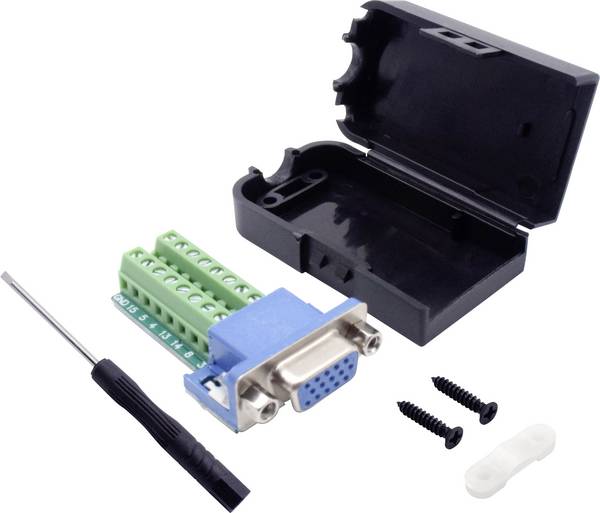
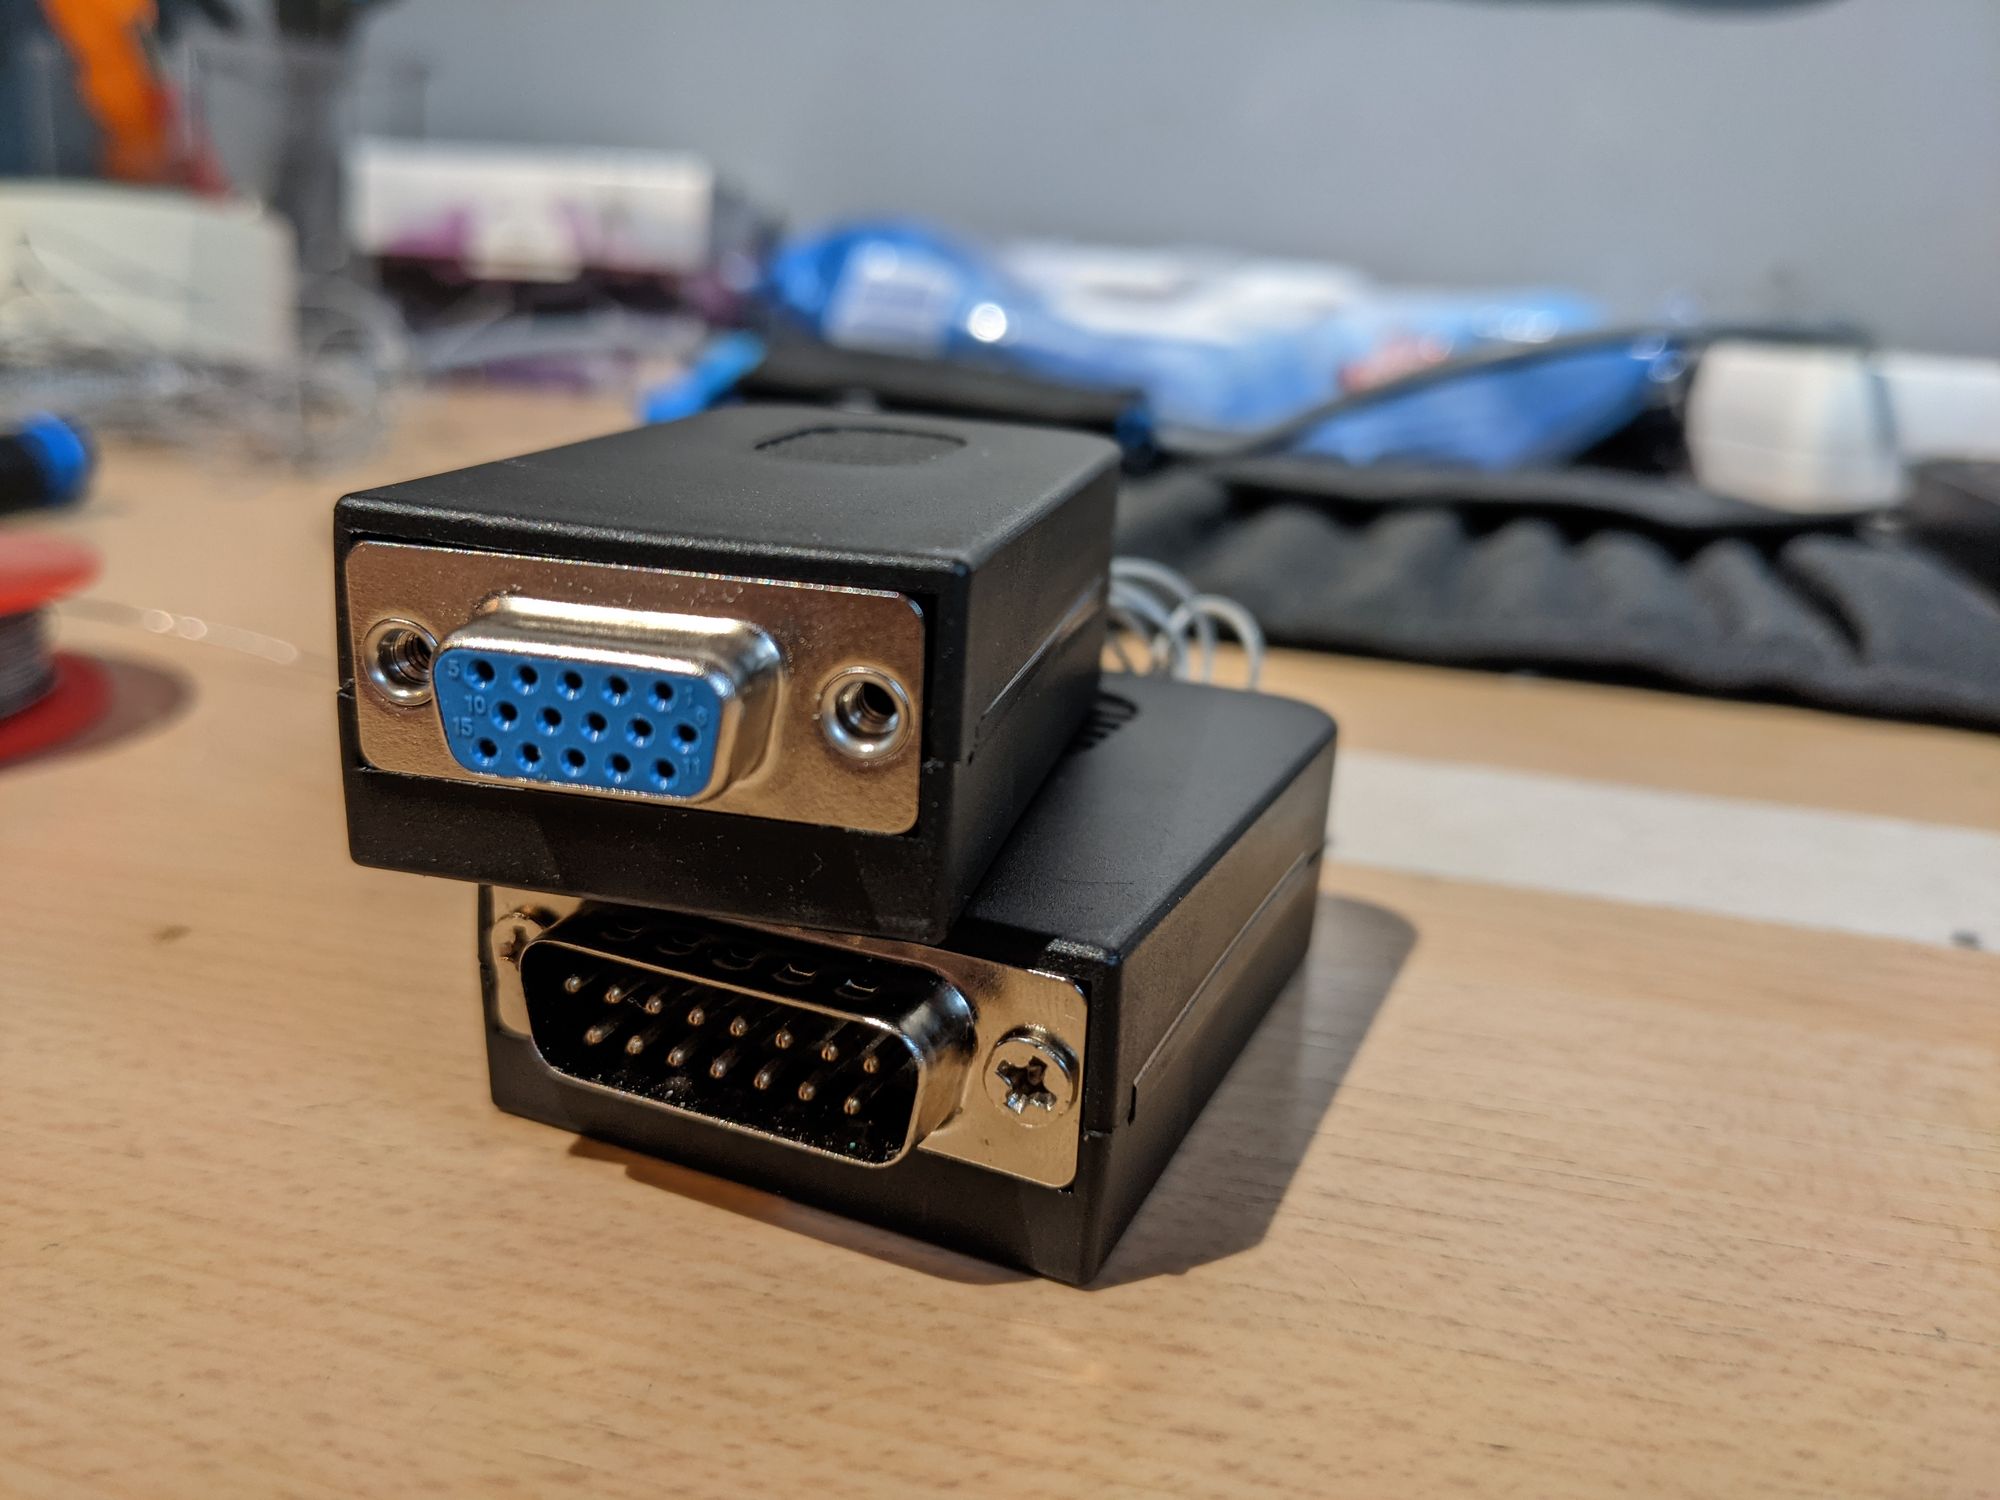
After some searching I found this wiki page, which had very good documentation and pinouts for building an adapter like this yourself. I ordered two breakout boards, one with a DA-15 connector and one with a DE-15 connector, which cost me about €12. With these I can quickly connect wires by simply screwing them in instead of soldering. All pins are also numbered. This makes it very convenient to test everything and quickly make changes if needed.
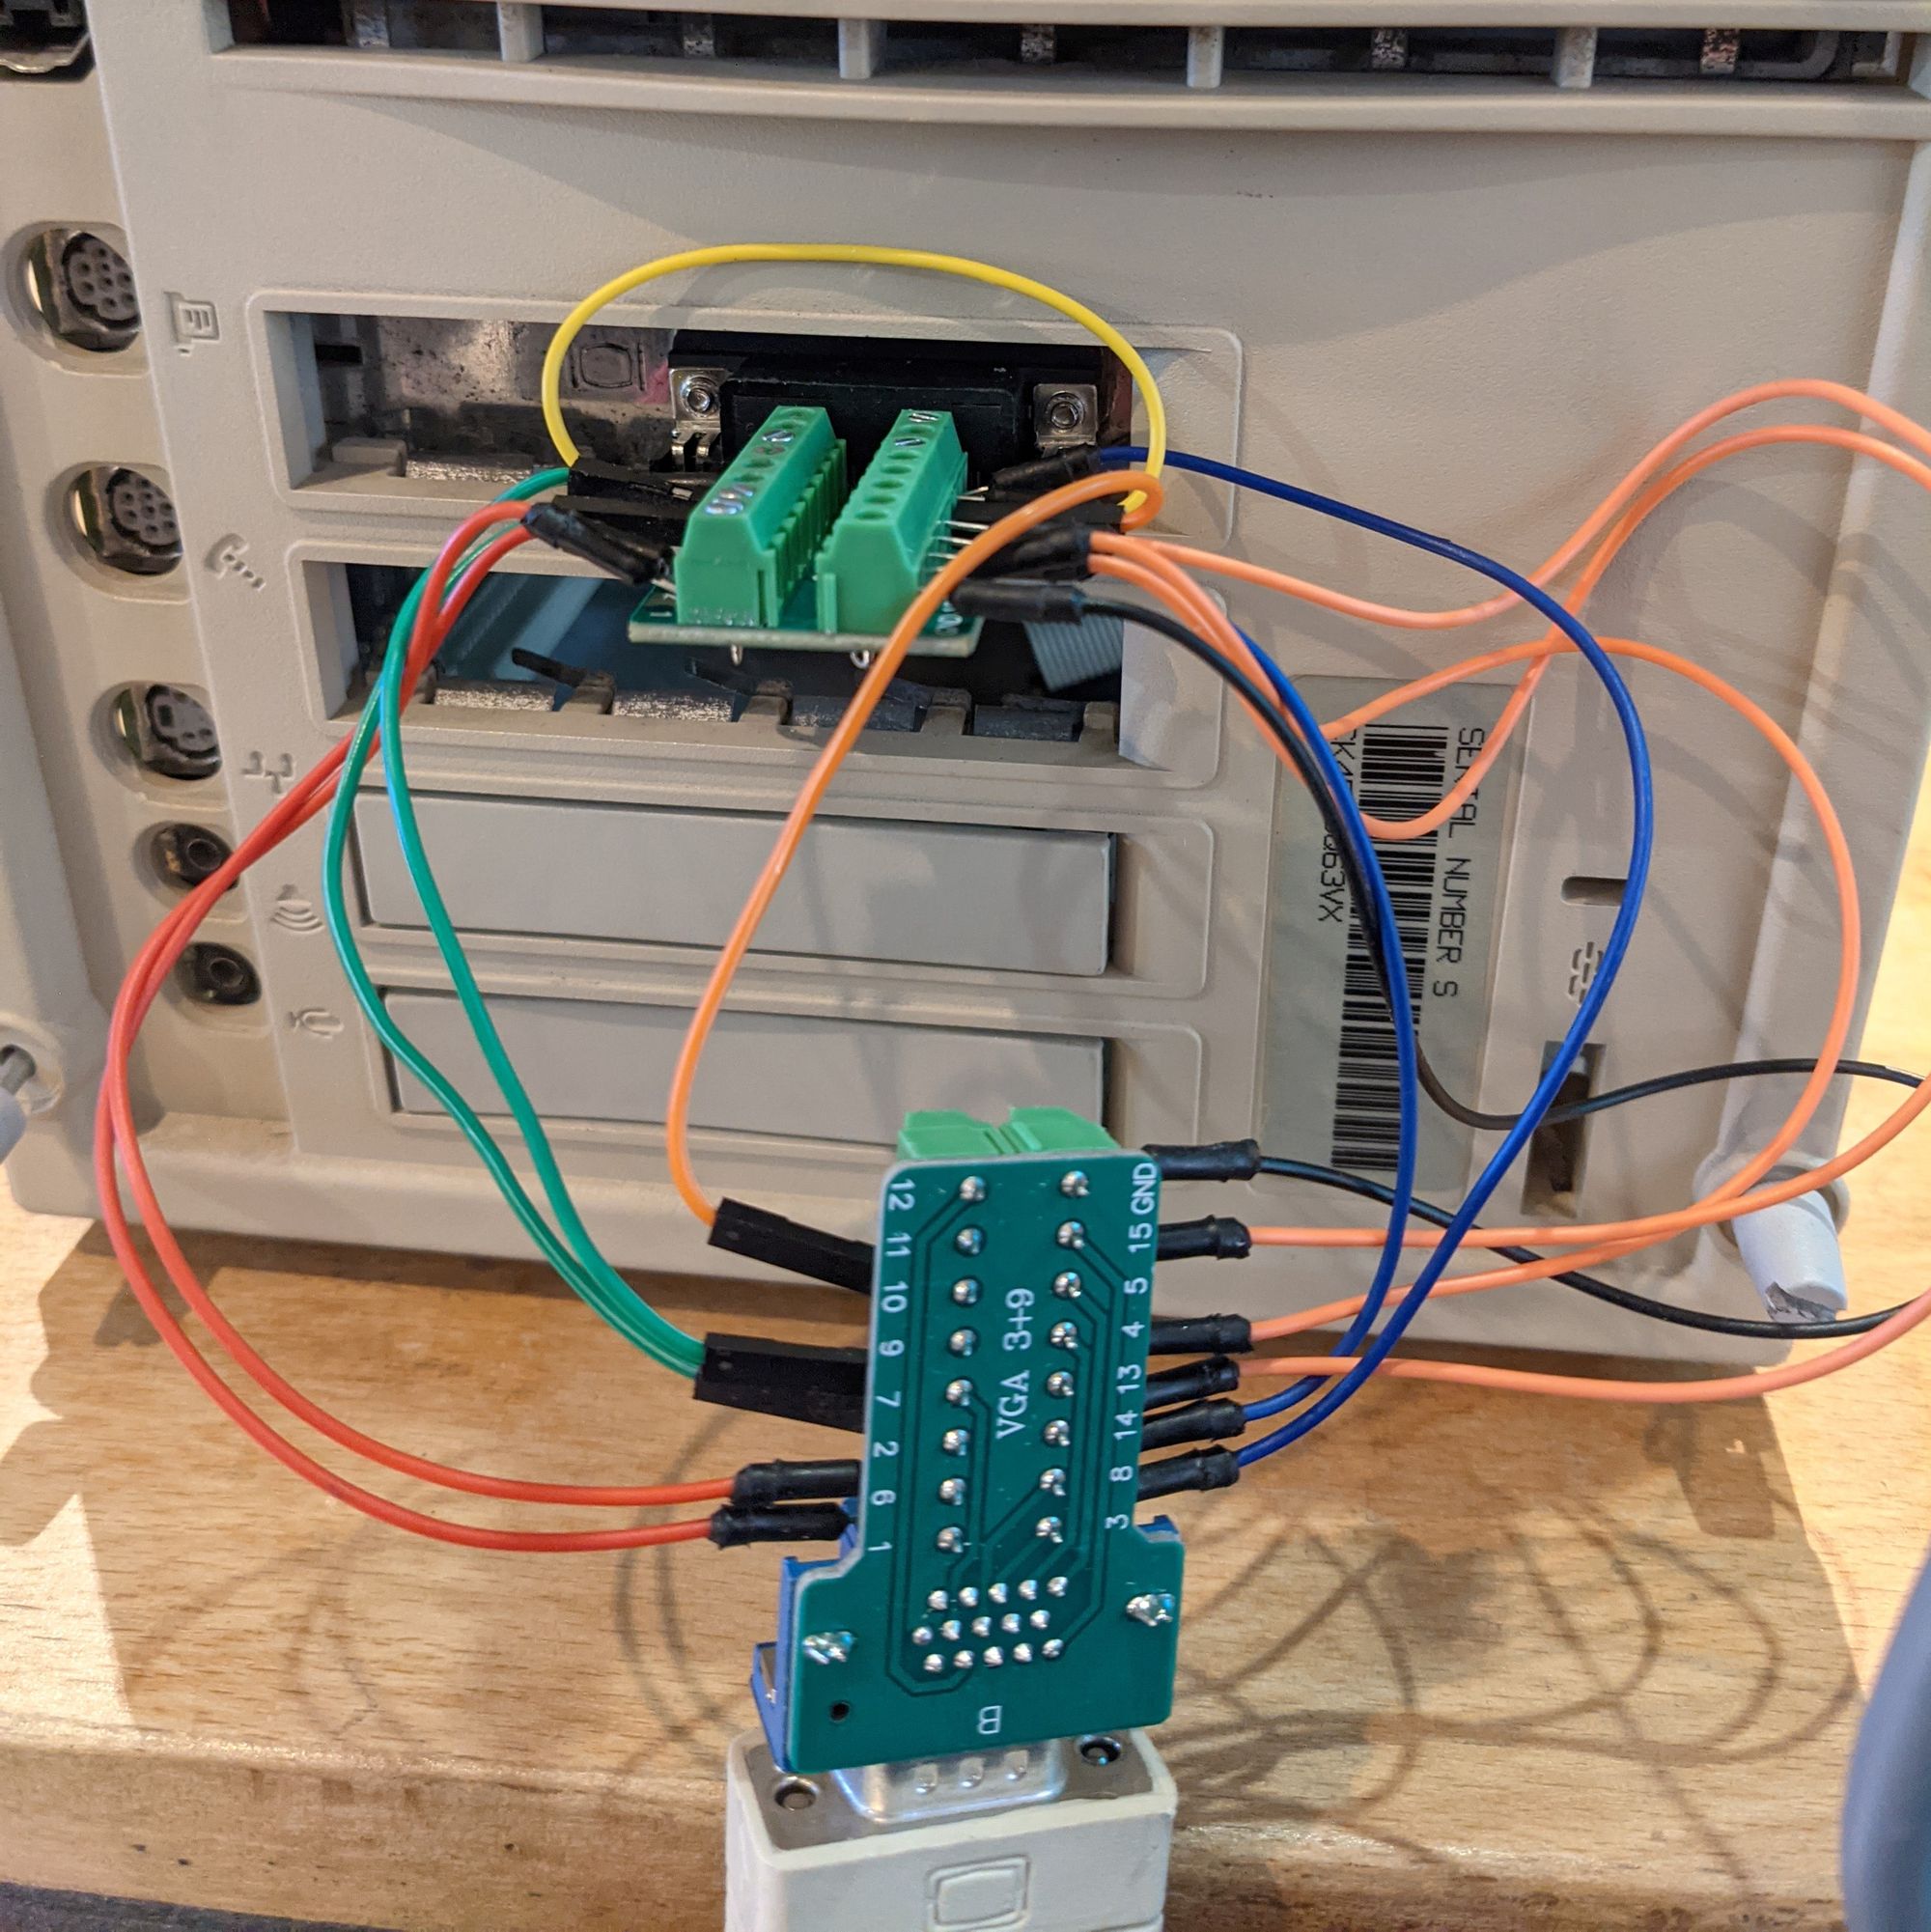
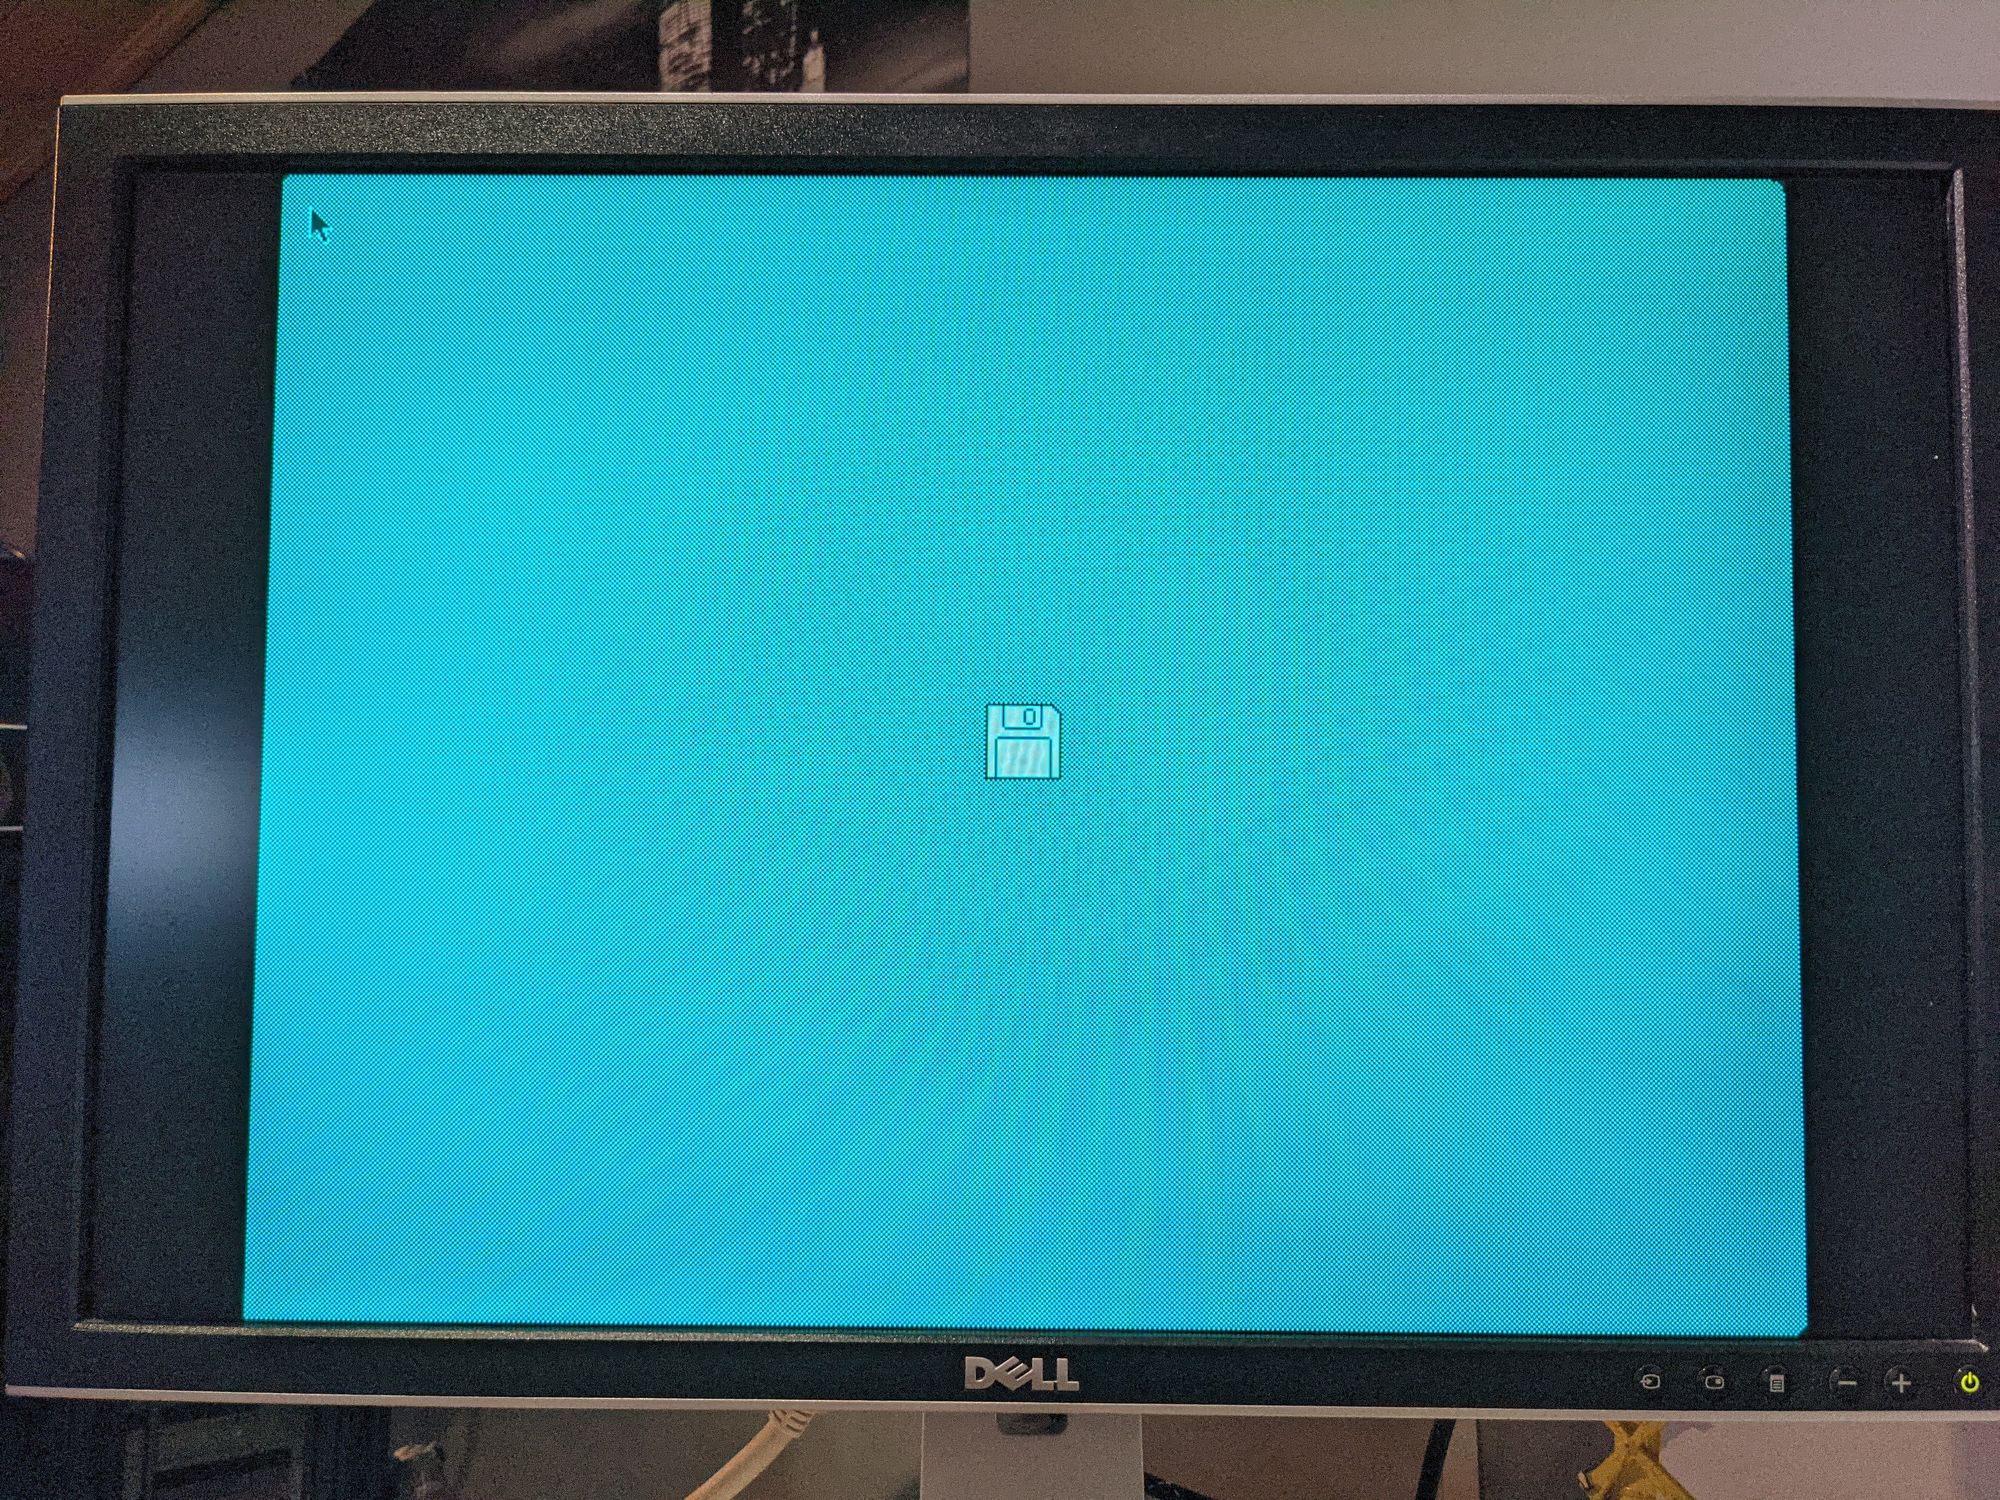
Once the connectors arrived, I wired them up as described on the wiki page. I connected pin 7 to pin 10 on the DA-15 side to get a regular VGA output. I tested it and sure enough, it worked! I was getting a picture on a standard LCD monitor. The image did have a blue tint but I assume this was due to it being loosely connected using only the screws. After verifying that the wiring works, I soldered everything permanently in place for a solid connection. This also resolved the blue tint and resulted in a very crisp image.
Connecting a PS/2 mouse and keyboard
When it came to connecting a mouse and keyboard I ran into very similar issues that I had while trying to connect a VGA display. Macs of this era all use the ‘Apple Desktop Bus’ for input devices. ADB both works different and has a different connector compared to the typical PS/2 ports of the time.
Just like with the display, I looked into pre-built adapters first. There are some options out there but none of them really do what I want. There’s a number that can convert ADB to USB but not the other way around. One of them, the ADB-USB Wombat can convert in both directions but was sold out at the time of writing and was also a bit pricey at $50 not including shipping, import fees, etc. I also would rather use PS/2 devices instead of USB since those are more era-appropriate. So once again, I started looking for DIY options.
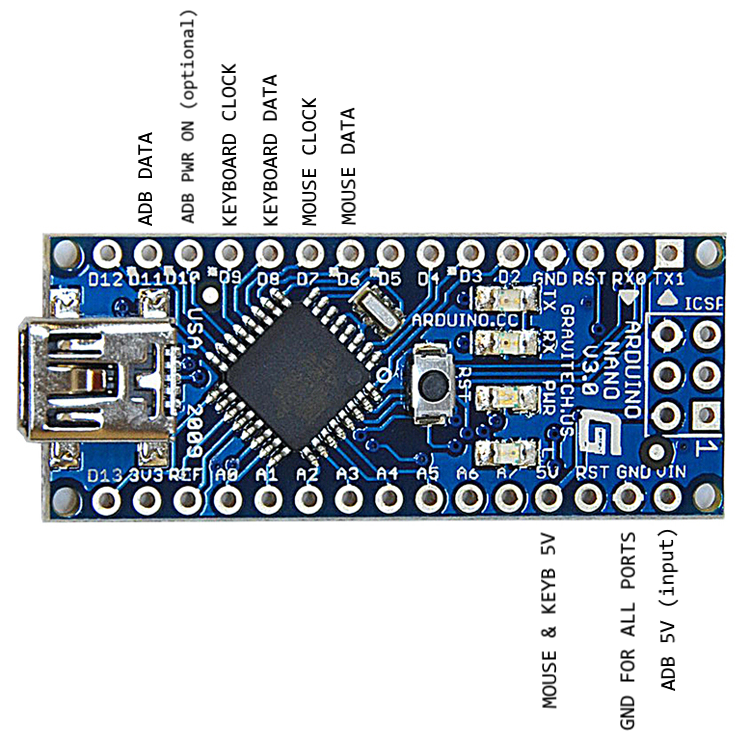
Luckily, converting PS/2 to ADB had been done before using an Arduino. This was already well documented on this blog page. I won’t go into detail since that page already does a great job but I would like to note one thing: The original design for this adapter used an Arduino Pro Mini. I planned on using an Arduino Nano, and so did the writer of the page. However, what they did not mention is that the Arduino Pro Mini’s and Nano’s pinouts aren’t a one-to-one match. Here’s how I wired up my Arduino Nano:
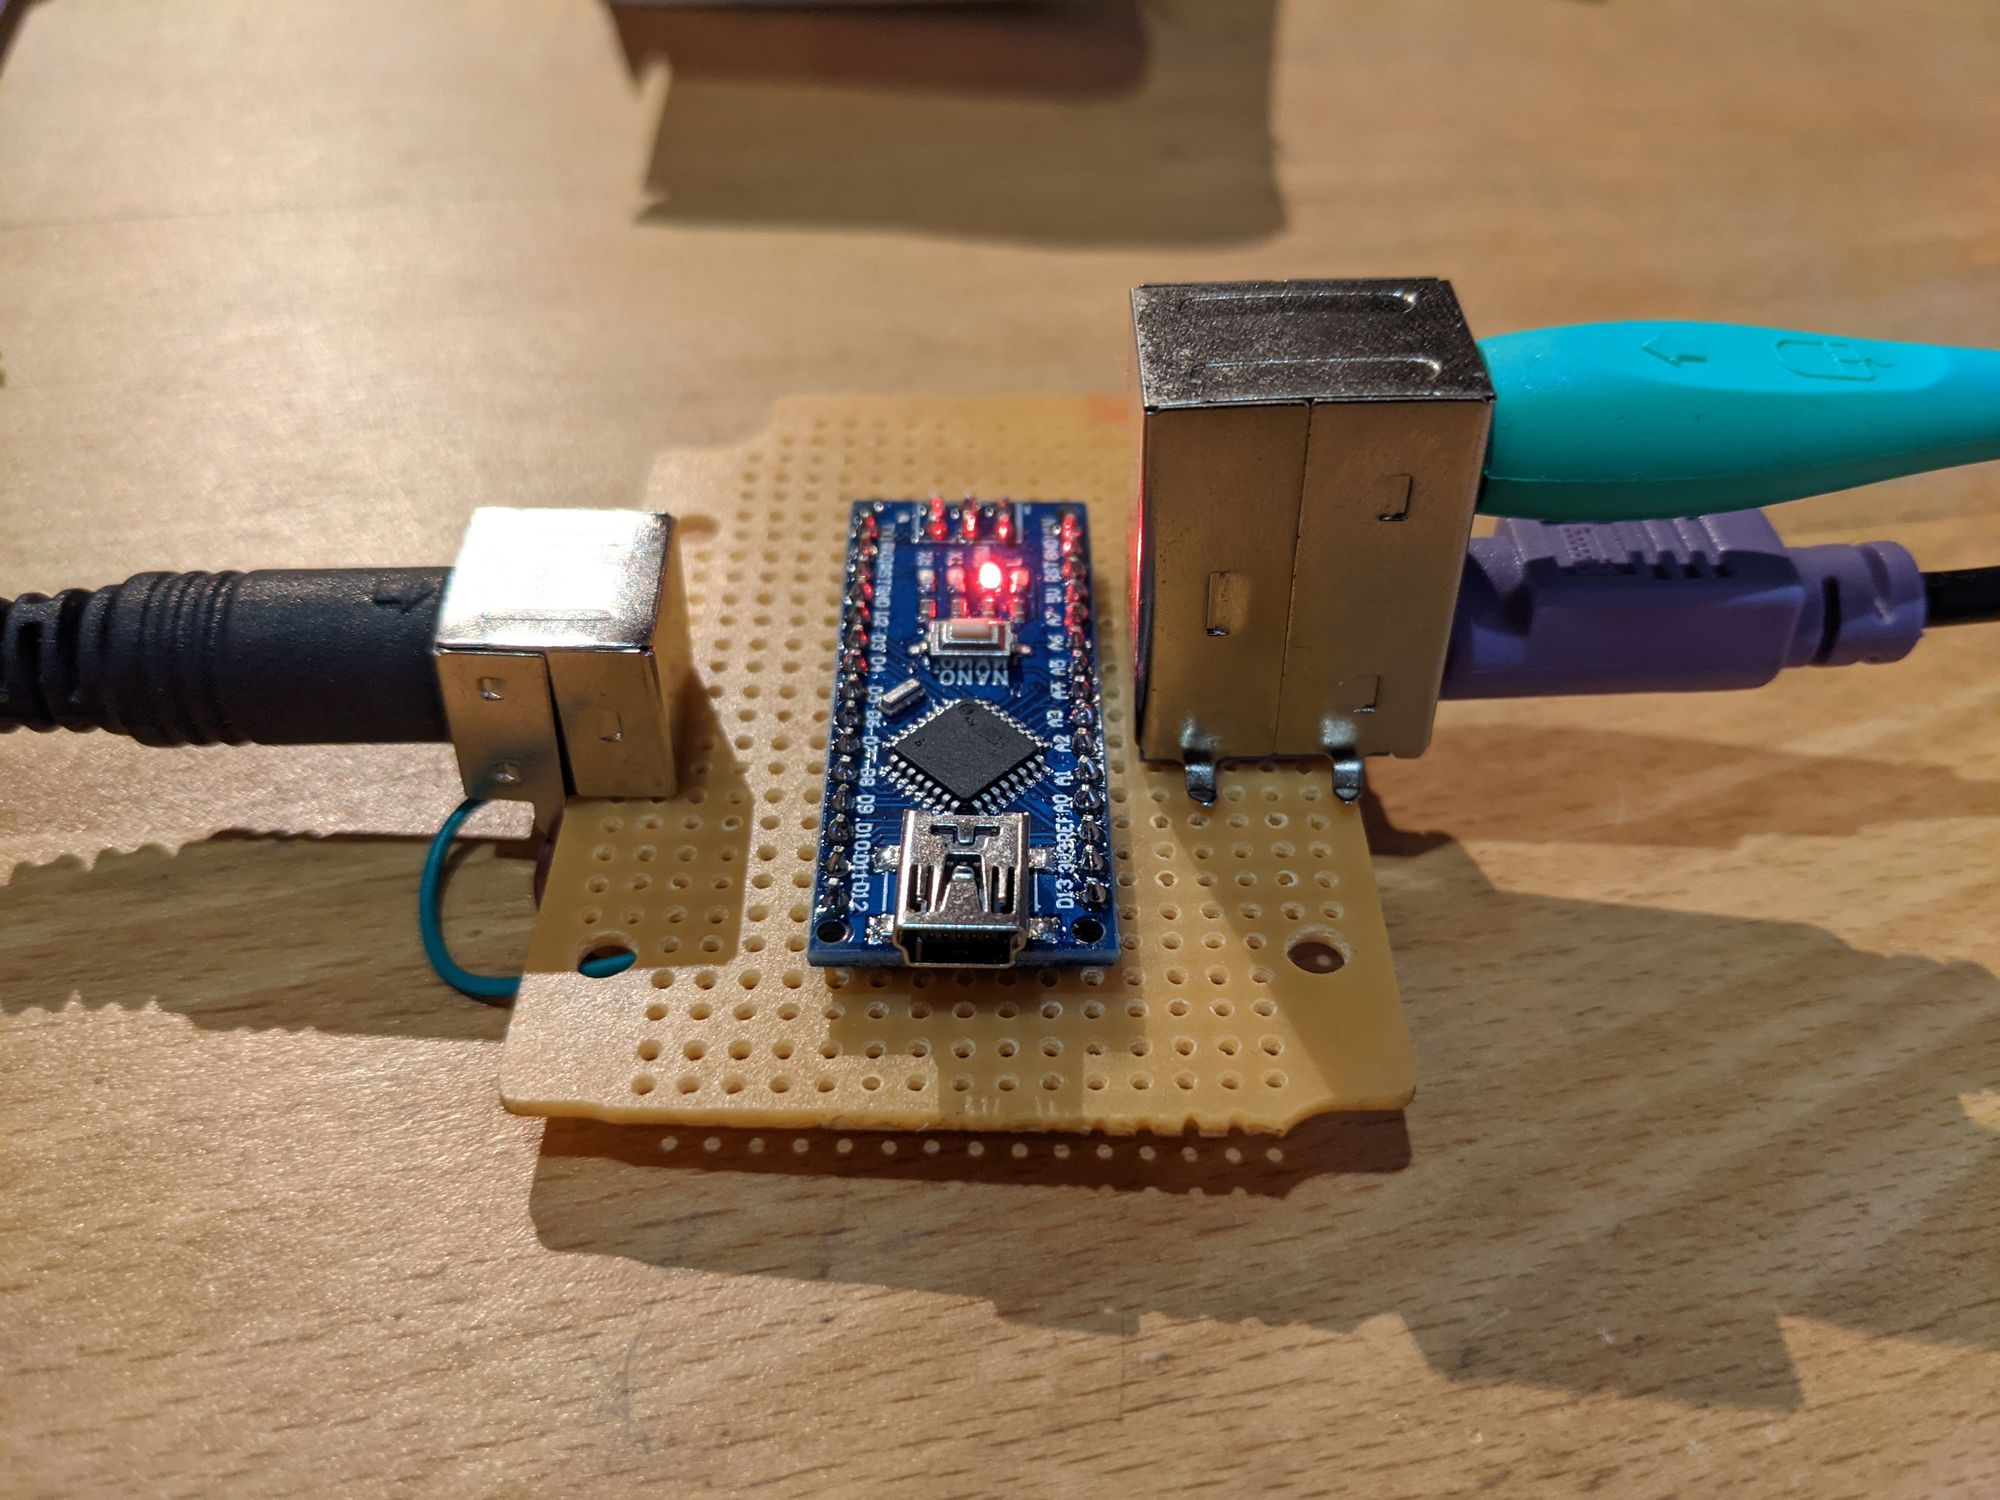
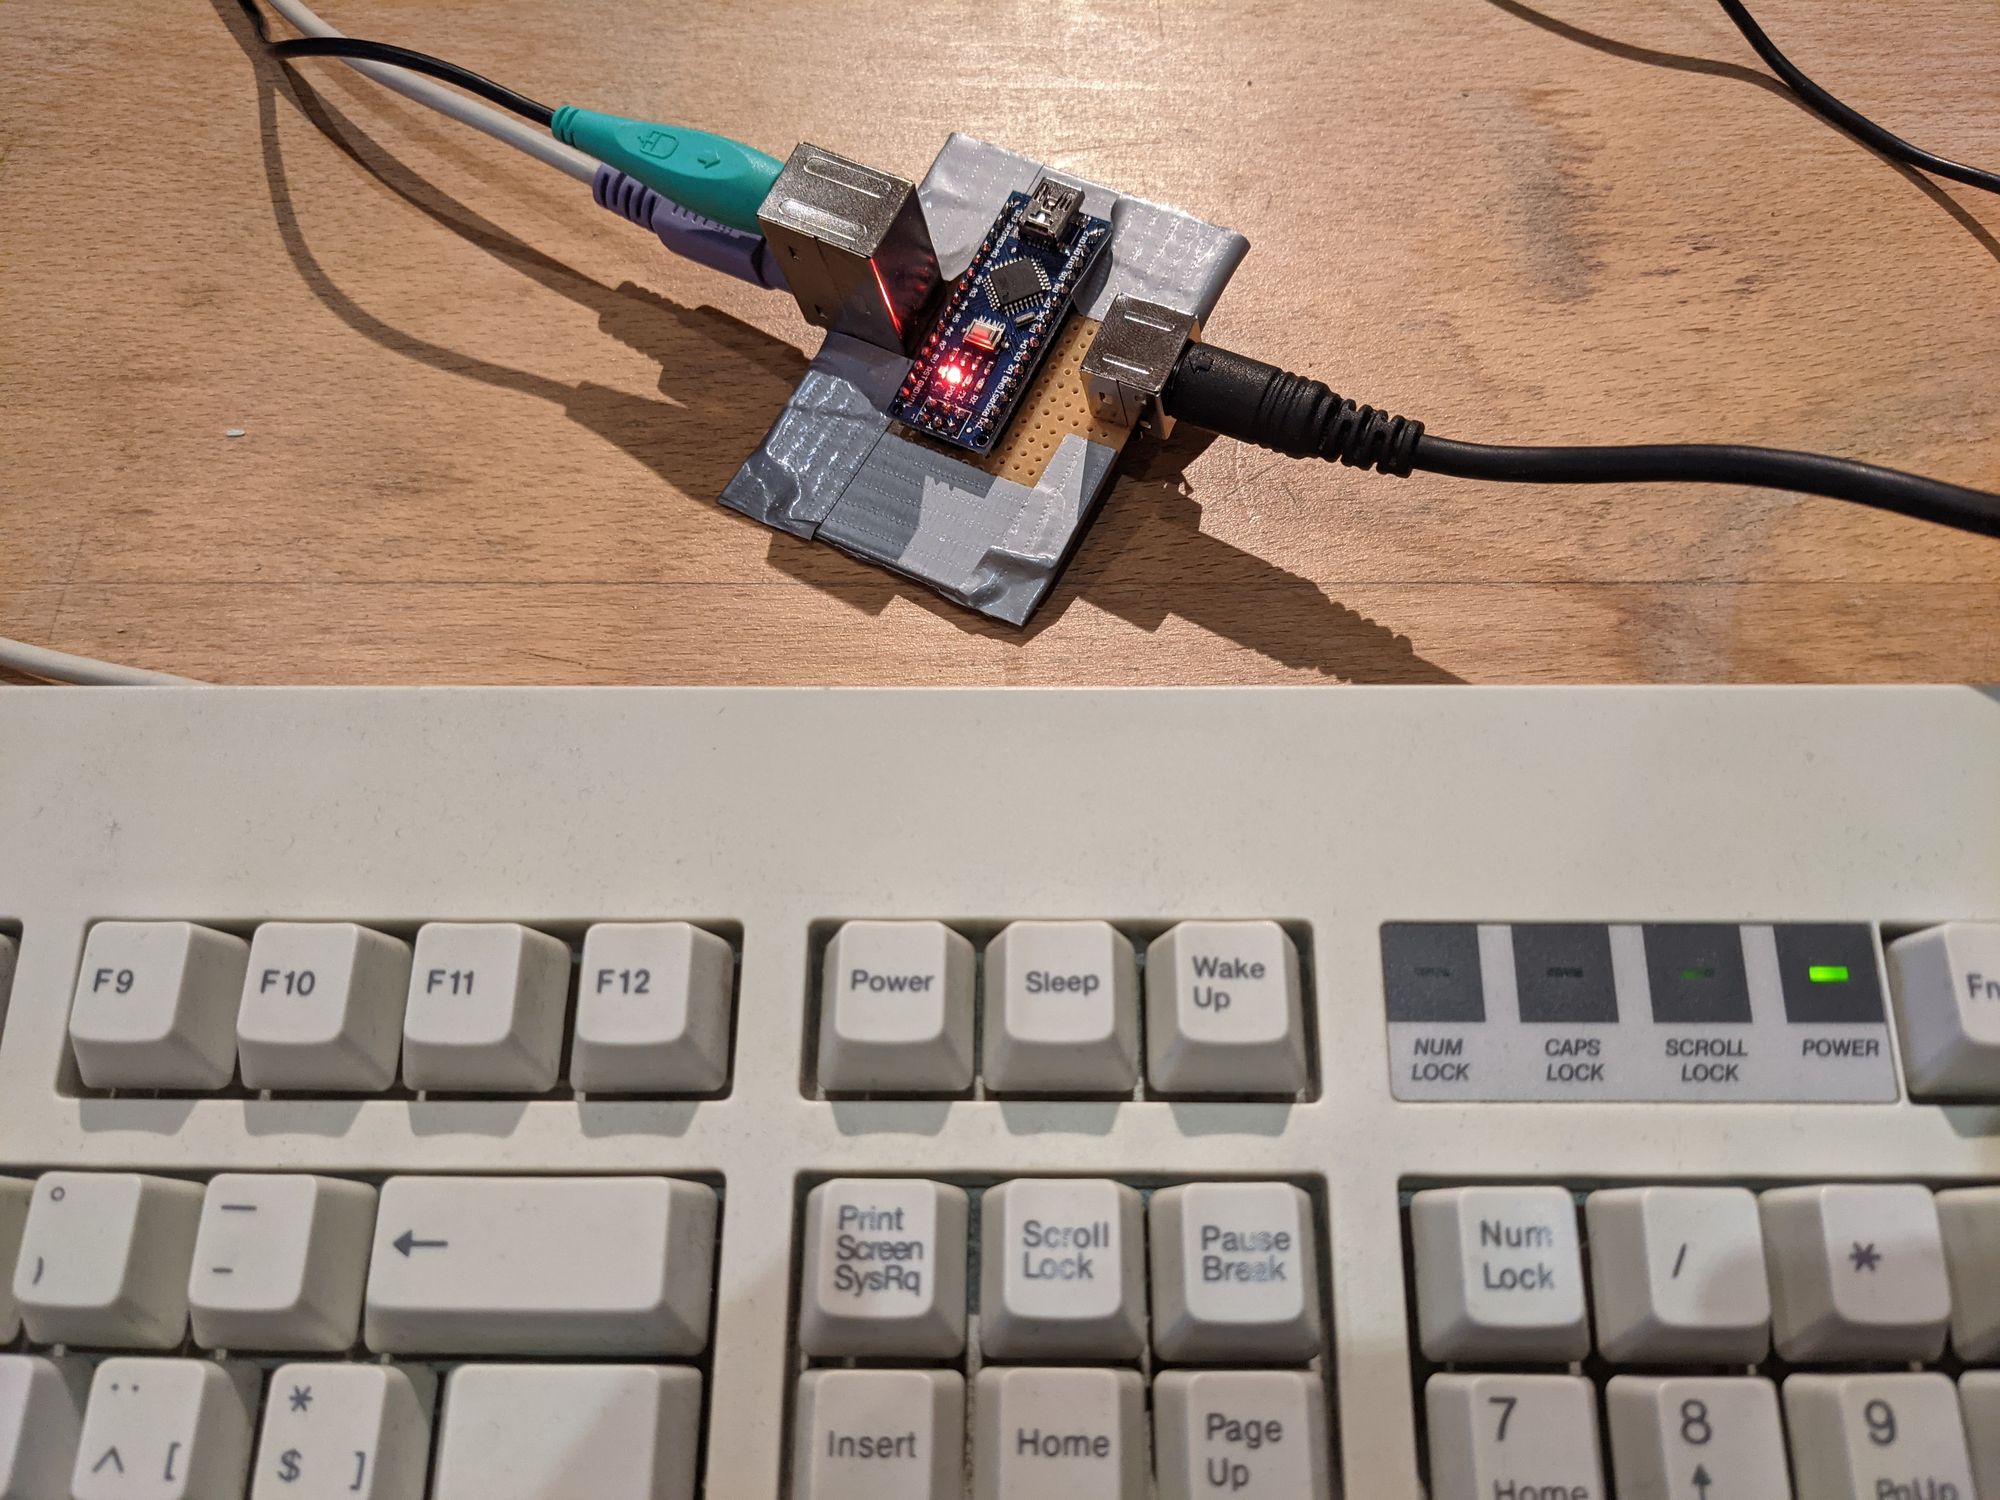
I ordered two female PS/2 ports for the mouse and keyboard, and a female DIN-4 port for ADB. Fun fact: DIN-4 was also used for the S-video standard. So you can also use S-video ports and cables for ADB as they are basically the same thing physically. I uploaded the program to the Arduino, soldered it all together on a prototyping board and tested it out. And sure enough, it worked… mostly. When the adapter works, it works very well. However, it does not seem to work with every mouse and keyboard. I tested several PS/2 keyboards, most of them worked fine, others only worked after pushing the Arduino’s reset button a few times, and one Dell keyboard didn’t seem to work at all. Mice were basically the same story. A PS/2 ball mouse didn’t work, nor did a USB to PS/2 adapted optical mouse. It seems like native PS/2 optical mice are the best choice, those worked great. Long story short: your mileage may vary.
Installing the software
With the adapters finished, I could move on to getting all the software installed since the mac didn’t boot to an OS. This is likely due to the one HDD not spinning up, which was probably the drive the OS was originally installed on.
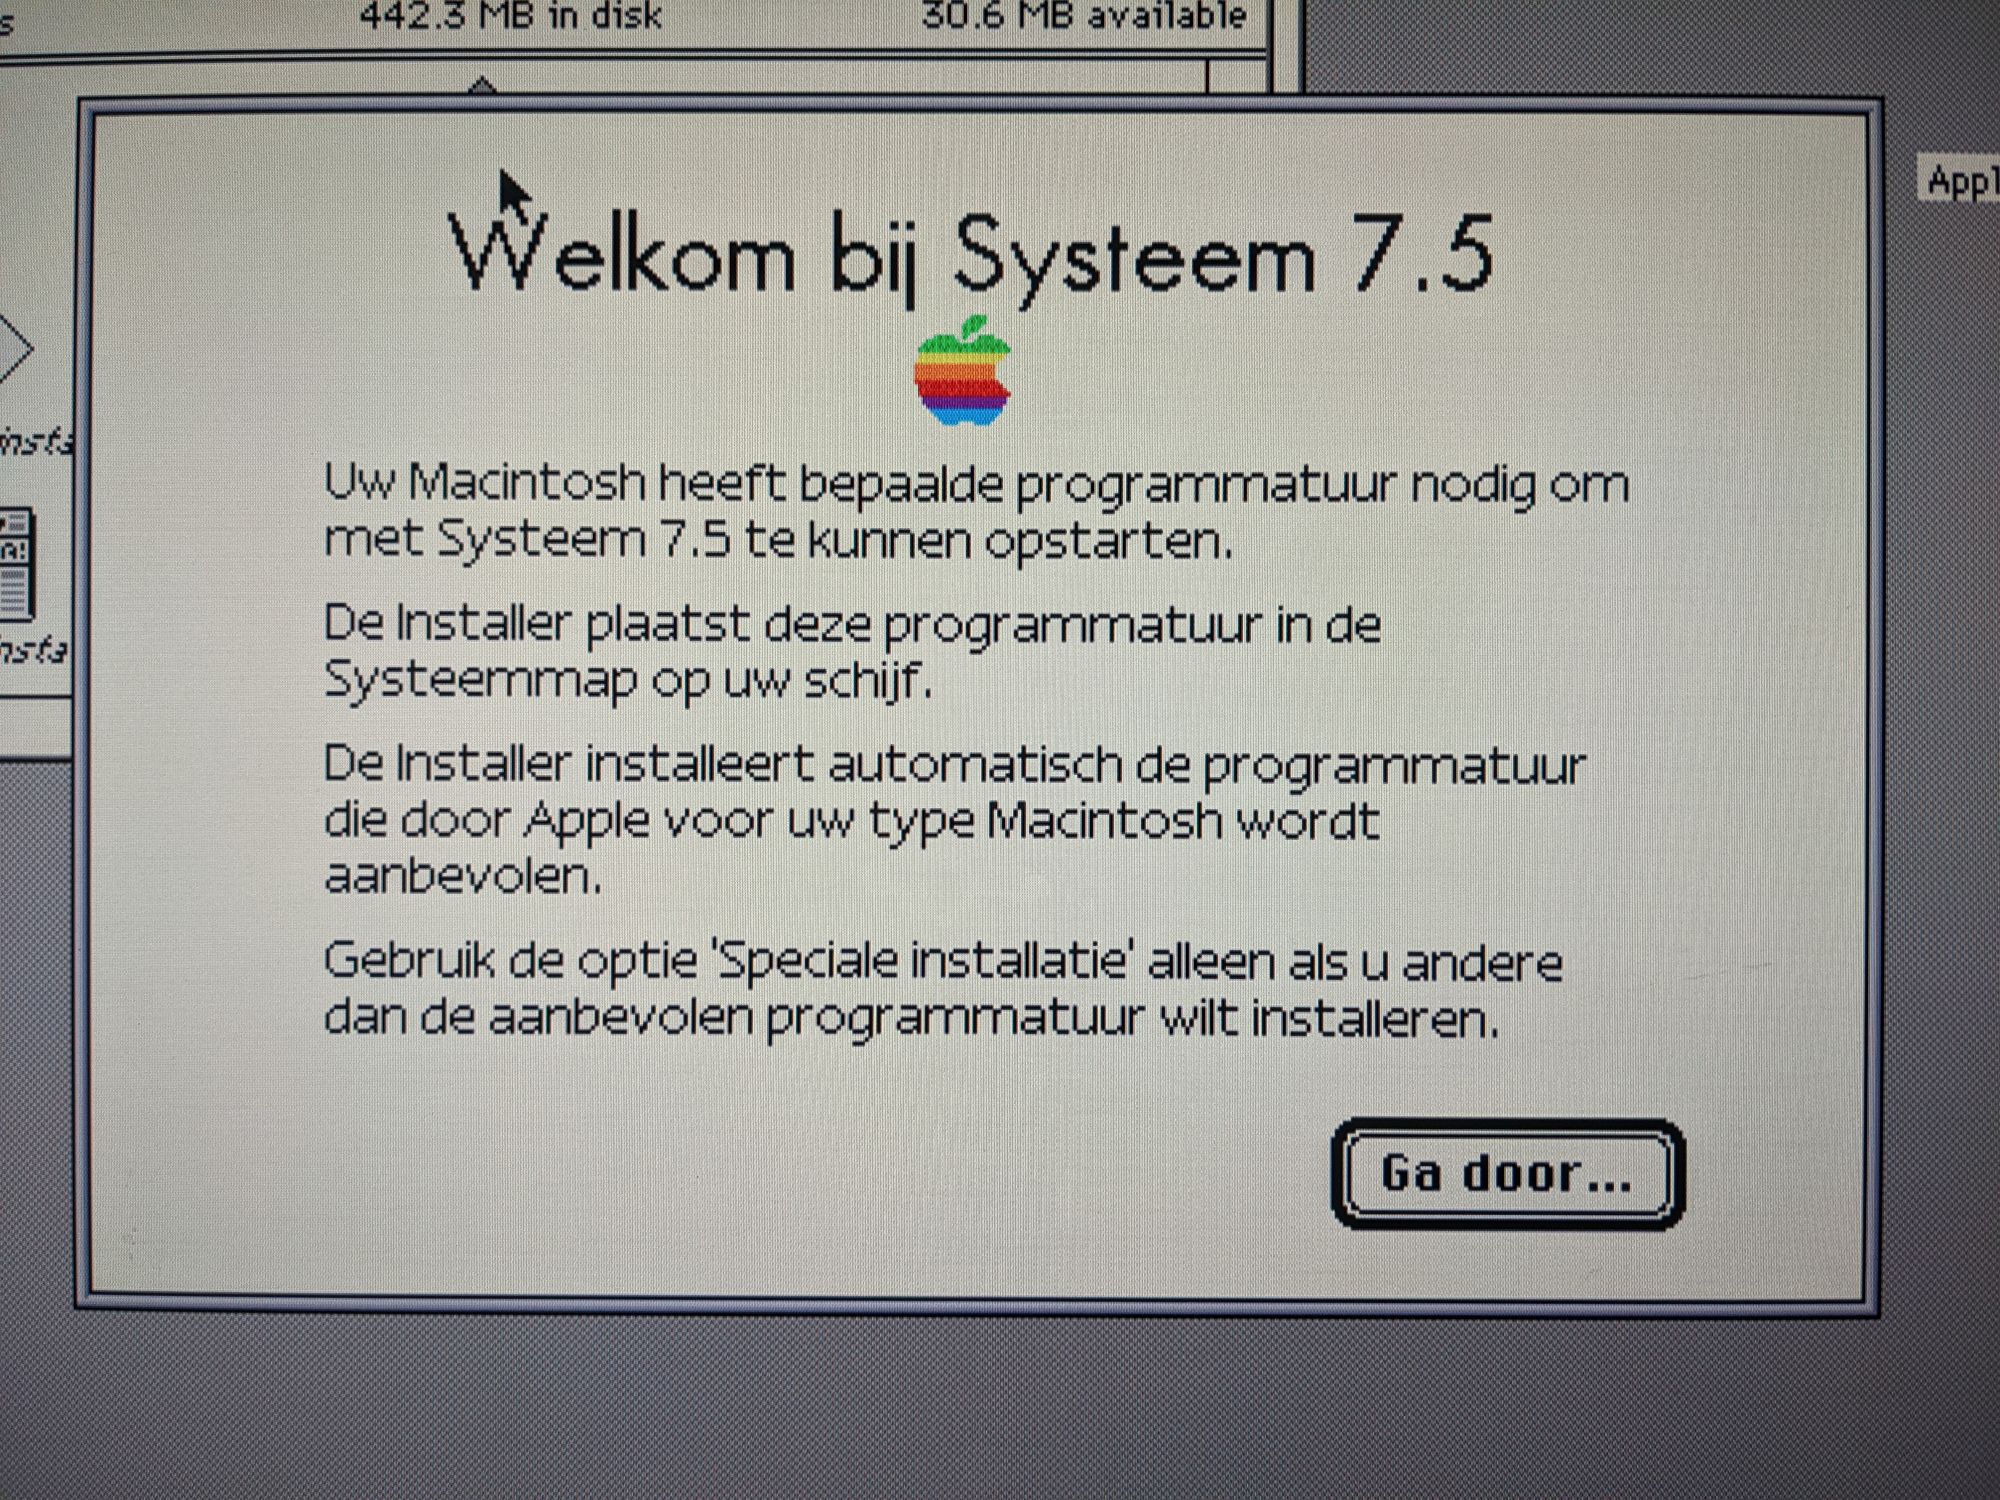
I decided to go with MacOS 7.5 because that’s what the machine originally came with. It was at this point that I found out how picky these macs can be with installation media. After multiple failed attempts I managed to find a combination of images that worked. For the boot floppy, I used the “disk tools 2” file in the “Apple Mac OS 7.5.3 Revision 2” package from WinWorld. For the installation CD I used this image from the Internet Archive. It is a CD intended for the 8100 series so it should work perfectly. It’s the Dutch version, but that’s fine with me since that's my native language.
I converted the floppy image to an SCP file using HxCFloppyEmulator software and wrote it to a disk using my Greaseweazle. The CD image was burned using PowerISO.
After booting the mac using the floppy disk, I could immediately confirm my suspicion: one HDD was completely dead and could not be read. The other HDD worked great but only had some documents on it. I decided to simply unplug the dead HDD, and format the other one to use as an OS drive.
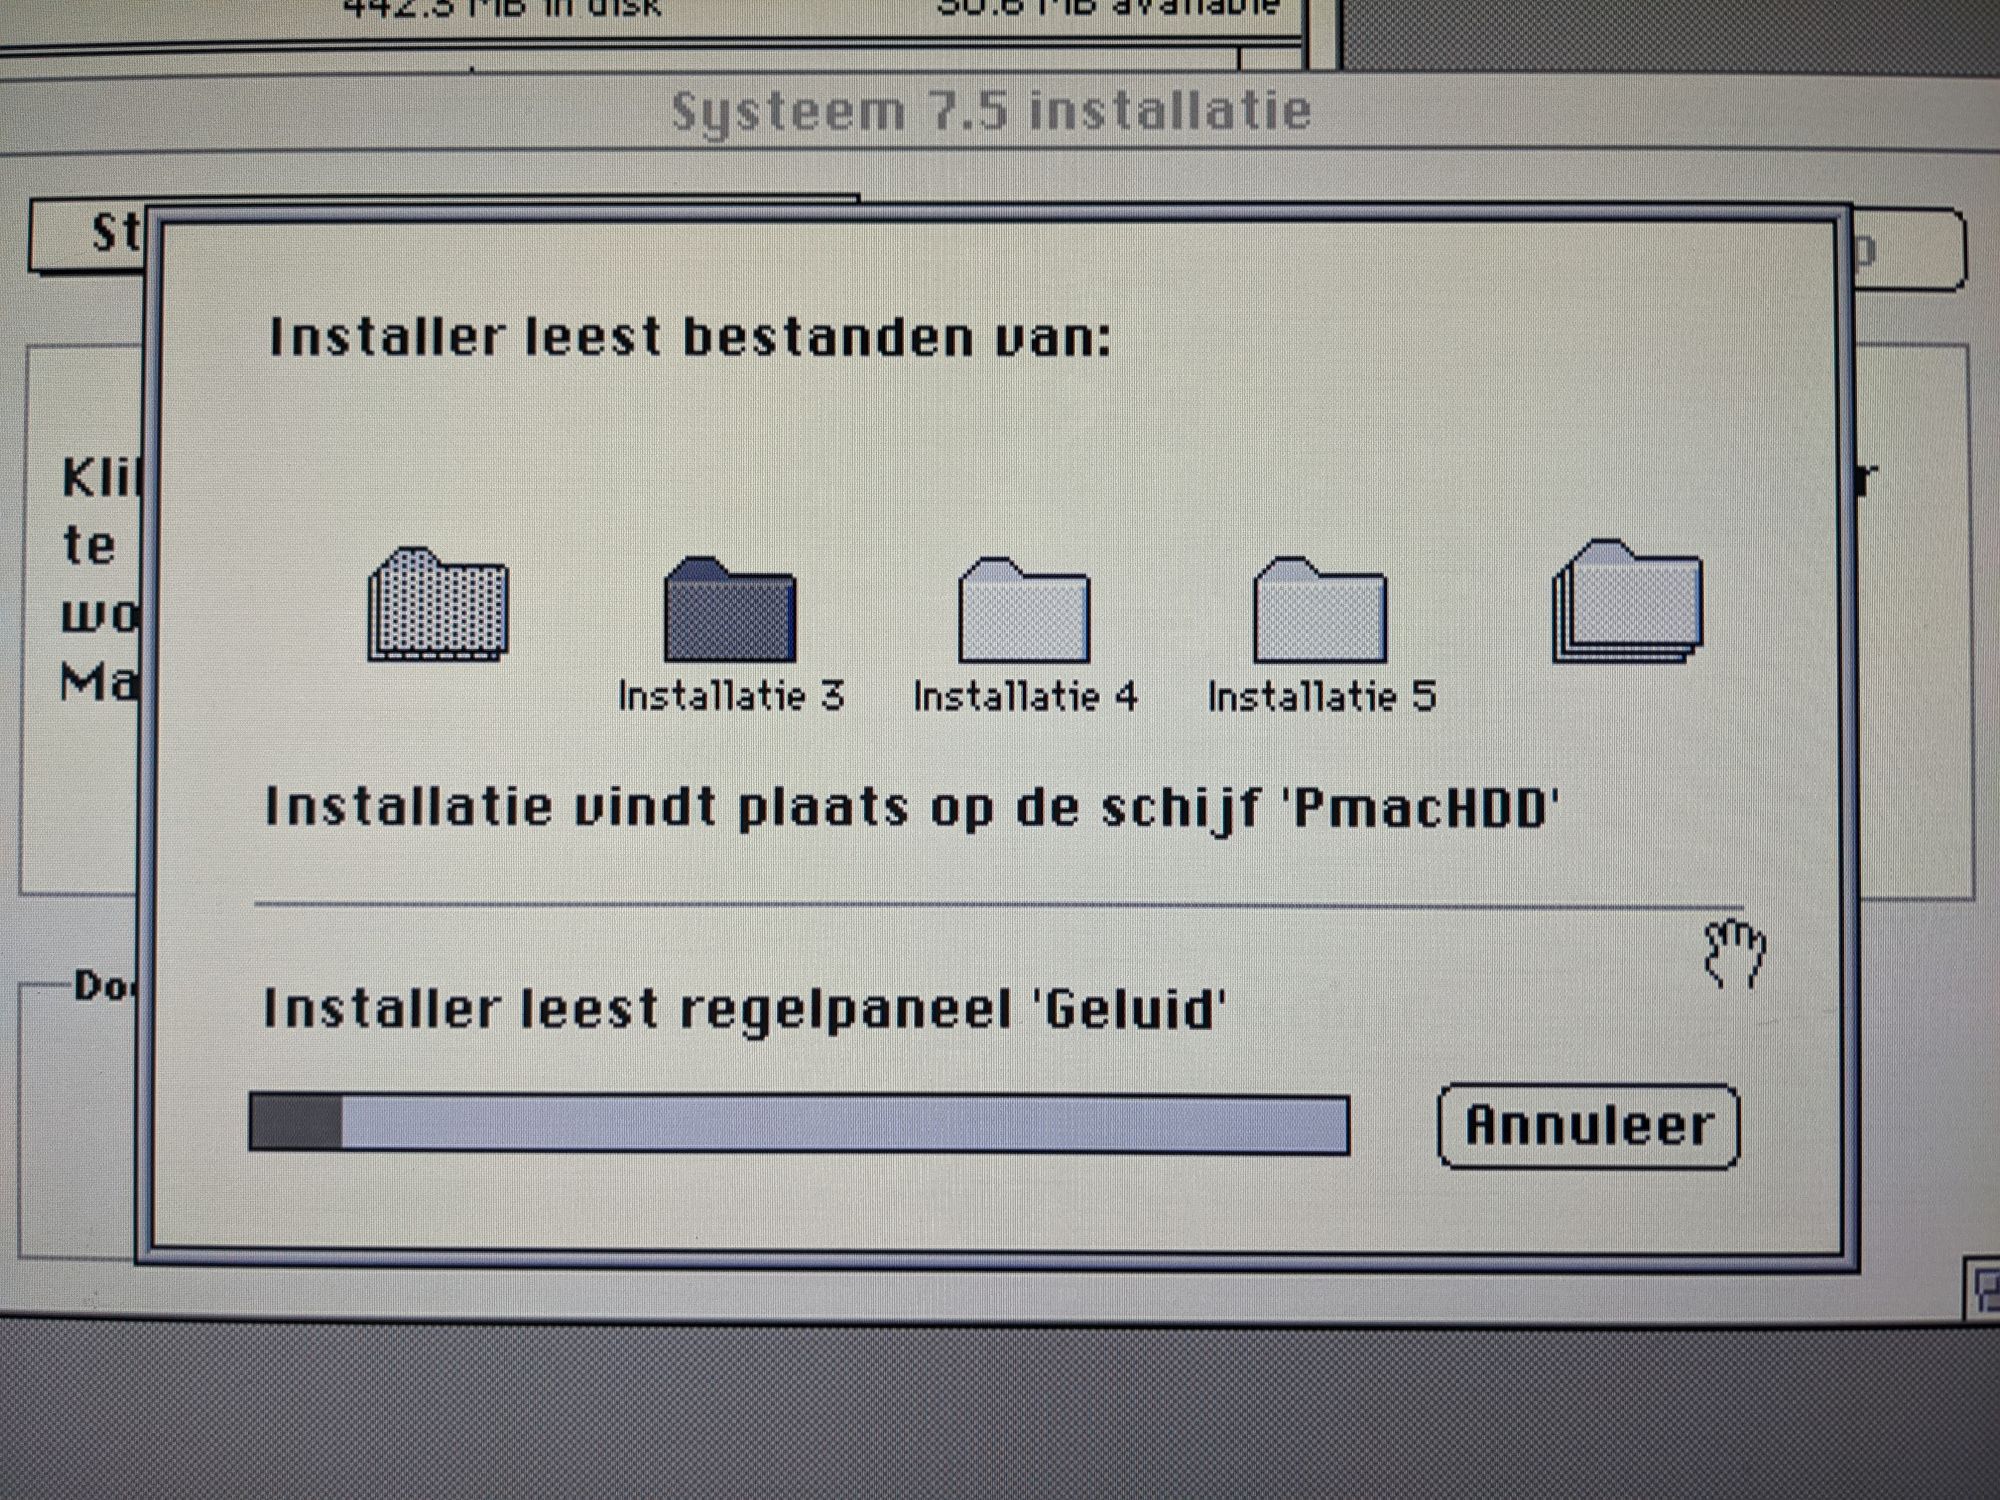
Everything went smoothly from here, the OS installed without issues and worked great. I was actually surprised how quickly this machine boots up. One of the big advantages of these macs is that you don’t have to spend hours dealing with driver issues like on Windows machines, which was a nice experience.
Final thoughts
In the end I really enjoyed working on this computer and I’m glad to add it to the collection. I don’t have a ton of software or games for it but I’m looking forward to exploring the capabilities of this machine further once I do. For now, the games I can test are some childhood favourites of mine: Humongous Entertainment games. It's also just fun to explore MacOS and what it was like to use at the time.
I’m really glad how this project turned out and hope this blogpost can help some people looking for a similar solution.
