Philips CD-i 180 ROM Dumps
I was recently asked to dump the ROM chips inside my Philips CD-i 180 set. The contents of these ROM chips can be useful for developing CD-i emulation software.
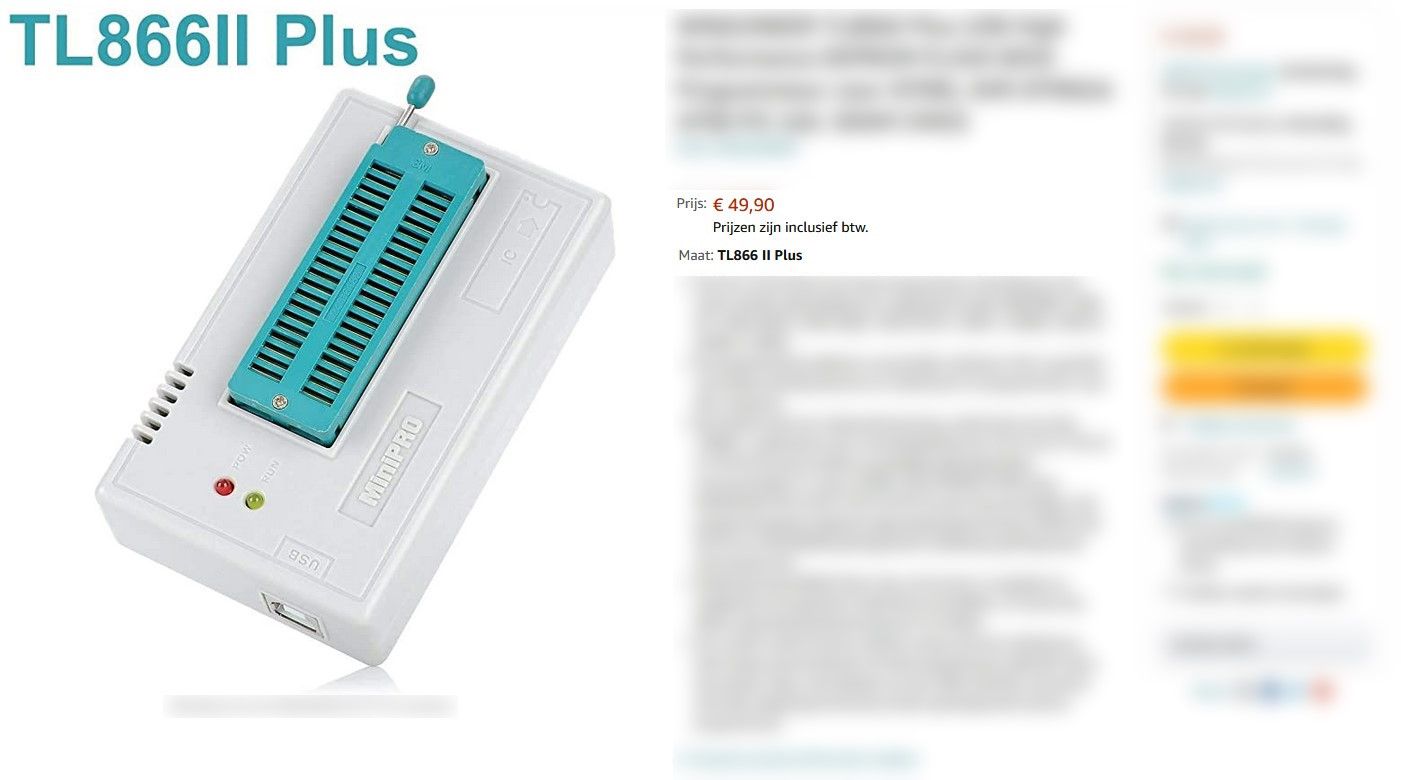
At first, I had no solid method for dumping these ROMs. I had been thinking about getting an EPROM programmer for a while though. I was recommended a TL866 programmer. After considering it for a while, I decided to just go for it. It wasn’t particularly cheap, but I figured I’d get a lot of use out of it for both the BO prototype, and other projects in the future. I ended up getting a TL866II plus, which seems to be an improved clone of the popular TL866 programmer.
Let’s go through the process of dumping some ROM chips!
Taking the chips out of the unit
I won't go over the entire disassembly process for the CD-I 180 set, since I already did so in a previous article. However, I will point out what chips I’ll be dumping.
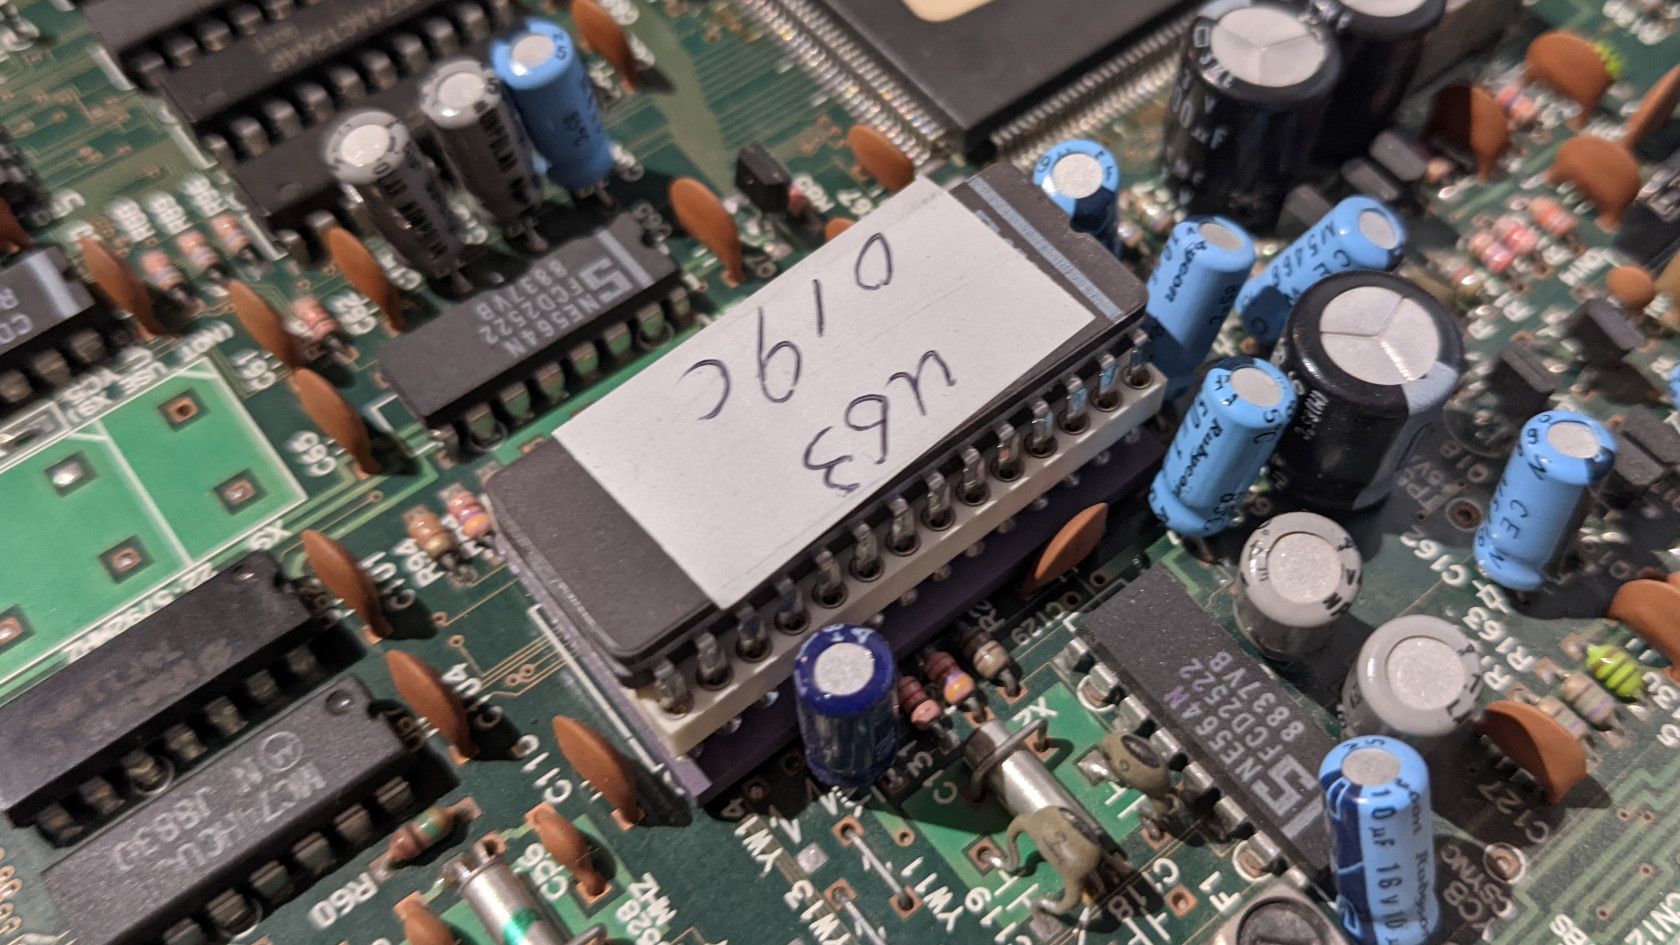
Taking the chips out of the unit is fairly simple, but needs to be done very carefully as to not bend the pins on the chips. Sadly, I don’t have a good IC puller, I have a cheap one but it’s terrible. What I prefer doing, is taking a thin spudger tool and very carefully lift each side of the chip slightly, alternating between each side. With some patience and caution, the chip will come free without any bent pins.
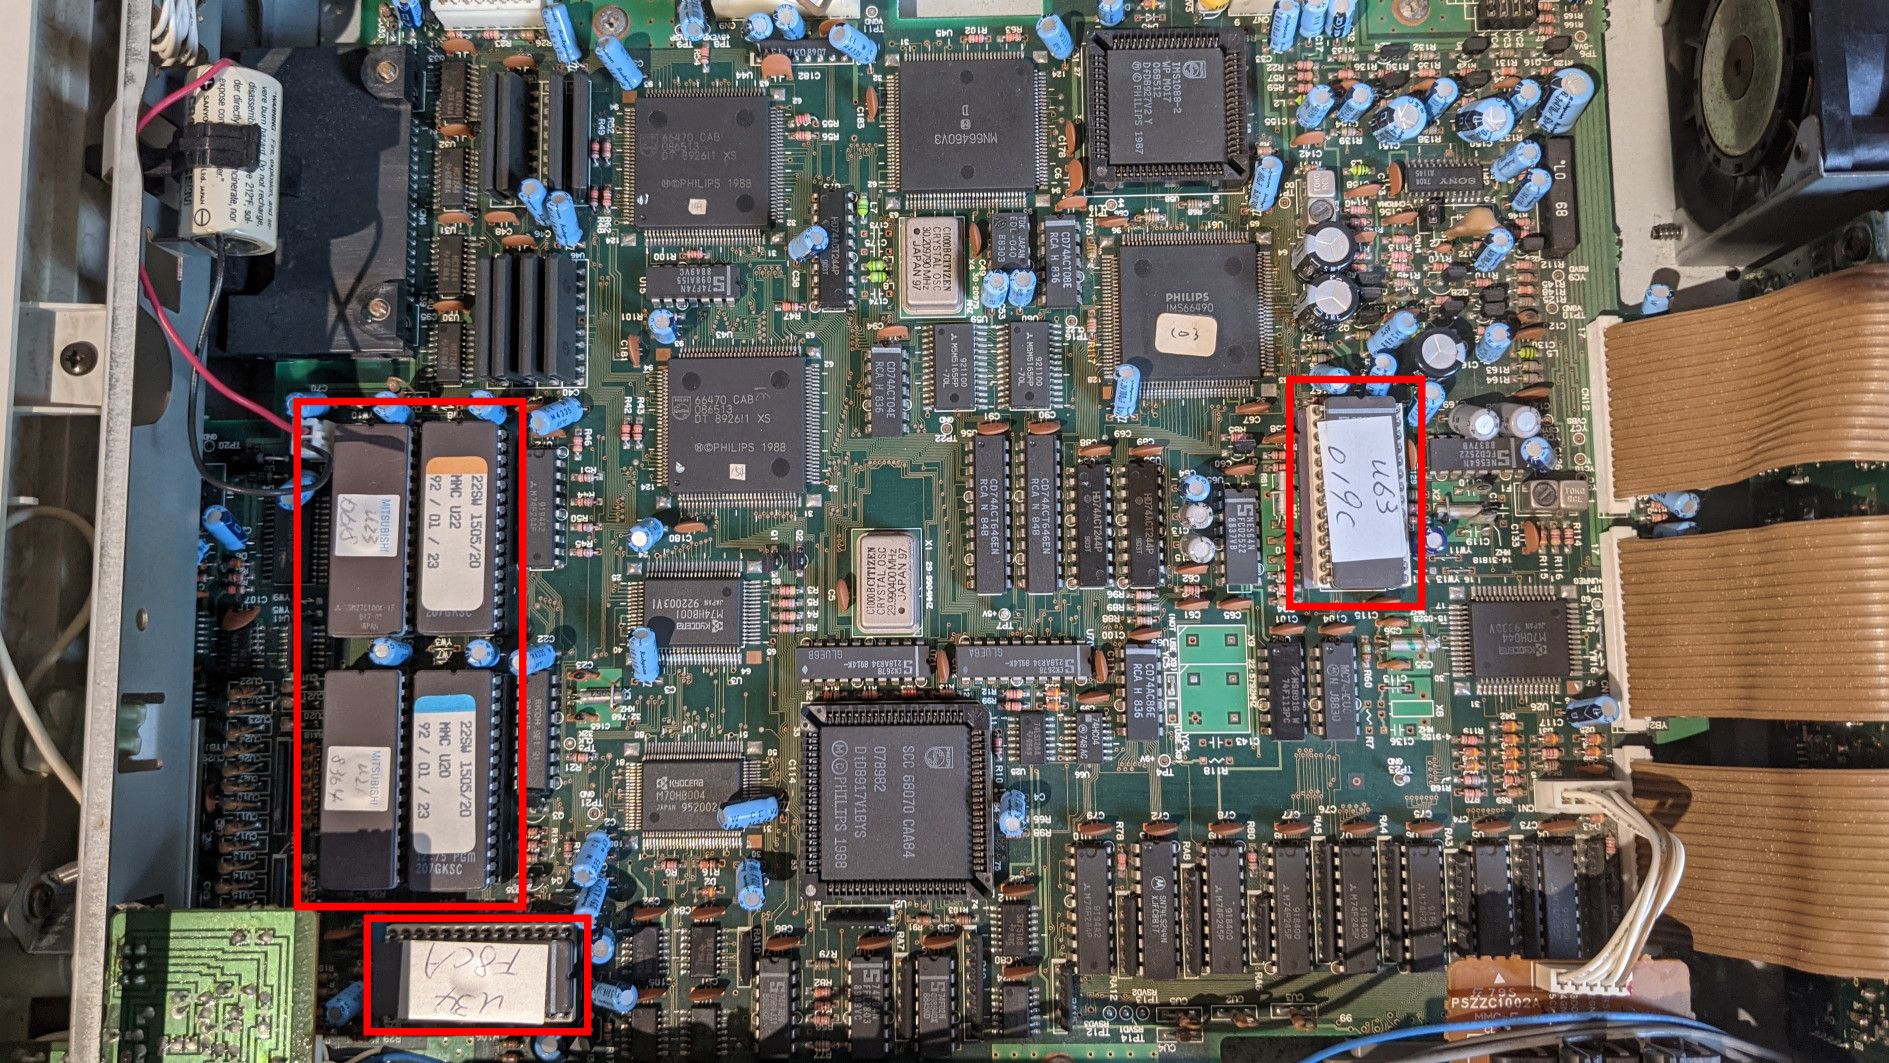
The top unit with the CD drive, doesn’t seem to have any ROM chips in it, so that one could be skipped. The second unit, with the main MMC board in it, has the most chips on it. There’s two chips stacked on top of an IC. I’m not sure what said IC’s do and what’s on the ROM chips, but my guess would be firmware for whatever IC they’re stacked on top of. In any case, they are ROM chips, so they will be dumped. In addition to those, there’s 4 more chips on this board which contain what I assume to be the core OS data for the unit.
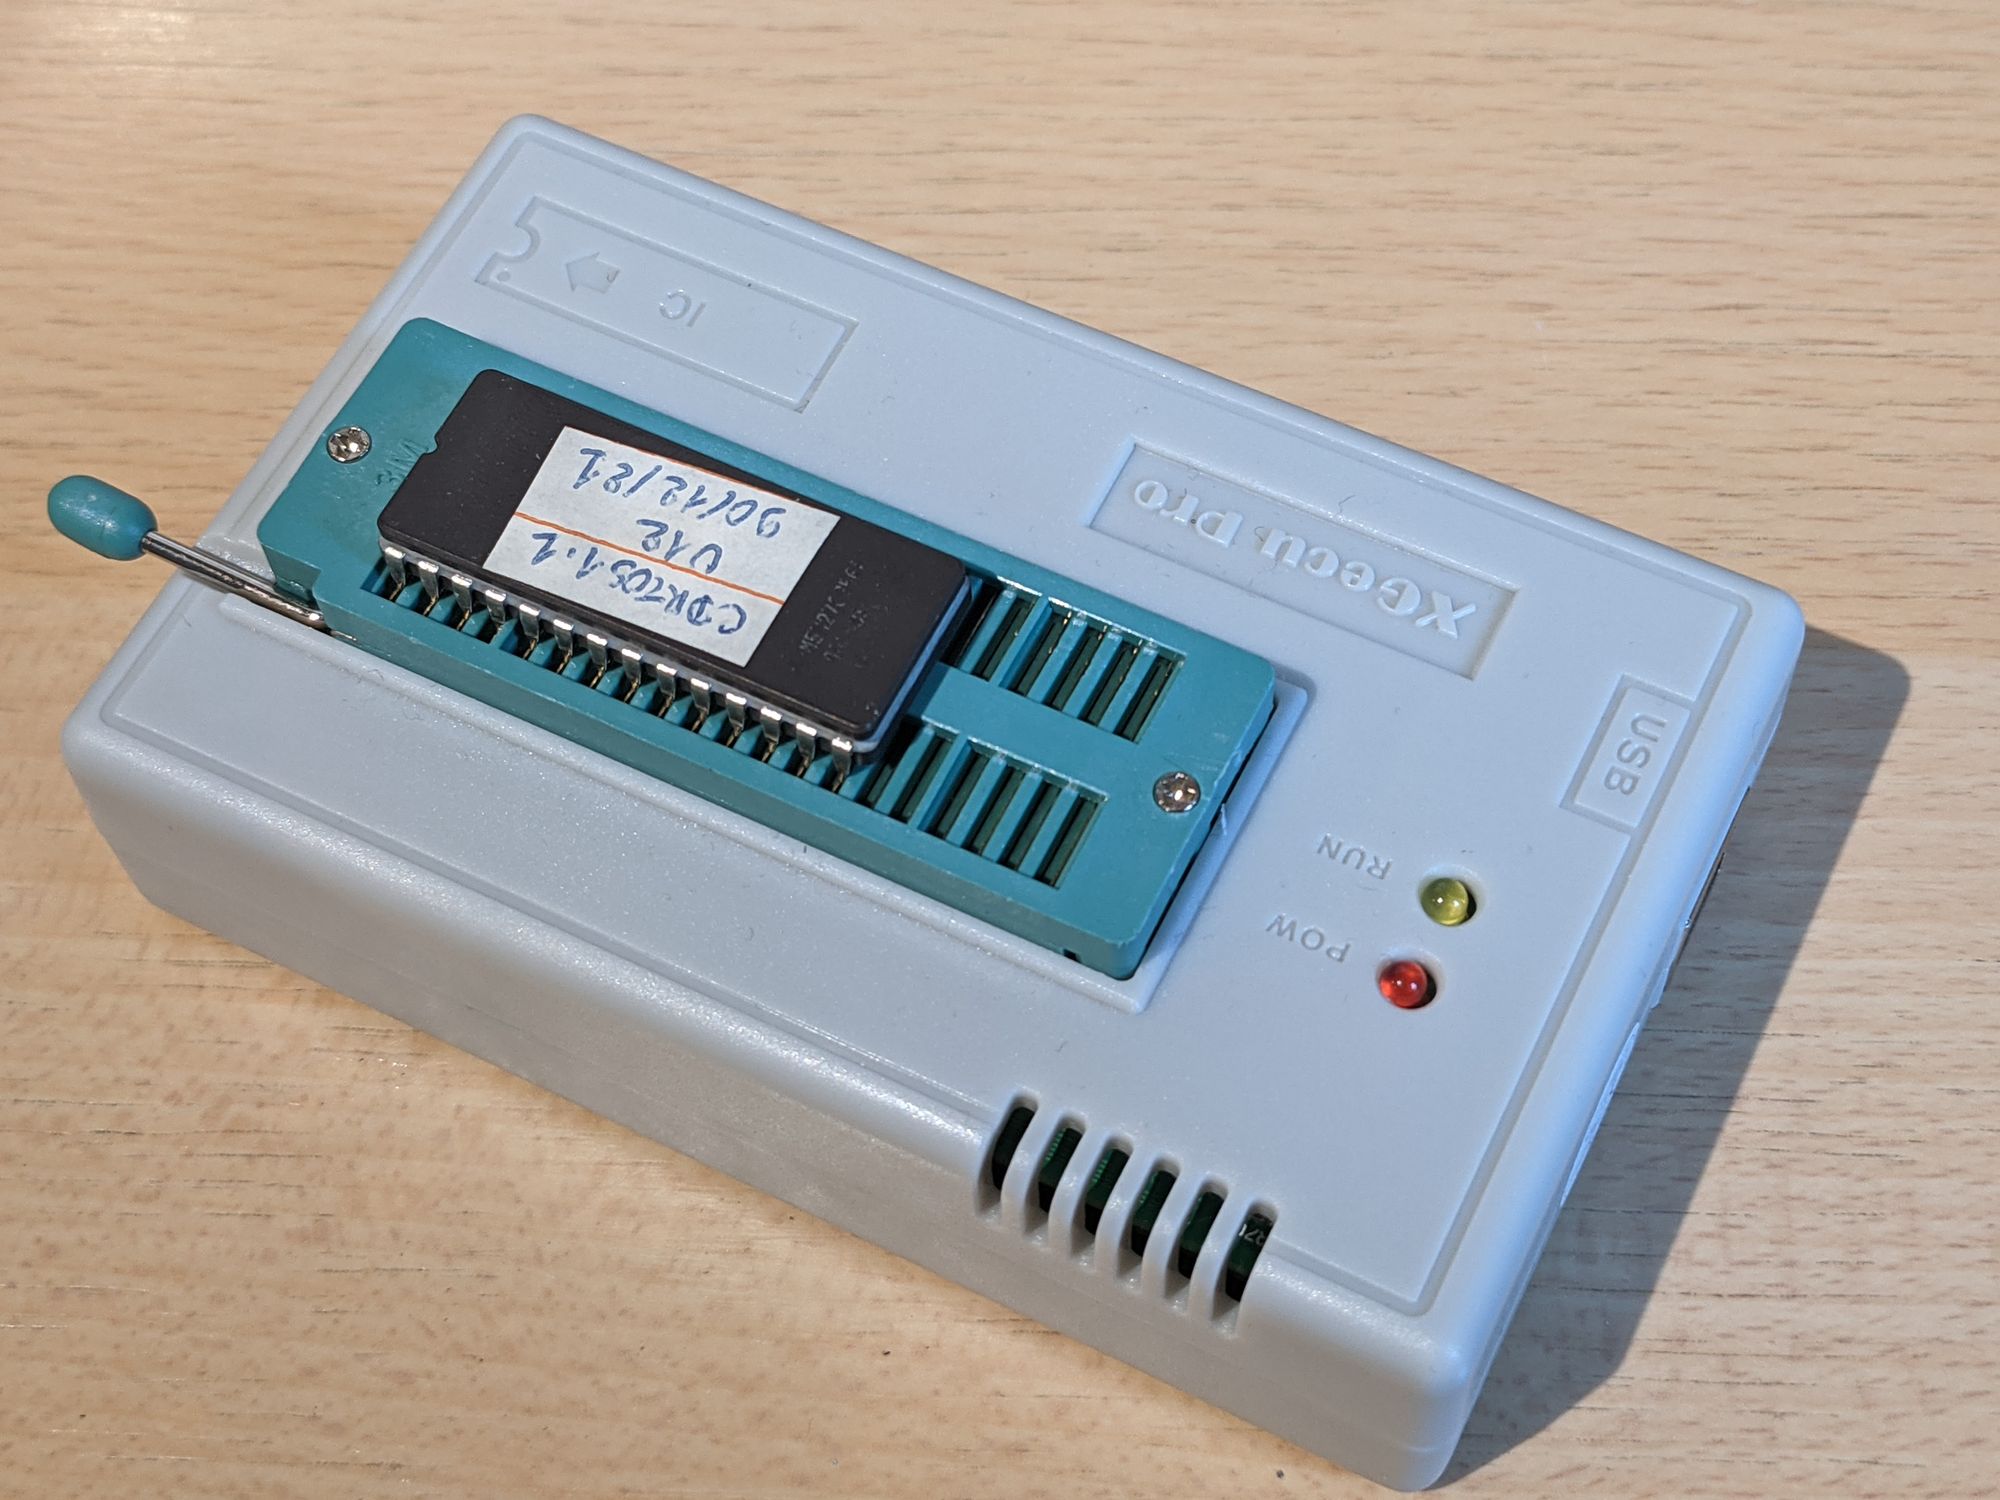
The bottom unit, the devkit part, has 2 ROM chips in it for CD-RTOS 1.1, which is the CD-i’s operating system.
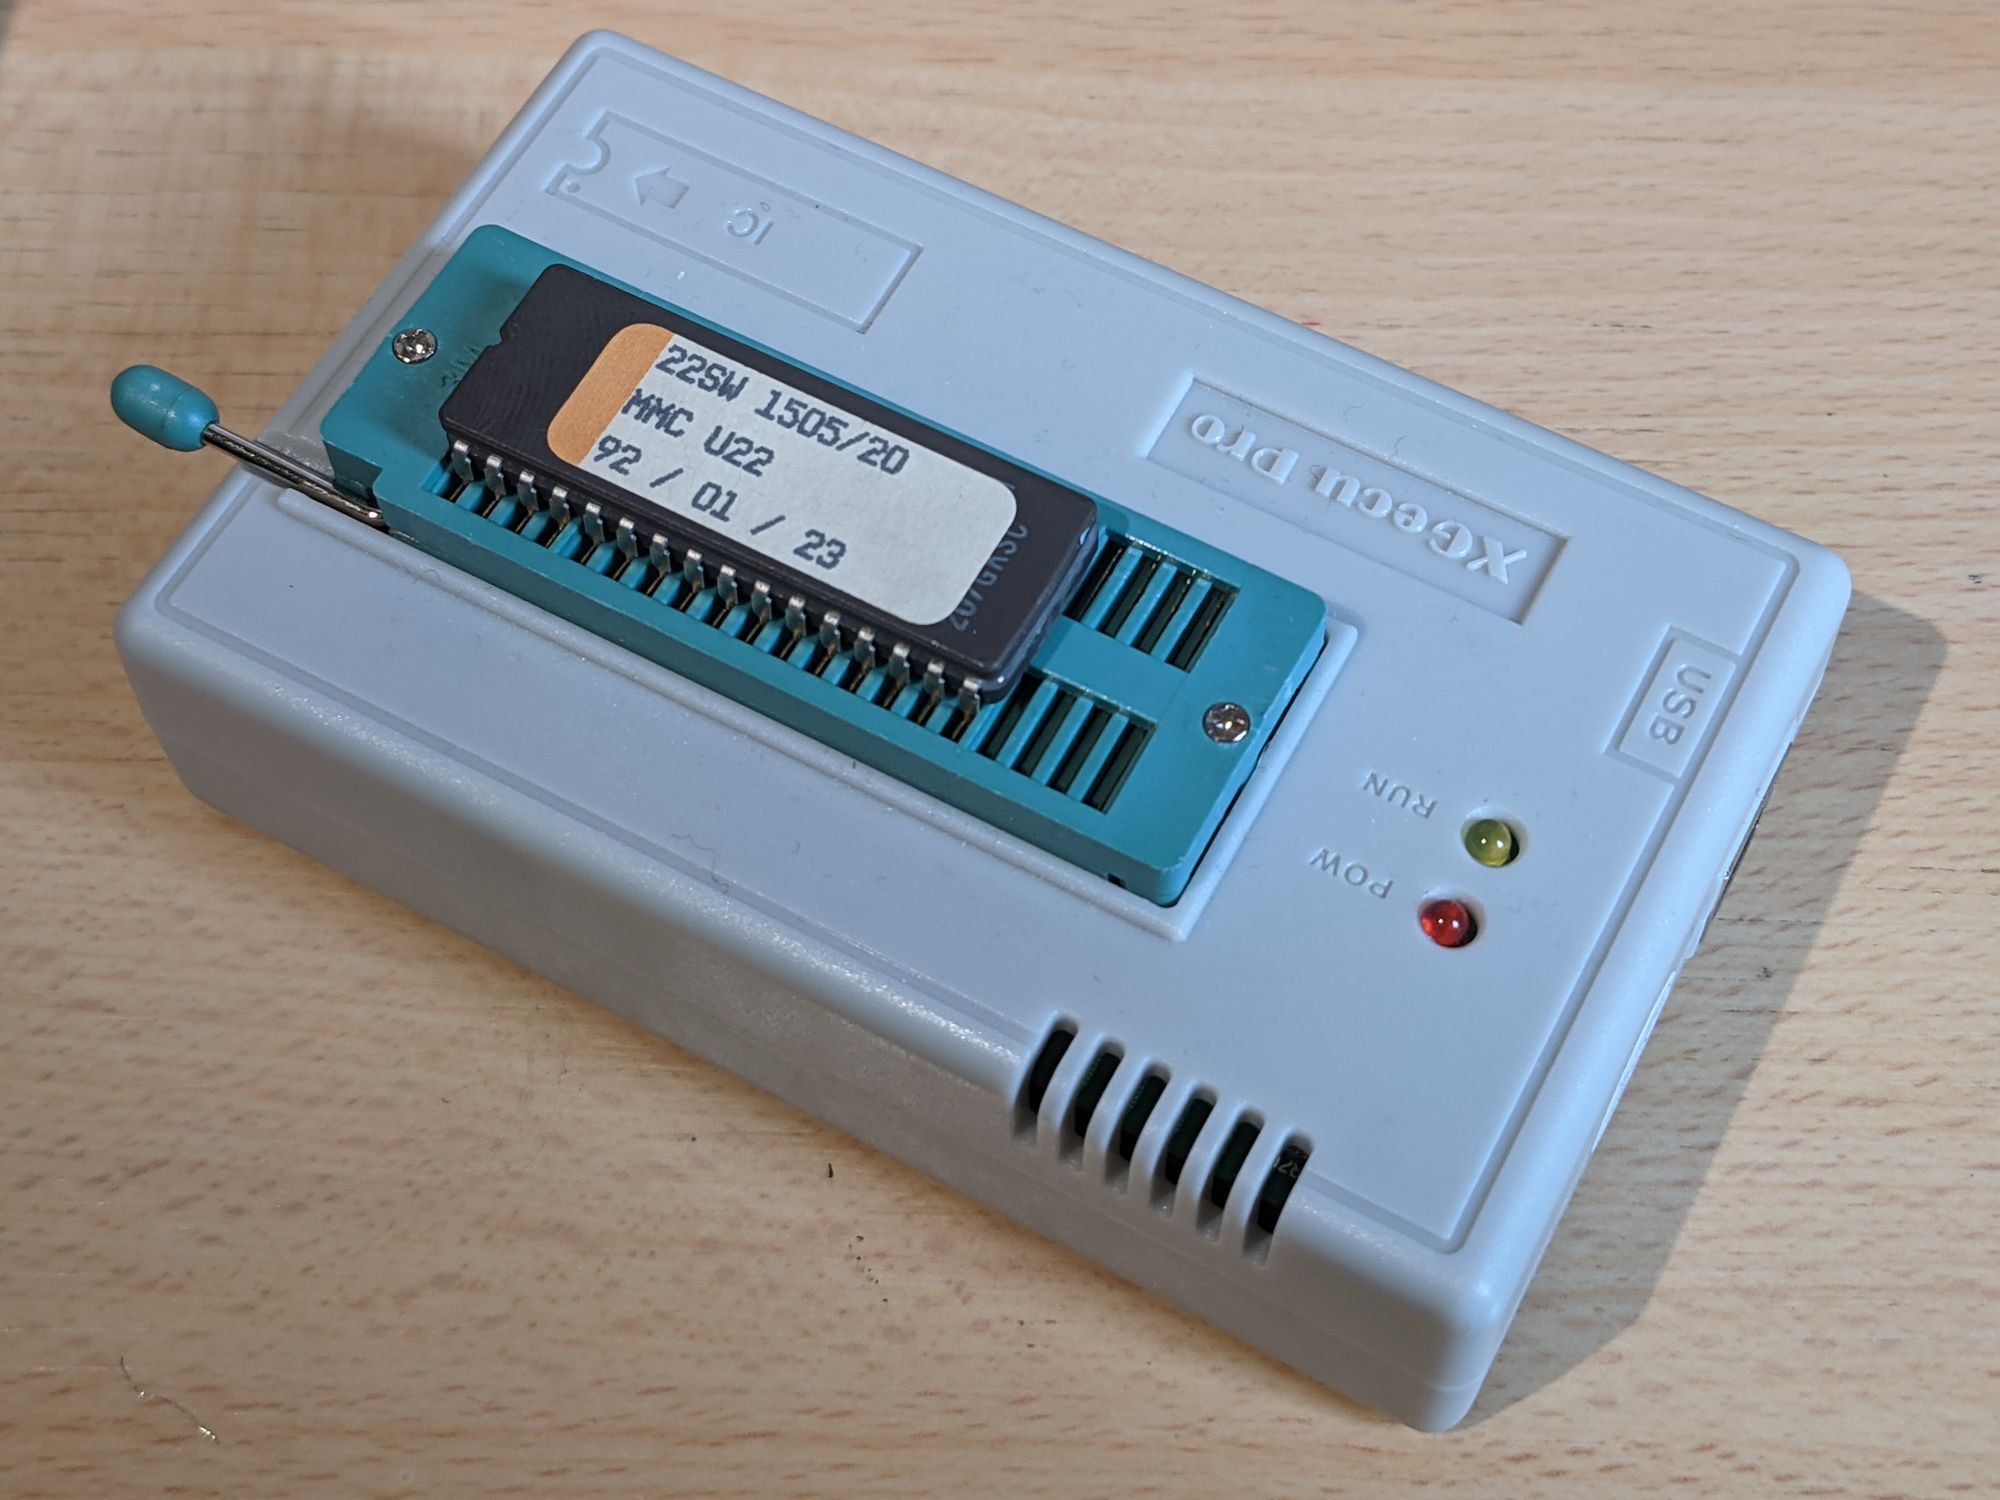
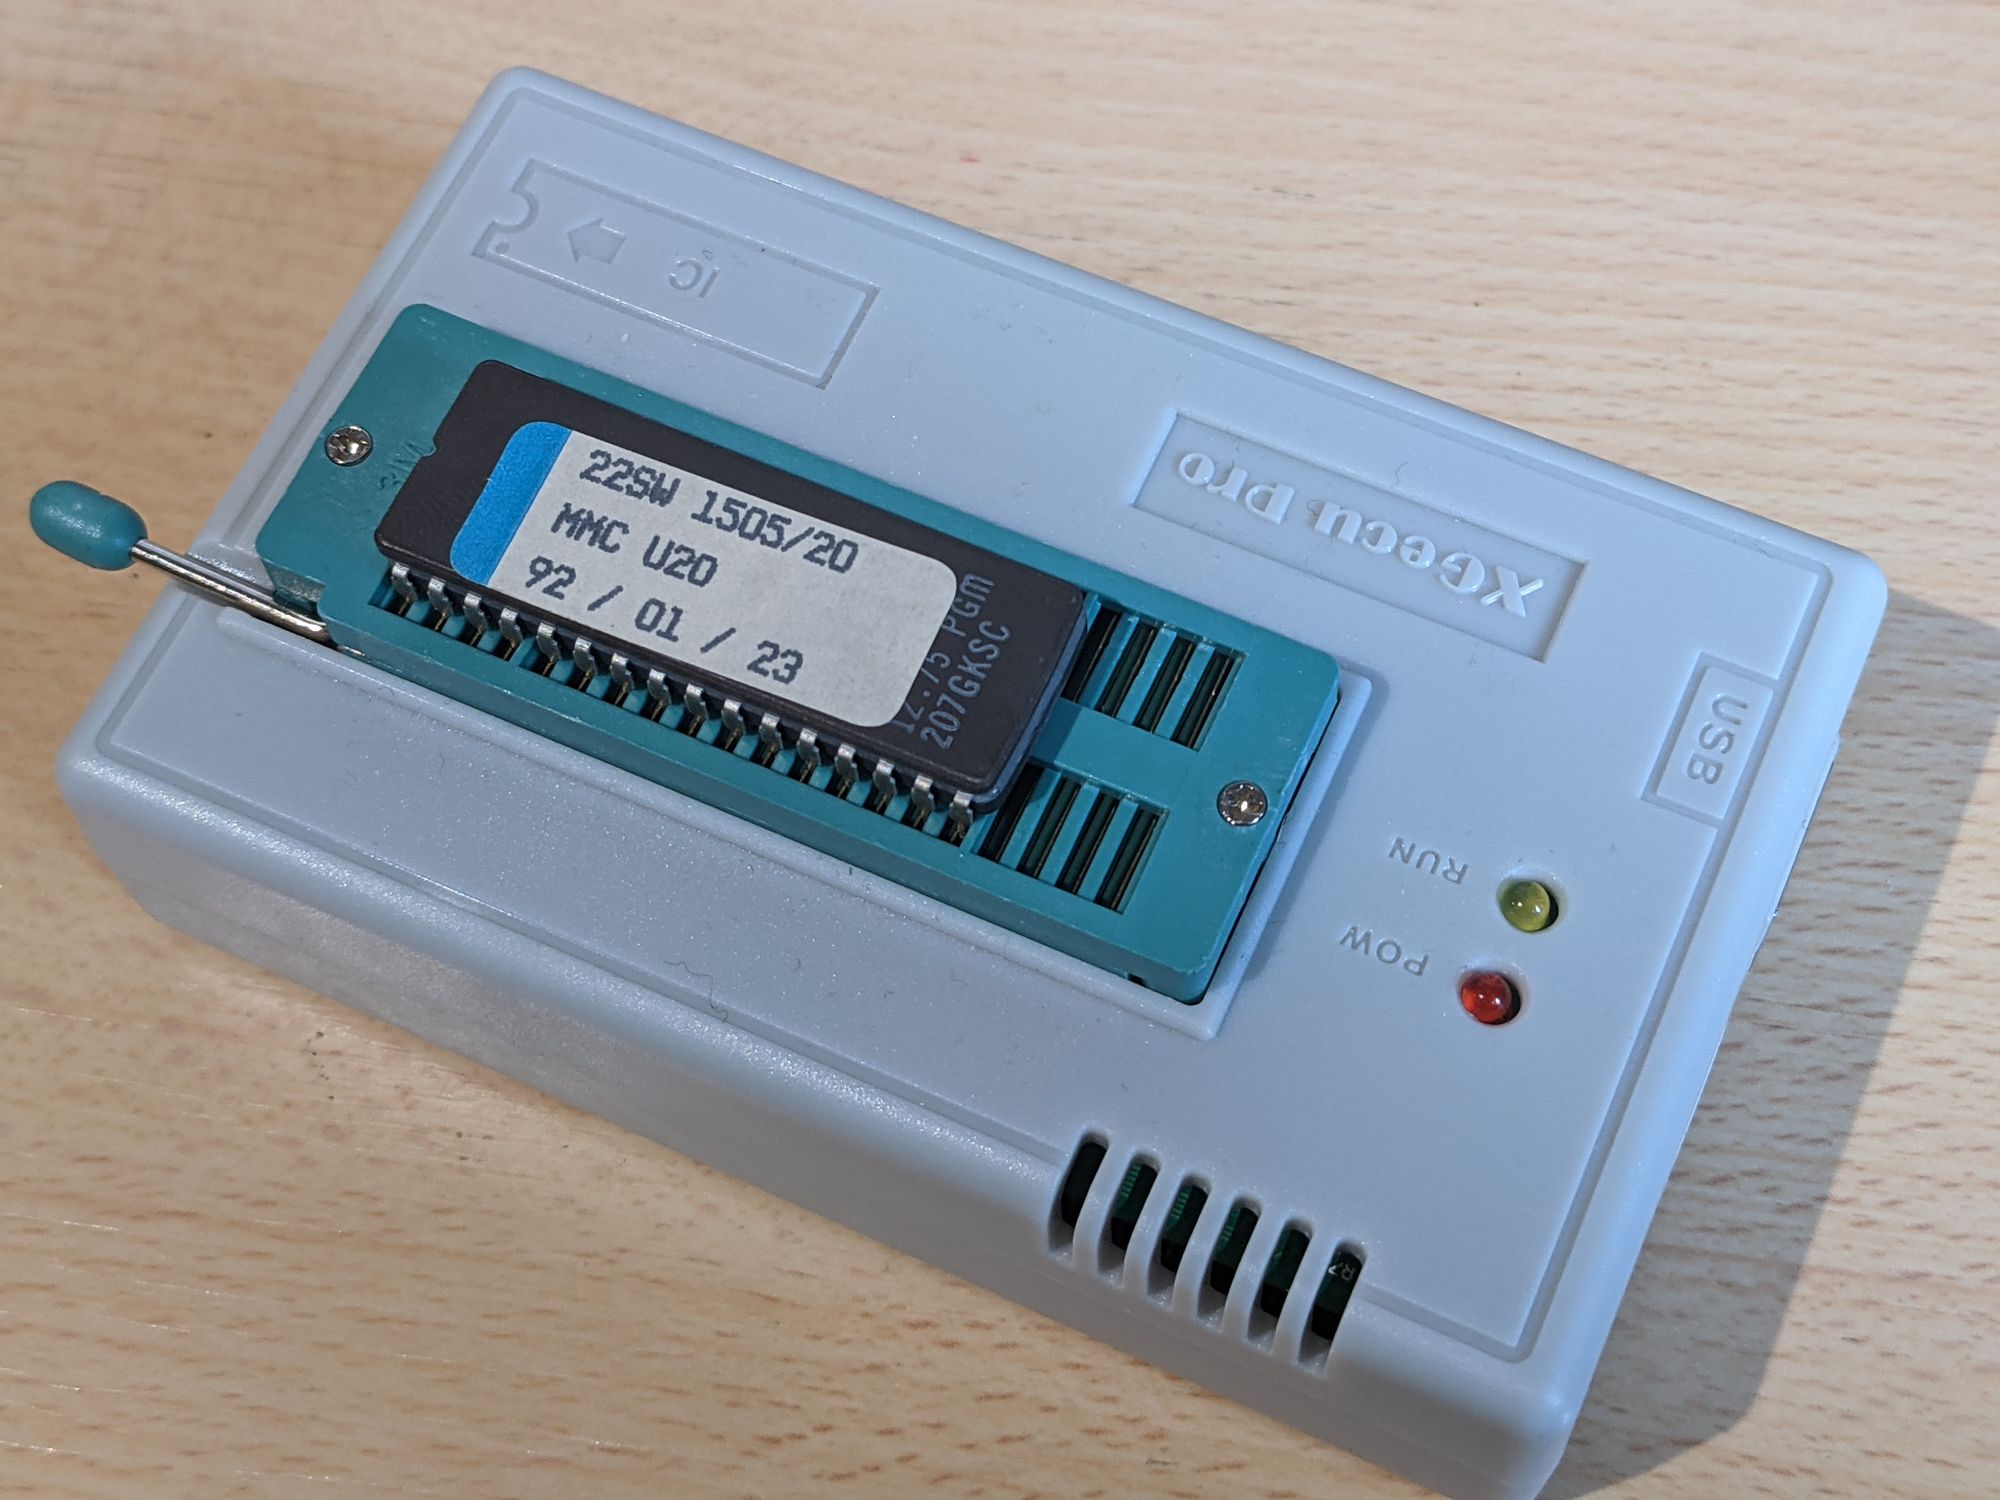
One interesting thing to point out about these chips is that some of them have dates on them from the early 90s. Considering the fact that these units released in the late 80s, it’s safe to assume these were upgraded at one point during their useful life.

Dumping the chips
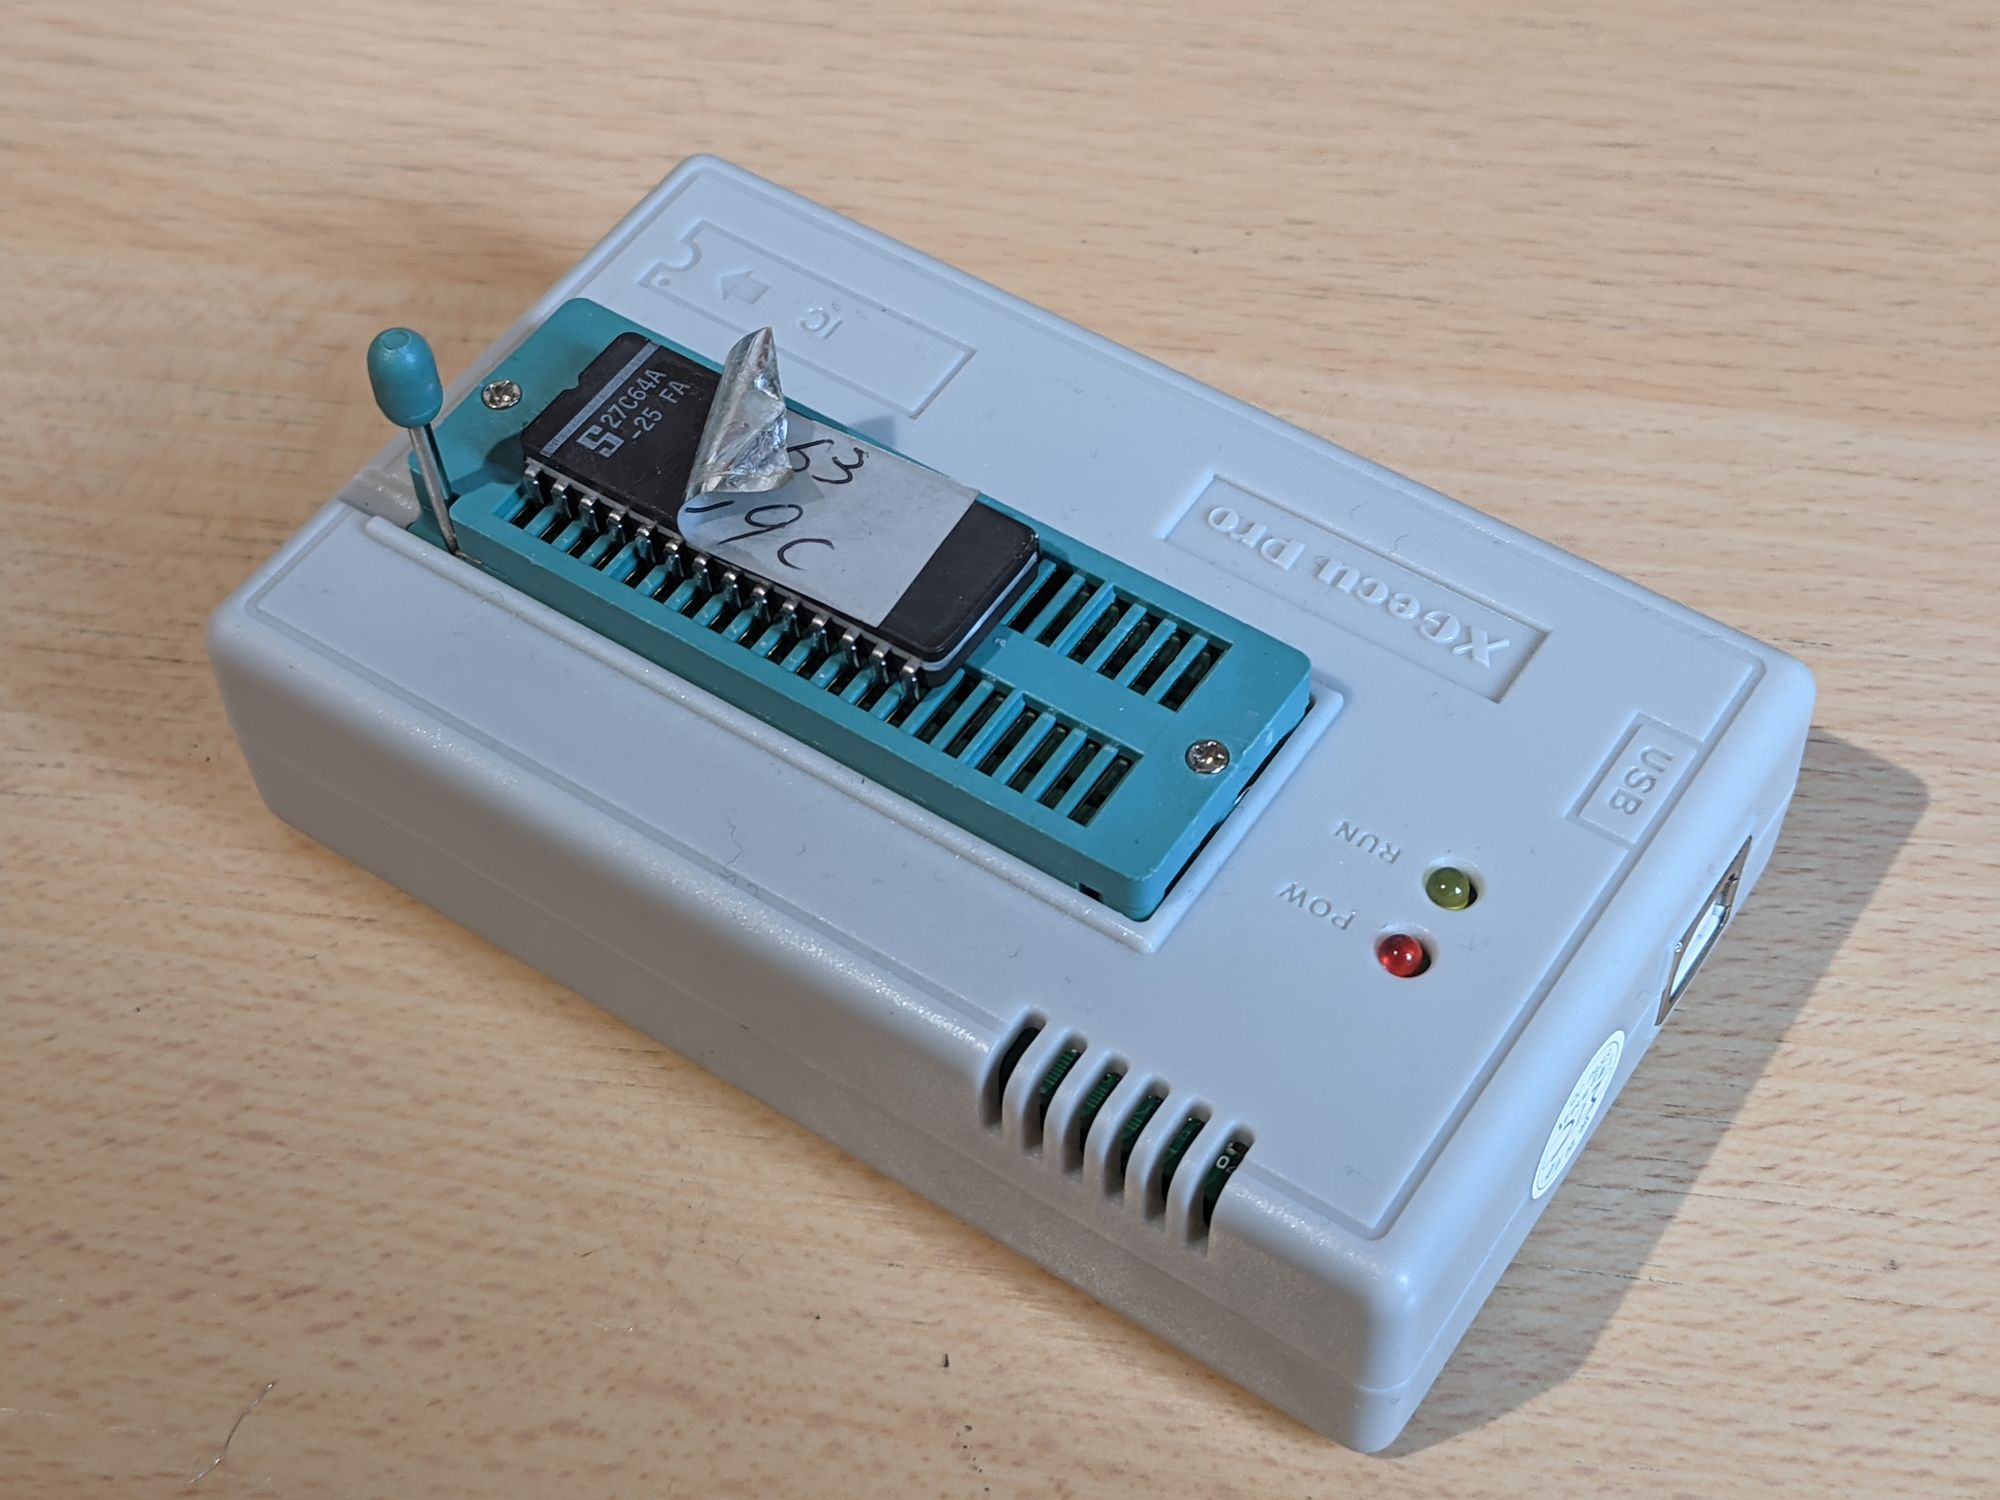
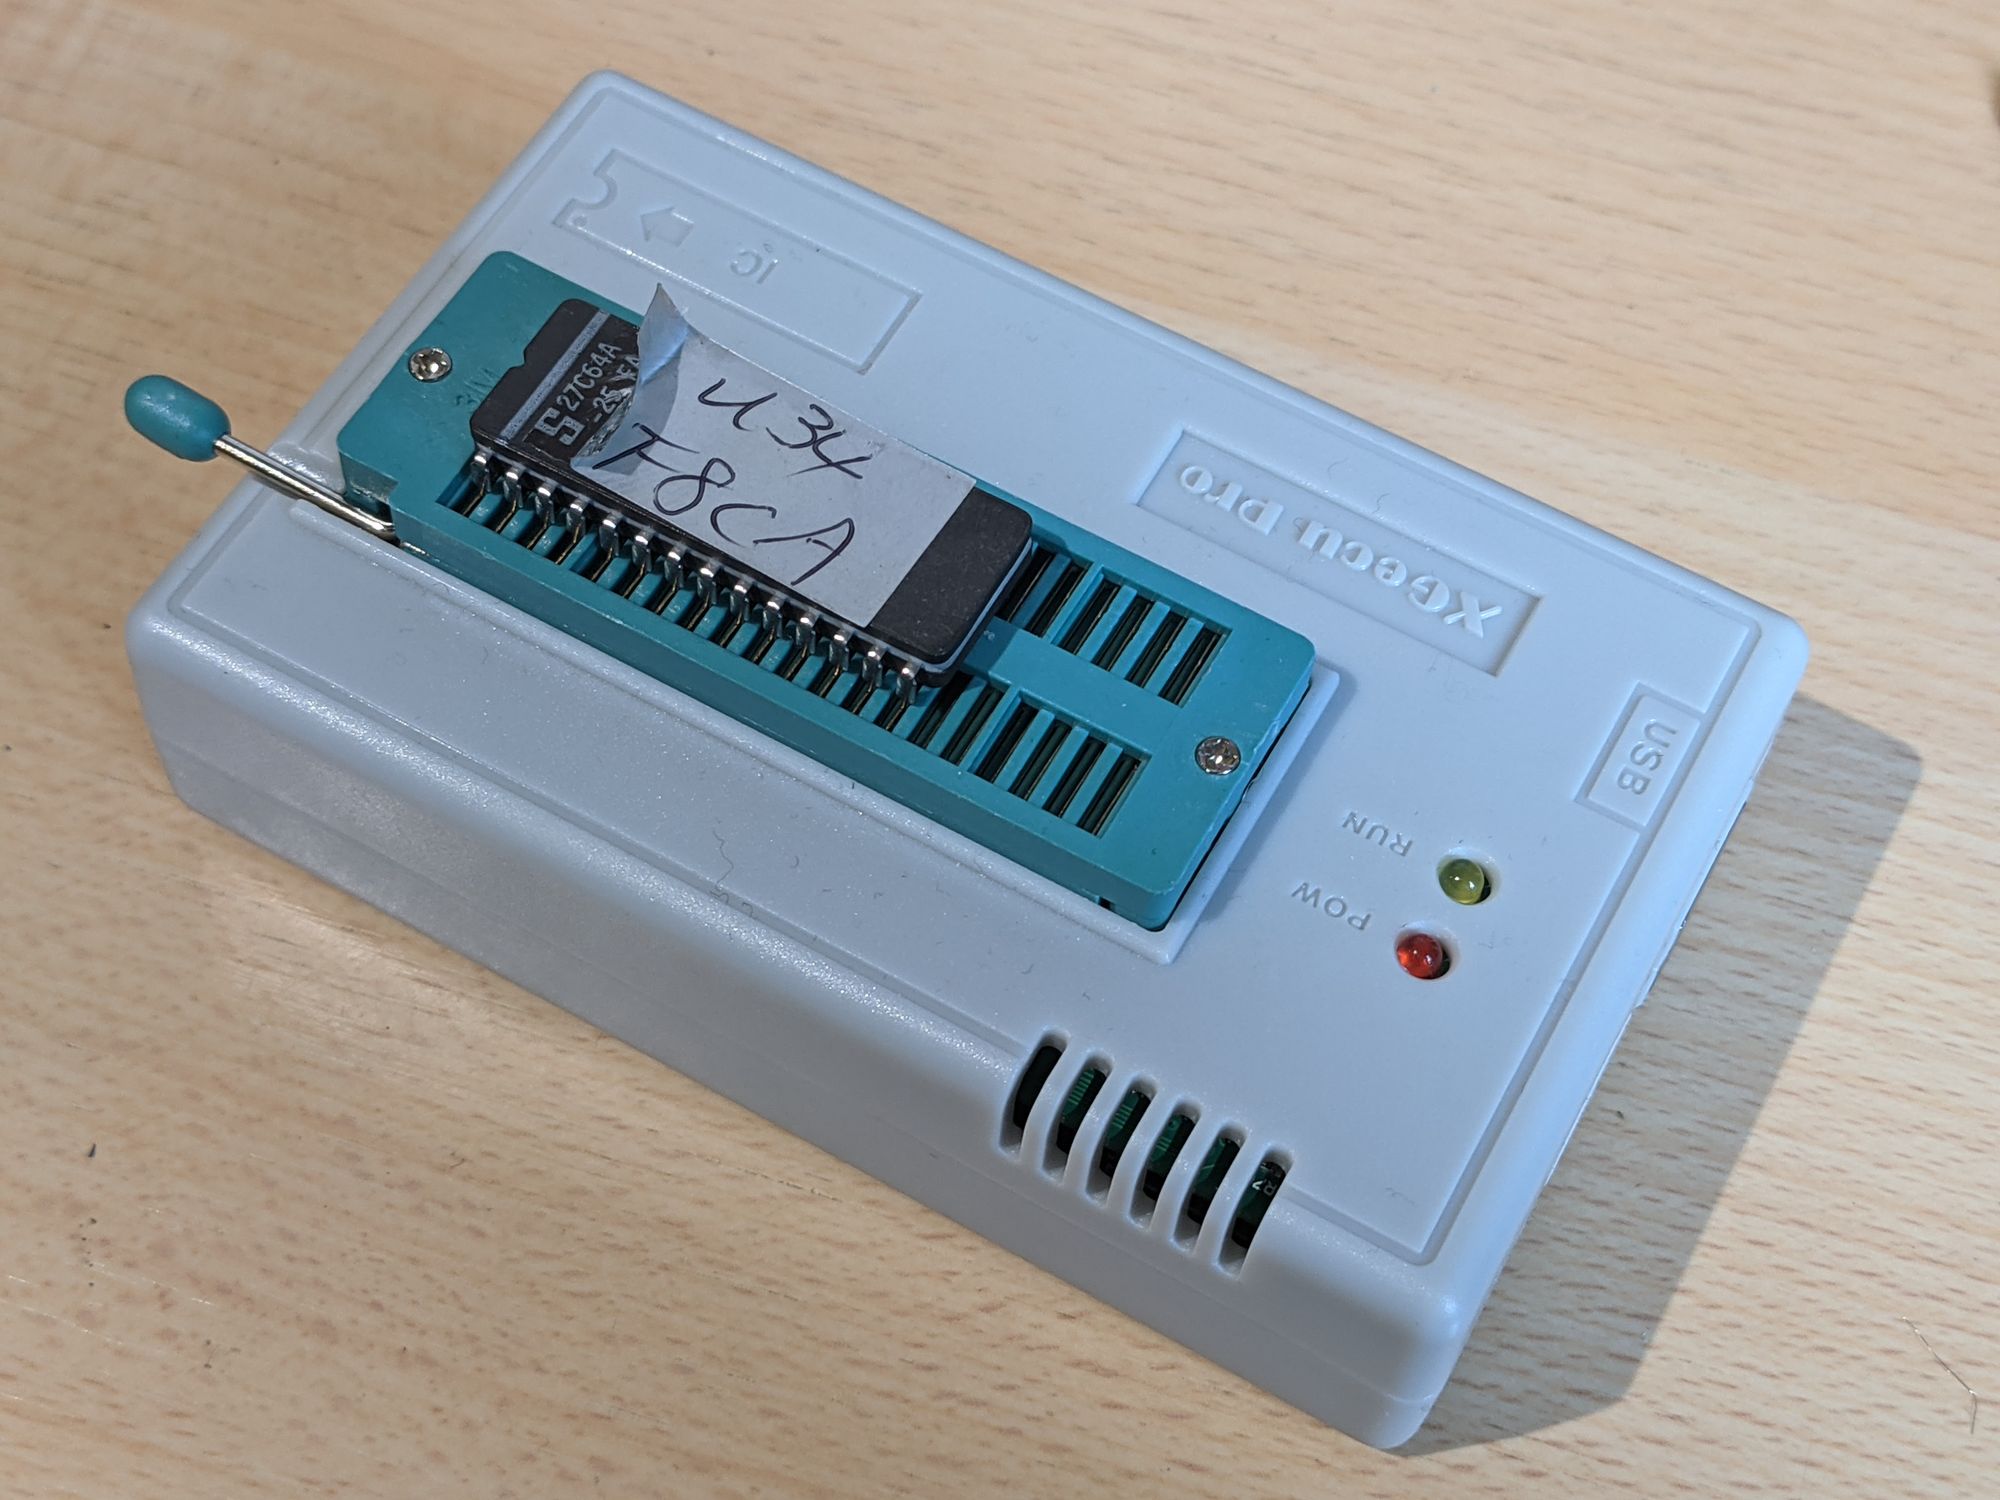
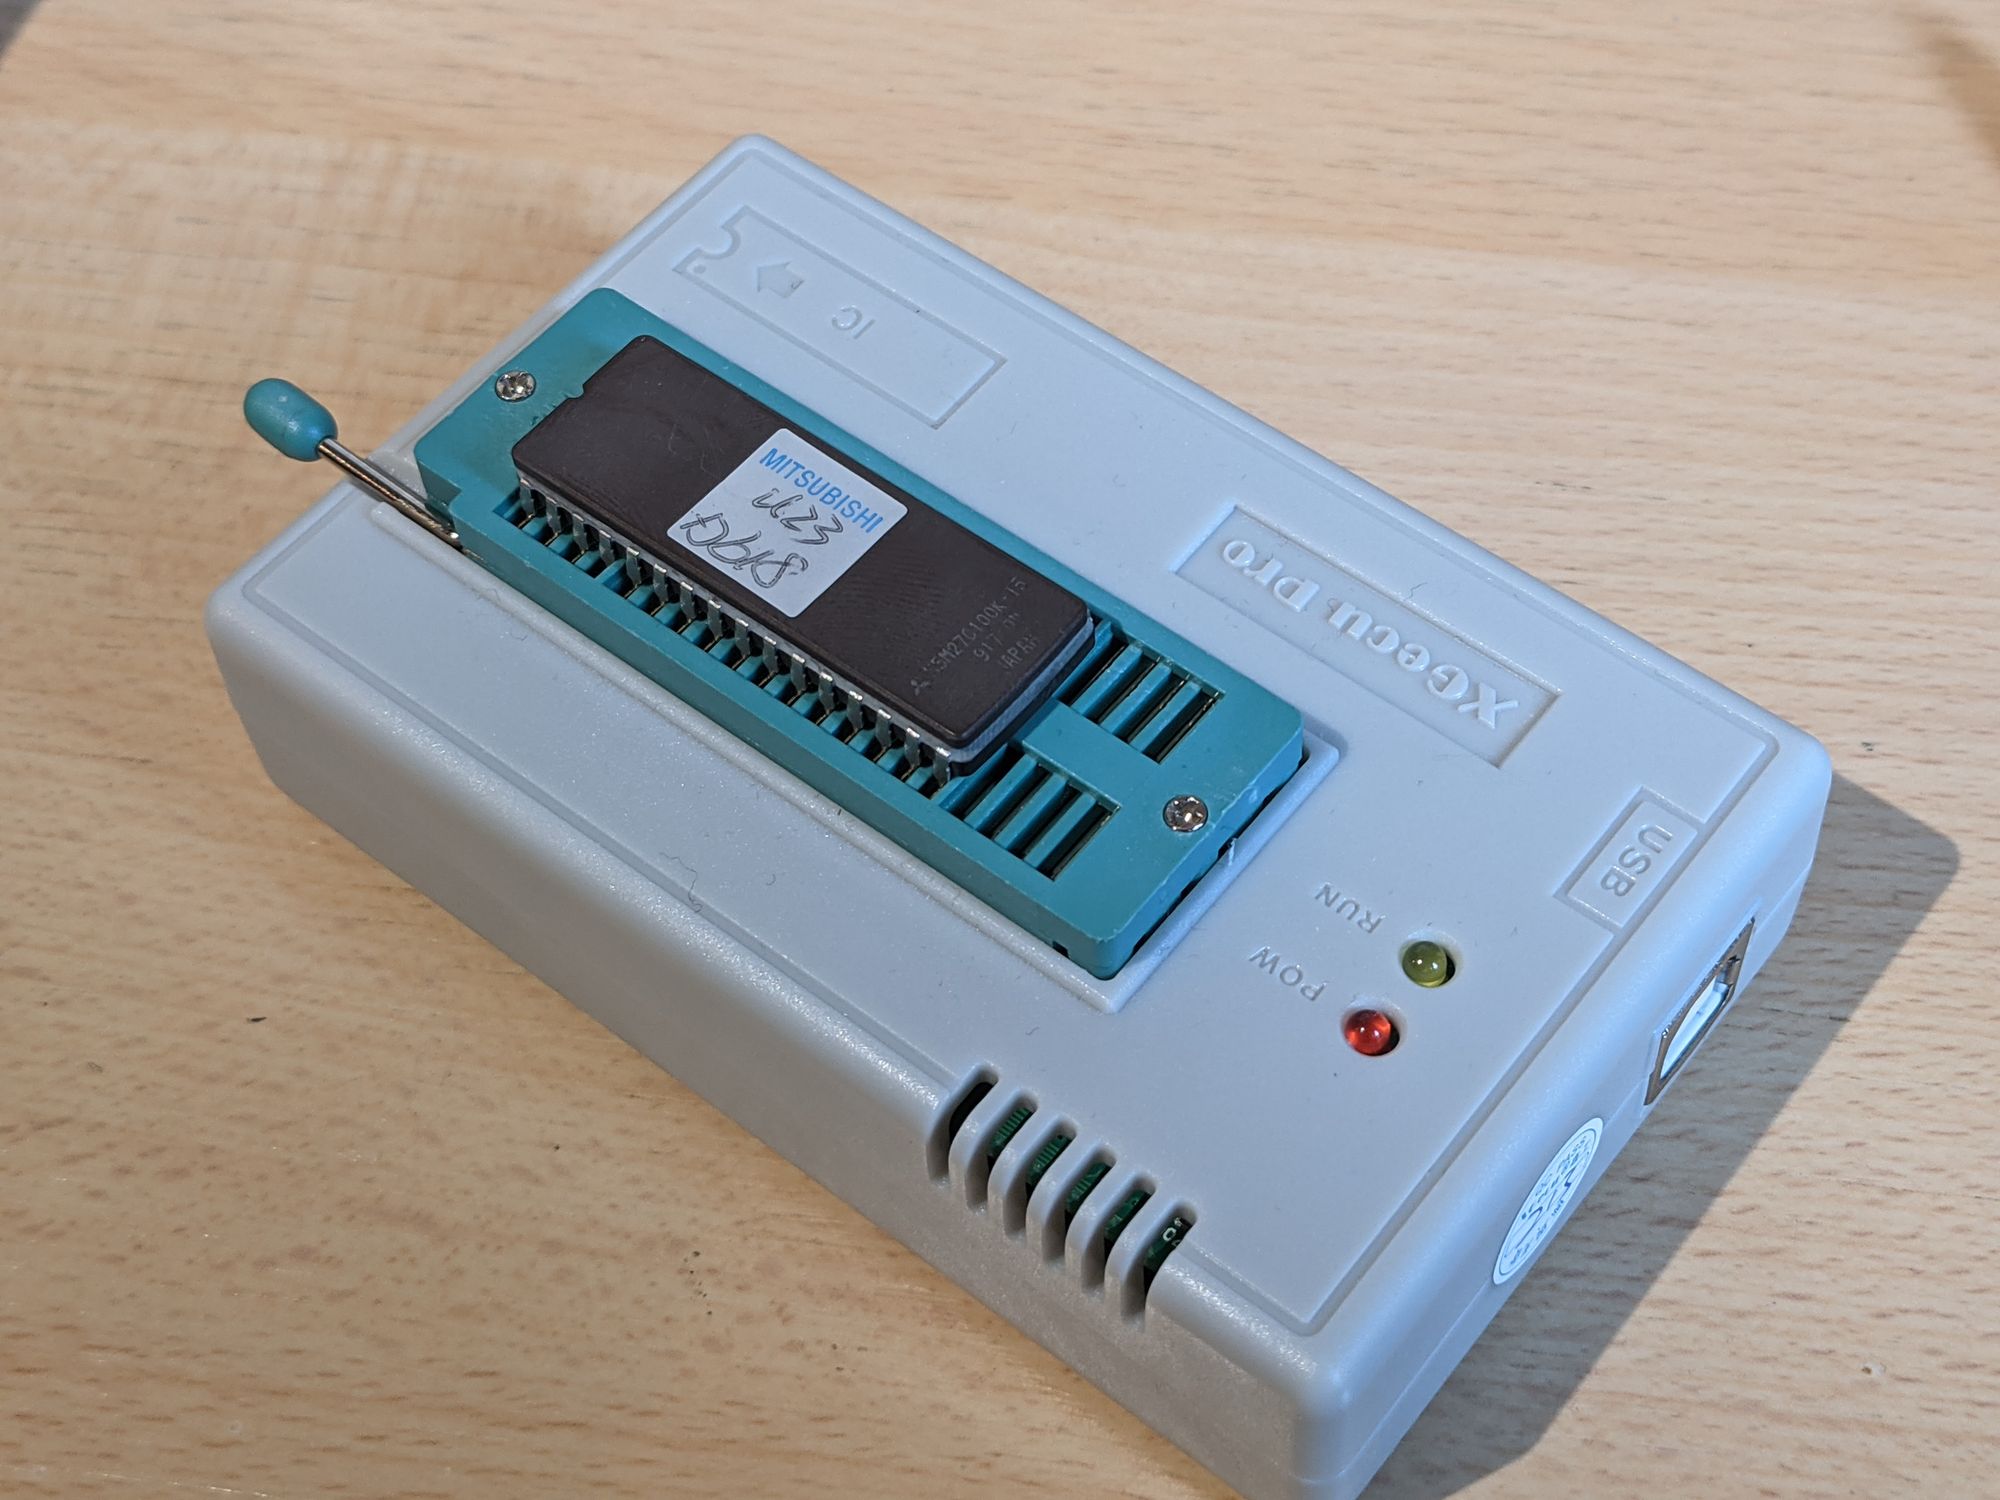
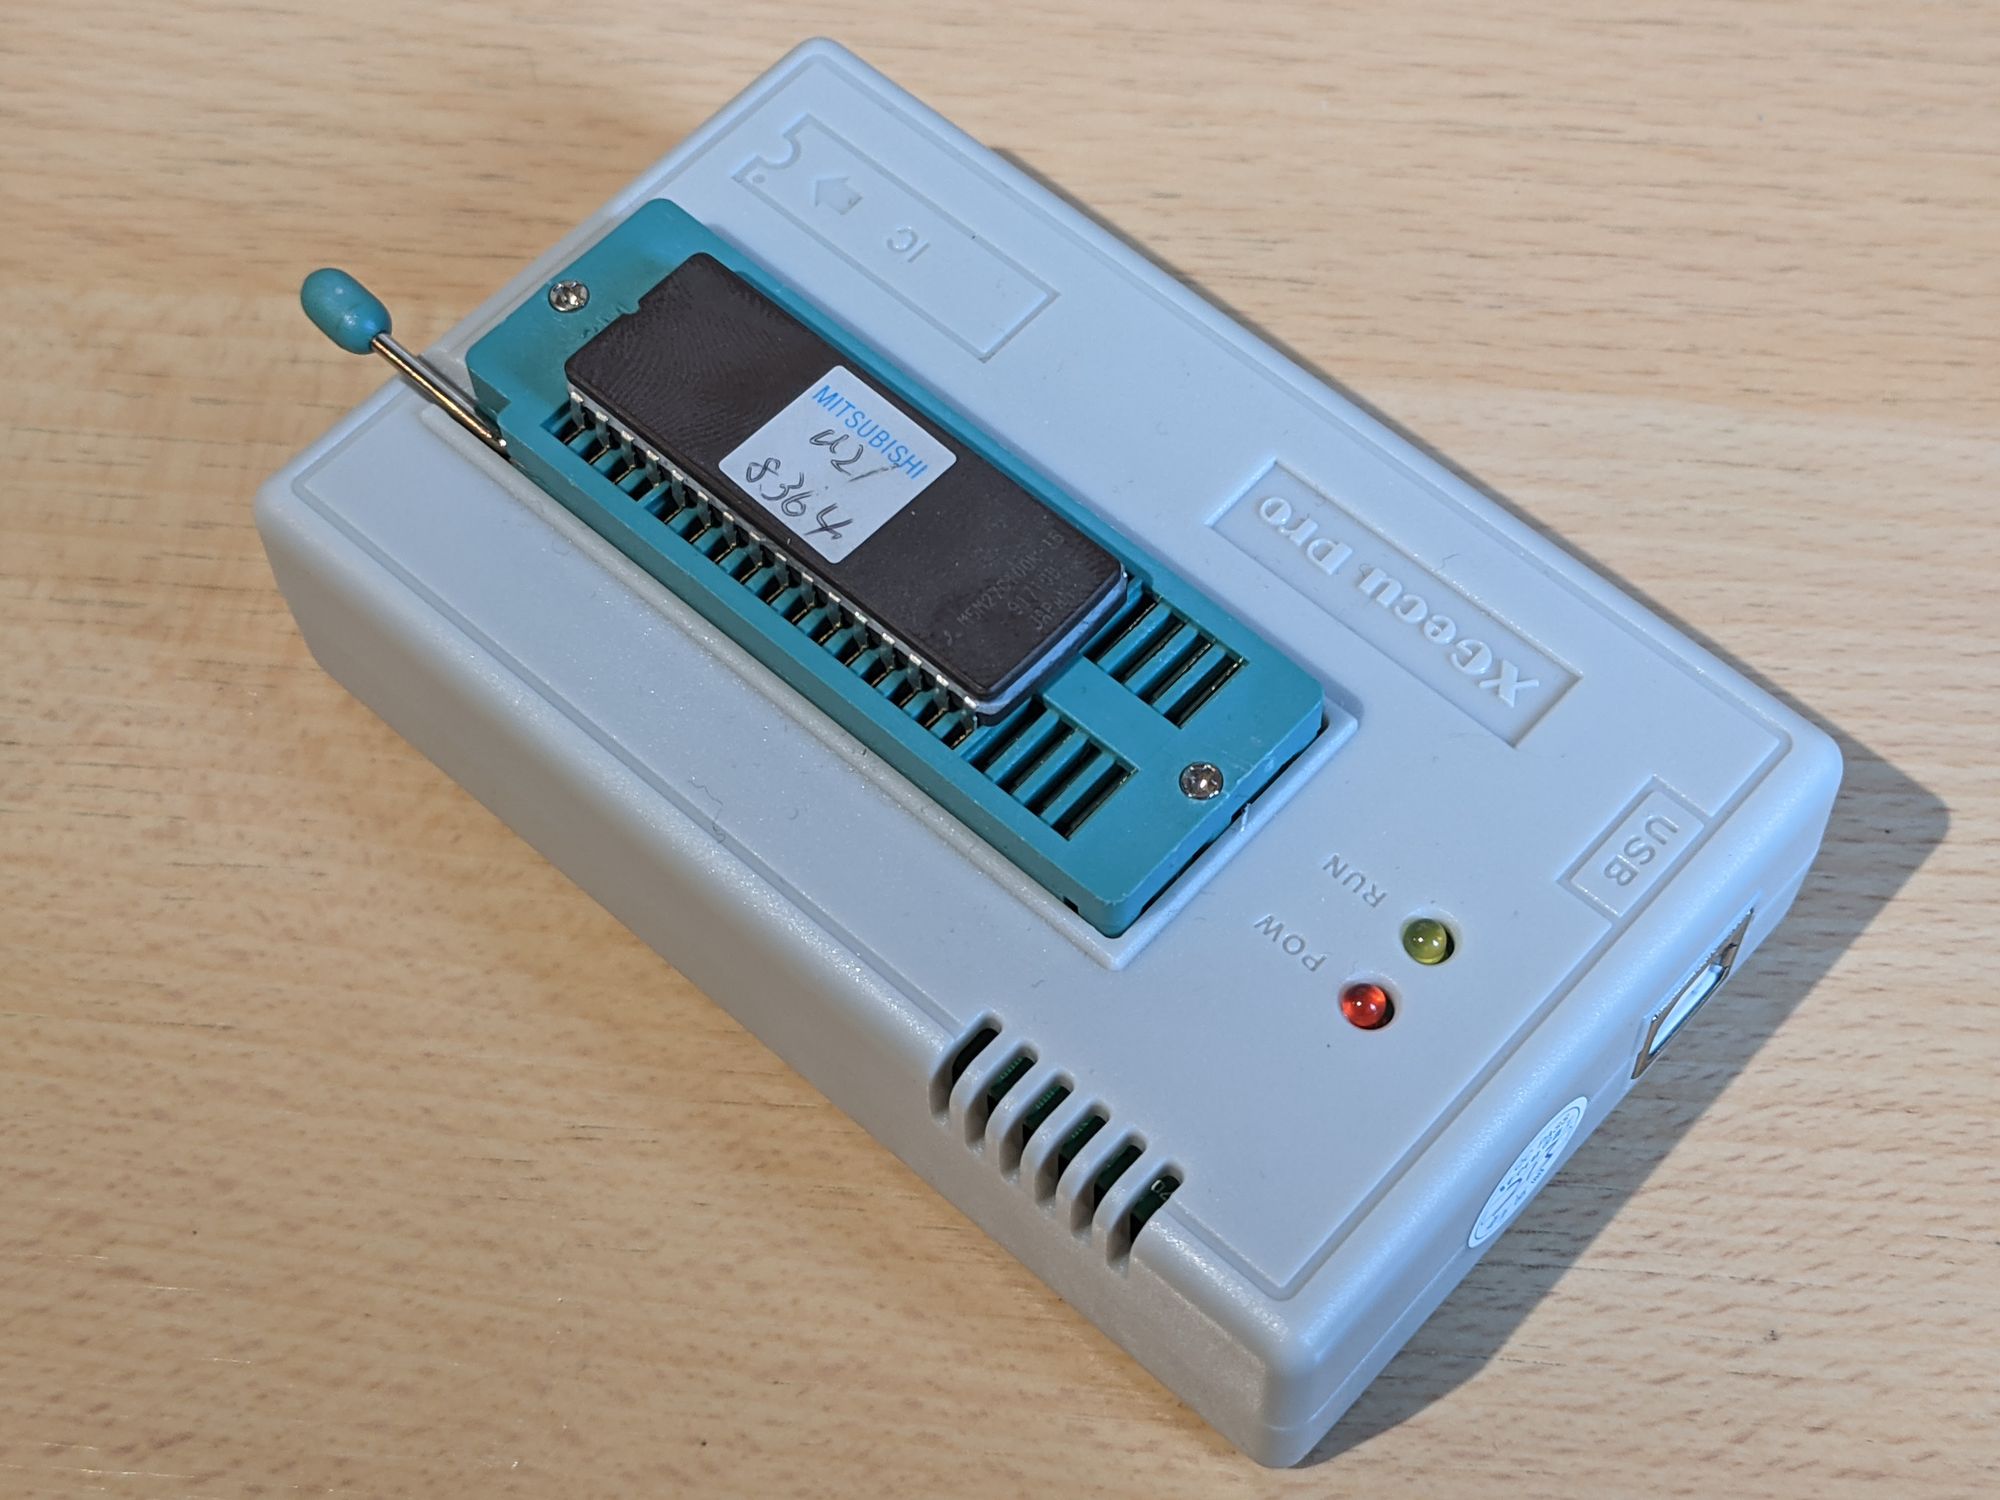
The first step is figuring out what model of EPROM we're dealing with. Usually you'll have to peel back the labels in order to spot the model number. Be sure not to pull the labels back so far that the EPROM's UV window is exposed, as this might result in data being erased. The chips stacked on top of the IC's were ST 27C64A chips. Two of the main OS chips were made by AMD with model number AM27C100. The other two OS chips where Mitsubishi M5M27C100K chips.
The chip model numbers on the chips inside the bottom unit were very faded and barely readable. With some guessing I managed to identify these as Mitsubishi M5M27C256K chips.
After knowing what chips I was dealing with, it was a matter of opening the software that came with the programmer, selecting the right chip model, hitting read, and voila!

