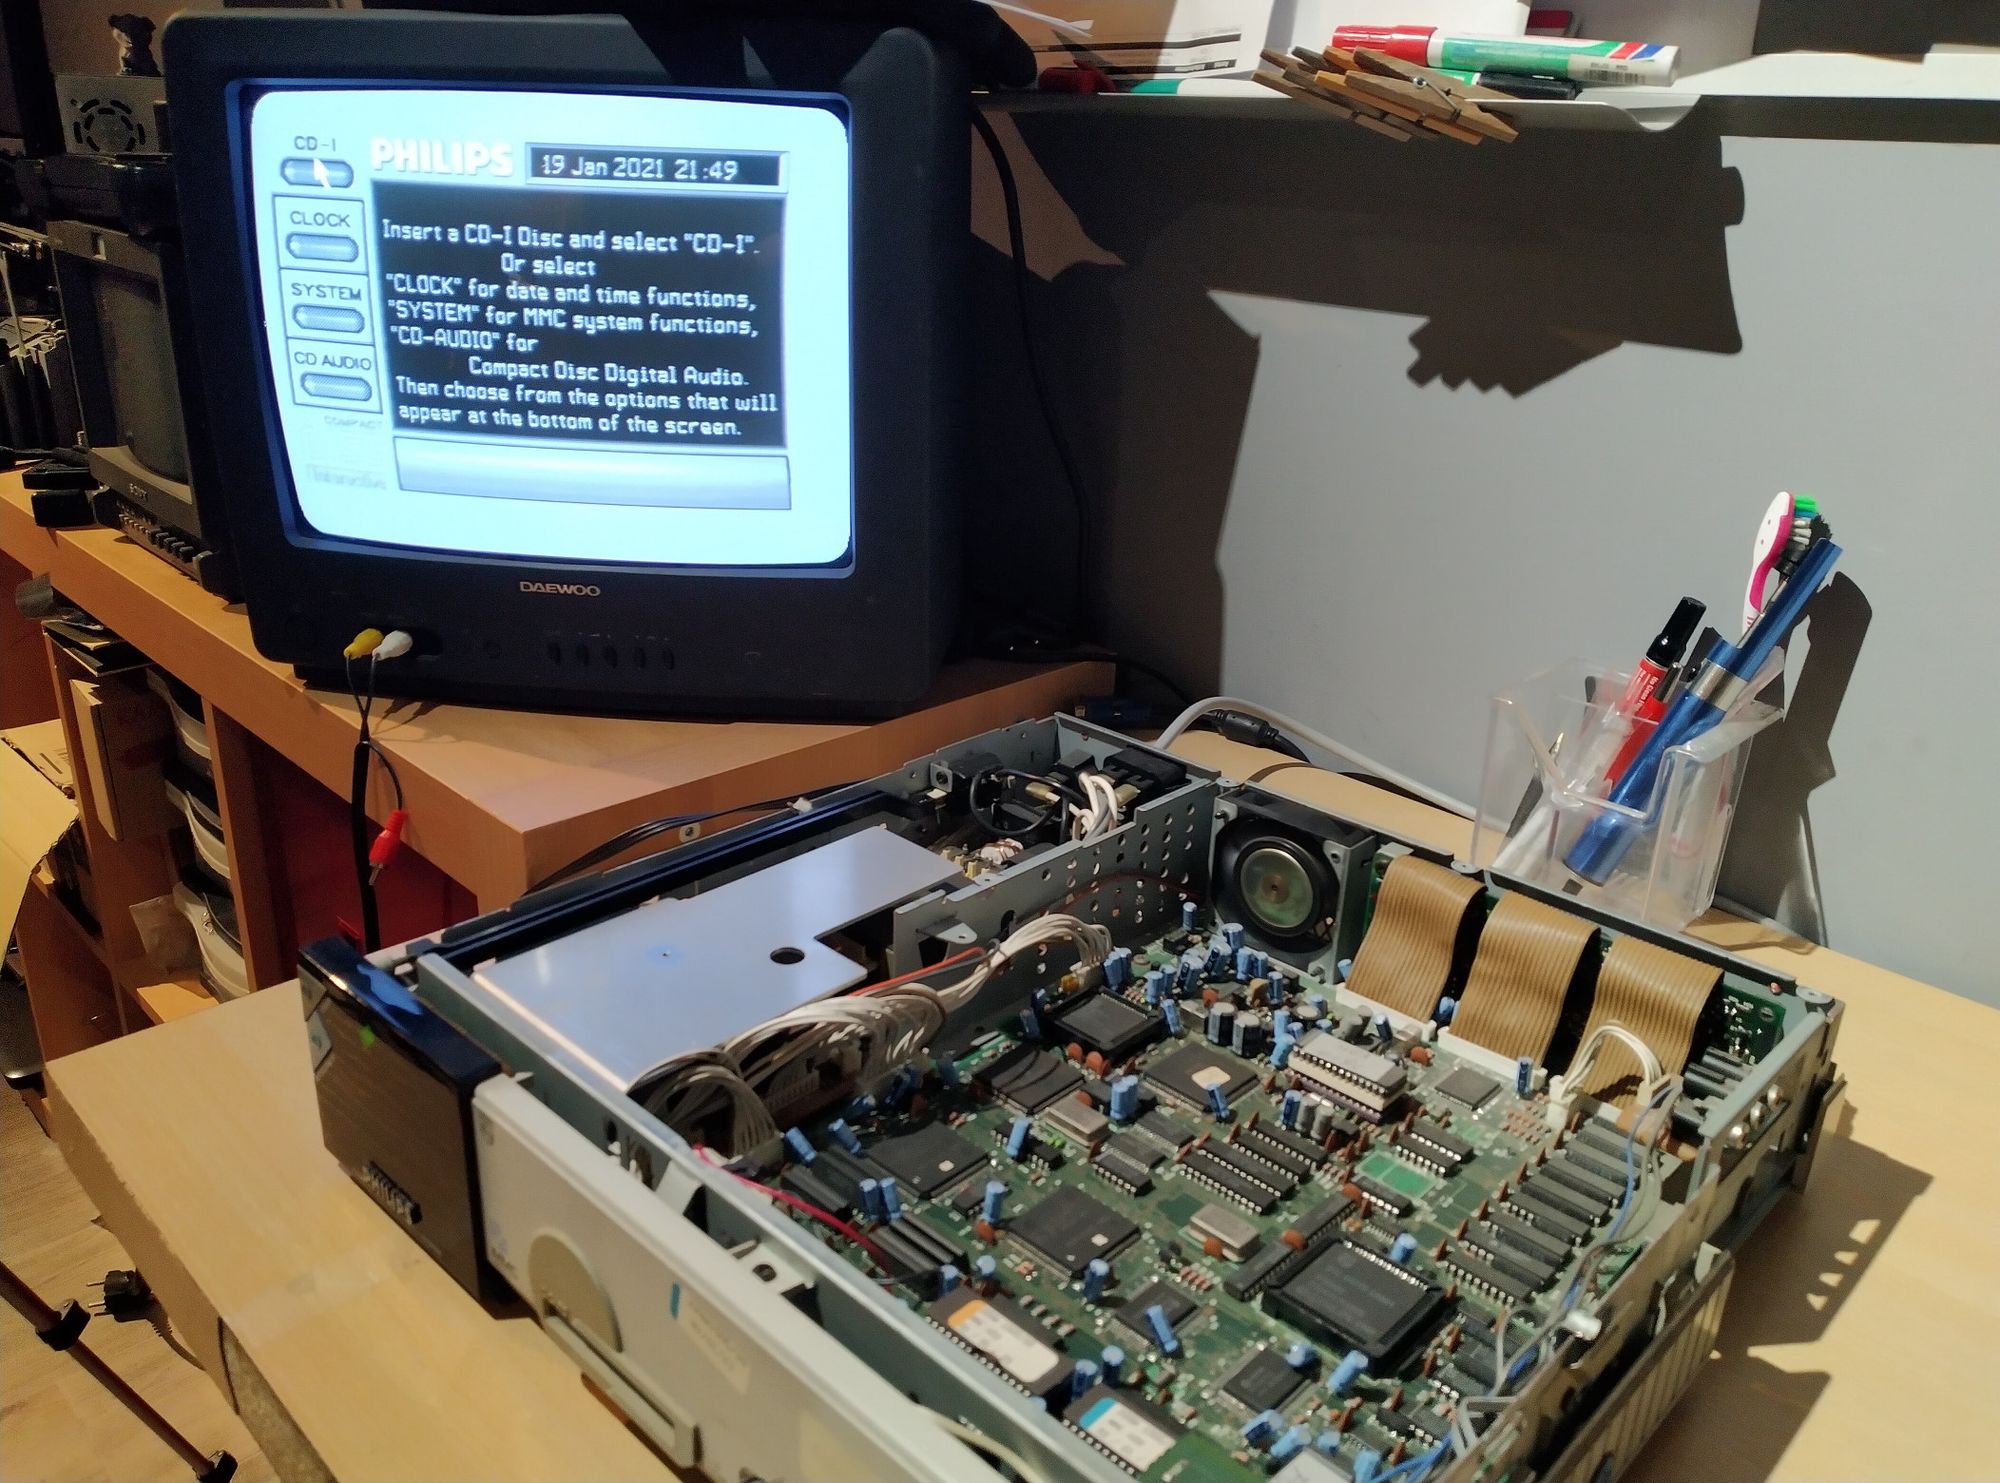
Philips CD-i 180/181/182 set
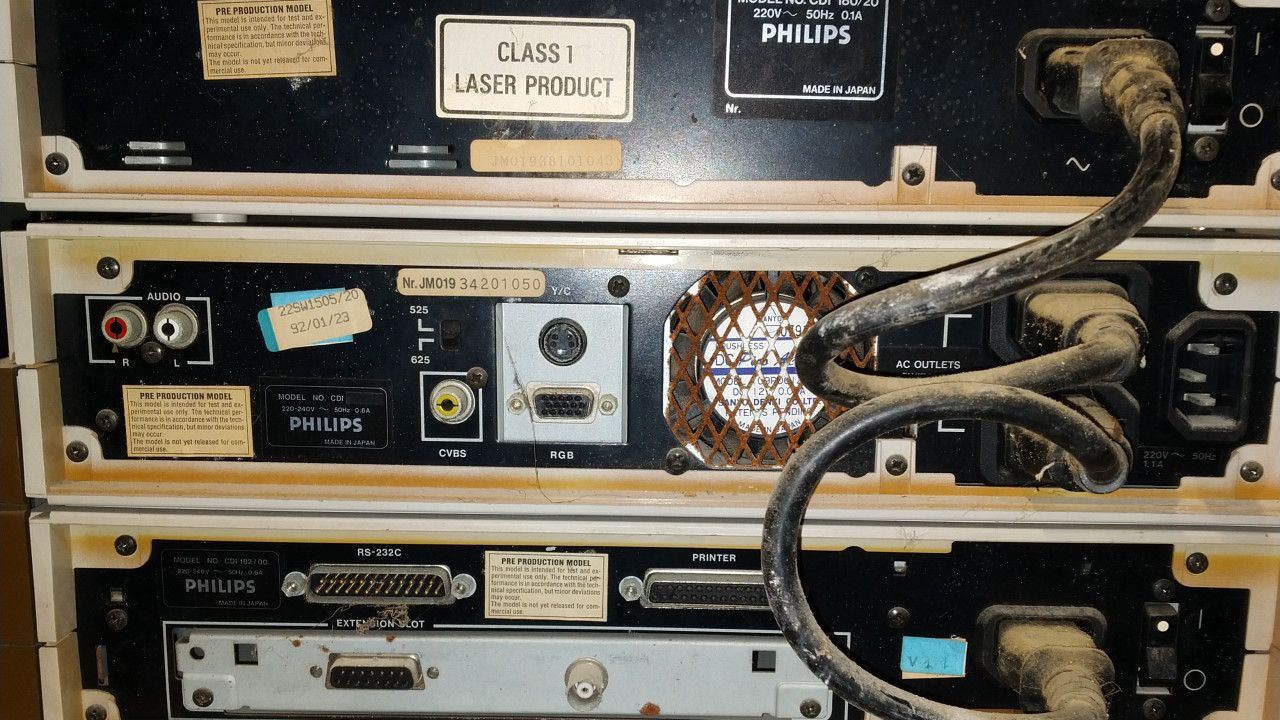
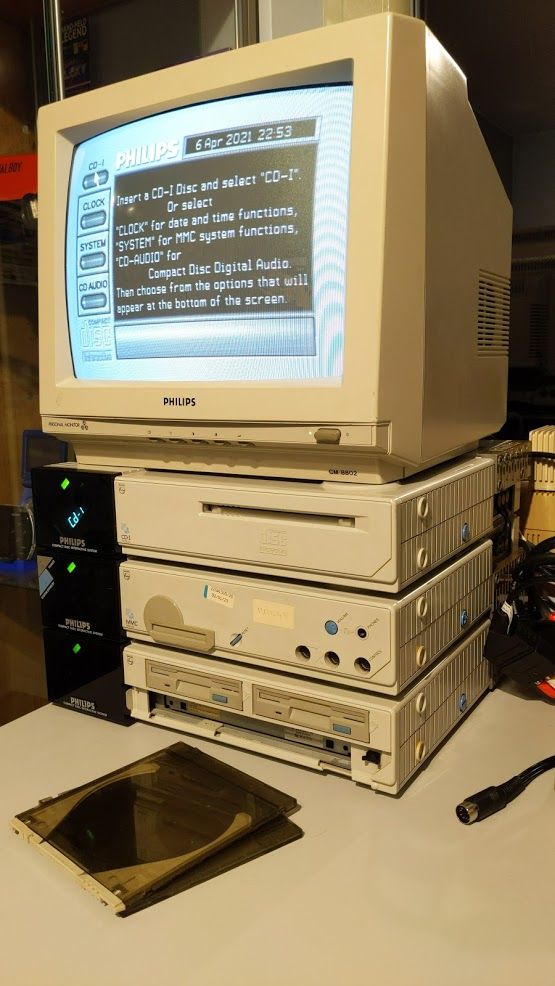
Back in January I got this Philips CD-i 180 set along with the Model BO prototype. It was in rough shape and untested. This is essentially a pre-production Philips CD-i unit meant mostly for development and educational use only. It is a modular system, with the top 2 parts being the only ones needed for it to be a fully functional CD-i system. The bottom unit can optionally be added to turn it into a development kit / authoring player. This unit supposedly comes from the Belgian Philips CD-i division if the seller is to be believed. Over the past few months I've been tinkering with the unit and getting it to a point where I'm happy to add it to my collection. This article will take you along on that journey and show you some of the technical details along the way.

Examining the unit
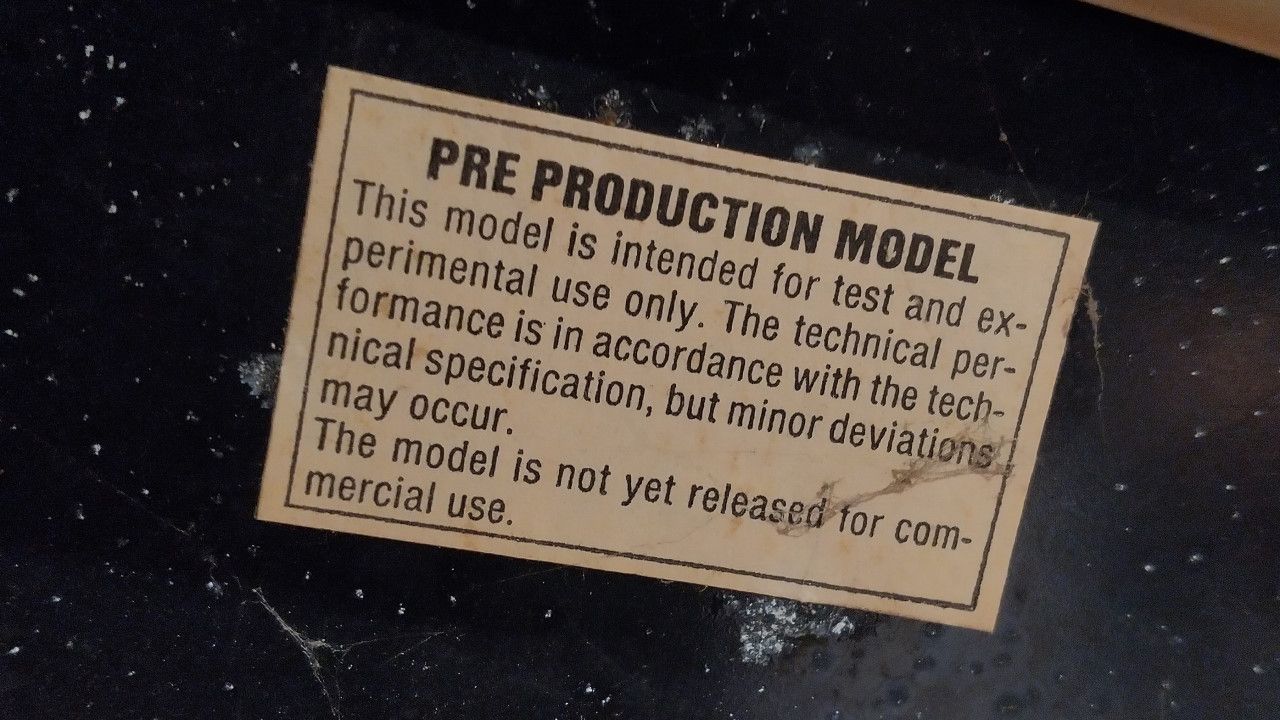
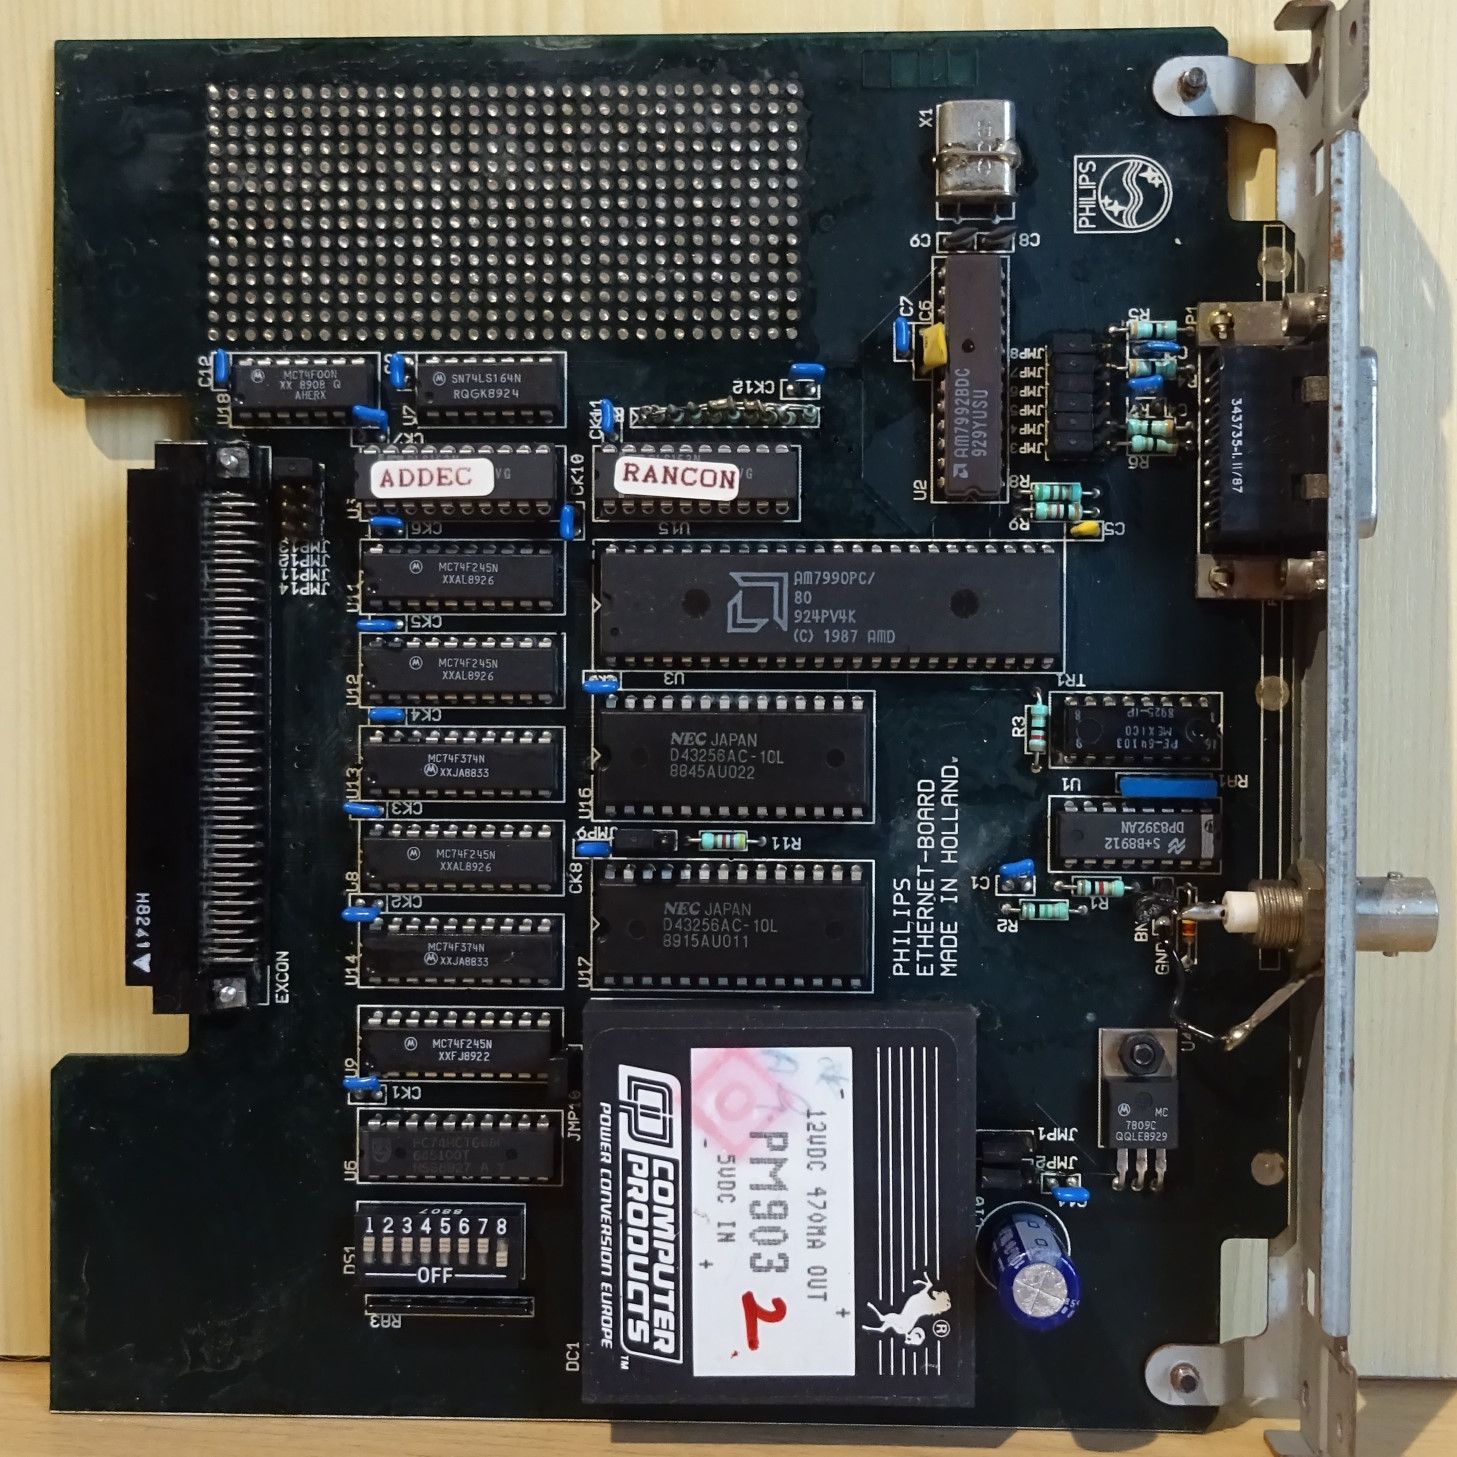
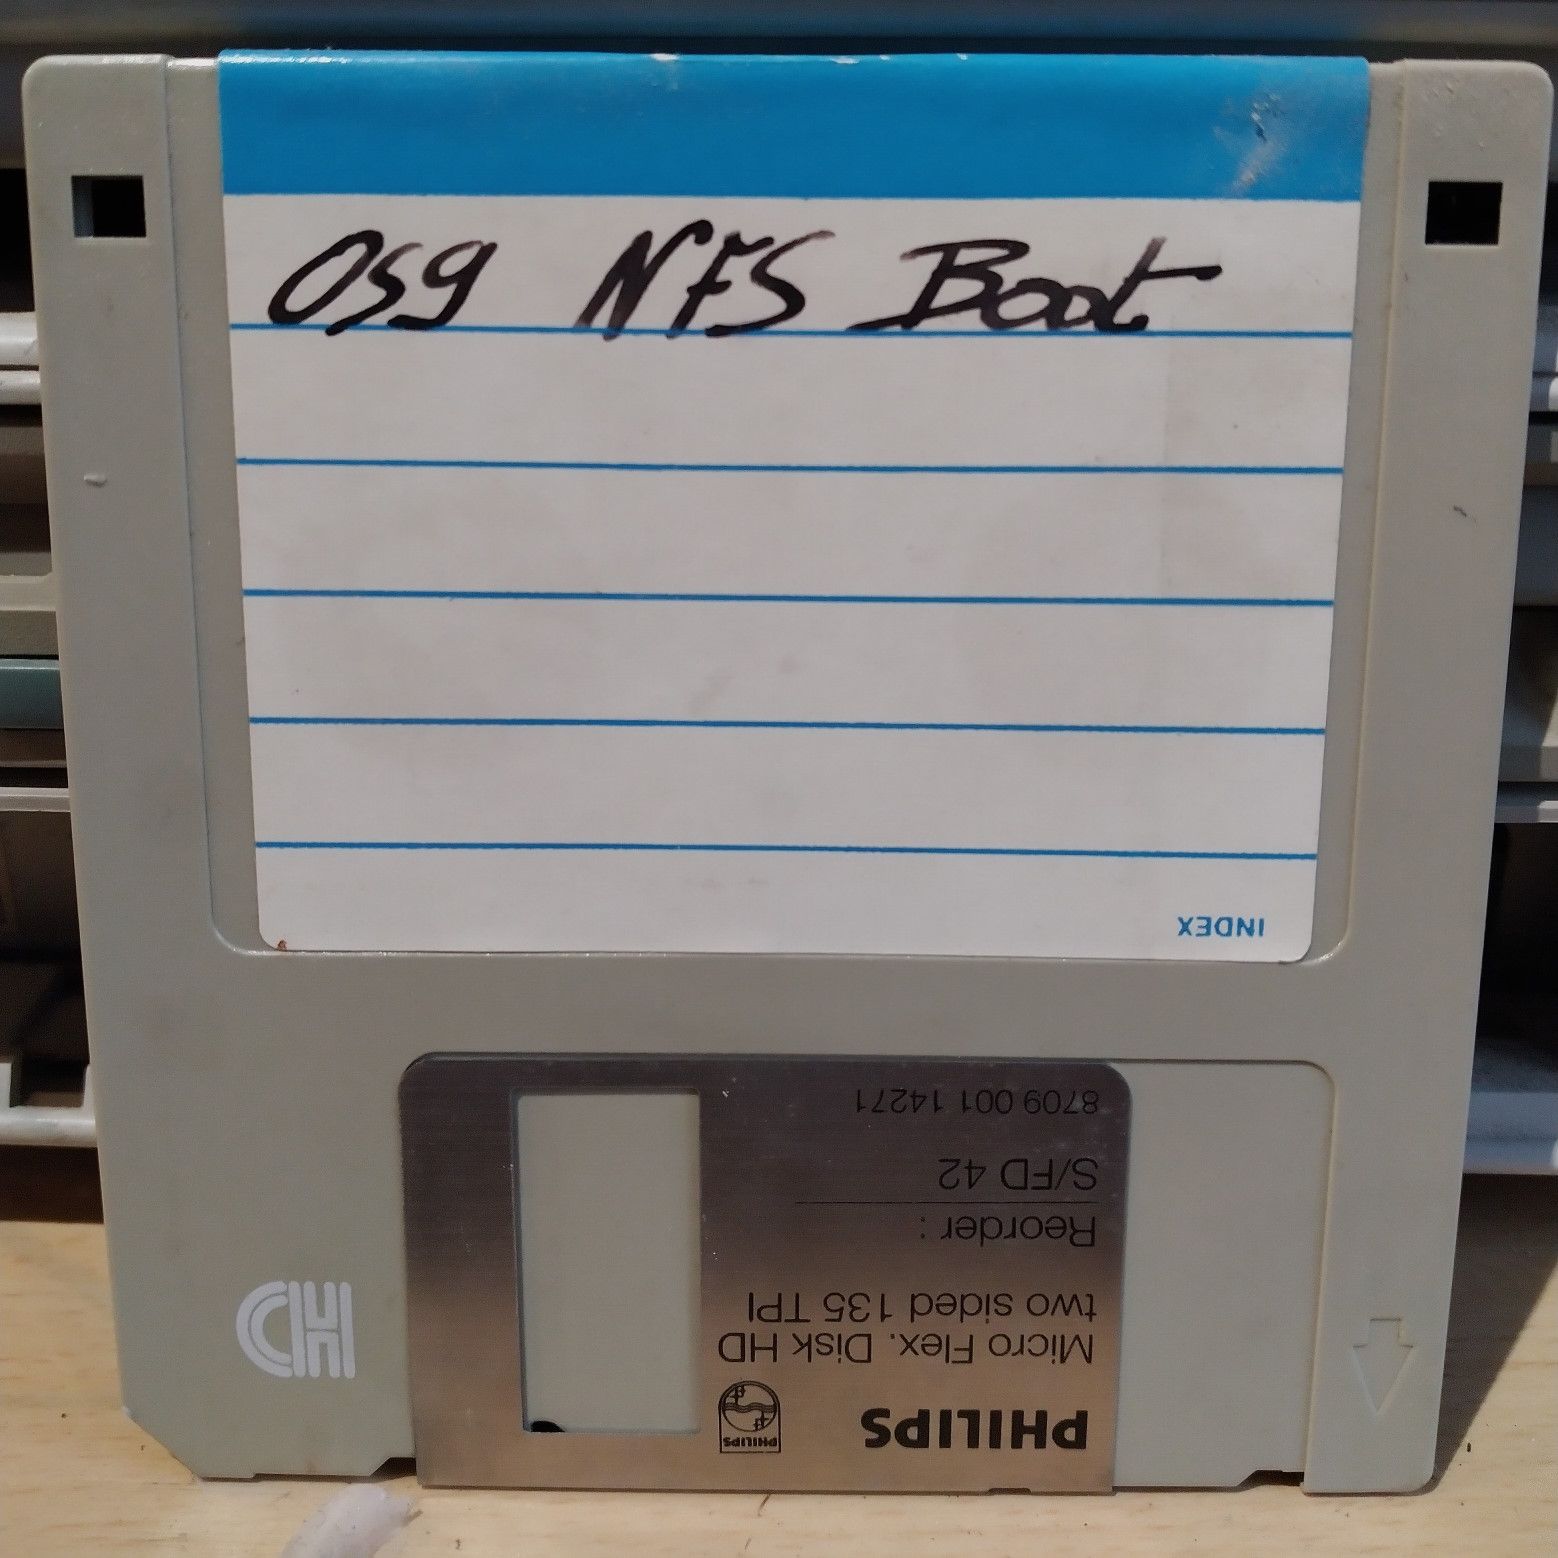
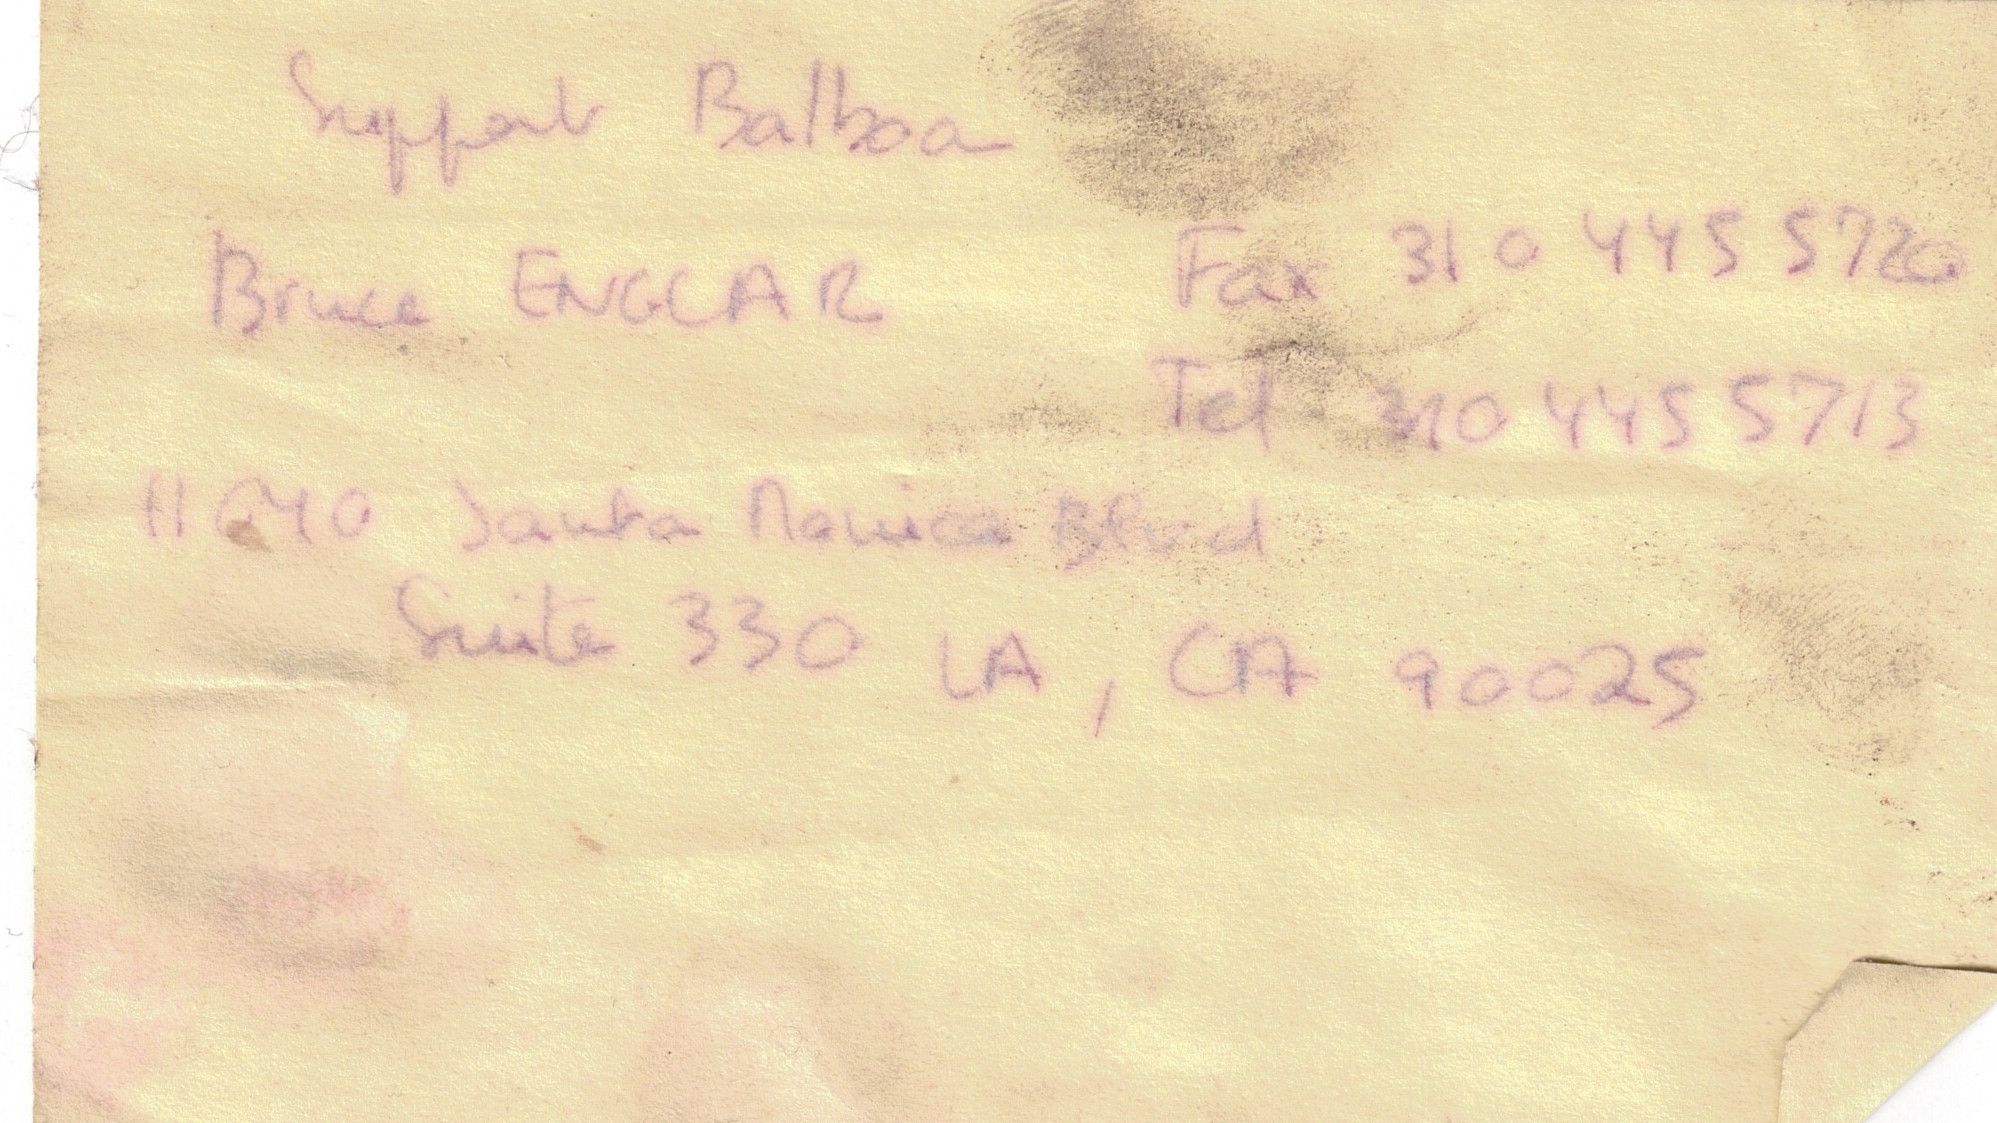
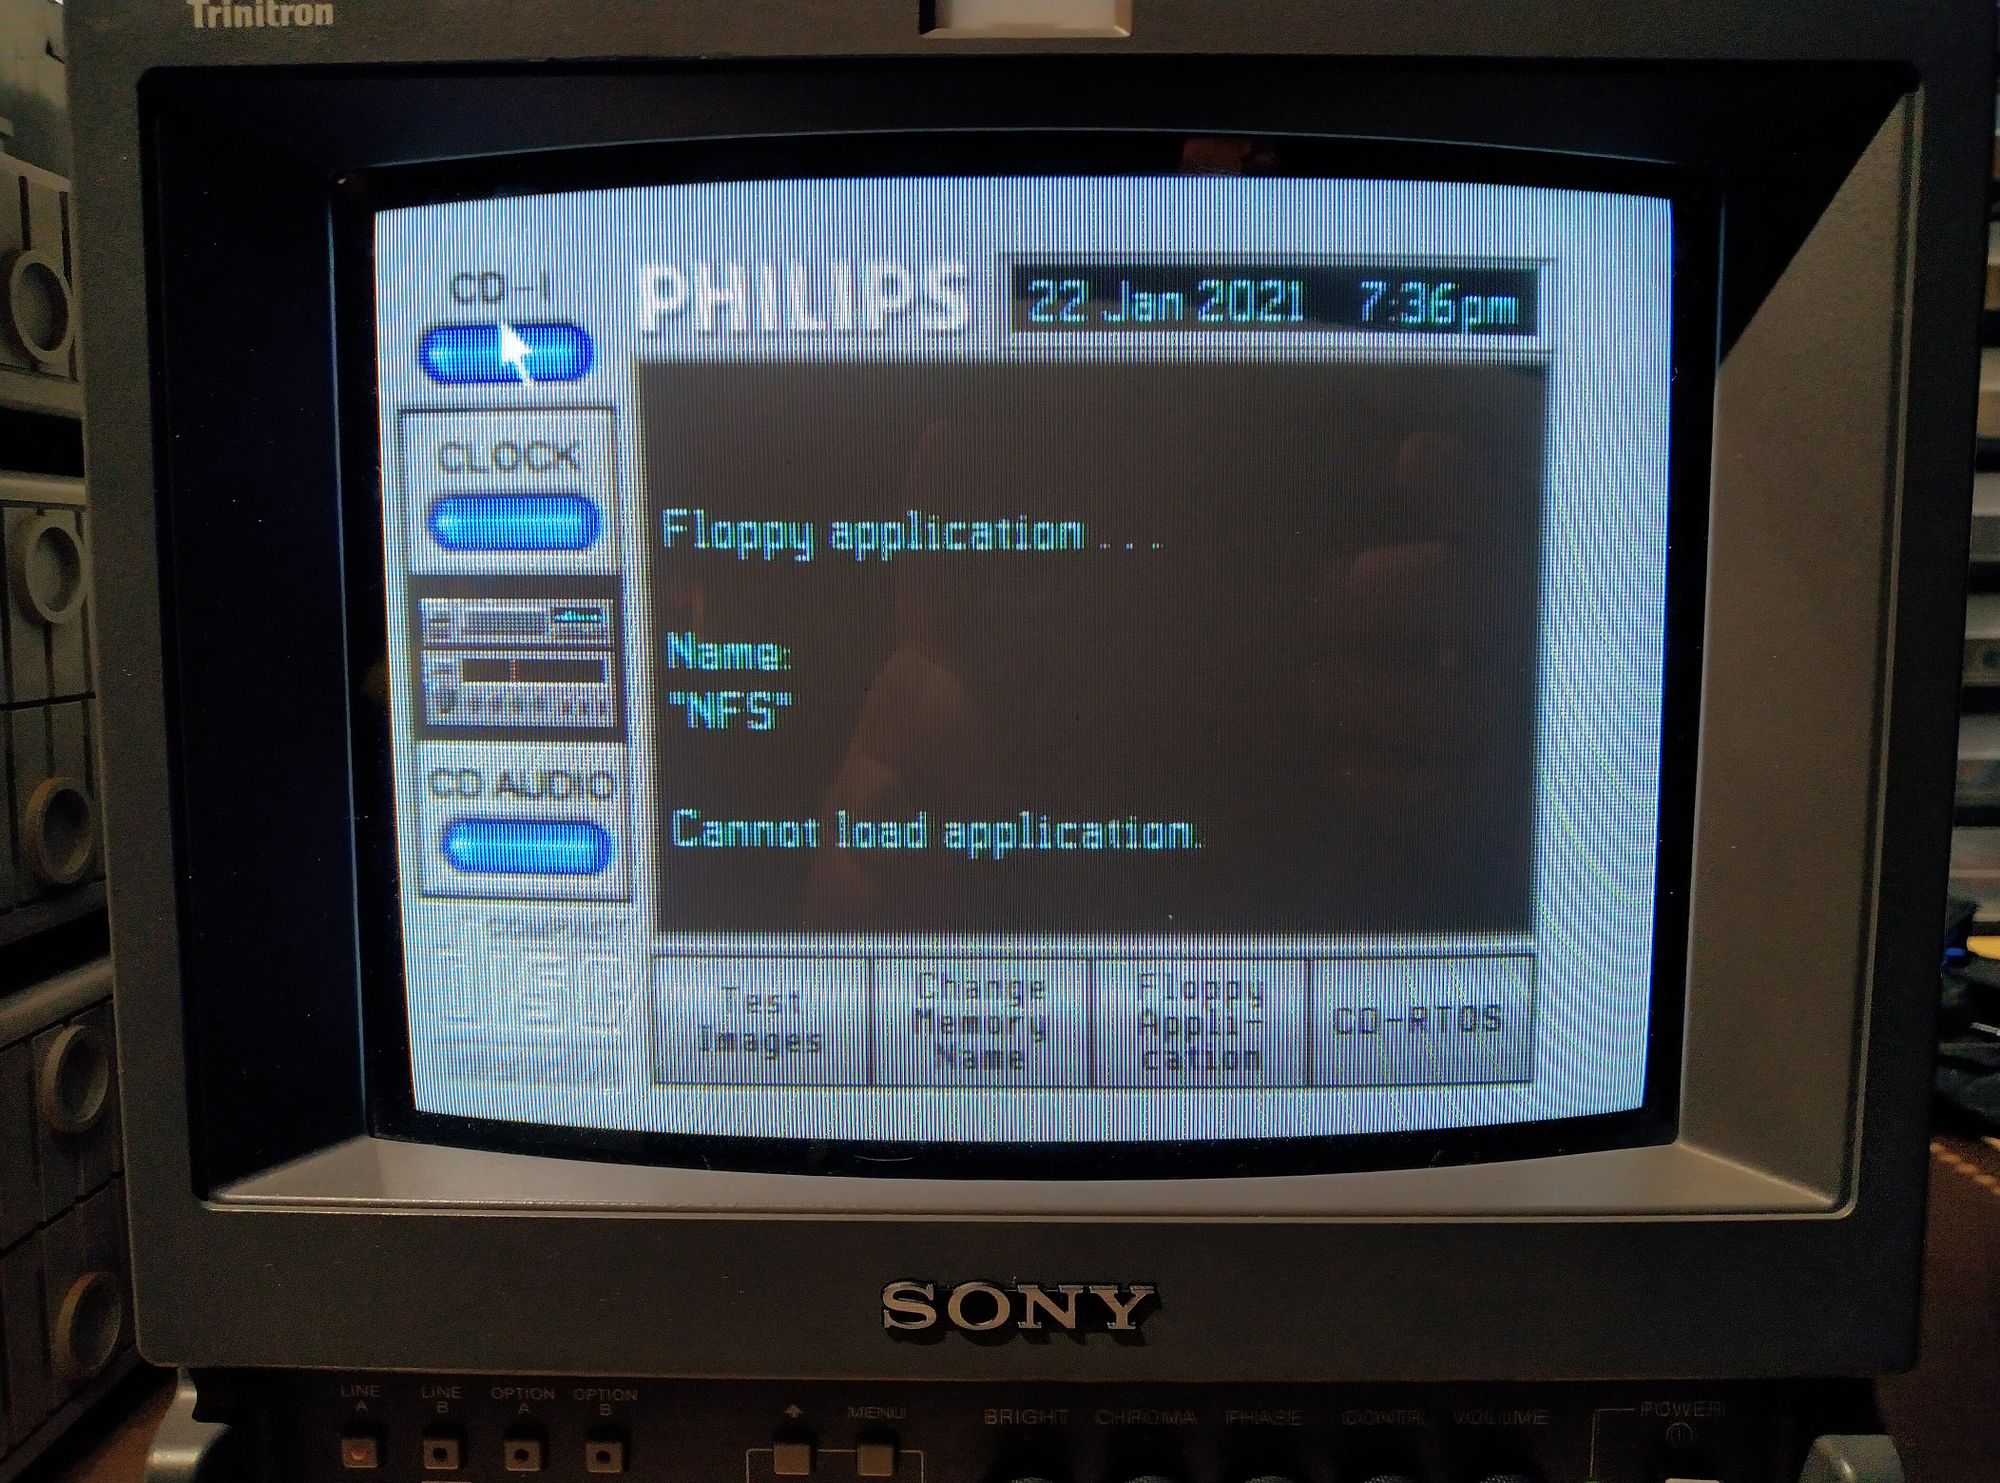
As you can see in the pictures above, the units were very, very dirty. Full of dust, cobwebs, rust and even sand. The bottom unit was missing it’s front door. It also contained a network card and a floppy disk labelled “NFS boot”, which suggests this unit was probably at one point used to connect to a file server. On top of the device was a little note with faded handwriting. On it was the name of a company in Los Angeles and contact information for it. Before even thinking about powering the system on, I needed to give it a clean and look for any damage on the inside.
Cleaning, inspecting and testing
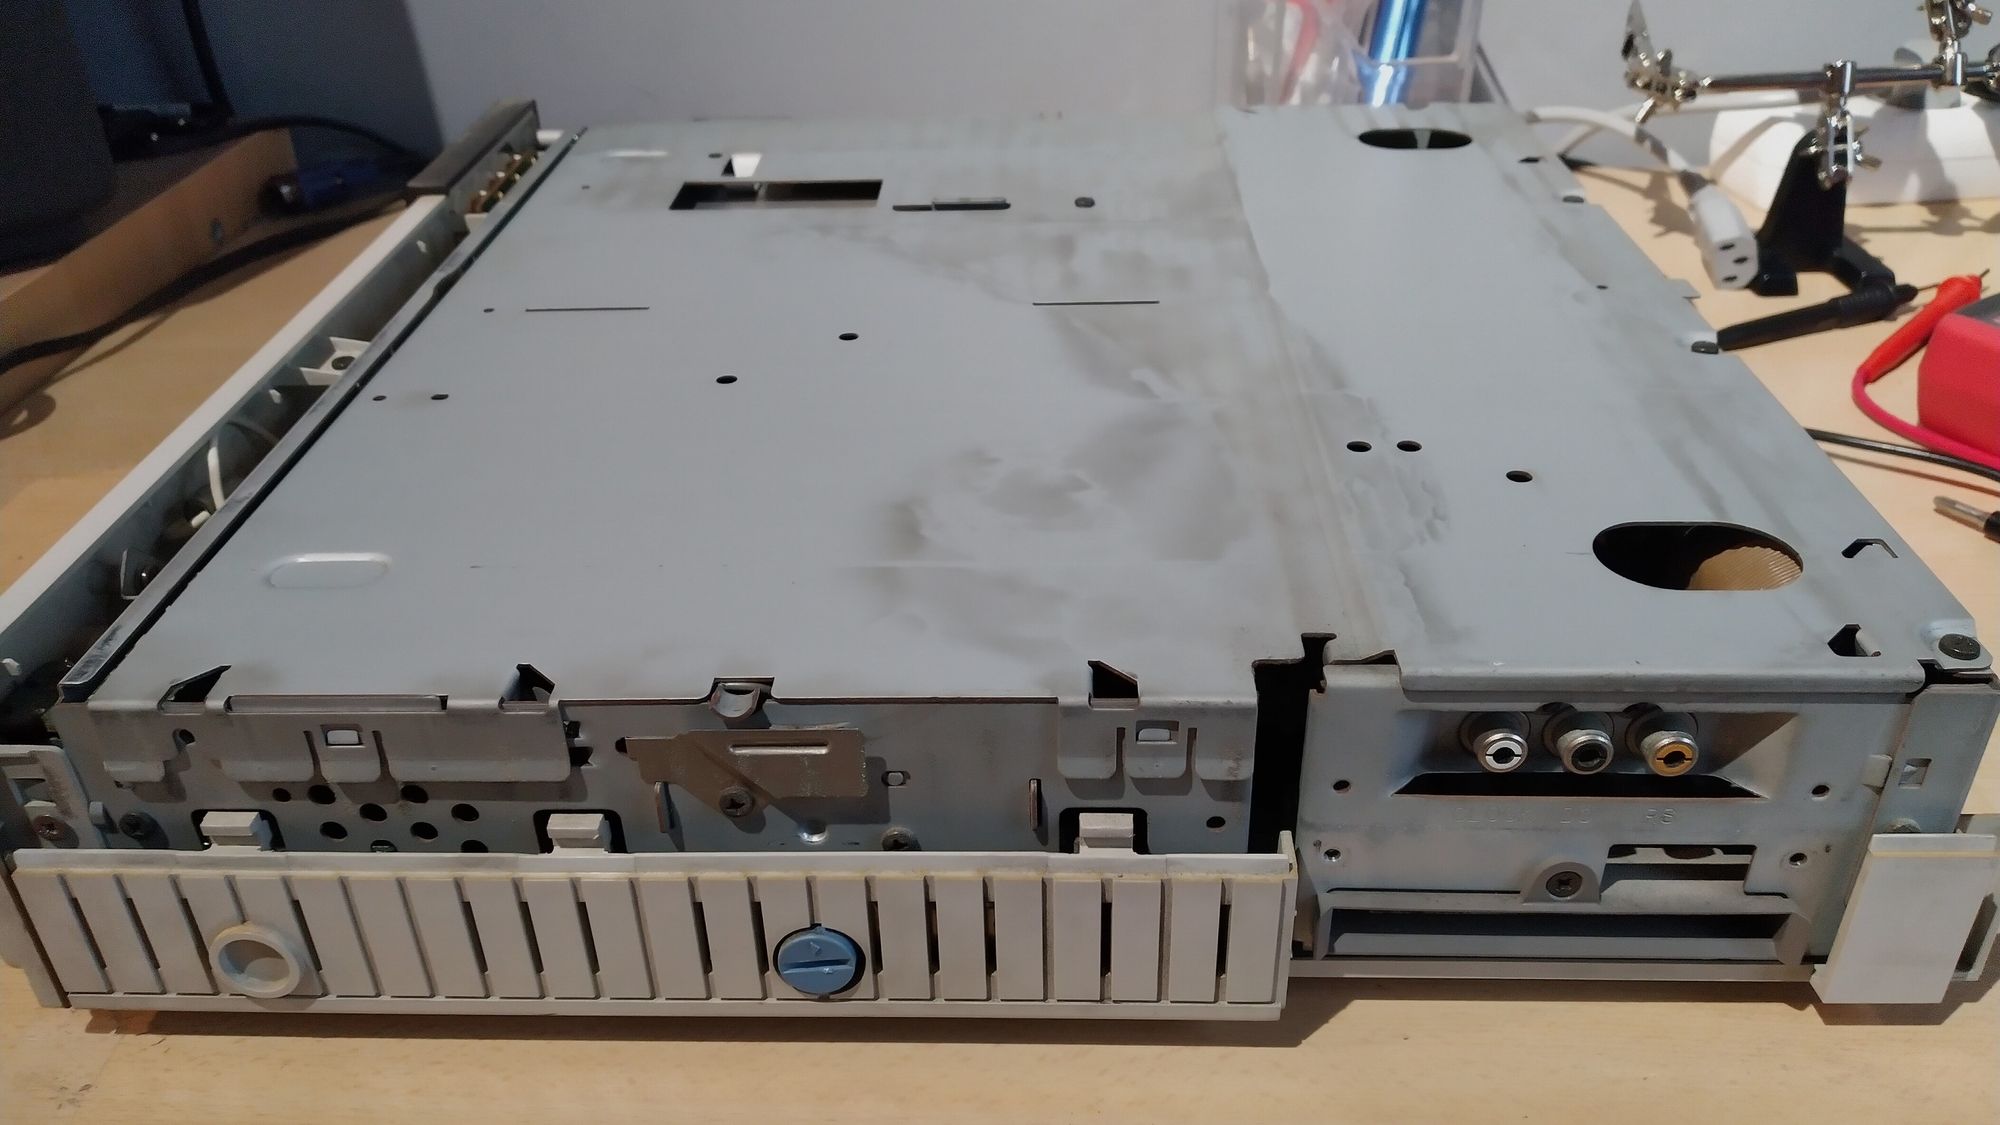
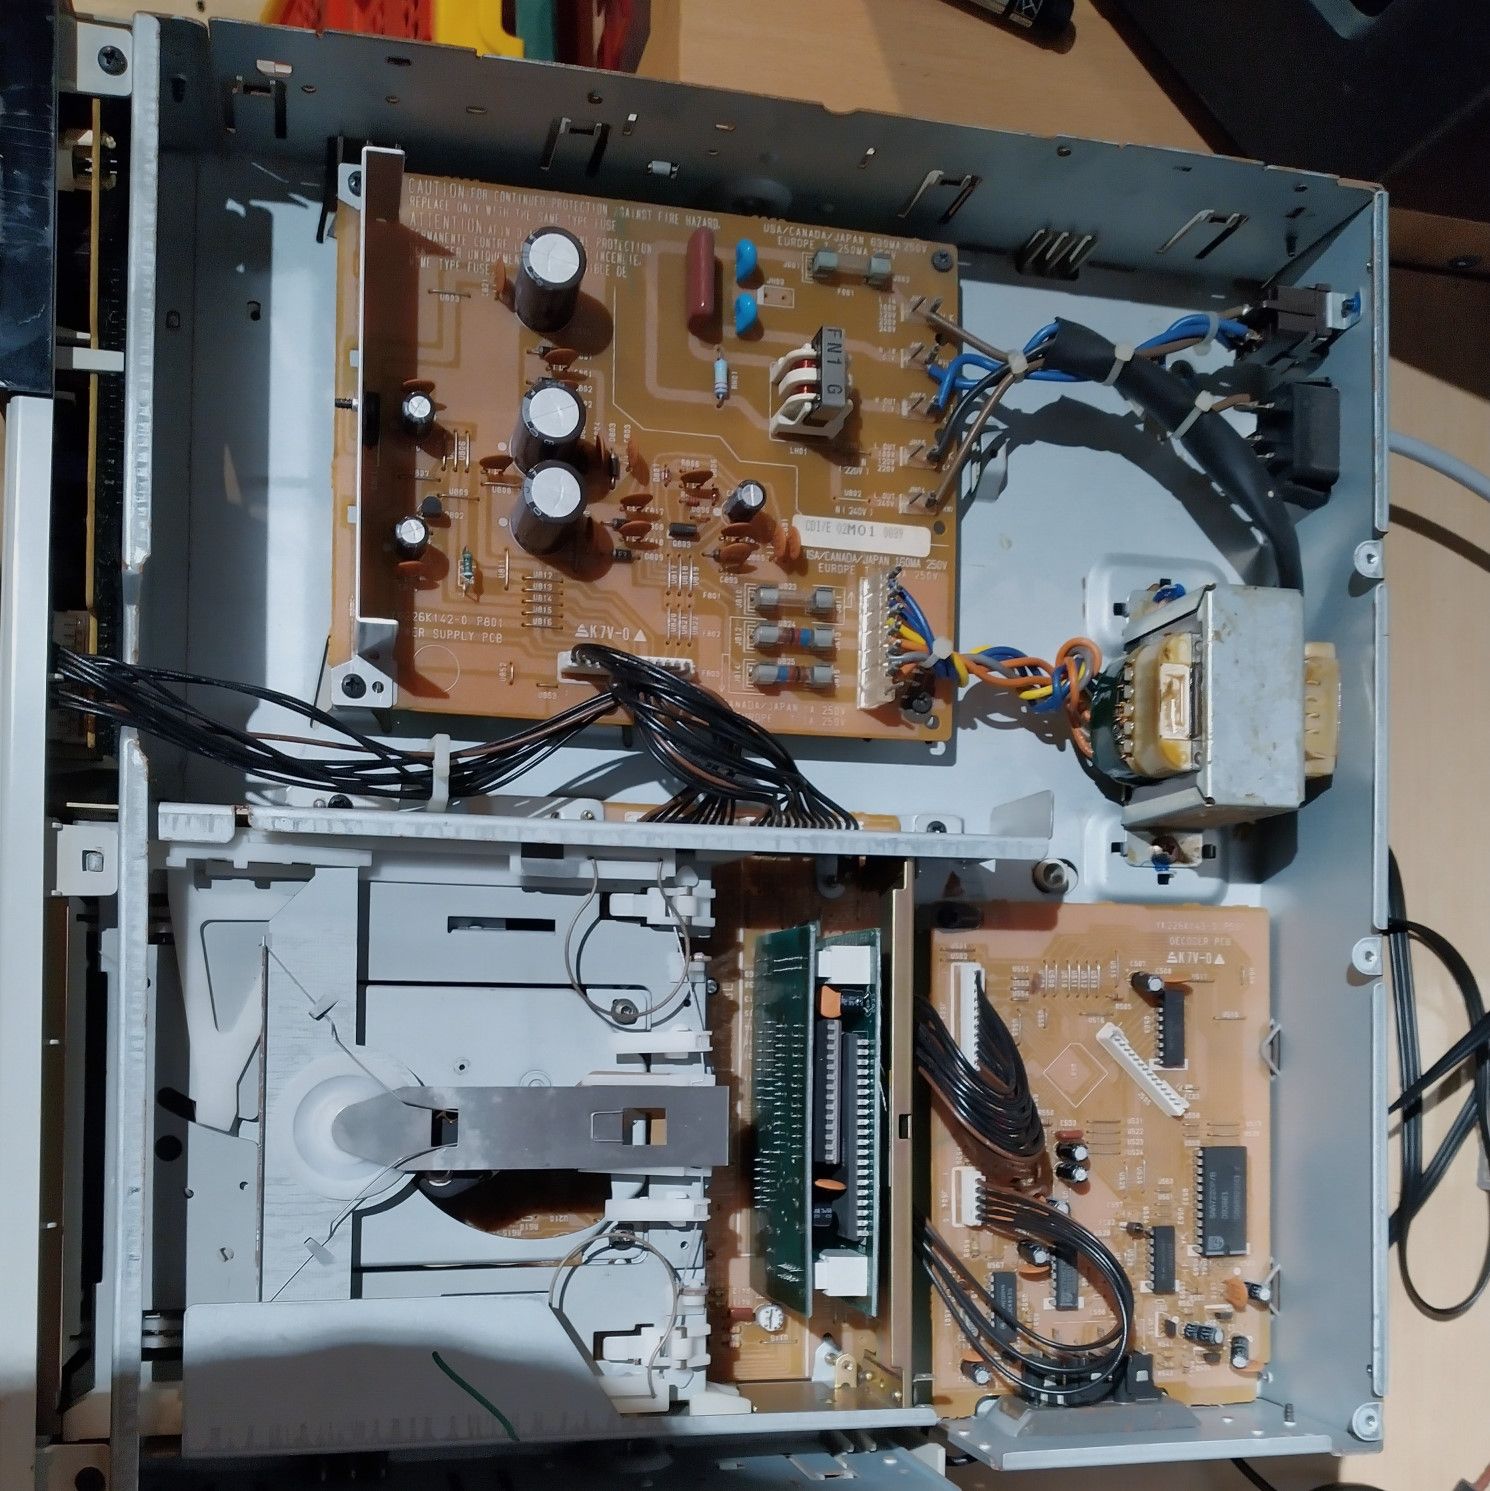
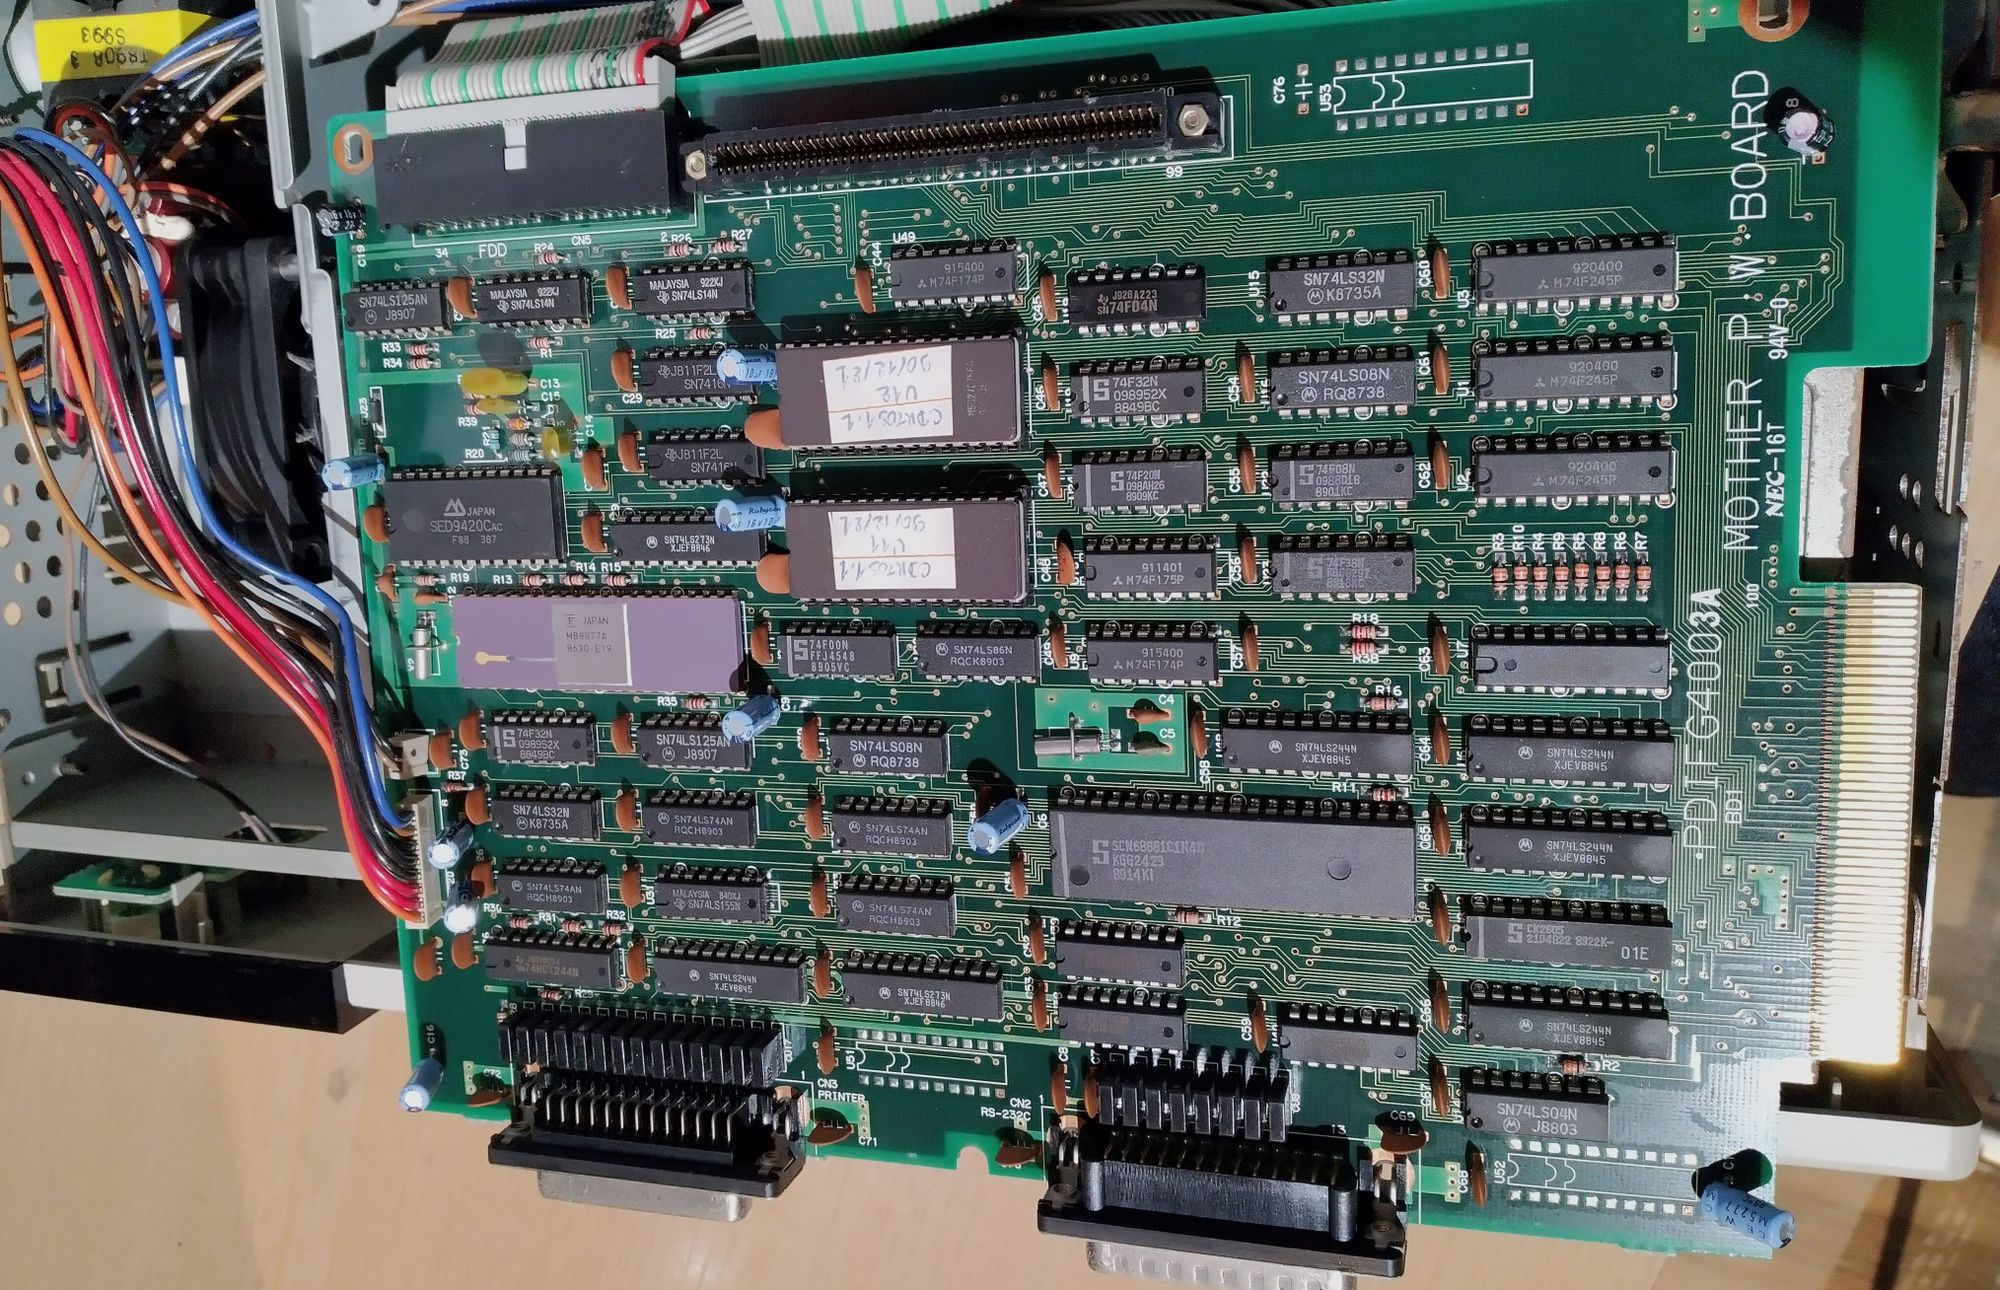
I started with the middle unit, which has the main system board inside of it. It has to be separated from the top unit by removing 3 RCA cables and from the bottom unit by removing an edge connector. After removing a few screws on the back the top plastic cover slides off, revealing the insides housed inside a tough metal case, which is probably part of the reason why these units are so heavy. The top piece of said metal cover comes off after removing a few screws.
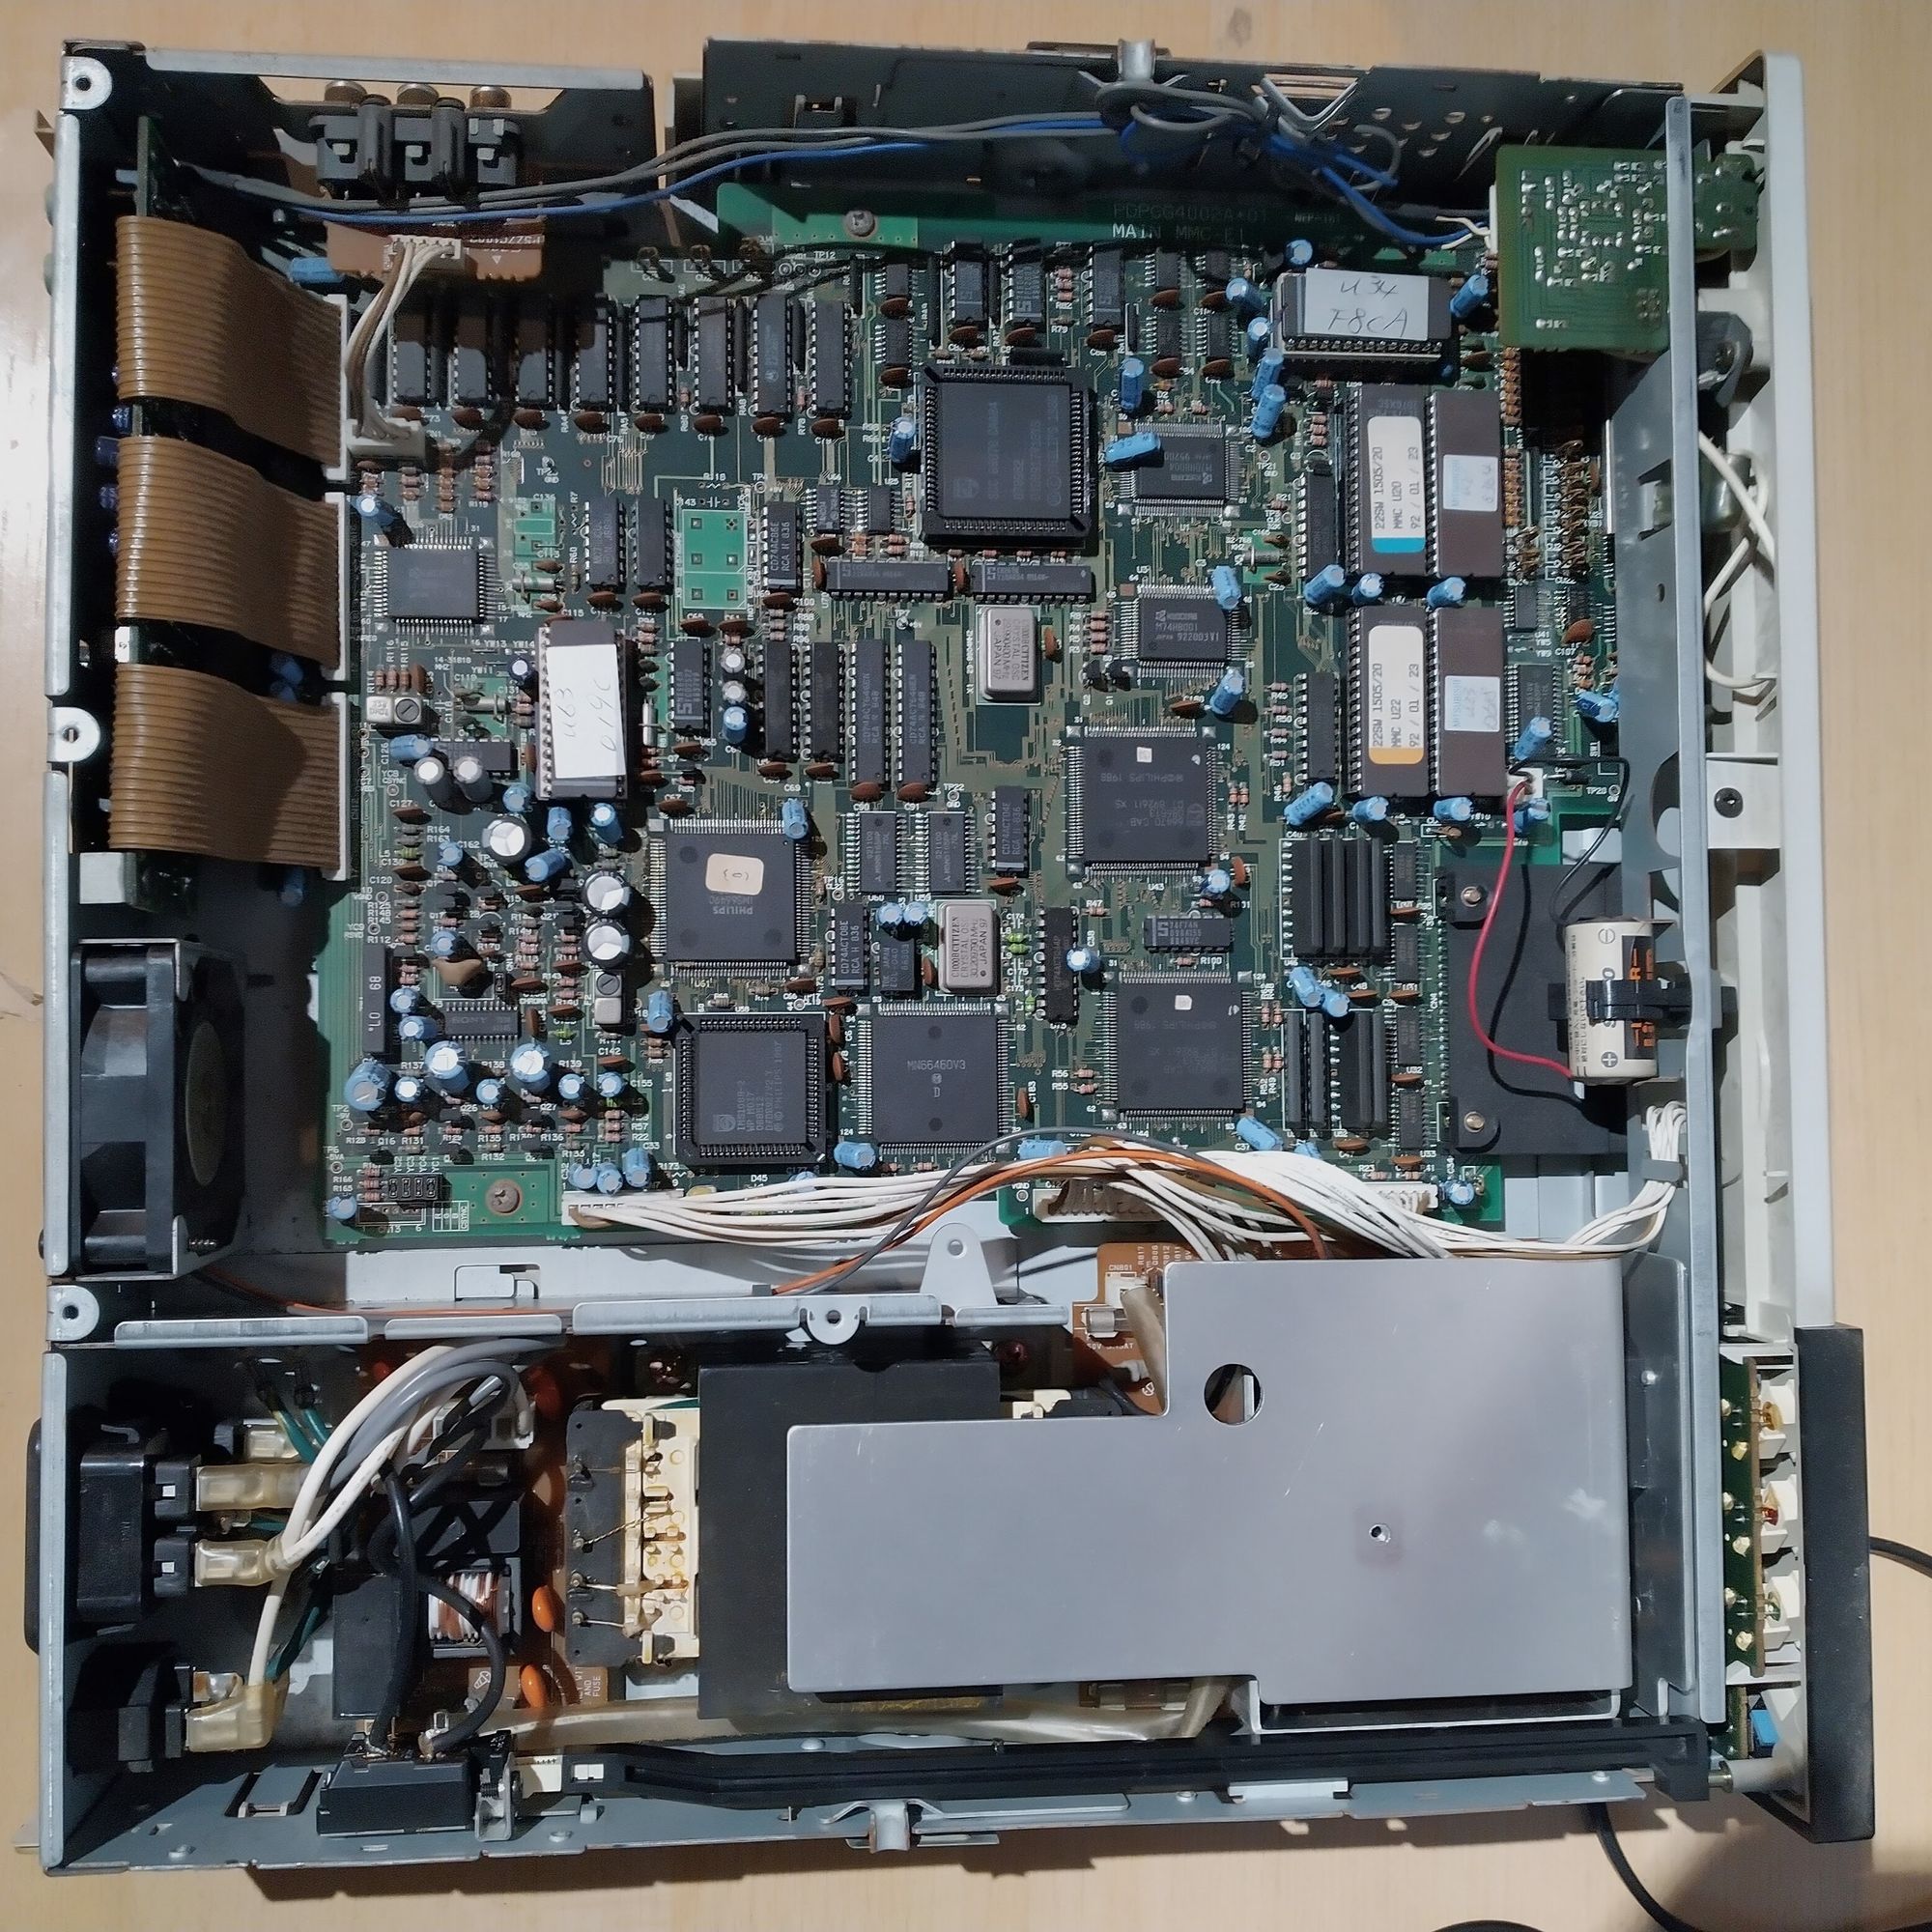
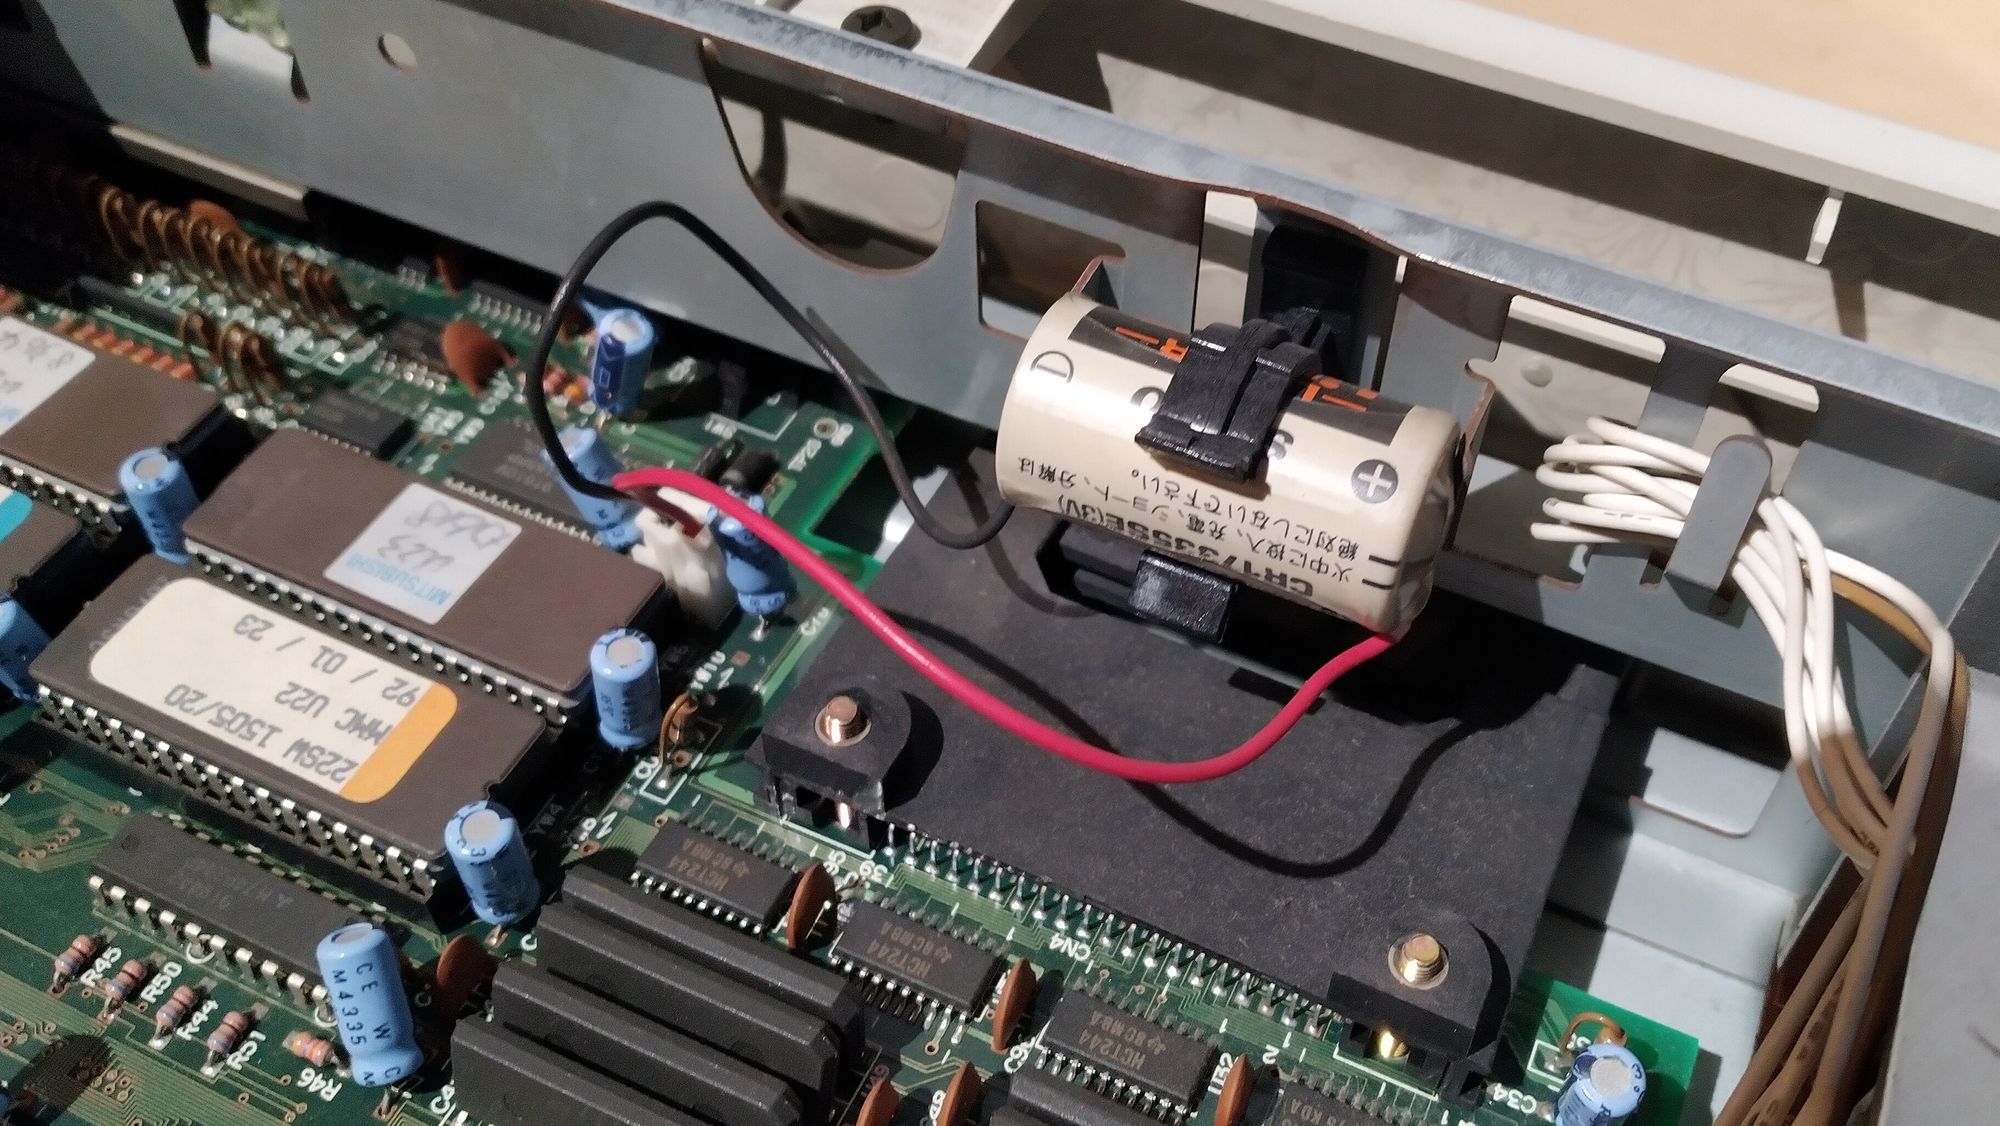
There were two things I instantly noticed when opening up the middle unit. The first thing was that it was surprisingly clean inside given how the outside looked. Secondly was the large battery inside the unit. This battery is used to keep the time and settings when the system is powered off. Later CD-i models would use small RAM chips with an integrated battery, which is notoriously difficult to replace. Unlike those models however, this battery is easy to replace. I wish Philips would have kept this design in later models. After taking my multimeter to it, I was surprised to find out it still outputted nearly 3V, meaning it should still be enough for keeping the time.
The capacitors inside were all Rubycon branded, which is a high quality Japanese brand. None of them were bulging or leaking. After blowing off some of the dust inside, I considered it safe to do a first power test. And sure enough, the unit powered on without any issues and like I suspected, has kept the time for all these years. Impressive!
After this first successful test, I closed the unit back up while cleaning everything. I won’t bore you with that. Time to move on to the second unit, the top one containing the CD drive. The disassembly process is exactly the same here, so I won’t repeat myself. The inside is quite empty and once again looked much cleaner than expected.
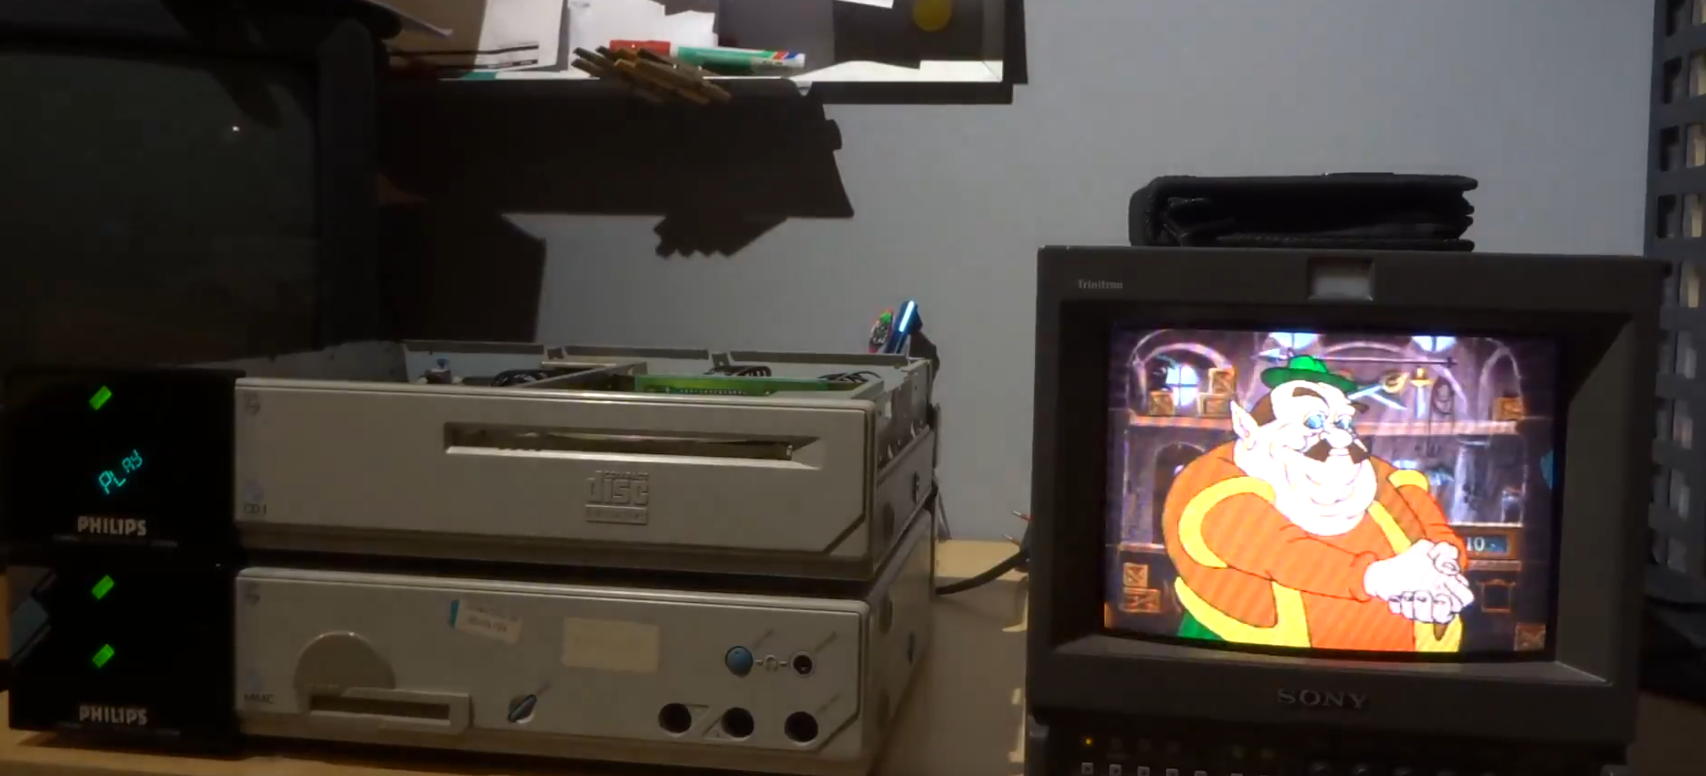
I wanted to hook it up to the other unit and test a CD, but this is were I ran into two issues. The first issue is that I did not have the original remote for the device, and this CD-i model will not work with any of the wired controllers released later on. Fortunately though, I found out that the RC5 remote that came with my CD-i 205 worked with this system. The second issue was the CD drive itself. It is a caddy-based drive and I did not have any caddies. I found out that you can carefully put in a disc manually when the unit is opened up, so this is how I tested the drive at first. It had some issues reading discs, which was quickly resolved by cleaning the laser.
The last thing to tackle was the bottom unit, the 182. This is what gives this system the capabilities of a development kit. It had a number of expansion cards including SCSI cards, network cards, etc. It also has a port for connecting to an OS9/CD-RTOS terminal (the cdi’s OS). This one took a bit more effort to take apart and clean. I opened up both floppy drives to clean the heads. They were both Sony drives that looked like any regular PC floppy drive from the period.
After cleaning this unit and putting it back together I was pretty much done with all the cleaning. I hooked up the 182 unit to the other two and tested out the NFS boot floppy disk. Sadly, it did not load the application, however it did recognize the disk’s name. I wanted to try connecting it to a serial terminal but was missing the proper software for that…
Getting some of the missing pieces
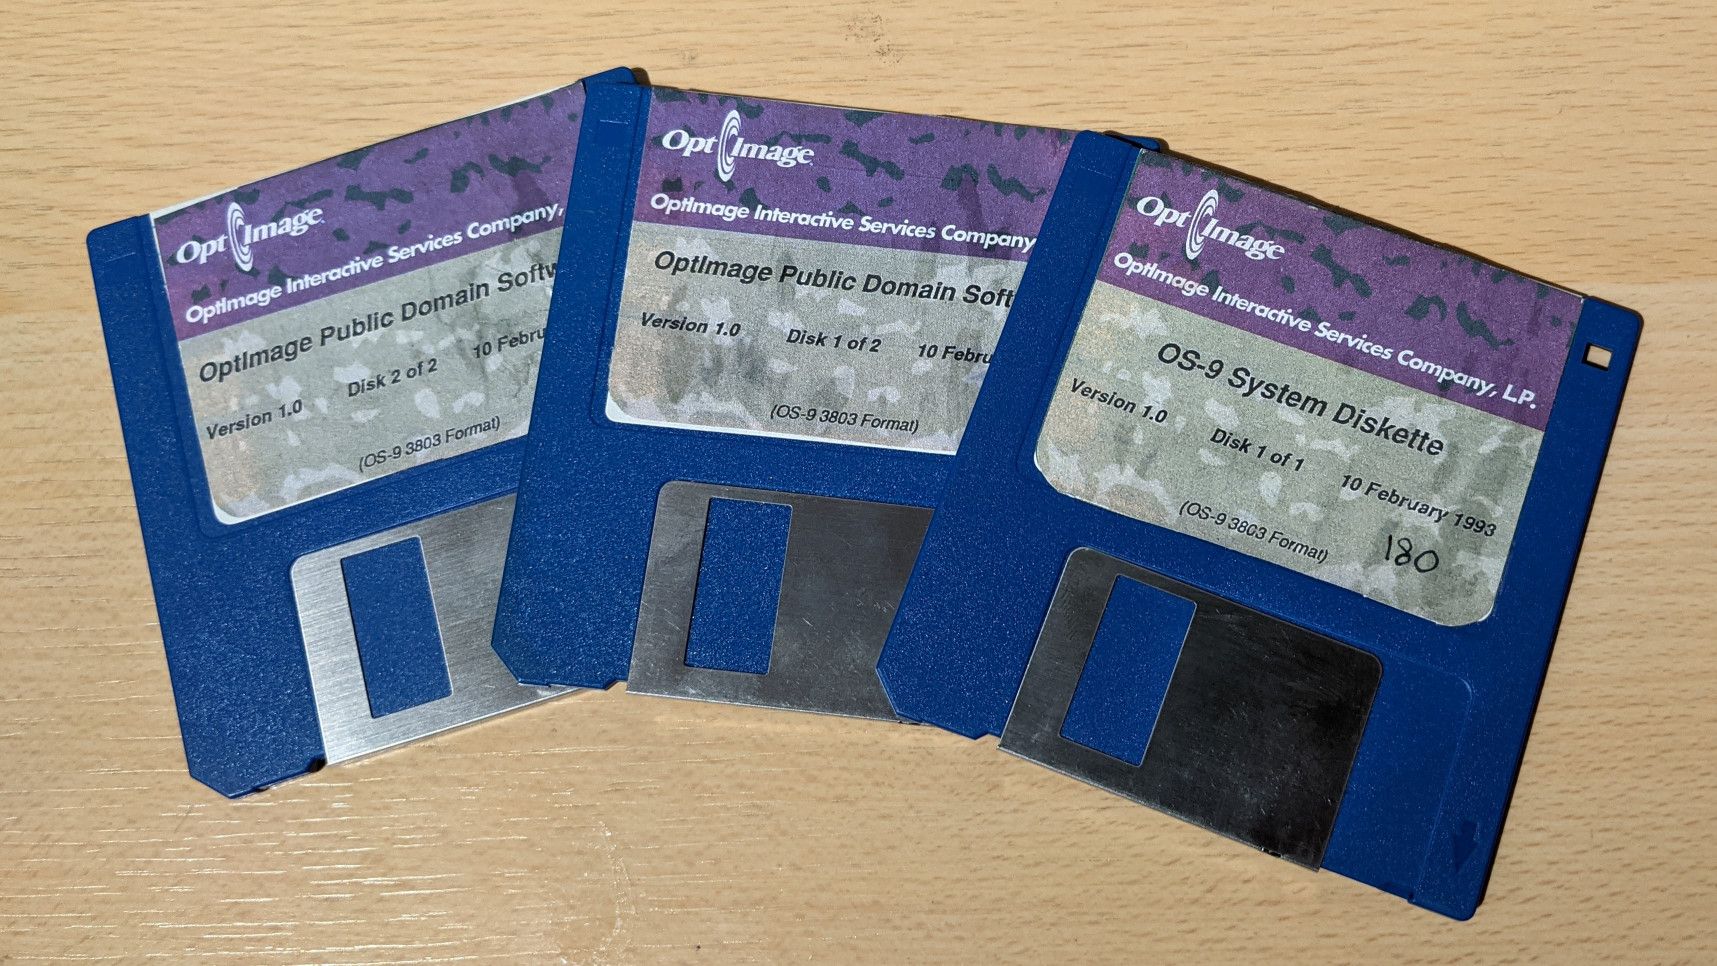
In order to fully use this unit, I needed to get a few more things like I mentioned in previous sections. This is where I have to give a massive thanks to CD-i fan, the author of the CD-i Emulator. He sent me two CD caddies along with three floppy disks containing the software needed to connect to the terminal. I agreed to trade the unit’s network card for these items. I had no use for the card and CD-i fan might be able to implement its functionality in his emulator. So this seemed like a mutually beneficial trade.
The CD caddies allow me the use the CD drive without having to open up the entire unit. The floppy disks were also confirmed to work and I managed to connect to a terminal using a Windows XP desktop with a serial port. Images of these floppy disks have since also been made available on ICDIA.
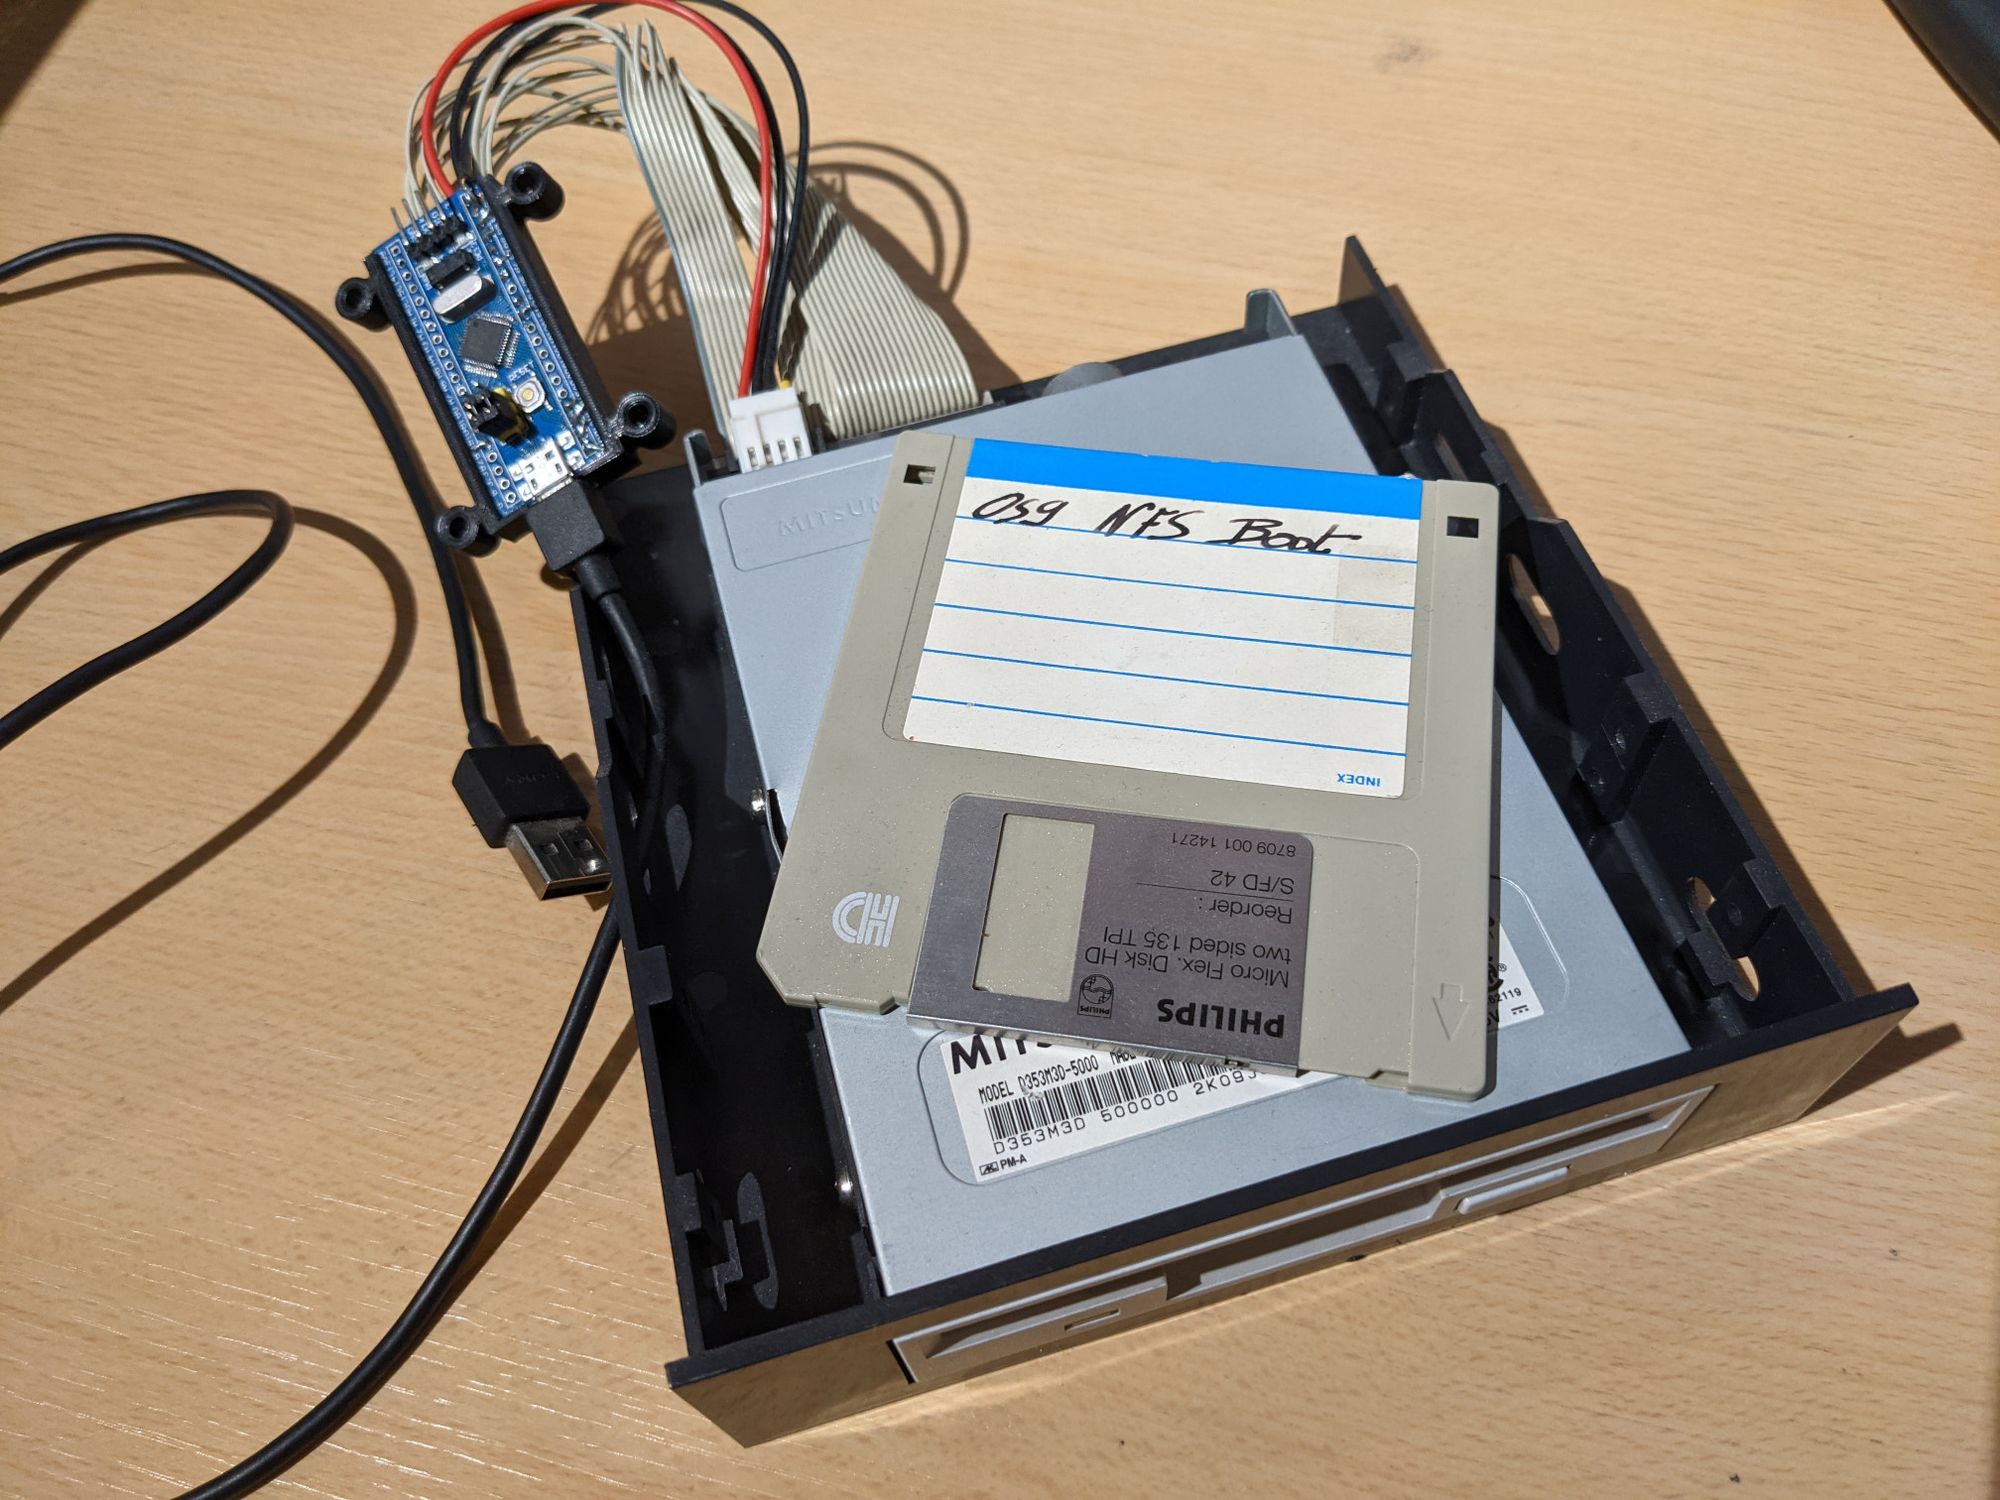
Dumping the 'NFS BOOT' floppy
Even though the floppy disk that was inside the unit didn’t load anymore, I still wanted to try and dump the data on there. This was not as easy as it may sound, since pretty much no standard PC with a floppy drive can read the data on here. After looking around for solutions for a while, I decided upon building something known as a Greaseweazle, which is an open source DIY FLUX-level floppy backup device.
I managed to build this device as well as dump the disk with most of the data intact. The image of this floppy can now be found on my archive.org page.
Final words
With all of that finished, I consider this project done. I can now proudly add this to my collection. Maybe one day I'll use it to develop some CD-i software if I find the time and inspiration for it. It will also come in handy for reading data from other OS9 formatted disks I may come across. If you took the time to read this entire article: Thank you! I hope it was fun to read through.
Thank you to:
- CD-i Fan, Rosewood, KailoKyra, Omegalfa, Bas, and all other CD-i community members who helped me along the way.
- ICDIA, for being an amazing source of information.
- Greaseweazle, for providing a very solid alternative to expensive devices like the Kryoflux.